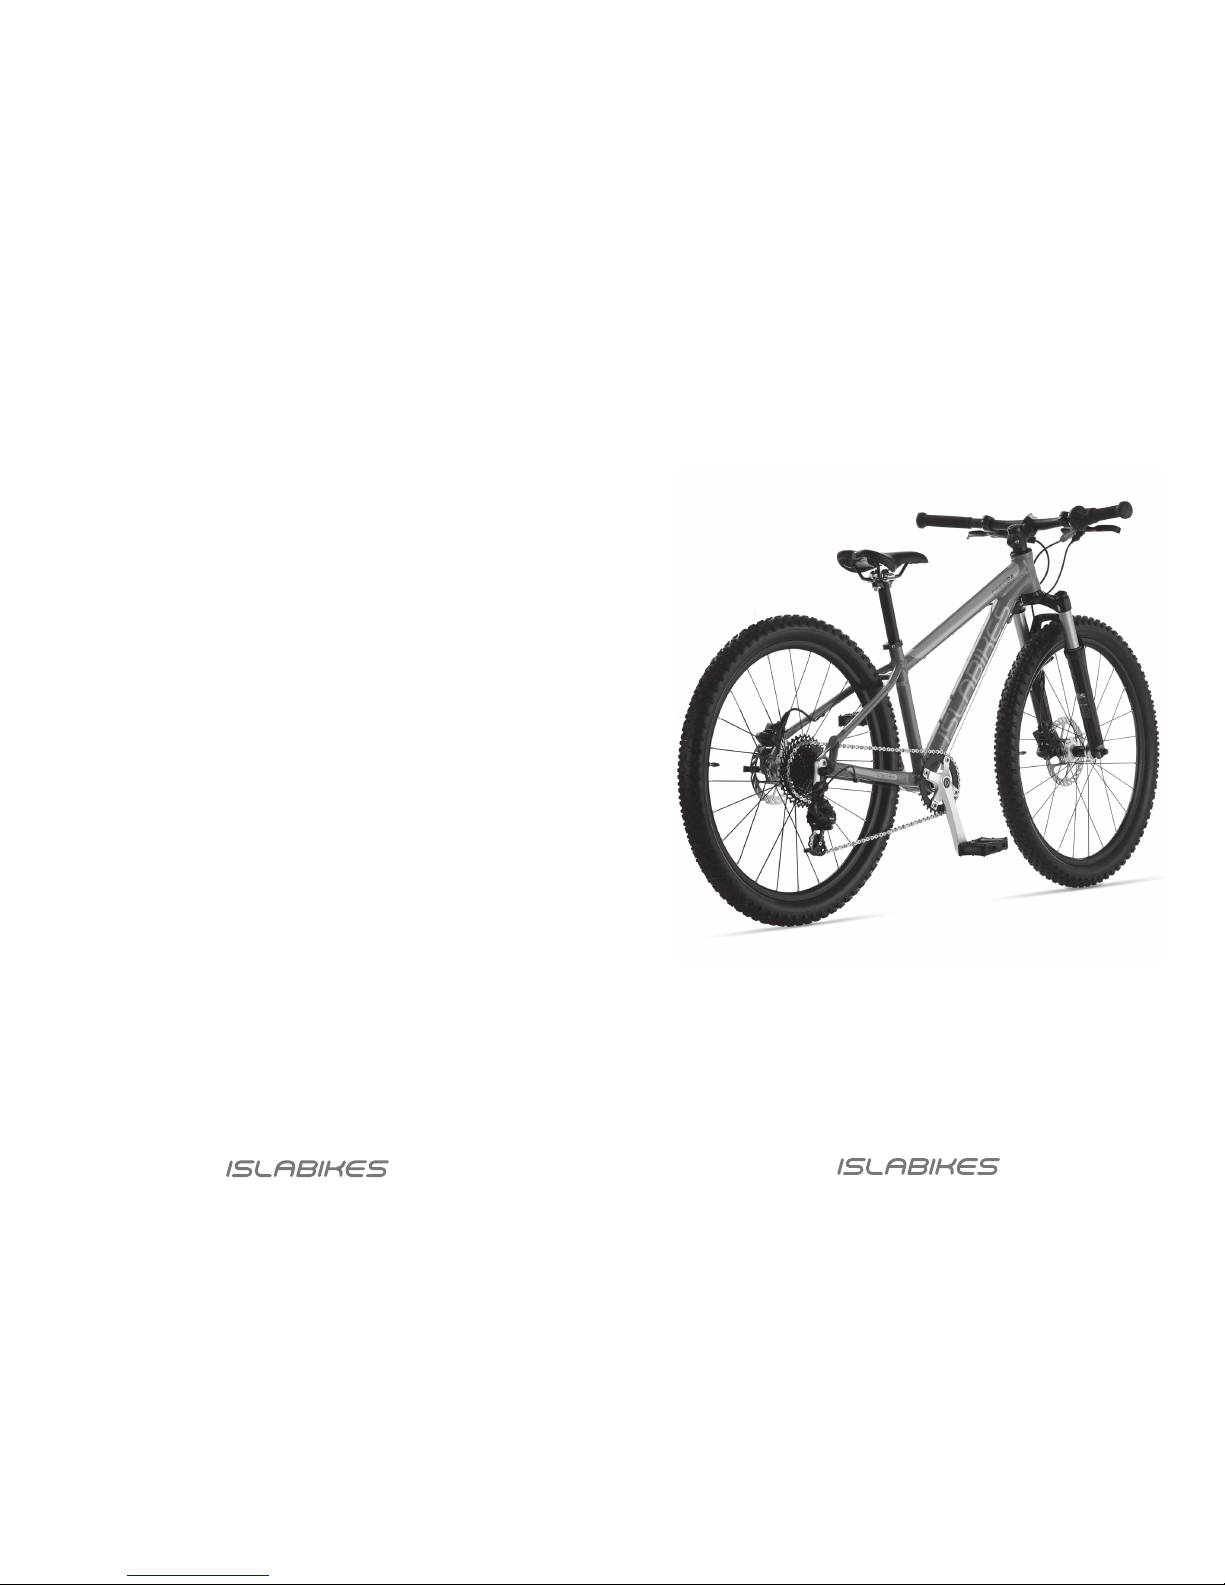
ISLABIKES Creig User manual

www.islabikes.com www.islabikes.com
Creig
Owner’s manual

Creig 24 / Creig 26
6
1
7
8
10
11
12
4
15
14
17
20
21
22
23
3
2
9
13
16
18
5
19
1. Brake levers
2. Brake calipers
3. Saddle
4. Seatpost
5. Seatpost clamp
6. Saddle clamp
7. Stem
8. Stem bolts
9. Headset
10. Headset spacers
11. Headset adjuster bolt
12. Handlebars
13. Grip shift
14. Rim
15. Spokes
16. Tires
17. Chain
18. Rear derailleur
19. Cassette
20. Frame
21. Suspension Fork
22. Cranks
23. Pedals
Serial number
Please make a record of your serial number. This is a combination of
letters and numbers unique to your bike stamped to the underside of the
frame. This is required by police and insurance companies in case of loss.
Serial
number

Creig 24 / Creig 26
Recommended torque settings
All stem bolts 7Nm
Saddle clamp bolts 7Nm
Seatpost collar bolt 4Nm
Crank bolts 35Nm
Pedals 30Nm
Wheel bolts 8Nm
Caliper bolts 9Nm
Rotor bolts 6Nm
Rear derailleur 6Nm
Spares and replacement parts
We carry stock of replacement parts for your Islabike including inner
tubes, tires and grips. Please visit our website for a list of readily
available spares or contact us at 503 954 2410 or info@islabikes.com.
We onlyrecommend using genuine parts for safety critical
components e.g. brake cables, brake blocks and bolts.
If you can’t find what you are looking for or are unsure of any
compatibility for older models, please contact our technical support
team by phone or email.
support@islabikes.com
503 954 2410
For support on teaching your child to ride, please see our Info Hub.
www.islabikes.com / info-hub
Step 1 of 6
Remove front wheel and fork packaging
a. Remove front wheel protection packaging.
b. Remove fork plastic protection packaging.

Creig 24 / Creig 26
Step 2 of 6
Remove brake caliper packaging
c. Remove brake caliper plastic protection packaging.
Do not pull brake when calliper spacer is removed. Please
keep calliper spacer for transportation when wheel is removed.
Suspension forks
Air Pressure – Air pressure affects how much force is required to
move the forks. The forks have had their air pressure pre-set. This is
set to suit the average weight of rider.
If you need to check or adjust the fork pressure, you must remove the
valve cap on top of the left fork leg and use a specific suspension fork
shock pump designed for this purpose.
Creig 24: 60PSI
Creig 26: 65PSI
Rebound – Rebound affects how quickly the forks return after
compression. The rebound has been set to medium for normal
off-road riding.
To adjust the rebound setting turn the knob on the bottom of the
right fork leg.
+ = Slower return
- = Faster return
Lock out – Lock out prevents the fork from compressing. To turn the
compression On or Off turn the knob on top of the right fork leg.

Creig 24 / Creig 26
Drivetrain
The drivetrain is a category of components made up of the chain,
cranks, cassette and pedals. These components work together to
drive your Islabike forward and are crucial in maintaining the optimum
performance and life of your Islabike. To keep these running smoothly
we advise the following.
Chain cleaning and lubricating – We recommend cleaning and
lubricating your chain weekly or after washing/rain. Simply use soapy
water to wipe over your chain and rear derailleur then dry with a cloth.
Then gently apply any general bicycle oil direct while simultaneously
turning the cranks backwards to ensure full chain coverage. Wipe off
any surplus with a cloth.
Gears
Your Islabike has had its gears adjusted prior to delivery. These
should be checked periodically or after a fall to ensure they are
operating correctly.
Quick check:
Ensure your rear derailleur hanger is not twisted or bent.
Place your Islabike in gear 1 or the biggest sprocket and look
from the rear. Look out to see if the rear derailleur is damaging
the spokes or looks twisted.
If the gears are not working correctly contact our technical support
team at 503 954 2410 or email support@islabikes.com
d. Install front quick release (QR)from pedal box.
Ensure QR spring orientation is correct. The smaller side of the
spring should be toward the hub - see image above.

Creig 24 / Creig 26
Step 3 of 6
Securing front wheel
a. Put front wheel into the fork. Ensure QR lever
is not on drive side. Check this matches rear.
Tires and Tubes
Tire wear - Regularly check tires for general wear and tear.
Overtime your tires will become more worn and can become more
susceptible to punctures.
Tire pressure - Regularly check your Islabike tire pressure as they
slowly go down over time. To check, simply push your thumb hard
onto the tire or use a pressure gauge fitted to most quality bicycle
floor pumps. If you can touch the rim, the tires probably need some
more air.
You should not exceed the maximum tire pressure printed on
the sidewall of the tire. We recommend approx. 70% of the
maximum tire pressure illustrated on your tire. To inflate
presta valves you must first open the valve by unscrewing
and tapping the valve end to relieve it if stuck. Inflate to
correct pressure and then carefully re-tighten to close the valve.
Find our guide to inflate your tires on the Islabikes YouTube channel.
Valve closed Valve open

Creig 24 / Creig 26
Wheels
Rim trueness - Depending on the type of riding your child does, your
Islabike wheels may become untrue or damaged when riding. This
means they will not spin straight and will wobble. To check this please
see step 3 Brakes. If for any reason they are untrue our wheels can
be easily repaired. Please contact our technical support team
at 503 954 2410 or email support@islabikes.com.
Hubs - Your hubs are fitted with cup and cone bearings. Although
they are sealed, water and grit can enter your hubs and cause
premature wear. To prolong the life and keep them running smooth
and efficient, we recommend annual maintenance and re-greasing of
hub bearings.
b. Hold QR lever in fully ‘open’ position and turn nut clockwise.
Do not fully tighten nut.
Tighten

Creig 24 / Creig 26
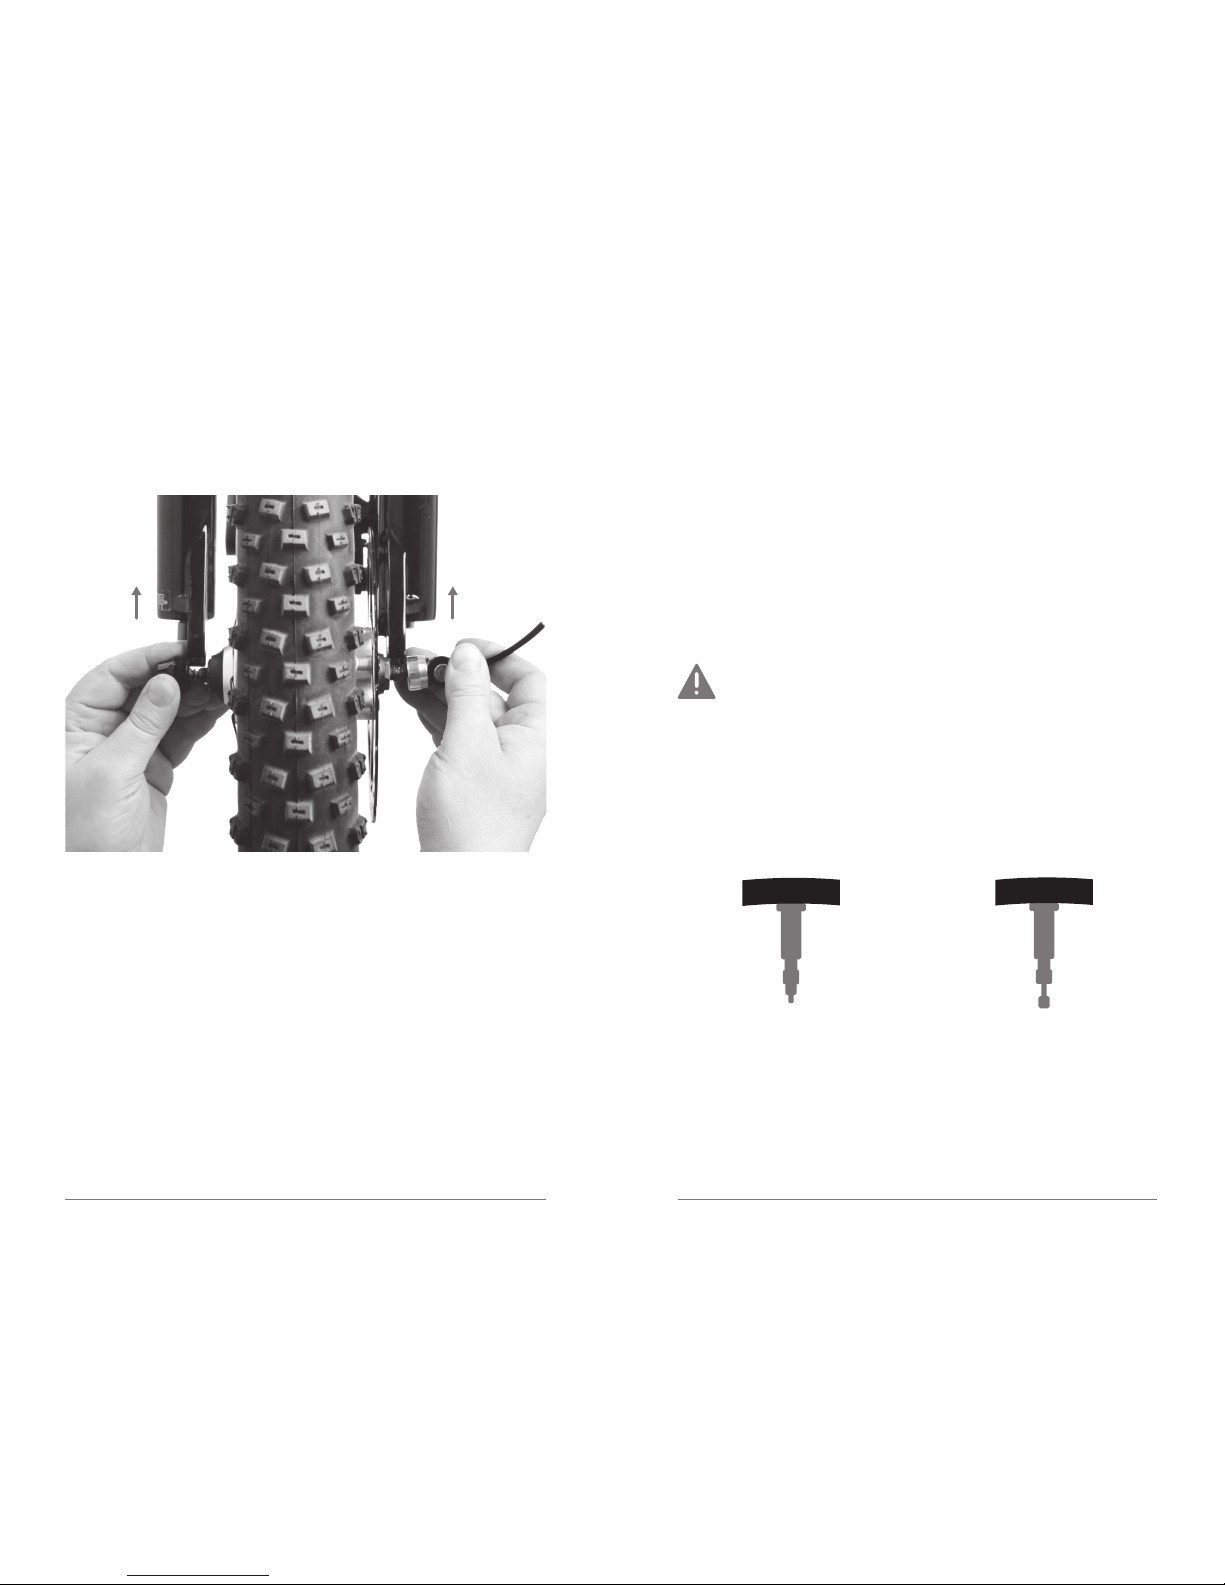
The QR lever should start to feel tight at 90 degrees as you
close – if it is too tight or too loose you can adjust by holding
lever ‘open’ again and turning nut.
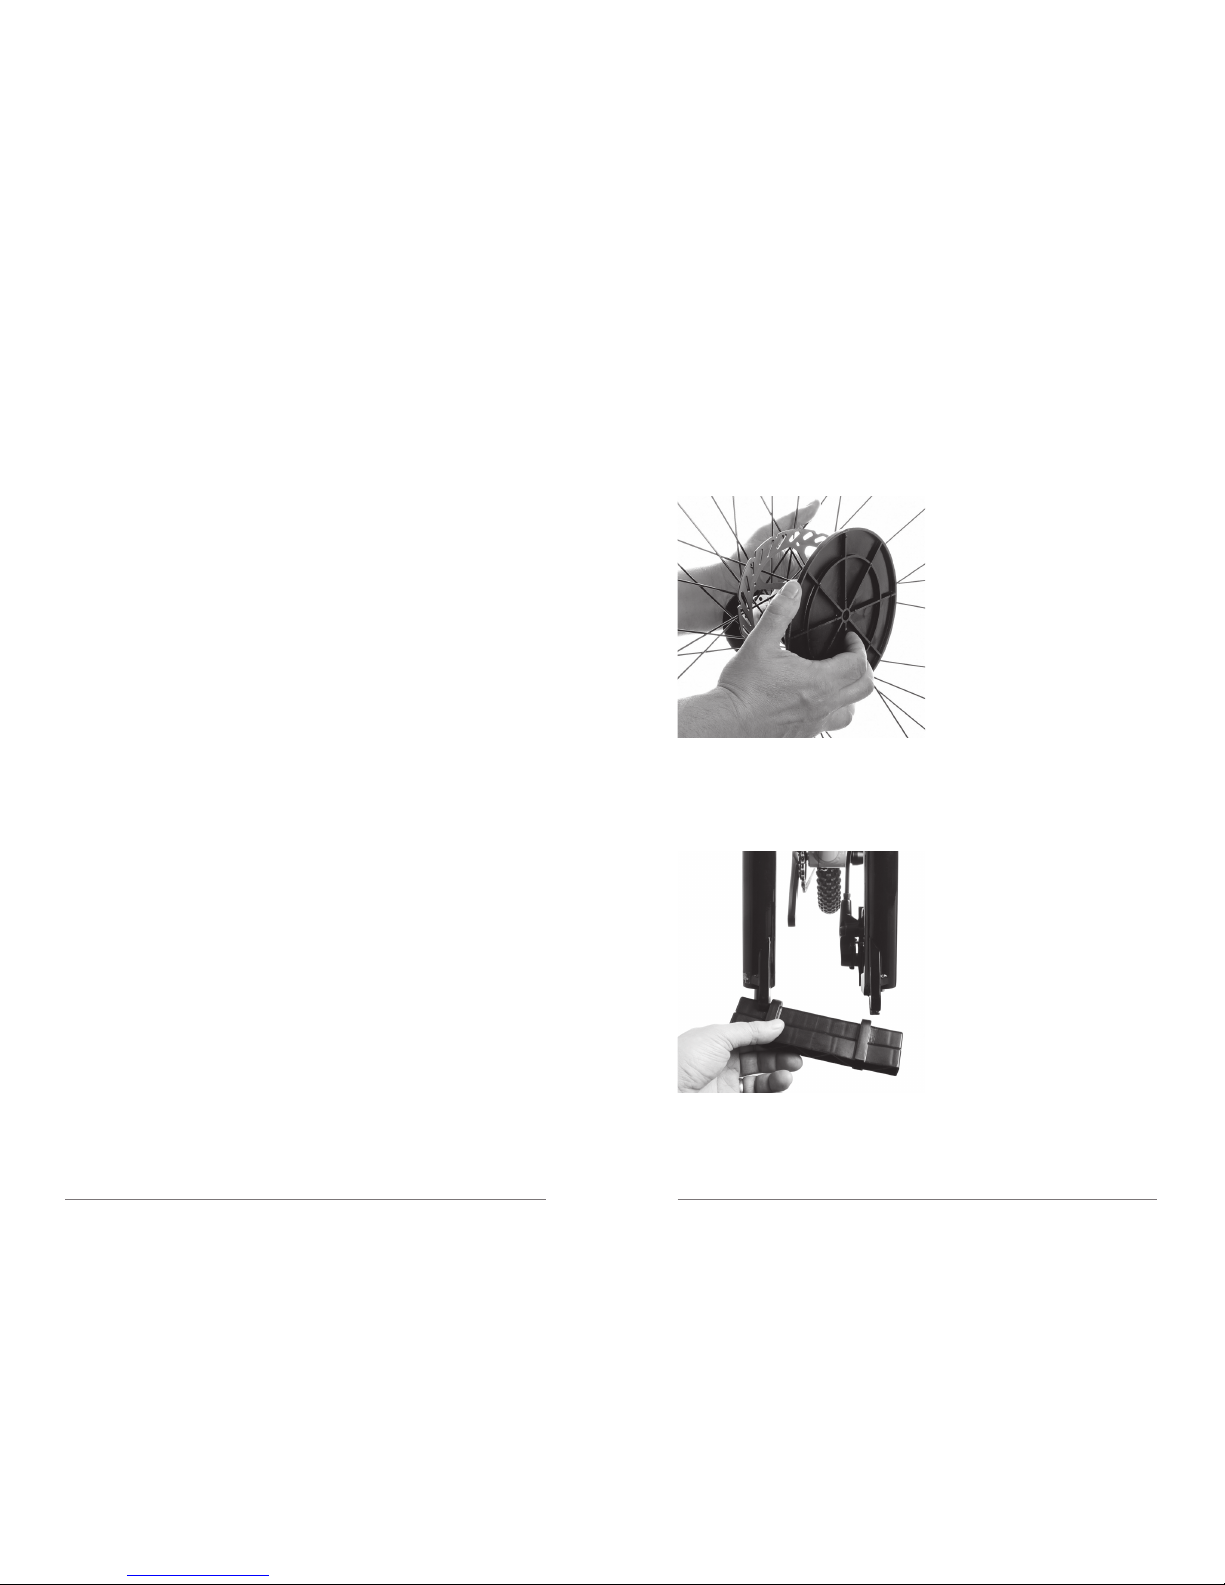
Check front wheel is correctly installed by lifting the
handlebar and holding the wheel at the fork. Firmly push
from side to side. If there is no movement, the wheel is
fitted correctly.
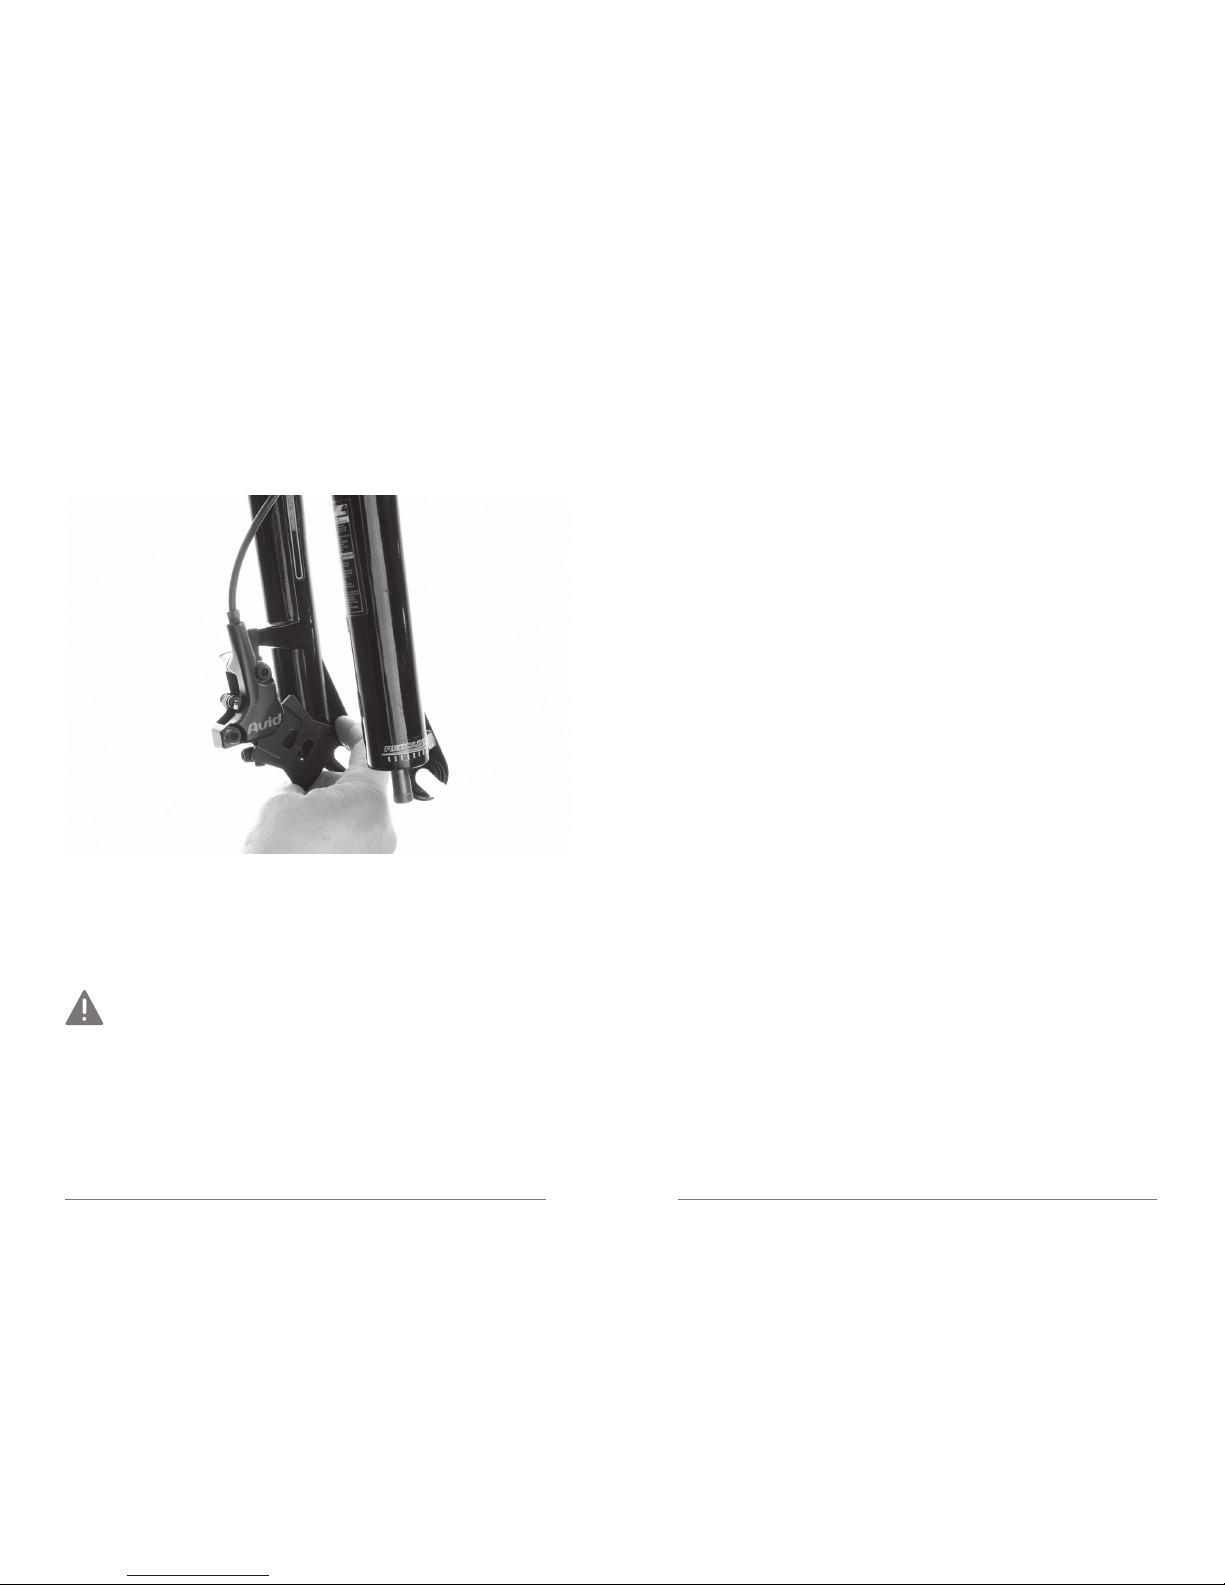
c. Clamp the QR lever to fully ‘closed’ position in line with
the fork.
Disc brakes
Considered one of the most important safety features of your Islabike.
It is a good habit to check the brakes on a regular basis. This should
be done depending on the type, frequency or duration of riding. If
your bike has not been used for a period of time we recommend a
quick check before riding.
Brake operation – Pull on one brake at a time and look at the
brake pads. Check to see if they are touching the discs evenly when
applied. If the pads are not contacting the discs correctly, they are
uneven, rubbing or feel spongy to apply please contact our technical
support team at 503 954 2410 or email support@islabikes.com
Brake pad wear and replacement – Brake pads do not last forever.
Eventually they will need replacing. This will depend on the type,
frequency and duration of riding. Brake pads must be replaced if the total
thickness of the backing plate and pad friction material is less than 3mm.
Riding with backing plate and pad friction material less than
3mm can result in reduced braking performance, crash, and/
or death.
Pads fitted as standard are organic compound. We recommend
replacing with the same compound to maintain performance.
Brake fluid and replacement – The brakes fitted to your bike contain
DOT 4 hydraulic fluid. Your fluid will need replacing annually to
maintain performance. Always seek professional advice – specialist
tools are required for this maintenance.
Do not allow brake fluid to contact skin or eyes. If fluid
comes into contact with skin or eyes seek dilute with plenty
water and seek medical advice.

Creig 24 / Creig 26
Maintenance
Keeping your bike clean and maintained comes with many benefits.
Not only will your Islabike perform better but it will be safer, last
longer and look great. To do this we have listed some regular checks
to help you along the way. Of course, if you are unsure of anything
we strongly recommend you seek professional advice or contact our
technical support team at 503 954 2410 or email
support@islabikes.com
Firstly, moving parts on your bicycle will need lubricating from time
to time. Weather conditions are generally the biggest factor that
determine frequency of maintenance and lubrication. However, it is
also heavily dependent on the frequency, type and duration of riding.
Component Lubricant Frequency
Chain Oil Weekly or after washing / rain
Rear derailleur Oil Weekly or after washing / rain
Wheel bearings Grease 6 months
Headset n/a Sealed bearings
Pedals n/a Sealed bearings
Suspension fork Oil 12 months - service
Brake fluid DOT 4 12 months - service
Step 4 of 6
Pedal installation
a. Left pedal – rotate pedal axle clockwise towards front of bike.
b. Right pedal – rotate axle counter clockwise towards front
of bike.
Tighten max. 30Nm
Please ensure you identify the left and right pedals
before installing.
Tighten
Tighten
a. Left pedal
b. Right pedal

Creig 24 / Creig 26
Step 5 of 6
Adjust saddle height
a. Loosen seatpost clamp
b. Move to desired height
c. Tighten clockwise max. 4Nm
Seatposts are clearly marked with minimum insertion mark.
Please do not raise saddle above this line.
Tighten
Guarantee
Your Islabike comes with a 5-year guarantee on frame and forks and
a 2-year guarantee on parts. This covers faulty manufacturing but
not normal wear and tear. This guarantee only applies to the original
purchaser of the bike.
Your statutory rights are not affected by the guarantee.
Ex-display / Demo: 5-years frame and forks / 2-year parts
Second hand: 12-months frame and forks
As with all mechanical components, the bicycle is subjected
to wear and stress. Materials and components may react to
wear or stress fatigue in different ways. If the design life of a
component has been exceeded it may suddenly fail, possibly
causing injuries to the rider. Cracks, scratches or a change of
color could indicate that the design life of the component has
been reached and it should bereplaced. Extra care should be
taken in inspection of parts that are subjected to high levels
of stress.
Our bikes are not guaranteed for racing in sanctioned or
competitive events. The use of a bicycle in hazardous
conditions including changeable and uneven surfaces can put
high, unpredictable loads on the bicycle and its components.
Lack of rider skill and experience can further increase these
loads leading to the possibility of serious damage to the
bicycle and/or injury to the rider. If you choose to participate in
these events, please carry out more frequent and thorough
maintenance and checks, including regularly inspecting the
frame, fork, stem, cranks and handlebars for signs of damage.
Discontinue use immediately if anything untoward is spotted
and contact our technical support team at 503 954 2410 or
email support@islabikes.com.

Creig 24 / Creig 26
User guidelines
Your Creig has been designed to be ridden on rough trails,
rough unpaved roads and rough terrain that require technical
skill. Jumps and drops are intended to be less than 61cm
(24inches). The maximum safe combined rider and luggage
weight limits are as follows:
• Creig 24 = 121Ibs
• Creig 26 = 143Ibs
It is not possible to make a bike that is never going to be
damaged in an accident. If your child uses their bike beyond
its limitations, there is a high risk of failure which could result
in serious injury or death. Bikes that are used competitively
should be subject to more frequent and rigorous checks. Take
particular care to check the frame tube junctions and welds
as well as all the components for damage or excessive wear.
If in any doubt, please contact our technical support team at
qualified bicycle mechanic for inspection.
Please note your bike is not intended for the following types
of riding:
• Dirt jumping • Downhill
• BMX • Slalom
• Four-cross
Step 6 of 6
Brake pad bed-in
It is important to bed-in your new brake pads to achieve optimal
performance, increase pad longevity and reduce the likelihood of
brake fade and noise.
To safely achieve optimal results, remain seated on the bike during
the entire bed-in procedure. Accelerate the bike to a moderate speed
(12mph / 20kph), then firmly apply the brakes until you are at walking
speed. Repeat approximately twenty times. Next, accelerate the bike
to a faster speed (20mph/30kpm), then firmly apply the brakes until
you are at a walking speed. Repeat approximately ten times.
Important: do not lock up the wheels at any point during the bed-in
procedure. Allow the brakes to cool prior to any additional riding. If you
require further information about your brakes, contact our technical
support team at 503 954 2410 or email support@islabikes.com

Creig 24 / Creig 26
Safety first
Before you head off, please read our advice for safe cycling. If you
are the responsible adult, parent or guardian we recommend the
following precautions.
Ensure that a helmet is adjusted correctly in accordance with
the manufacturer’s instructions.
Ensure your child is wearing sturdy footwear and nothing can
become entangled in the pedal or drivetrain.
Ensure that your child familiarizes themselves with their new
bicycle in a safe environment.
We pride ourselves on light action brakes. Check your child
can come to a stop safely using the brakes. Walk beside them
and assist them in pulling the brake lever to allow them to feel
its responsiveness.
Your Islabike is set up so that the left hand brake lever
operates the front brake.
Be aware braking performance and grip will be drastically
reduced in wet conditions.
Avoid riding on any busy streets or highways.
Always observe local legal requirements when riding on
public roads. If you are cycling in any other countries or in the
EU, please check national guidelines.
Tumbles are an inevitable part of riding a bike and sometimes
the bike can get damaged. It is very important that a bike is
inspected if an accident occurs. Here are some things to look
out for:
1. Handlebar ends becoming exposed from repeated contact
with the ground or heavy fall. Never let a child ride a bike
with an unplugged handlebar end. You can buy
replacement handlebar grips on our website
www.islabikes.com or call 503 954 2410
Other manuals for Creig
1
Table of contents
Other ISLABIKES Bicycle manuals

ISLABIKES
ISLABIKES eJoni User manual

ISLABIKES
ISLABIKES Rothan User manual

ISLABIKES
ISLABIKES Beinn 29 User manual

ISLABIKES
ISLABIKES Beinn User manual

ISLABIKES
ISLABIKES Cnoc User manual

ISLABIKES
ISLABIKES elcons eJimi User manual

ISLABIKES
ISLABIKES Creig Series User manual

ISLABIKES
ISLABIKES elcons eJanis User manual

ISLABIKES
ISLABIKES Icons Janis User manual

ISLABIKES
ISLABIKES Joni 20 User manual