manuals.online logo
Brands
  1. Home
  2. •
  3. Brands
  4. •
  5. jablotron
  6. •
  7. Security System
  8. •
  9. jablotron JK-82UK Oasis User manual

jablotron JK-82UK Oasis User manual

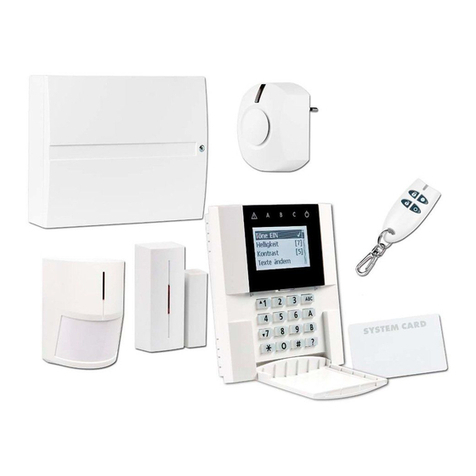
The JK-82 / JK-82UK “Oasis” wireless alarm kit 1/2 MKE58102
The JK-82 / JK-82UK “Oasis” wireless alarm kit
Installation of the JK-82 kit shall only be undertaken by technicians holding
a certificate issued by an authorized distributor. This simplified installation
manual only describes the basics, for more details see the manuals of
particular devices.
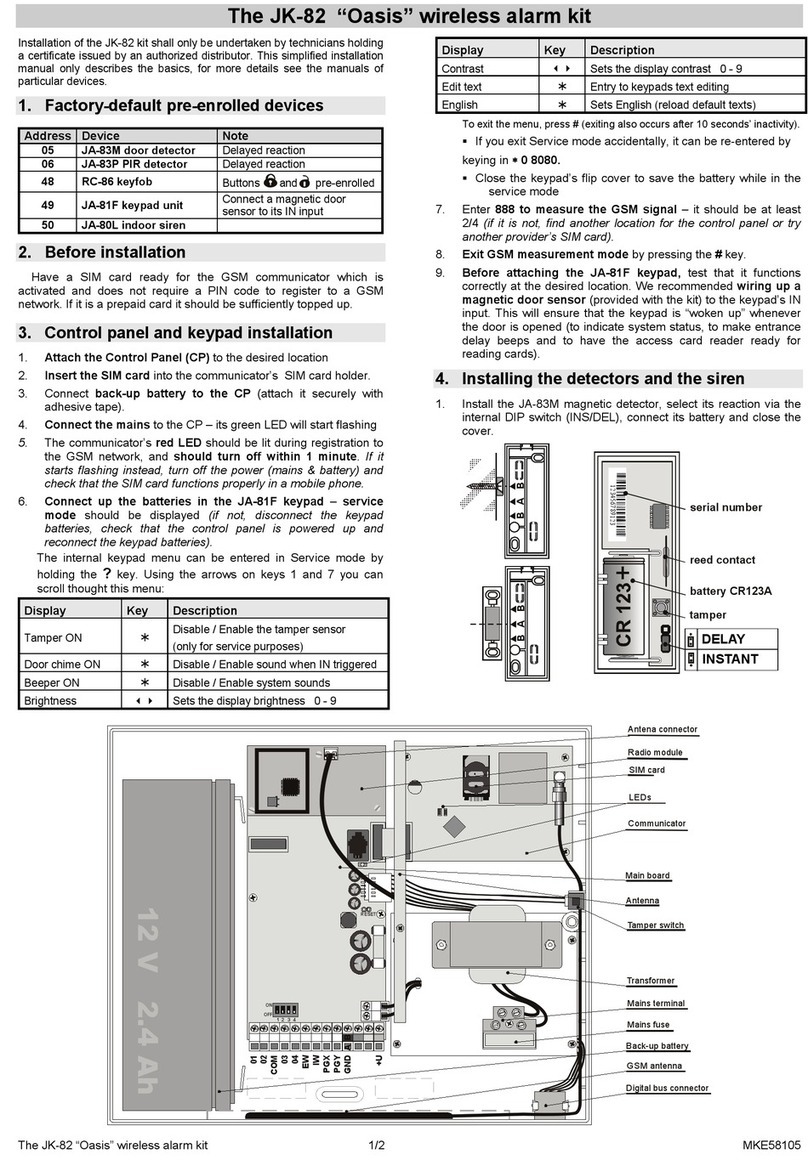
1. Factory-default pre-enrolled devices
Address Device Note
03 JA-81M door detector Delayed reaction
04 JA-80P PIR detector Delayed reaction
48 RC-86 keyfob Buttons and pre-enrolled
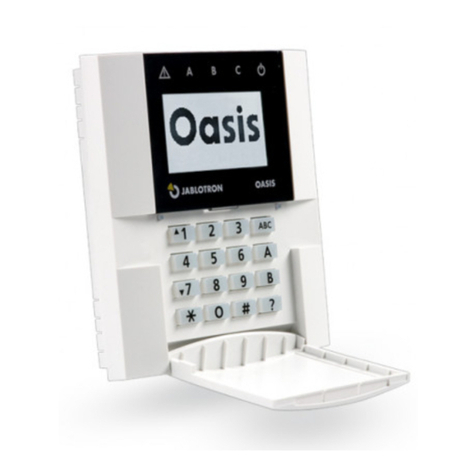
49 JA-80F keypad unit Connect a magnetic door
sensor to its IN input
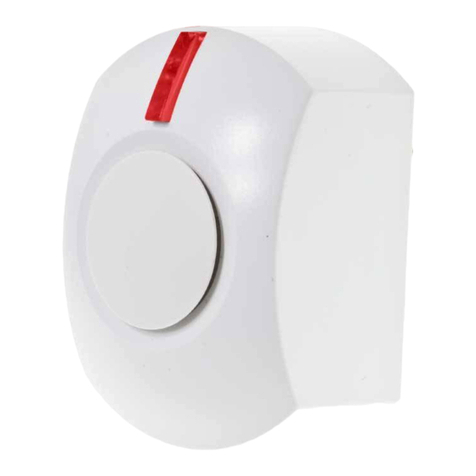
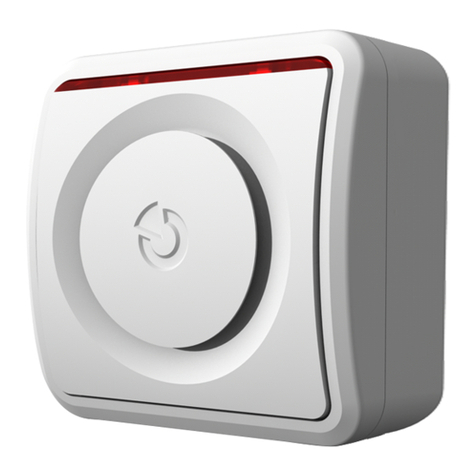
50 JA-80L indoor siren
RC-89 doorbell button* Pre-enrolled to the JA-80L
* The RC-89 doorbell button is not delivered with the JK-82UK
2. Before installation
Have a SIM card ready for the GSM communicator which is
activated and does not require a PIN code to register to a GSM
network. If it is a prepaid card it should be sufficiently topped up.
3. Control panel and keypad installation
1. Attach the Control Panel (CP) to the desired location
2. Insert the SIM card into the communicator’s SIM card holder.
3. Connect back-up battery to the CP (attach it securely with
adhesive tape).
4. Connect the mains to the CP – its green LED will start flashing
5. The communicator’s red LED should be lit during registration to
the GSM network, and should turn off within 1 minute. If it
starts flashing instead, turn off the power (mains & battery) and
check that the SIM card functions properly in a mobile phone.
6. Connect up the batteries in the JA-80F keypad – service
mode should be displayed (if not, disconnect the keypad
batteries, check that the control panel is powered up and
reconnect the keypad batteries).
 Keeping the ∗key pressed while connecting the keypad
batteries will open the keypad’s internal menu which allows
you to select the desired language (English = 1), to exit this
menu press the # key.
 If you exit Service mode accidentally, it can be re-entered by
 keying in ∗0 8080.
 Close the keypad’s flip cover to save the battery while in the
service mode
7. Key in 98101 - to set texts of the communicator to English
language
8. Enter 922 to measure the GSM signal – it should be at least
2/4 (if it is not, find another location for the control panel or try
another provider’s SIM card).
9. Exit GSM measurement mode by pressing the #key.
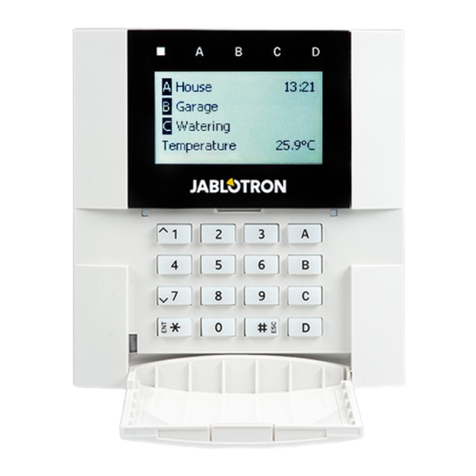
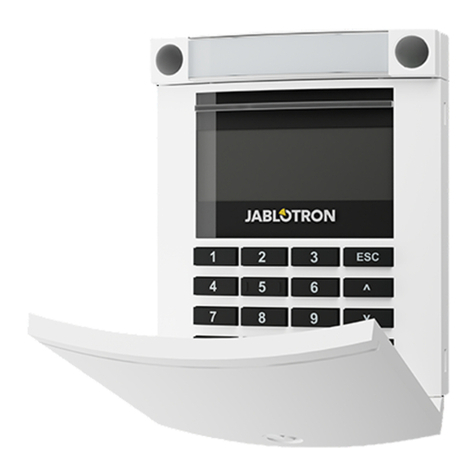
10. Before attaching the JA-80F keypad, test that it functions
correctly at the desired location. We recommended wiring up a
magnetic door sensor (provided with the kit) to the keypad’s IN
input. This will ensure that the keypad is “woken up” whenever
the door is opened (to indicate system status, to make entrance
delay beeps and to have the access card reader ready for
reading cards).
4. Installing the detectors and the siren
1. Install the JA-81M magnetic detector, select its reaction via the
internal DIP switch (INS/DEL), connect its battery up and close
the cover.
IN 2
IN 1
GND
TMP
1k
mag.senzor
ON/OFF
Reaction
tamper
switch
external
senzor
Communicator
Main board
Transformer
Back-up battery
Mains terminal
Digital bus connector
GSM antenna
Tamper switch
SIM card
LEDs
RESET
1234
ON
OFF
Antenna
The JK-82 / JK-82UK “Oasis” wireless alarm kit 2/2 MKE58102
2. Install the JA-80P PIR motion detector about 2 to 2.5 meters above
the floor, select its reaction via the relevant internal DIP switch
(INS/DEL), connect its battery up and close the cover.
tab
3. Plug the JA-80L siren into a mains power socket
4. Test and install the RC-89 door bell button.
5. Enrolling more wireless devices
The system can be extended with more wireless devices (a maximum of
50 can be enrolled). To enroll another device, the CP should be in service
mode, if it is not enter ∗0 8080 (while the system is unset)
1. On the keypad, key in 1 to enter enrollment mode
2. The next vacant address is displayed (scroll to other addresses
using the arrow keys if desired)
3. Connect up the device’s battery to enroll the device to the CP.
Successful enrollment is confirmed by the A indicator lighting. The
next vacant address is then displayed.
 The RC-86 key-fob can also be enrolled by pressing and holding a
pair of its buttons +(or +)
4. Exit enrollment mode by pressing the # key.
• To enroll the CP to UC-82 or AC-82 modules, enter 299 while the
CP is in service mode with the receiving module in enrollment mode.
6. Testing device functionality
1. The CP should be in Service mode, if not enter ∗0 8080
2. First trigger the device under test (e.g. a detector). The keypad
(with its flip cover open) then indicates triggering of the device if the
device is functioning correctly and is enrolled.
 Motion detectors are best tested within 15 minutes of closing their
covers as after that they only react to frequent movements once
every 5 minutes (to restart a device’s test mode, open and close the
detector housing again).
7. Checking a device’s radio signals
1. The CP must have its antenna connected and should be in Service
mode, if not enter ∗0 8080
1. Enter 298, the lowest address with enrolled device will be displayed
2. Trigger the device linked to this address – the keypad (with its flip
cover open) then shows the device’s signal strength in the range ¼
to 4/4 (it should be at least 2/4, if not, relocate the device)
 Motion detectors are best tested within 15 minutes of closing their
covers as after that they only react to frequent movements once
every 5 minutes (to restart a device’s test mode, open and close
the detector housing again).
 To test the JA-80F keypad signal, trigger the connected magnetic
door sensor or activate the keypad’s tamper sensor.
 To test the JA-80L siren signal, press the siren’s button.
3. To select the next enrolled device address use the arrow keys.
4. To exit signal measurement mode, press the # key.
8. Programming the system
1. The CP should be in Service mode, if not enter ∗0 8080
2. Enter the appropriate programming sequences to select the desired
functions (a complete list of them is in the CP and communicator
manuals)
Function Sequence Note
New service code 5 xxxx
xxxx Factory default: 8080
xxxx = new code
Exit delay 20x x=multiples of 10 sec. (e.g. 205 = 50
sec).
Factory default: 30s
Entrance delay 21x x=multiples of 5 sec. (e.g. 204 = 20
sec.).
Factory default: 20s
Alarm duration 22x x=1 to 8=1 to 8 minutes
9 = 15min.
Factory default: 4 min
Tel. numbers for event
reporting to telephones
81 M xx.x
∗0
M= memory 1 to 8
Factory default reports:
M1 & 2 alarms by SMS
M3 & 4 alarms by SMS+call
M5 & 6 alarms by SMS+call &
setting/unsetting by SMS
M7 alarms by call
M8 faults by SMS
xx..x = tel. number
81 M ∗0 erases memory M
Forwarding of incoming
SMSes to the first
programmed phone
number
926 x x = 1 enabled (factory def.)
x = 0 disabled
Registration code for
www.GSMlink.cz to
your mobile phone 910 xx.x ∗0 xx.x =your mobile number
Time and date entry 4 hh mm DD MM YY
9. Testing GSM communication
1. Program your mobile phone number to memory M1
2. Exit Service mode via the # key and press both buttons on the key-fob
to trigger a Panic alarm – an alarm SMS should be sent to your mobile.
3. End the Panic alarm by pressing the button on the key-fob.
4. Call the SIM card number (it is shown in the alarm SMS report). Wait
until the call is answered by the CP (beep in the phone) and enter a valid
service code (factory default: 8080)
5. Your phone keypad should now work the same way as the system
keypad – test it.
6. End the call
7. Erase your mobile’s number from M1 and program it into M8 if you wish
to receive reports of technical troubles in the system in future.
10. Editing keypad text strings
1. The CP should be in Service mode, if not enter ∗0 8080
2. Press and hold the ?key to enter editing mode.
3. Keys: 1 & 7 scroll through characters and numbers
4 & 5 move the cursor
2 erases the highlighted character
& are for the selection of text strings
# exits editing mode
Editing text only affects the text in that particular keypad. Amore
convenient way of text editing is with a PC running Olink software.
11. Finishing off the installation
1. Exit service mode via the # key and demonstrate clearly how to
operate the system to the user(s).
2. Recommend the user to change the default master 1234 code to
a new master code.
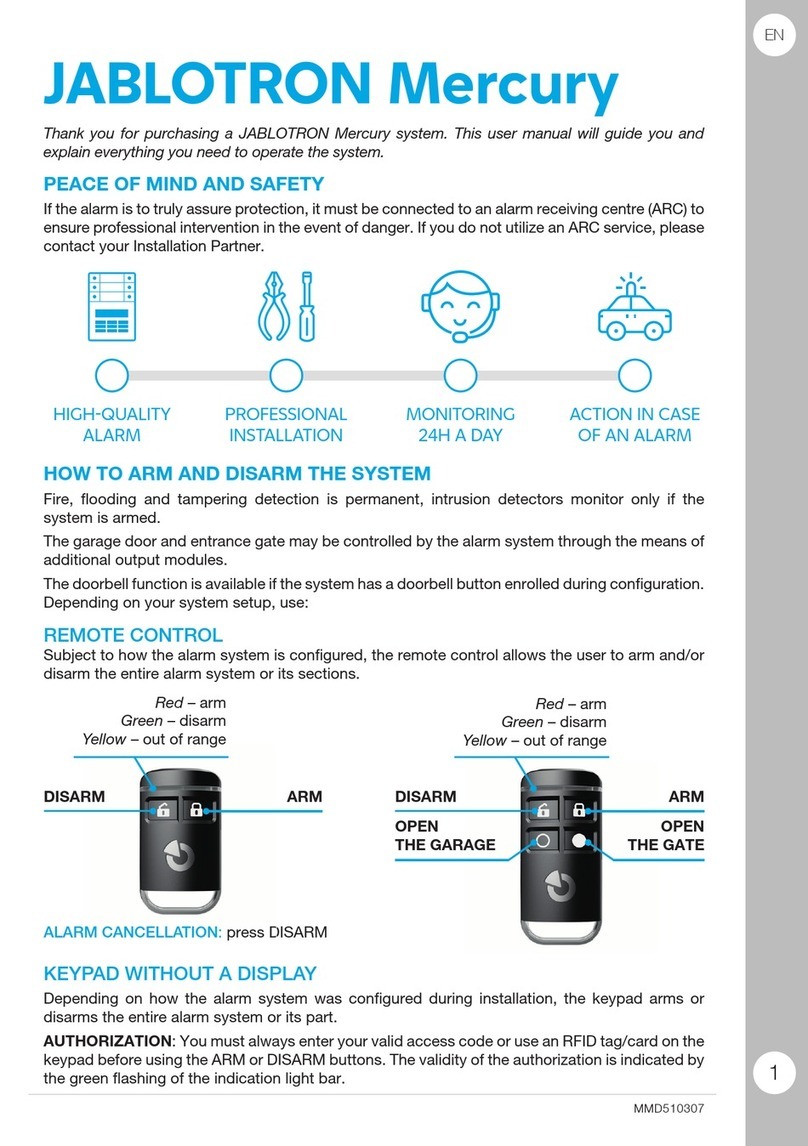
Entry Function
code / card Setting/unsetting (arming and disarming)
ABC Complete arming (all sections)
A Partially setting A (if used)
B Partially setting AB (if used)
∗4 Reading the event memory (4 scrolls backwards)
∗5 Changing the MASTER code/card (e.g. *5 1234 2789 2789)
∗6 To create a new user code/card (e.g. *6 1234 03 3344
programs user code number 3, to erase the code enter: *6
1234 03 0000)
∗7 code/card To secretly signal operation (unsetting) under duress
∗8 a ∗9 PGX and PGY control (if used)
∗0 MASTER
code Maintenance mode (testing, overview of codes, bypassing,…)
# Exiting maintenance mode or terminating an incomplete entry
? Displays status details (triggered detectors, fault causes or
the status of PG outputs …..)
This manual suits for next models

2

Other jablotron Security System manuals

jablotron JA60K User manual

jablotron

jablotron JA60K User manual

jablotron Mercury User manual

jablotron

jablotron Mercury User manual

jablotron JA-63 PROFI" User manual

jablotron

jablotron JA-63 PROFI" User manual

jablotron JA-151IR User manual

jablotron

jablotron JA-151IR User manual

jablotron JA-151IR User manual

jablotron

jablotron JA-151IR User manual

jablotron MAESTRO JA-65 User manual

jablotron

jablotron MAESTRO JA-65 User manual

jablotron OASiS 8 Series User manual

jablotron

jablotron OASiS 8 Series User manual

jablotron JA-16A RB User manual

jablotron

jablotron JA-16A RB User manual

jablotron GT 970 User manual

jablotron

jablotron GT 970 User manual

jablotron JA-63 PROFI" User manual

jablotron

jablotron JA-63 PROFI" User manual

jablotron JK-84 Oasis User manual

jablotron

jablotron JK-84 Oasis User manual

jablotron JA-84P User manual

jablotron

jablotron JA-84P User manual

jablotron Azor User manual

jablotron

jablotron Azor User manual

jablotron CA-2103 Athos User manual

jablotron

jablotron CA-2103 Athos User manual

jablotron JA-60N User manual

jablotron

jablotron JA-60N User manual

jablotron Oasis JA-80 User manual

jablotron

jablotron Oasis JA-80 User manual

jablotron JA-150A II User manual

jablotron

jablotron JA-150A II User manual

jablotron JA-110A II User manual

jablotron

jablotron JA-110A II User manual

jablotron JA-60 "Comfort" User manual

jablotron

jablotron JA-60 "Comfort" User manual

jablotron JA-10 Series User manual

jablotron

jablotron JA-10 Series User manual

jablotron JA-60IR User manual

jablotron

jablotron JA-60IR User manual

jablotron JA-80-Oasis User manual

jablotron

jablotron JA-80-Oasis User manual

jablotron 100 User manual

jablotron

jablotron 100 User manual

jablotron 100 User manual

jablotron

jablotron 100 User manual

Popular Security System manuals by other brands

Drone Amplified Ignis Operational manual

Drone Amplified

Drone Amplified Ignis Operational manual

Satel SPL-5010 manual

Satel

Satel SPL-5010 manual

Schwaiger SECURE 4 YOU HSA900 533 user manual

Schwaiger

Schwaiger SECURE 4 YOU HSA900 533 user manual

Tunstall Lifeline Vi How to Install Guide

Tunstall

Tunstall Lifeline Vi How to Install Guide

SVAT PI1000 Specifications

SVAT

SVAT PI1000 Specifications

Pentatech MA80KM owner's manual

Pentatech

Pentatech MA80KM owner's manual

DSC Voice Assisted Security Control Escort5580TC instruction manual

DSC

DSC Voice Assisted Security Control Escort5580TC instruction manual

Swann Alpha D04C1 Speci?cations

Swann

Swann Alpha D04C1 Speci?cations

Rheem Raypak E-4 Installation and operation manual

Rheem

Rheem Raypak E-4 Installation and operation manual

BroadLink S1 SmartONE Kit user manual

BroadLink

BroadLink S1 SmartONE Kit user manual

Omron XPECTIA - datasheet

Omron

Omron XPECTIA - datasheet

Velleman HAM982K user manual

Velleman

Velleman HAM982K user manual

Lorex L19LD800 Series quick start guide

Lorex

Lorex L19LD800 Series quick start guide

SCT RemoteCam5 Quick install

SCT

SCT RemoteCam5 Quick install

Brickhouse Security WanderAlert Getting started

Brickhouse Security

Brickhouse Security WanderAlert Getting started

Assa Abloy 1370 installation instructions

Assa Abloy

Assa Abloy 1370 installation instructions

resideo PROA7PLUSC Series Quick user guide

resideo

resideo PROA7PLUSC Series Quick user guide

SeQual Eclipse Troubleshooting

SeQual

SeQual Eclipse Troubleshooting

manuals.online logo
manuals.online logoBrands
  • About & Mission
  • Contact us
  • Privacy Policy
  • Terms and Conditions

Copyright 2025 Manuals.Online. All Rights Reserved.