Jedmed Horus Scope User manual

H O R U S S C O P E
Quick
Reference
Guide
Step 1
Slide upward from charging base OR
remove from USB charger.
Step 2
Ensure the device is adequately charged
(solid blue light on power indicator/handle
when the device is powered on).
Step 3
Aach appropriate viewing lens as follows:
Ensure the device is powered o.
Find and match the lens alignment marks
(small black circles).
Insert the lens into the Horus Scope
connector interface.
Rotate the lens aachment gently clockwise
unl it stops.
Ensure the white posion bars are in the
appropriate horizontal posion.
Step 4
Connect device to Telehealth unit as follows:
Connect the AV (out) cord with the converter.
Connect the converter to the Telehealth unit.
Some units may require an addional cable to connect
the Telehealth unit to the converter (e.g., SX20).
December 2018 Page 1
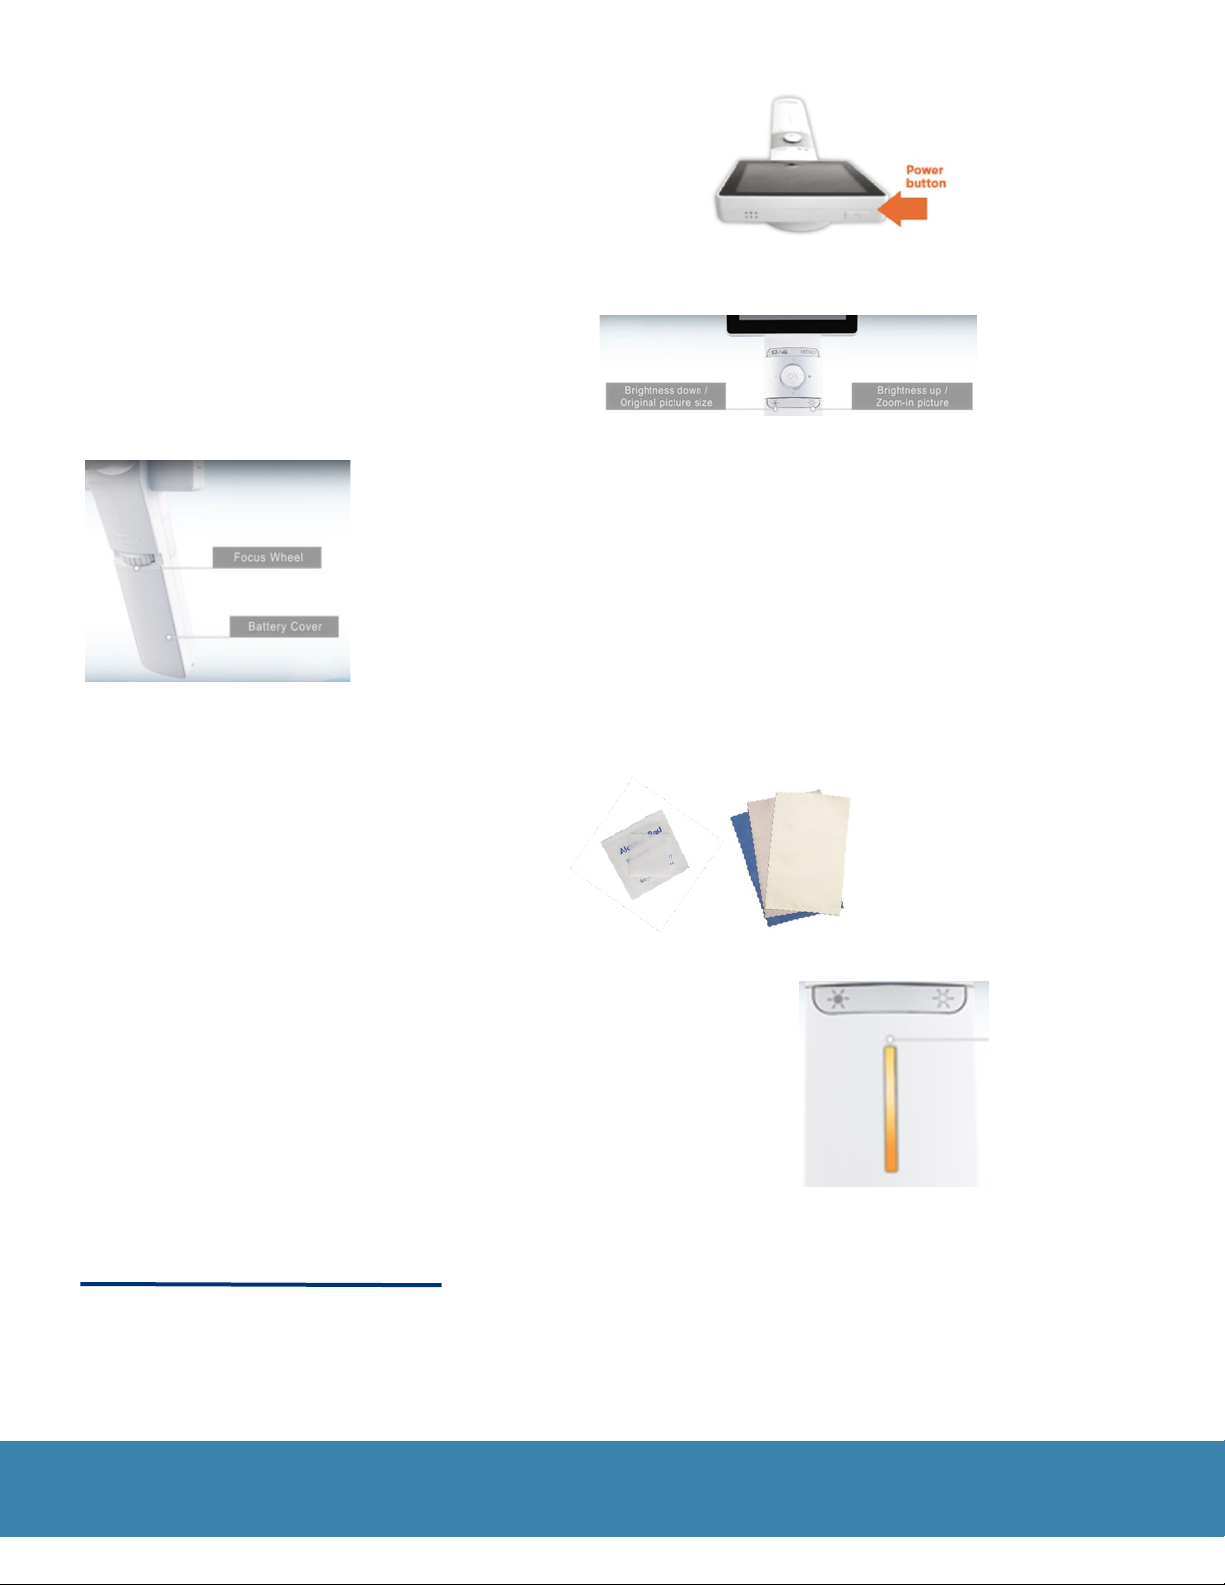
Step 5
Press the power buon to begin using the camera.
Step 6
Press “OK” buon to freeze an image.
Step 7
Adjust brightness/focus as follows:
Brightness controls on the front (under “OK” buon) adjust amount of LED
light emied from the device.
Brightness controls also act as zoom in/out buons for sll images.
Focus wheel (found on back) adjusts image quality.
Step 8
Power o the device.
Step 9
Disinfect the device with an alcohol wipe.
Do not sterilize the device.
Clean the lens with dust free cleaning cloth.
Step 10
Recharge device (power indicator light will turn o
indicang device is fully charged while connected to charger).
Flashing blue light (on power indicator/handle)
means baery is less than 25% full when unit is on.
Orange light means baery is less than 100% full
when connected to charger.
Tips
Horus Scope will not display an image if there is no lens aached.
Do not touch the lens.
Images/videos are not stored/recorded during Telehealth appointments.
Remove baery if device will be stored for more than two weeks.
H O R U S S C O P E
Quick Reference Guide
December 2018 Page 2
Table of contents
Other Jedmed Medical Equipment manuals

Jedmed
Jedmed S-II Plus Instruction and safety manual

Jedmed
Jedmed MACHIDA User manual

Jedmed
Jedmed Omni-Steth User manual

Jedmed
Jedmed api OS1 Service manual

Jedmed
Jedmed Combo 50 User manual

Jedmed
Jedmed Classic CSC ENT Instruction and safety manual

Jedmed
Jedmed Horus Scope 3 Series User manual

Jedmed
Jedmed Ergo-Flex User manual

Jedmed
Jedmed PHOENIX III User manual
Popular Medical Equipment manuals by other brands


Getinge
Getinge Arjohuntleigh Nimbus 3 Professional Instructions for use

Mettler Electronics
Mettler Electronics Sonicator 730 Maintenance manual

Pressalit Care
Pressalit Care R1100 Mounting instruction

Denas MS
Denas MS DENAS-T operating manual

bort medical
bort medical ActiveColor quick guide

AccuVein
AccuVein AV400 user manual


