Hoyer®
HPL700
5
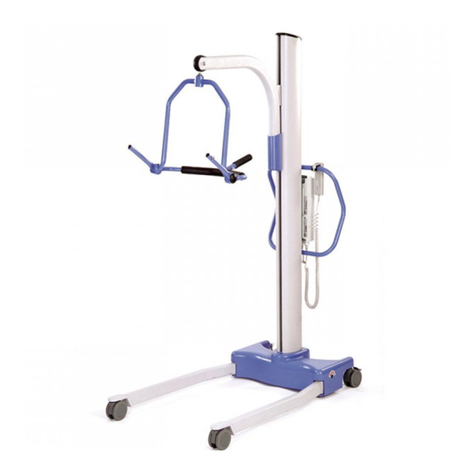
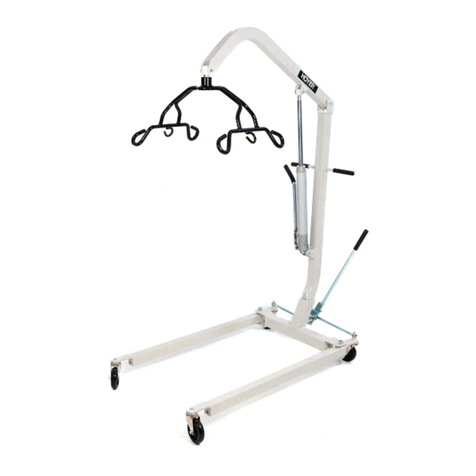
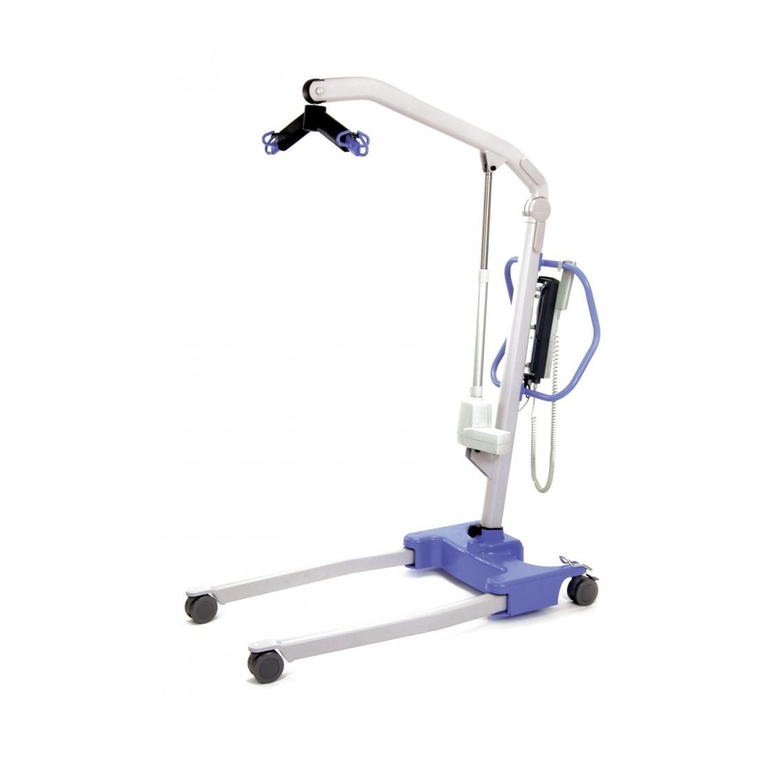
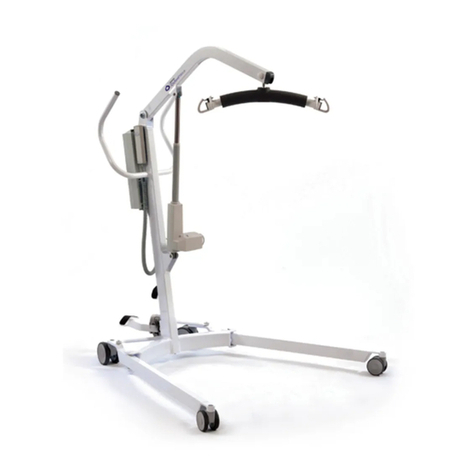
Boom / Mast
1. Examine the shoulder bolt and nut that attaches the boom to the mast pivot. Ensure that both are fully
tightened.
2. Inspect the pivot attachment area of the mast and boom. The bushings located at the pivot point in the
boom will need to be replaced if cracked or showing signs of excessive wearing.
3. Check that there is no excessive movement allowed in the mounting area both vertically and
horizontally. This will be a good indication of wear and a full inspection of the pivot and mounting area
is required. To fully inspect the bushings and pivot area follow these instructions:
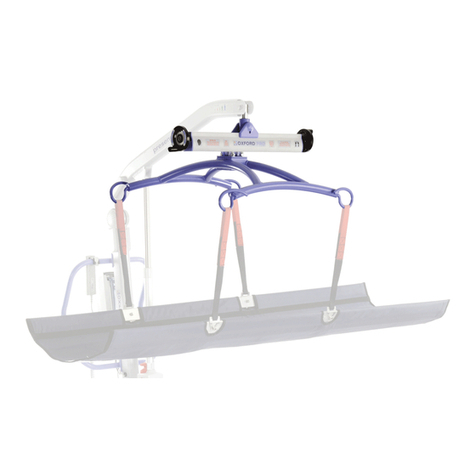
a. Remove the spreader bar per previous instructions.
b. Lower the boom to its lowest point.
c. Loosen the shoulder bolt and nut using a ¼” hex key and 9/16” wrench.
d. Remove the fasteners and lift the boom from the mast pivot.
e. Inspect the black bushings located on the boom for cracks and any signs of signicant wear.
f. Inspect the attachment point on the Mast for signs of wear.
g. If no action is required upon inspection of the pivot area, reassemble, applying any light food grade
lubricant to the interior diameter of the bushings and mast pivot area. Insert the shoulder bolt and
replace the nyloc nut with a new one.
h. Fully tighten the shoulder bolt and nut.
4. Inspect the attachment point of the actuator at the boom. Without disassembling the actuator from
the attachment point look for signs of wear at the pivot. Check that there is no excessive movement
allowed in the mounting area both vertically and horizontally. This will be a good indication of wear and
a full inspection of the pivot pin and mounting area is required. To disassemble the actuator and pivot
follow these instructions:
a. Remove the kick-out ring from the pivot pin, and remove the pin. Lower the actuator to the ground
while holding the boom up. Inspect the pin for wear and deformation. Replace the pin and kick-out
ring if necessary.
b. Inspect the actuator mounting bracket on the boom for excessive wear of the holes on both sides
of the bracket.
c. If no action is required upon inspection of the pivot area, reassemble, applying any light food grade
lubricant to the interior diameter of the pivot holes. Lift the actuator and align with the mounting
bracket. Insert the pivot pin and insert the kick-out ring.
5. Inspect the attachment point of the actuator at the mast. Without disassembling the actuator from
the attachment point look for signs of wear at the pivot. Check that there is no excessive movement
allowed in the mounting area both vertically and horizontally. This will be a good indication of wear and
a full inspection of the pivot pin and mounting area is required. To disassemble the actuator and pivot
follow these instructions:
a. Remove the kick-out ring from the pivot pin, and remove the pin. Lower the actuator and boom.
Inspect the pin for wear and deformation. Replace the pin and kick-out ring if necessary.
b. Inspect the actuator mounting bracket on the boom for excessive wear of the holes on both sides
of the bracket.
c. If no action is required upon inspection of the pivot area, reassemble, applying any light mineral-
based grease, or silicone spray to the interior diameter of the pivot holes. Lift the actuator and
align with the mounting bracket. Insert the pivot pin and insert the kick-out ring.
