manuals.online logo
Brands
  1. Home
  2. •
  3. Brands
  4. •
  5. Johnson Controls
  6. •
  7. Control Unit
  8. •
  9. Johnson Controls Penn A19K Series User manual

Johnson Controls Penn A19K Series User manual

Installation Sheets Manual 121
Temperature Controls Section
Technical Bulletin A19K, A28K
Issue Date 0119
© 2019 Johnson Controls 1
Code No. LIT-121078
Part No. 996-241, Rev. A
A19K, A28K Series
Industrial Controls
Application
These controls are for
refrigeration, air conditioning
and heating applications.
Control ranges are available to
cover working temperatures
from -30 to 550°F (-35 to
288°C). Controls have NEMA
3R rainproof enclosure for a
broad range of industrial and
general purpose applications.
The A19 single-stage controls
are available with open low,
open high or SPDT contact
action. The A28 two-stage
controls have SPDT contact
action on both switches.
All Series A19K and A28K
controls are designed for use
only as operating controls.
Where an operating control
failure would result in
personal injury and/or loss of
property, it is the
responsibility of the installer
to add devices (safety, limit
controls) or systems (alarm,
supervisory systems) that
protect against, or warn of,
control failure.
Operation
When the temperature increases
to the control dial setting on the
single-pole, double-throw model,
the circuit between “R” and “Y”
closes. Simultaneously the
circuit between “R” and “B”
opens.
Figure 3 illustrates the two-stage
operation of the A28KA and
A28KJ. On a temperature
increase to the dial setting, the
circuit between “R” and “Y” of
the low stage switch (RYL)
closes. Simultaneously the
circuit between “R” and “B” (RBL)
opens. On a further increase in
temperature the high stage
switch operates and closes RYH
while simultaneously opening
RBH. The reverse sequencing
takes place on a temperature
fall.
Installation
Mounting
Mount the control with the
conduit connector pointing
down. Mount to any flat surface
with screws or bolts through the
rubber bushing in the three
mounting feet. (See Fig. 1.)
!
CAUTION: Do not dent or
deform the sensitive bulb
(element) of this control. A
dent or deformation will
change the calibration and
cause the control to cycle
at a temperature lower
than the dial setting.
When installing the bulb in a
closed tank, turn off liquid
supply, relieve pressure and
lower liquid level below the
opening before installing or
removing the bulb or bulb well.
For closed tank applications
without well assembly Part
No. FTG13A-600R packing nut
assembly may be supplied. This
packing nut is for applications
where the temperature does not
fall below -35°F (-37°C) or
exceed +250°F (121°C).
Maximum liquid pressure limit is
150 PSIG (1034 kPa). See Fig.
4 for sequence of installation.
Put parts over support tube
section of element, placing bulb
into tank. Tighten 1/2 in. NPT
adapter. Screw packing nut into
adapter with the retaining
washers and packing in place as
shown.
To install models supplied with
bulb well, first install bulb well
into tank. Remove bushing from
bulb well and slide bushing over
capillary. Push bulb into position
in bottom of well. Replace
bushing into bulb well.
Tighten set screw in end of
adapter to hold bulb in position.
See Fig. 5 for bulb well
illustration.
Wiring
!
WARNING: Disconnect
power supply before
wiring connections are
made to avoid electrical
shock or possible
damage to equipment.
Fig. 1 -- Industrial control with
remote bulb.
2A19K, A28K Technical Bulletin
Make all wiring connections
using copper conductors only,
and in accordance with the
National Electric Code and local
regulations.
Remove the knob by loosening
the set screw and remove the
cover to make wiring
connections. Make splices in
junction boxes using solderless
connectors or by soldering and
then taping the connections.
Do not use on applications
where electrical ratings exceed
the rating shown on the control’s
label.
!
CAUTION: Use terminal
screws furnished (8-32 ×
1/4 in. binder head).
Substitution of other
screws may cause
problems in making proper
connections.
Adjustment
The setting is changed by
turning knob on front of control.
Checkout Procedure
Before leaving the installation,
observe at least three complete
operating cycles to be sure that
all components are functioning
correctly.
Check for correct operation as
follows:
1. A19K -- Ventilating or
Cooling System: Turn dial
clockwise to a setting above
temperature of controlled
medium. Fan or cooling
system should be off.
When dial is turned
counterclockwise, the fan or
cooling system should turn
on at approximately the dial
setting.
2. A19K -- Heating System:
Turn dial clockwise above
the temperature of
controlled medium. The
heating unit should be on.
When dial is turned
counterclockwise, the
heating unit should turn off
at approximately the dial
setting.
3. A28K -- When wired as
shown in Fig. 3, the damper
should open as the dial is
turned counterclockwise.
The devices should operate
in reverse sequence when
the dial is turned clockwise
to a higher setting.
If the controls do not operate in
the manner described above,
check all wiring for short circuits
and tightness of wiring
connections. If controlled devices
operate in reverse (start in high or
fully open position), check wiring
as it is probably reversed.
Repairs and Replacement
Field repairs must not be made.
For replacement control, contact
the nearest Johnson Controls
distributor.
www.penncontrols.com
® Johnson Controls and PENN are registered trademarks of Johnson Controls in the
United States of America and/or other countries. All other trademarks used herein are the property
of their respective owners. © Copyright 2019 by Johnson Controls. All rights reserved.

This manual suits for next models

1

Other Johnson Controls Control Unit manuals
Johnson Controls VG1000 Series User manual

Johnson Controls

Johnson Controls VG1000 Series User manual

Johnson Controls IOM3723 User manual

Johnson Controls

Johnson Controls IOM3723 User manual

Johnson Controls Mercury P2000 CKM-MR16IN Manual

Johnson Controls

Johnson Controls Mercury P2000 CKM-MR16IN Manual

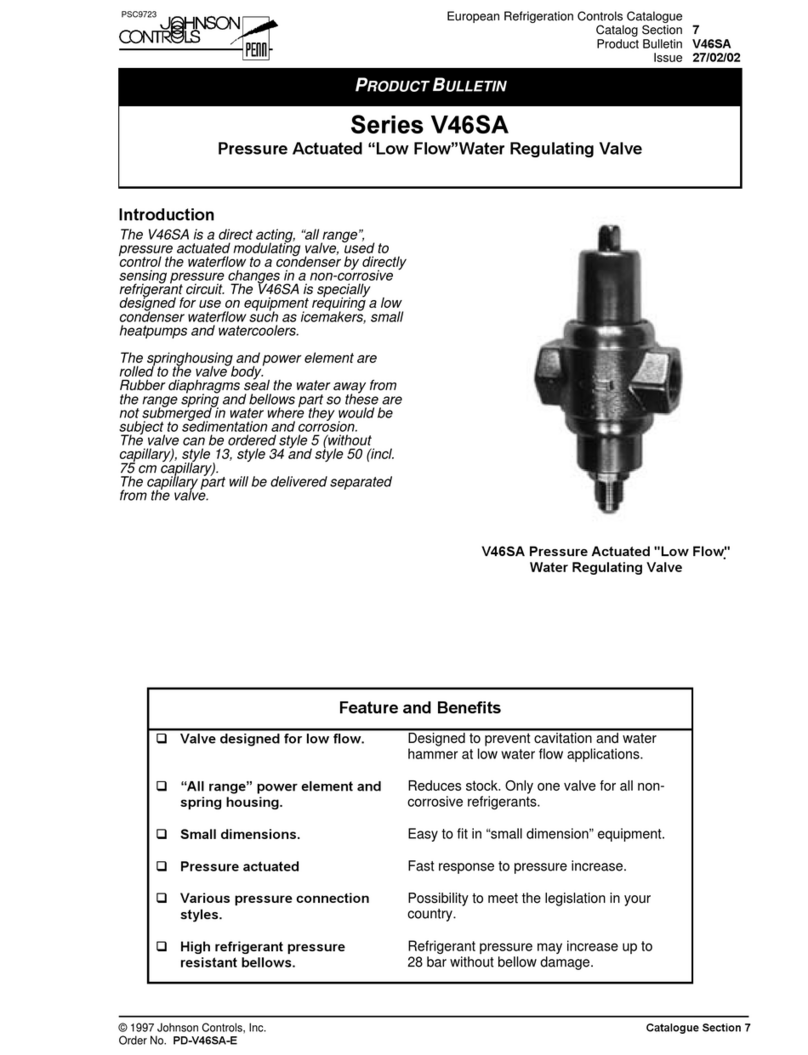
Johnson Controls V46SA Series User manual

Johnson Controls

Johnson Controls V46SA Series User manual

Johnson Controls G77 Series Service manual

Johnson Controls

Johnson Controls G77 Series Service manual

Johnson Controls UL Listed GS-20 Series User manual

Johnson Controls

Johnson Controls UL Listed GS-20 Series User manual

Johnson Controls M300CJ User manual

Johnson Controls

Johnson Controls M300CJ User manual

Johnson Controls Tyco DV-5a Series User manual

Johnson Controls

Johnson Controls Tyco DV-5a Series User manual

Johnson Controls VG7000 Series User manual

Johnson Controls

Johnson Controls VG7000 Series User manual

Johnson Controls System 450 Series User manual

Johnson Controls

Johnson Controls System 450 Series User manual

Johnson Controls VG1xA5Gx User manual

Johnson Controls

Johnson Controls VG1xA5Gx User manual

Johnson Controls GH-5000 User manual

Johnson Controls

Johnson Controls GH-5000 User manual

Johnson Controls MS-IOM2710-0U User manual

Johnson Controls

Johnson Controls MS-IOM2710-0U User manual

Johnson Controls METASYS TC-9102 Series Service manual

Johnson Controls

Johnson Controls METASYS TC-9102 Series Service manual

Johnson Controls Tyco PRV-1A User manual

Johnson Controls

Johnson Controls Tyco PRV-1A User manual

Johnson Controls Digital Vision Network 5000 Series Quick start guide

Johnson Controls

Johnson Controls Digital Vision Network 5000 Series Quick start guide

Johnson Controls GS-20 Series User manual

Johnson Controls

Johnson Controls GS-20 Series User manual

Johnson Controls VMA 1410 Installation guide

Johnson Controls

Johnson Controls VMA 1410 Installation guide

Johnson Controls A19ZBC Series Service manual

Johnson Controls

Johnson Controls A19ZBC Series Service manual

Johnson Controls S300 Series Assembly instructions

Johnson Controls

Johnson Controls S300 Series Assembly instructions

Johnson Controls V43 Series Manual

Johnson Controls

Johnson Controls V43 Series Manual

Johnson Controls VF Series User manual

Johnson Controls

Johnson Controls VF Series User manual

Johnson Controls IOM1711 User manual

Johnson Controls

Johnson Controls IOM1711 User manual
Johnson Controls P352PN-2 User manual

Johnson Controls

Johnson Controls P352PN-2 User manual

Popular Control Unit manuals by other brands

Texas Instruments NA210-214EVM user guide

Texas Instruments

Texas Instruments NA210-214EVM user guide

Samson 2405 Series Mounting and operating instruction

Samson

Samson 2405 Series Mounting and operating instruction

Advantech SOM-6898 user manual

Advantech

Advantech SOM-6898 user manual

Sanipex BAGNODESIGN BDM-CHS-440 Series installation guide

Sanipex

Sanipex BAGNODESIGN BDM-CHS-440 Series installation guide

LS XGT Series user manual

LS

LS XGT Series user manual

Keysight M9362AD01 Startup guide

Keysight

Keysight M9362AD01 Startup guide

Summit SDC-CF10G Guide

Summit

Summit SDC-CF10G Guide

Zamel RZB-03 manual

Zamel

Zamel RZB-03 manual

Firmtech FB155BC datasheet

Firmtech

Firmtech FB155BC datasheet

Honeywell Silent Knight IDP-Monitor Installation and maintenance instructions

Honeywell

Honeywell Silent Knight IDP-Monitor Installation and maintenance instructions

ControlByWeb DAQ Series user manual

ControlByWeb

ControlByWeb DAQ Series user manual

FOAMICO SATELLITE SYSTEM PSU 0127 Operation manual

FOAMICO

FOAMICO SATELLITE SYSTEM PSU 0127 Operation manual

Toa AT-4000 Series installation manual

Toa

Toa AT-4000 Series installation manual

Audio Precision DCX-127 user guide

Audio Precision

Audio Precision DCX-127 user guide

ICP DAS USA ET-2260 quick start

ICP DAS USA

ICP DAS USA ET-2260 quick start

TECSYSTEM T154WS instruction manual

TECSYSTEM

TECSYSTEM T154WS instruction manual

LGB 55080 instructions

LGB

LGB 55080 instructions

Vimar XT BY-ME PLUS 32002 quick start guide

Vimar

Vimar XT BY-ME PLUS 32002 quick start guide

manuals.online logo
manuals.online logoBrands
  • About & Mission
  • Contact us
  • Privacy Policy
  • Terms and Conditions

Copyright 2025 Manuals.Online. All Rights Reserved.