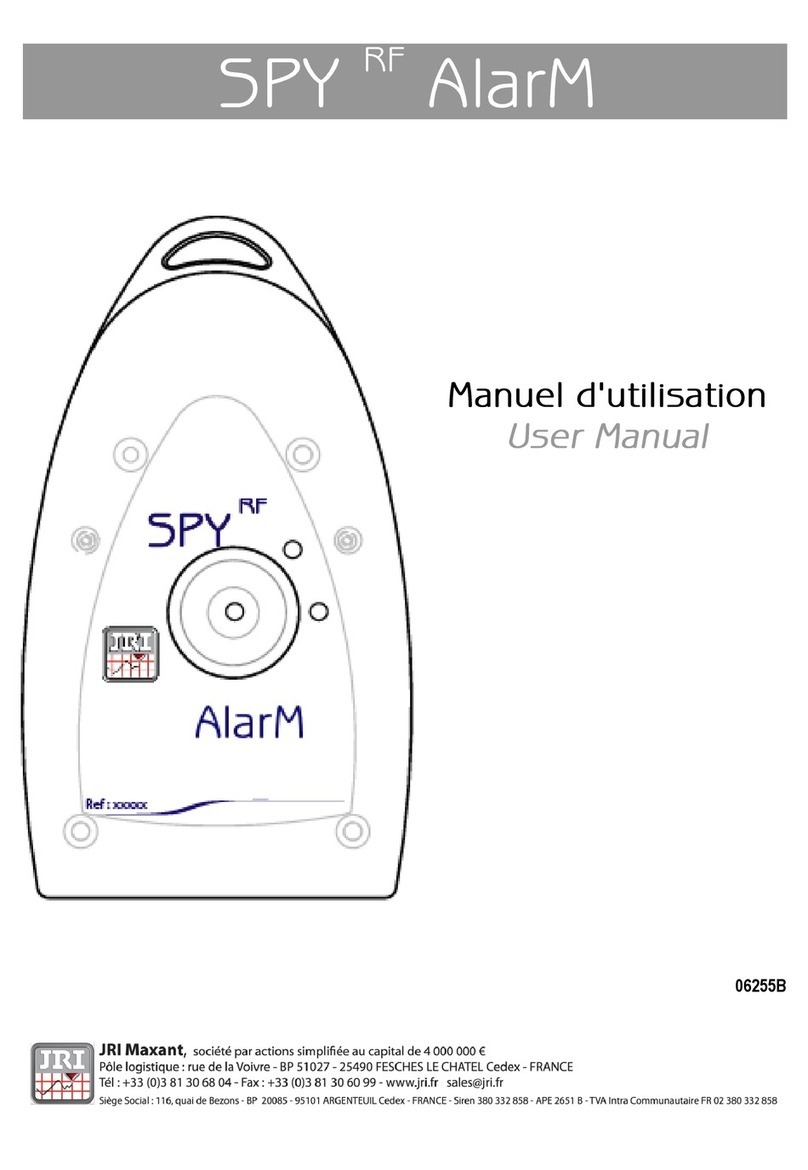
JRI Spy RF Alarm User manual

USER MANUAL
Spy RF Alarm
06255D

©JRI 2
TABLE OF CONTENTS
I. INTRODUCTION............................................................................................................................................................3
a) Equipment .................................................................................................................................................................................3
b) Symbols.....................................................................................................................................................................................3
II. INSTALLATION RECOMMENDATIONS.......................................................................................................................3
a. Perturbations sources..............................................................................................................................................................3
III. PRESENTATION............................................................................................................................................................4
IV. INSTALLATION .............................................................................................................................................................4
a) Installation recommendations.................................................................................................................................................4
b) Installation of wall-mounting bracket......................................................................................................................................4
c) Activation...................................................................................................................................................................................4
V. BATTERY CHANGE......................................................................................................................................................5
VI. RESET............................................................................................................................................................................5
VII. CHARACTERISTICS .....................................................................................................................................................5
VIII. ADDING SPY RF ALARM IN SIRIUS............................................................................................................................6
a) Setting up ..................................................................................................................................................................................7
b) Sending remote alarm..............................................................................................................................................................7
IX. WARRANTY...................................................................................................................................................................8
X. MAINTENANCE CONTRACT........................................................................................................................................8
XI. ENVIRONMENT PROTECTION.....................................................................................................................................8

©JRI 3
I. INTRODUCTION
Congratulations, you own a SPY RF Alarm ! This device allows to locally advertise with a remote alarm system in case of
need or order.
a) Equipment
1 Spy RF Alarm
1 wall-mounting bracket
1 adhesive plaster
1 protection connector
1 user manual
b) Symbols
II. INSTALLATION RECOMMENDATIONS
The Spy RF Alarm is an alarm device able to communicate wirelessly with the operating software SIRIUS.
The wireless communication is based on radio frequency. As we are daily in contact with it (radio, TV…) it is easy to think
that it always works. This is true if basic rules on the positioning of recorders are respected because wireless
communication is subject to perturbations.
a. Perturbations sources
Presence of obstacles in the way of the waves between the Spy RF ModeM and the Spy Rf (wall, ceiling, person,
furniture…) or close to the antenna.
Obstacles thickness in the way of the waves. The absorption is more important in diagonal as perpendicularly
Waves cannot pass through full metallic walls. On the other hand, a perforated wall allows the waves passing with
attenuation
RECYCLING : do not throw in a rubbish dump or in a domestic waste container. Comply with the regulation to throw away the
device.
POWER SUPPLY : this device is powered by a continuous current delivered by a main power supply adaptor (230VAC). Comply to
the security and utilization regulations of electric power. Use an electric installation complying with these regulations
CE MARKING :this equipment is certified to comply with the European regulation for the electric security, inflammability, disturbing
radiation emission and immunity to surrounding electric disturbances.
FCC ID:W45 03330
This device complies with Part 15 of the FCC Rules. Operation is subject to the following two conditions: (1) this device may not
cause harmful interference, and (2) this device must accept any interference received, including interference that may cause
undesired operation
In accordance with FCC requirements, changes or modifications not expressly approved by JRI could void the user's authority to
operate this product.
NOTE: This equipment has been tested and found to comply with the limits for a Class A digital device, pursuant to Part 15 of the
FCC Rules. These limits are designed to provide reasonable protection against harmful interference when the equipment is operated
in a commercial environment. This equipment generates, uses and can radiate radio frequency energy and, if not installed and used
in accordance with the instruction manual, may cause harmful interference to radio communications. Operation of this equipment in
a residential area is likely to cause harmful interference in which case the user will be required to correct the interference at his own
expense

©JRI 4
BIP
Stop is temporary (4 min) only for the relay. The alarm will go on
again until it will be acknowledged by Sirius.
The relay will stop after a number of cycle (see p 4). The led and
buzzer will always advertise. The relay functioning will be
initialized after a Sirius acknowledgement.
III. PRESENTATION
Functioning Stop alarm
In alarm
=>
IV. INSTALLATION
a) Installation recommendations
Place the devices at ~2m high and around 30 to 40cm from the ceiling to avoid obstacles and moving persons.
If possible, place the Spy RF in central position regarding the Spy RF recorders.
Try to place them preferably at sight of each other.
On the wall, it is preferable to them aside by using the special bracket (ref 08512) of the catalog.
Place the antenna above the top the monitored unit (fridge, incubator, oven, cold rooms…),.
Never place the Spy RF horizontally.
If some difficulties persist, it is possible to use Spy Rf RelaY (repeaters) or to connect another Spy RF ModeM to
the Ethernet network (LAN).
b) Installation of wall-mounting bracket
c) Activation
BIP
By default, the alarm is alternatively on and off 4’only for
the relay.

©JRI 5
1
2
3
2
To start the SPY RF, press between 3 and 10” on the button:
-the 2 LEDs are on and flash at the same time
-The green led blinks evry seconds
To stop the Spy RF, press on between 3 to 10’’ on the button
-the 2 leds are on and and flash one after the other.
Stop is possible only if there is no alarm, otherwise acknowledge it before with Sirius.
V. BATTERY CHANGE
VI. RESET
If the device does not work anymore (cannot turn it on…), use the Reset function in the same way as the battery change.
VII.CHARACTERISTICS
Duration alarm on Suitable
Duration alarm off Suitable
Operating range -10°C +70°C
Storage range -40 + 85°C
Radio range (in free field) 1km
Radio band 868MHz or 902MHz
Power supply 9 VDC – 300 mA*
battery life 200 alarms or 2years
Dimensions 123x69x30mm
Protection degree IP34
EN 12 830 compliance Yes : this device must be regularly checked according to
EN 13 486 (1 time per year recommended)
CE ERM compliance EN 301 489 / EN 61000 / EN 61010 EN 55022 / EN 300 220
FCC compliance FCC part 15
* Supplied for the european market
KEEP THE BATERY FAR FROM THE FIRE ; DO NOT TRY TO RELOAD OR TO SHORT CIRCUIT IT. USE ONLY BATTERIES
SUPPLIED BY JRI (REF 06569)
!
a
a) Unplug the battery connector.
b) Short circuit the 2 pins with a screwdriver
c) Connect the new battery
d) Change the seal
e) Close the battery cover
Never unscrew.
This will cancel
the warranty
1
3
Open the
battery cover
b
AlarM
AlarM
>
3
’’
/
<1
0
’’

©JRI 6
VIII. ADDING SPY RF ALARM IN SIRIUS
In Sirius click on Device management and then on
Follow the instruction bellow
Name : Remote alarm identification
Support : Alarm module then N° of concerned
SpyRFAlarM
Type : Choose for what sort of alarm
Target : Monitoring units concerned
Time delay : Delai before alarm goes on
After Ending, the window will close and the Spy RF
AlarM is installed and appear in the fleet
Ajouter un appareil
Choose the type
of recorder
Select the modem associated to
the device
E
nter the serial n° of the device
E
nd
Select the device model

©JRI 7
a) Setting up
The Spy RF AlarM as a default settings:
When an alarm goes on, the buzzer, the led turn on. The relay contact turn on during 4’ and turn off automatically 4’ later 5
time by default before sopping definitively.
These activation / relaese delay are programable
From Device management page (in Sirius), select the Spy RF AlarM (90 AX XX XX) and then click on More details
button
1 = Number of open/close contact cycle before relay stop
Acknoledge the alarm in Siriusto initialize it again
2 = contact duration for each state(in second)
3 = activation led and buzzer coefficient.
(Take care changing this setting modifies the duration of
battery life)
It is recommanded to program a planned task ”reading Spy RF Alarm configuration” to check if it is already
operational. If the device do not answer to the Sirius request, Sirius will send a technical alarm.
b) Sending remote alarm
To remote alarms through the Spy RF AlarM, open Configuration window and click on Remote alarms
.
1
2
3
Time period in which the remote alarm is activated. Each square
equals to 30 minutes. The selection or deselection of a period is
done by a click / slide.
!

©JRI 8
IX. WARRANTY
JRIproductscarry a one yearwarrantyandguaranteeagainstdefectsin their componentsorworkmanship.
During this period if any product supplied by the Company proves on inspection to be defective, the Company will at its own option
replace thesameor refund to the Buyertheprice of theproduct.
InnocircumstanceswillJRI'liabilityexceedthe price of theproduct paidby thebuyer or the cost of replacement.
JRIshallnotinanyeventbeliabletotheBuyerfor anyindirectorconsequentialloss or damage costsor expenseswhatsoeverwhich
mightariseoutof or inconnectionwiththe supply oftheproductor its consequentuse.
Consequently, the products warrantee and guarantee specified above, does not cover damage caused by fair wear and tear,
abnormal storage conditions, incorrect use, accidental misuse, abuse, neglect, misapplication or modification, or use with non-JRI'
hardware/software.Nowarrantyoffitnessfor a particularpurposeisofferedandtheuserassumestheentireriskofusingtheproduct.
Inlinewithourpolicyofcontinuousdevelopment,wereservetherighttoamendourproductspecificationwithoutpriornotice.
X. MAINTENANCE CONTRACT
How to optimize your radio frequency installation?
RF measuring systems communicate by radio frequency. However, there may be several factors that can modify the radio ways
already defined, such as movingfrom a building, adding walls, … Radio frequency requires thus a periodical follow up performed by
specialists.
That’s why JRI has created maintenance contracts. We bring you a global solution which makes your maintenance easier. This
overallserviceofferincludesmaintenanceandalsometrologicalservices,which ensureyouthatyoursystemisfullyperformant.
You won’t worry about yourdevices maintenance anymore !
Withthismaintenancecontractyouwill benefitforaminimalperiodof 2 yearsfromthefollowingadvantages:
-materialverificationonceortwiceayear
-warrantyextension
-telemaintenance
-telephone assistance+33 (0) 892 680 933 (0,282 € HT/min)
-materialreplacementonsiteorbyreturninour manufacture
-metrologicalcertificates:verificationofmeasurementaccuracy
-battery change
-accesstonewsoftwareversionsandupdates
-on-siteinterventiontimewithin3opendaysafter problemidentificationbyourexperts
XI. ENVIRONMENT PROTECTION
JRI recommends to our customers to throw away their measuring and recording devices which are unserviceable and/or beyond
repair in a way that is appropriate to environment protection. As the production of waste cannot be avoided, it is best to re-use them
byproceedingwith adaptedrecyclingdependingonthematerialusedandconsideringtheenvironmentprotection.
RoHS Directive
TheROHSEuropeanDirectiverulesandlimitsthepresenceof hazardous substances in electrical andelectronic equipments(EEE).
Inthearticle 2, thescopeofthisDirectiveexcludes"9.Monitoringand ControlInstruments"and ourproductsarepartofthiscategory.
Nevertheless, our company has decided to apply the whole dispositions of this Directive for all our new electronic devices which will
comply tothis 2002/95/CEDirective.
Table of contents
Other JRI Security System manuals