JUKI MP-G10-NC User manual
Other JUKI Sewing Machine manuals
JUKI
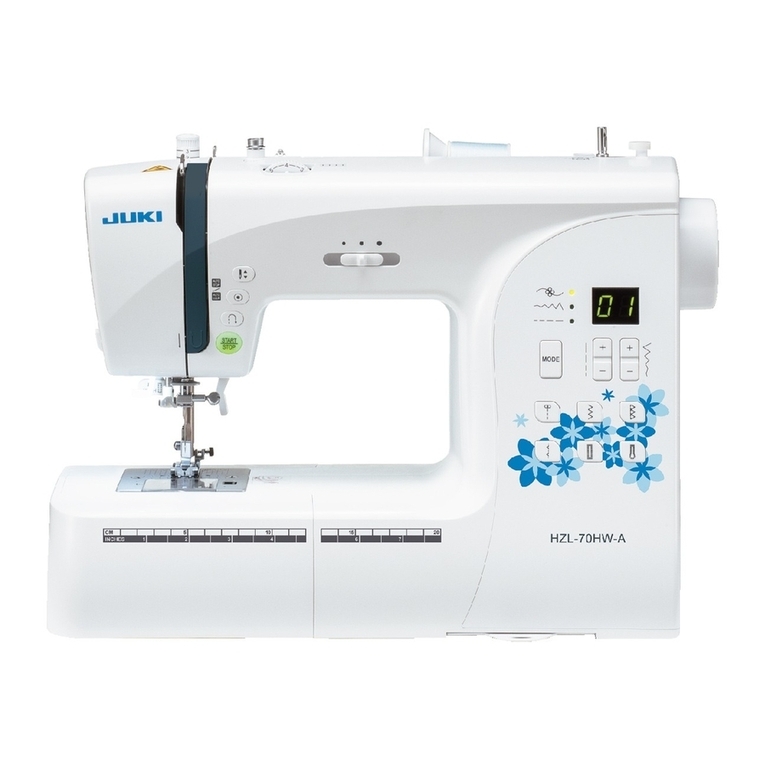
JUKI HZL-70 series User manual
JUKI
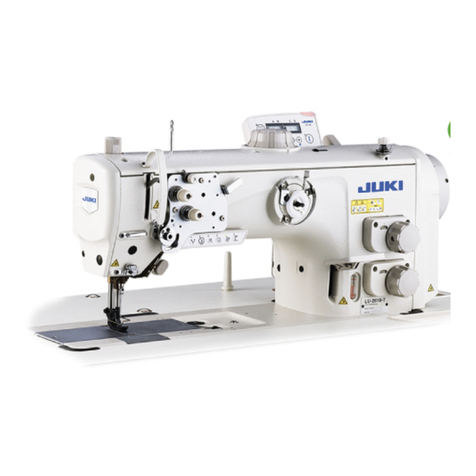
JUKI LU-2810 Series Quick start guide
JUKI
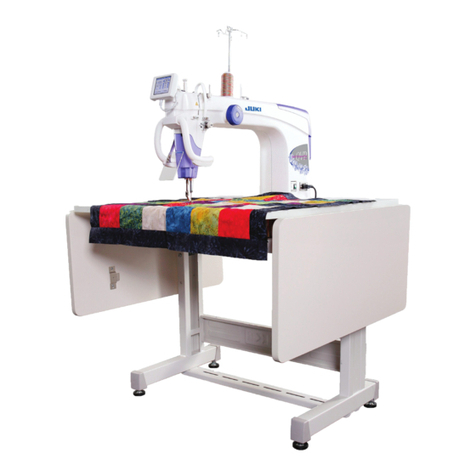
JUKI TL2200QVP-S User manual
JUKI
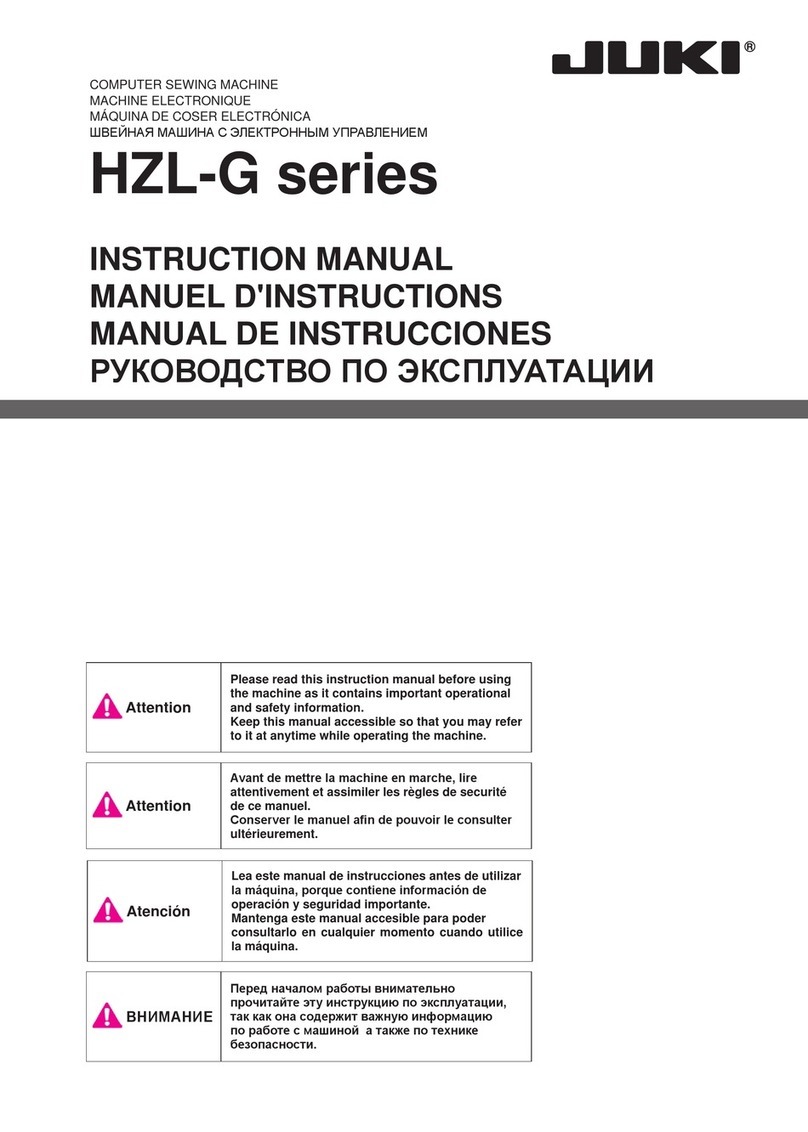
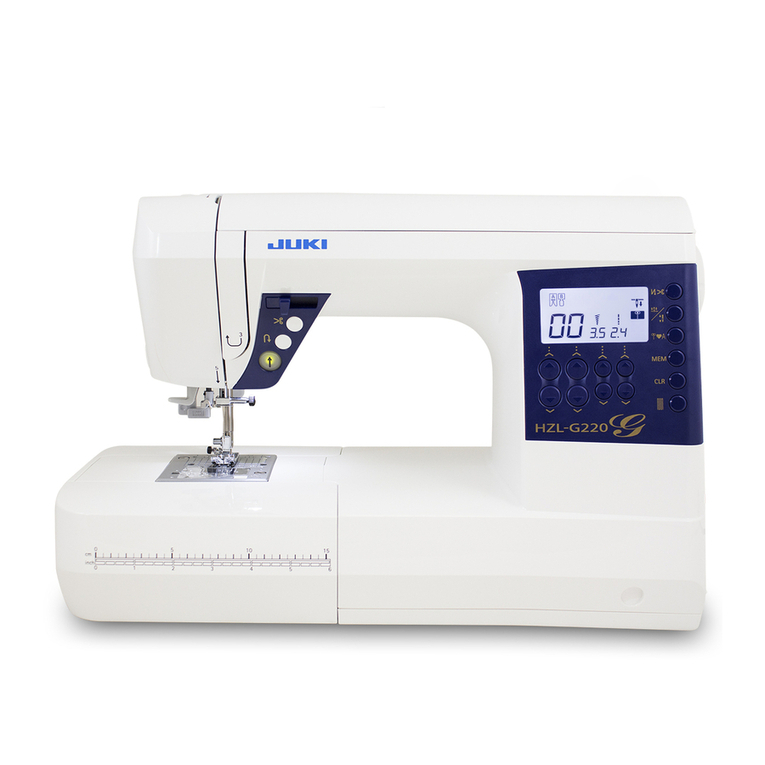
JUKI HZL-G Series User manual
JUKI
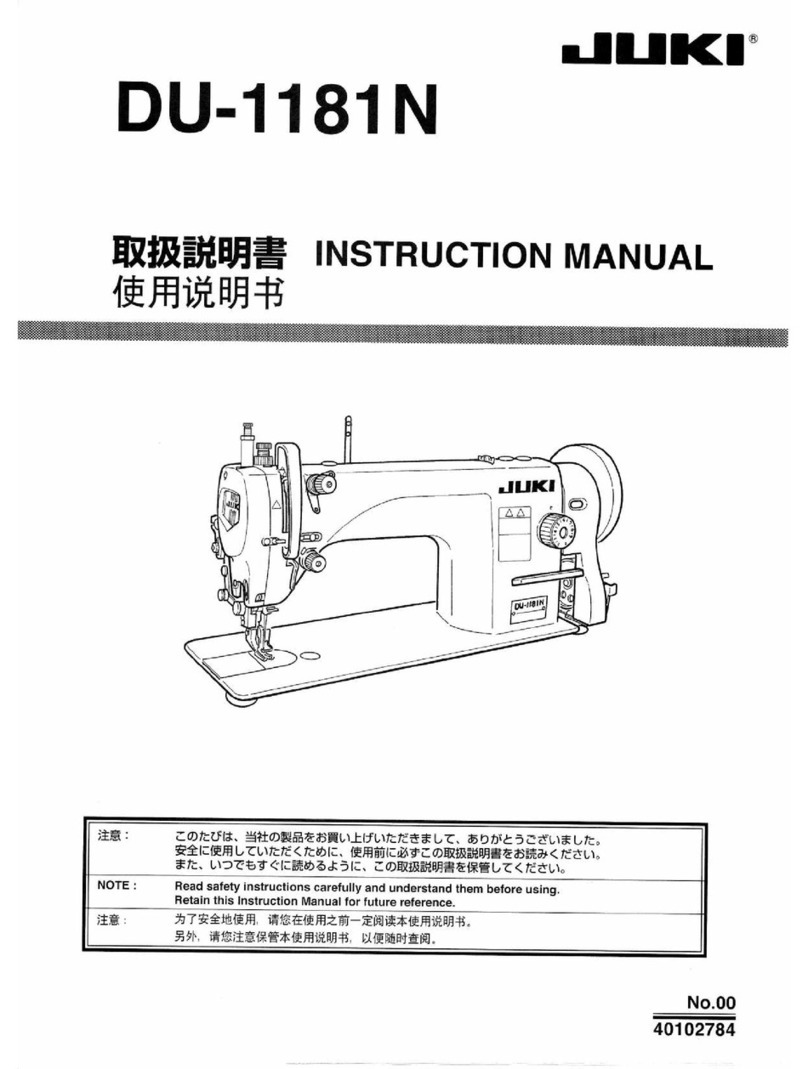
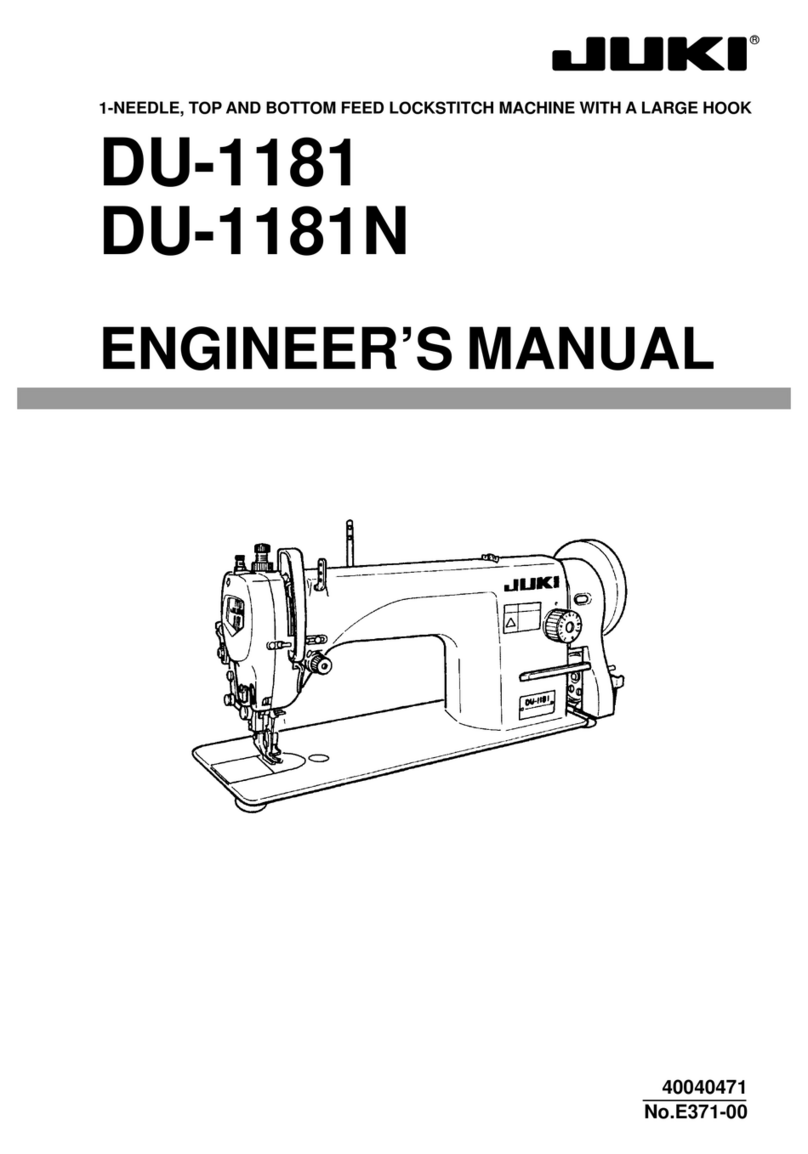
JUKI DU-1181N User manual

JUKI
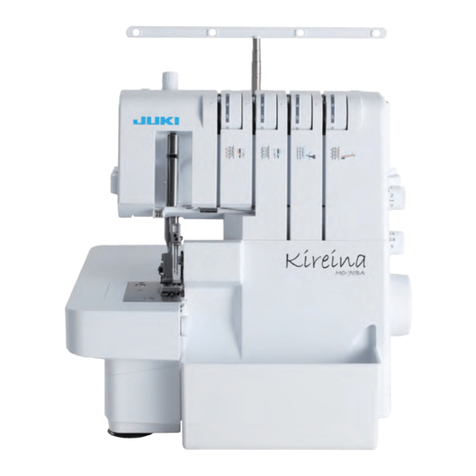
JUKI MO-644D User manual
JUKI
JUKI MO-70BA User manual
JUKI
JUKI LU-562 User manual

JUKI
JUKI LH-4128 User manual

JUKI
JUKI LK-1903BR35 User manual

JUKI
JUKI TU-273 User manual
JUKI
JUKI LK-1901AN User manual

JUKI
JUKI PLH-981 User manual
JUKI
JUKI DU-1181 Quick start guide
JUKI
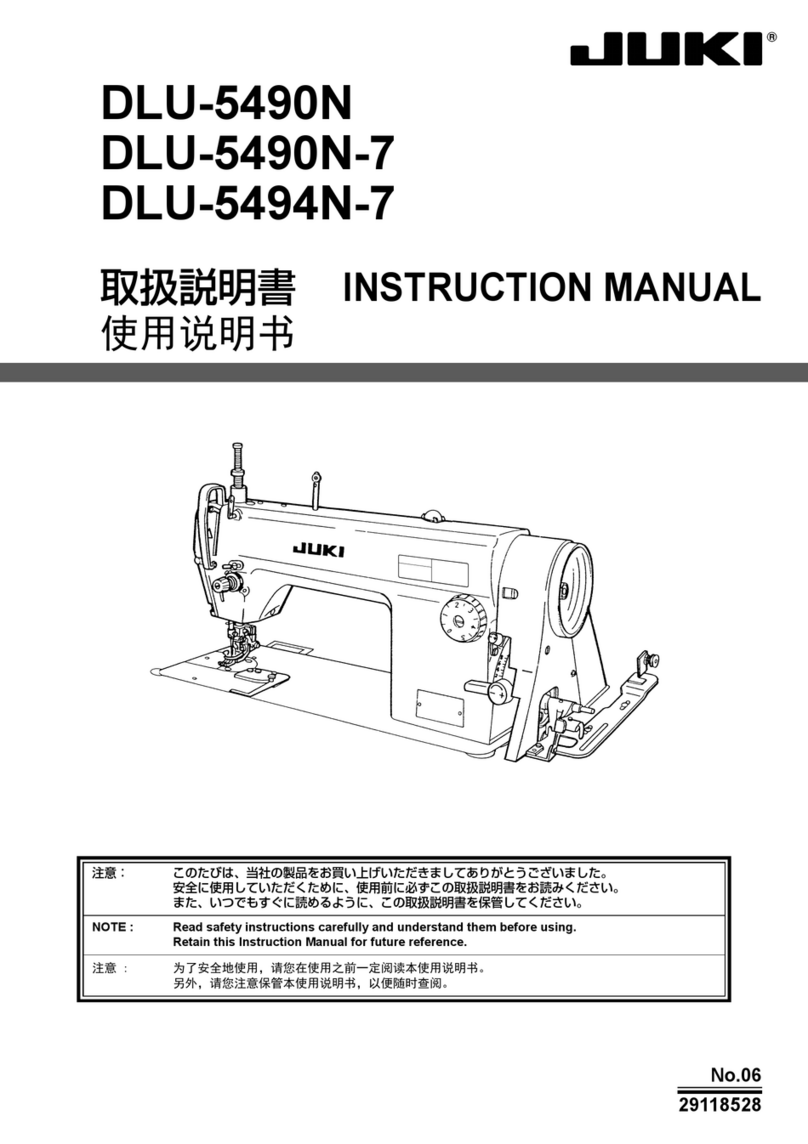
JUKI DLU-5490N User manual
JUKI
JUKI IP-110 Type F User manual
JUKI
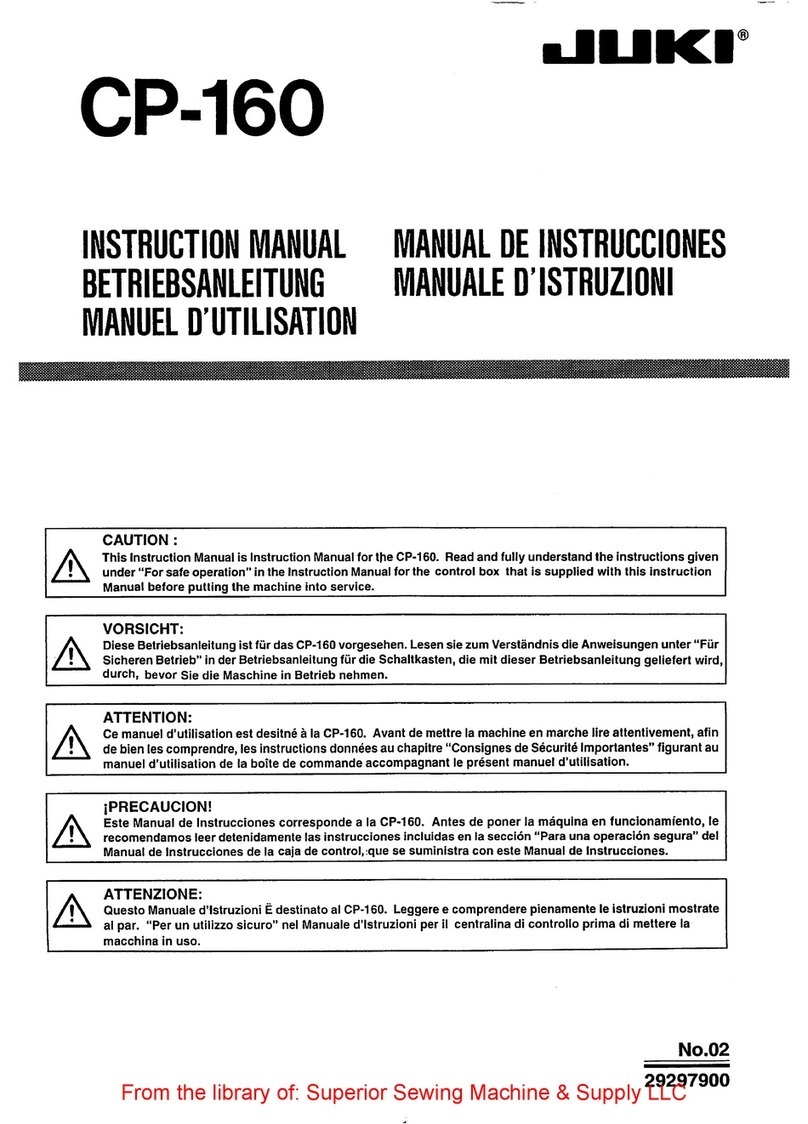
JUKI CP-160 User manual

JUKI
JUKI DLN-6390 User manual
JUKI
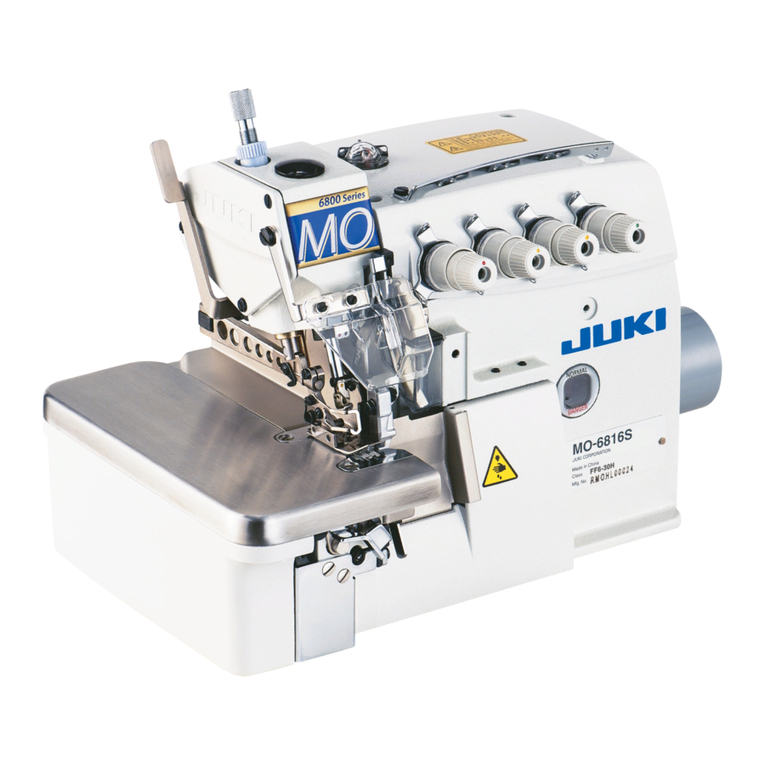
JUKI MO-6800S Series User manual
JUKI
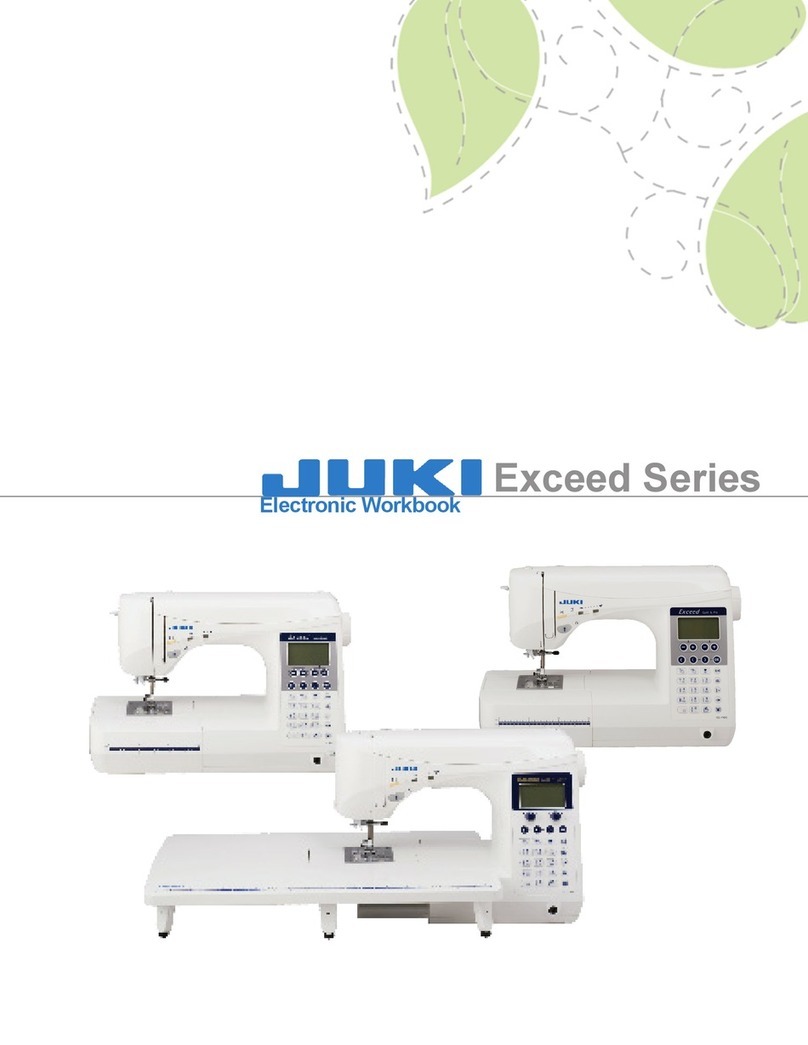
JUKI Exceed F-300 Installation guide
