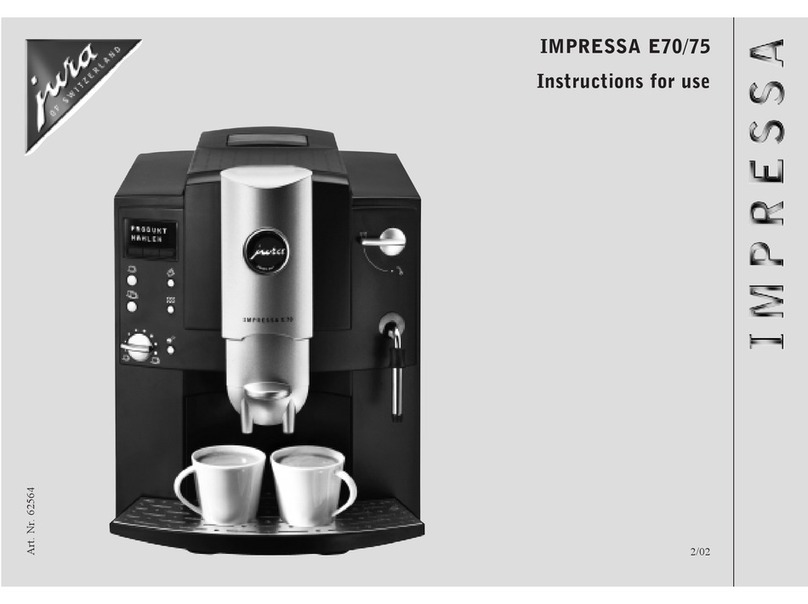
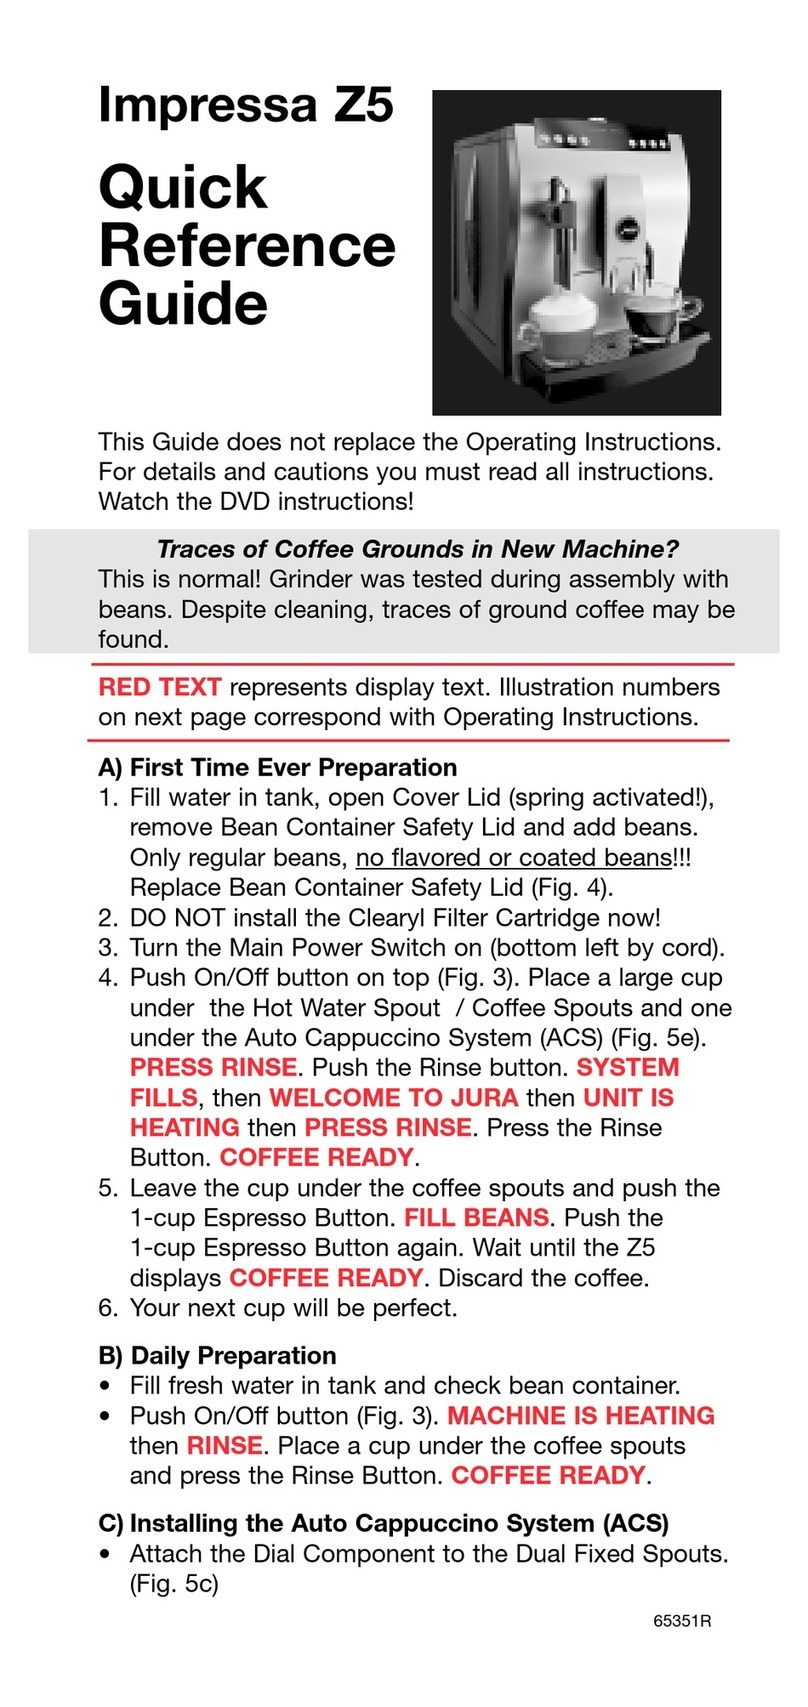
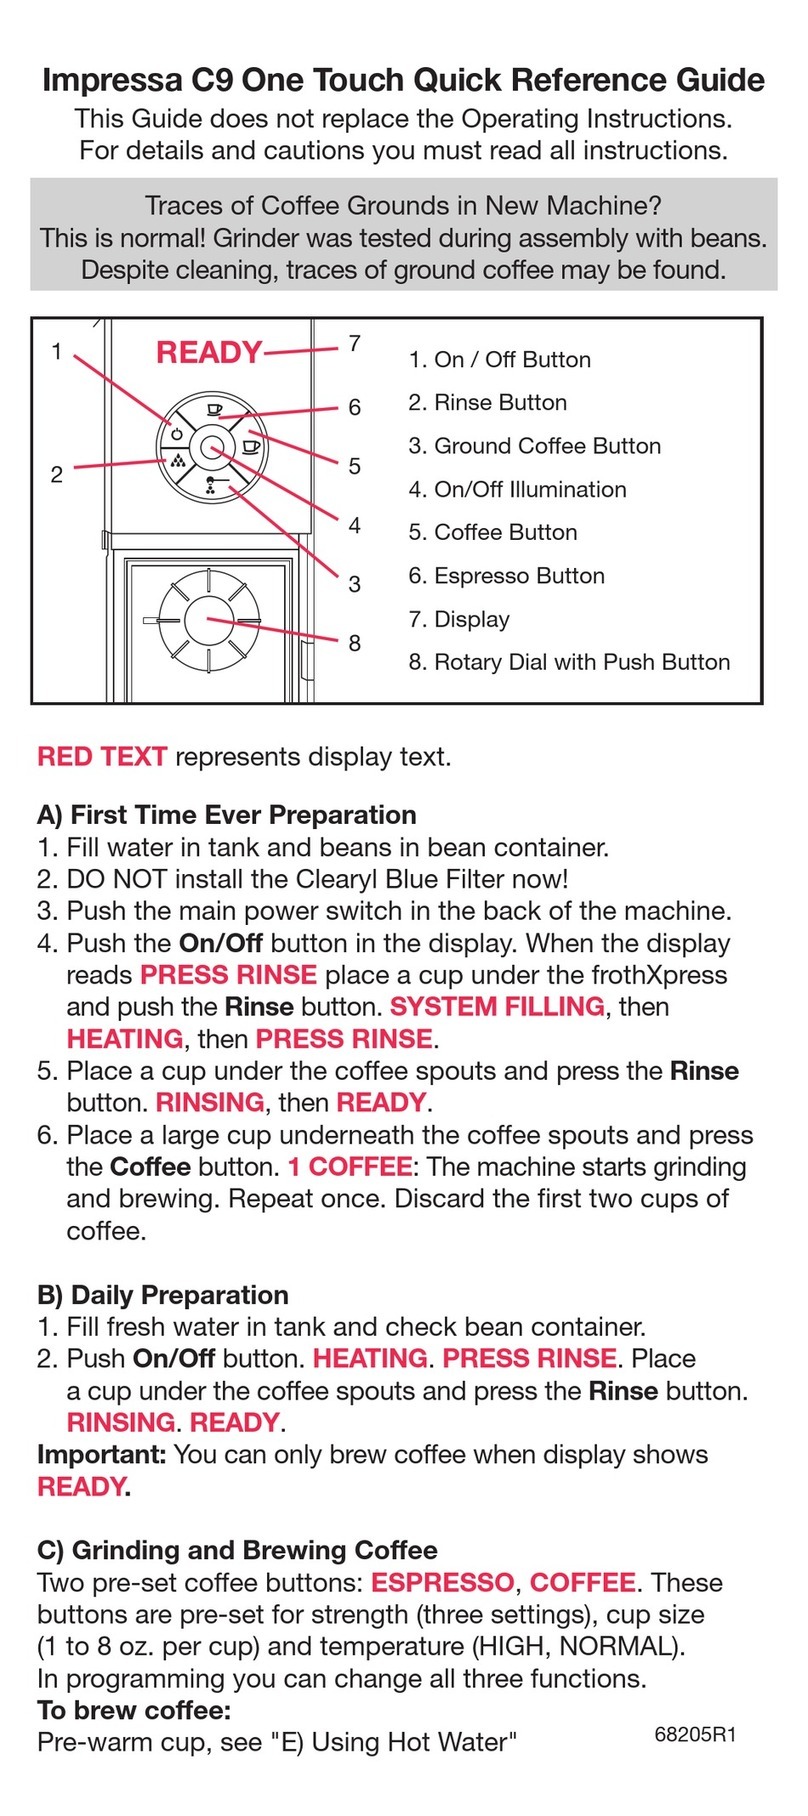
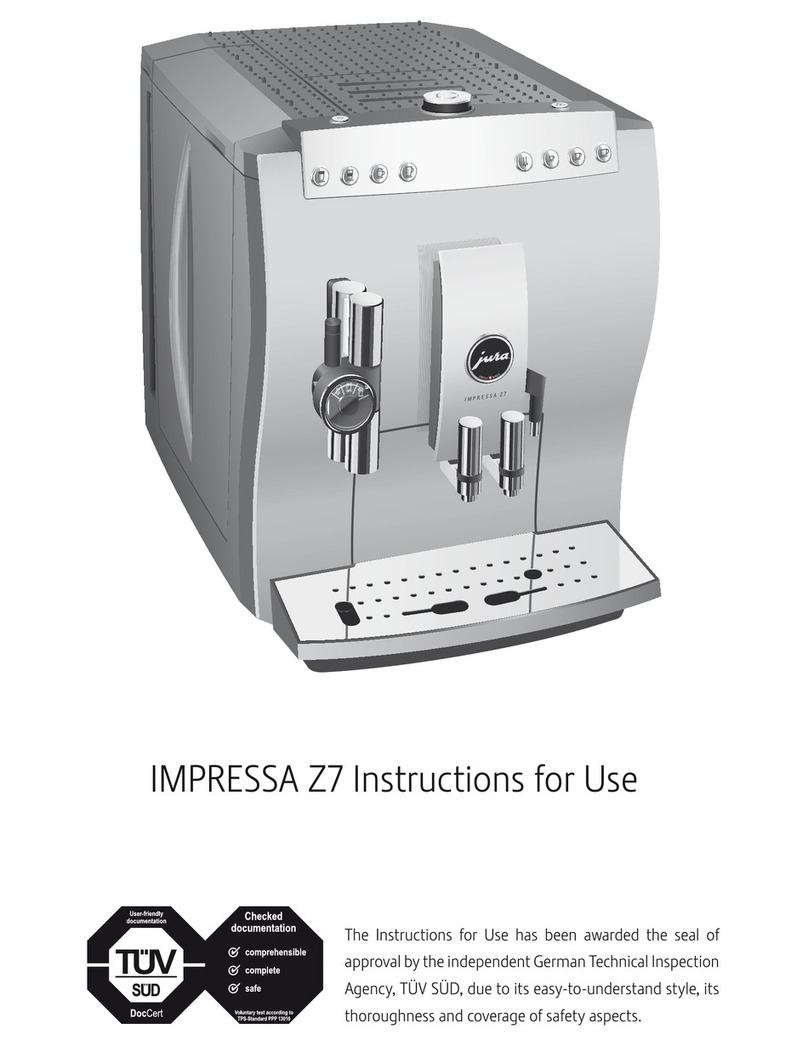
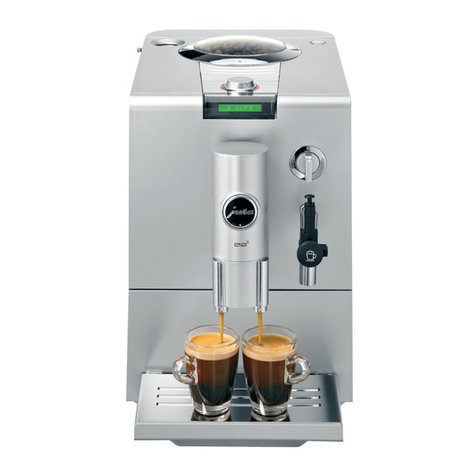
Jura IMPRESSA C5 User manual

The IMPRESSA C5 Manual
The ‘IMPRESSA C5 Manual’ has been awarded the seal of
approvalbytheindependentGermanTechnicalInspection
Agency, TÜV SÜD, due to its easy-to-understand style, its
thoroughness and coverage of safety aspects.

2
Table of contents
Your IMPRESSA C5
Control elements and accessories 4
Proper use 6
For your safety 6
The IMPRESSA C5 Manual 8
Symbol description......................................................................................................................................8
1 IMPRESSA C5 – Click & Drink 9
Coffee that fulfils your wildest dreams....................................................................................................9
Click & Drink..................................................................................................................................................9
JURA on the Internet..................................................................................................................................10
Knowledge Builder.....................................................................................................................................10
2 Preparing and using your IMPRESSA for the first time 11
Setting up.....................................................................................................................................................11
Filling the water tank..................................................................................................................................11
Filling the bean container..........................................................................................................................11
First-time use..............................................................................................................................................12
Using and activating filter ........................................................................................................................13
Assessing and setting water hardness...................................................................................................15
Adjusting grinder.......................................................................................................................................16
Switching on................................................................................................................................................17
Switching off................................................................................................................................................17
3 Familiarising yourself with the control options 18
Preparing drinks at the touch of a button.............................................................................................18
One-off setting during drink preparation..............................................................................................19
Adjusting the permanent cup size settings..........................................................................................20
4 Preparing drinks at the touch of a button 21
Espresso and coffee...................................................................................................................................21
Cappuccino..................................................................................................................................................21
Pre-ground coffee......................................................................................................................................22
Milk foam....................................................................................................................................................24
Hot water....................................................................................................................................................24
5 Adjusting the permanent settings in programming mode 26
Automatic switch-off................................................................................................................................26
6 Maintenance 27
Maintenance tips........................................................................................................................................27
Rinsing the machine..................................................................................................................................27
Changing the filter....................................................................................................................................28

3
Table of contents
Cleaning the machine .............................................................................................................................29
Descaling the machine .............................................................................................................................31
Rinsing the Easy Cappuccino Frother ....................................................................................................33
Cleaning the Easy Cappuccino Frother.................................................................................................34
Descaling the water tank..........................................................................................................................35
7 Messages in the maintenance field and symbol display 36
8 Troubleshooting 38
9 Transport and environmentally neutral disposal 39
Empty system............................................................................................................................................ 39
Transport.....................................................................................................................................................39
Disposal.......................................................................................................................................................39
10 Technical data 40
Index 41
JURA contact details / Legal information 44

Control elements and accessories
4
1 Filler funnel for pre-ground coffee 9 Drip tray
2 Cup tray 10 Cup platform
3 Water tank with level indicator 11 JURA Cappuccino Cleaner
4 Overview of maintenance indicators 12 Drawer with coffee grounds container
5 CLARIS filter cartridge 13 Height-adjustable coffee spout
6 Hot water nozzle 14 Easy Cappuccino Frother with milk pipe
7 Measuring spoon for pre-ground coffee 15 Connector System©for removable nozzles
8 JURA cleaning tablets 16 Switch for hot water and milk preparation
17 Bean container, aroma preservation cover
Control elements and accessories
Mains cable
(see rear side)
Figure: IMPRESSA C5 platinum
de)
1
2
3
4
5
6
7
8
17
16
15
14
13
12
10
9
11
On/Off button Switch for setting
fineness of grind

Control elements and accessories
5
Symbol display Maintenance field
1 Symbol display 5 Maintenance indicator
2 Rotary Switch 6 Access door
3 Light segments 7 Maintenance field
4 Symbols 8 Indicators
a1 Espresso yWater tank
s2 Espressos xCoffee grounds container
d1 coffee cBean container
f2 coffees vCleaning button
PP (Programming) bDescaling button
hMaintenance nFilter button
jPre-ground coffee
kSteam
4
2
5
8
7
1
3
3
6

6
Important information
Themachinehasbeendesignedandbuiltfordomesticuse.Itshould
only be used to prepare coffee and to heat milk and water. Use for
any other purpose will be deemed improper. JURA Elektroappa-
rate AG cannot accept any responsibility for the consequences of
improper use.
Before using the machine always carefully read and comply with all
these instructions. Keep this manual close to the IMPRESSA and, if
appropriate, pass it on to the next user.
Please read and note carefully the following important safety infor-
mation.
By doing this, you can avoid the life-threatening danger of electric
shock:
pNever use a machine which has been damaged or with a
defective power cable.
pForinformationonwhattodoincaseofdamage,forexample
ifthereisasmellofburning,unplugthemachineimmediately
from the mains supply and contact the JURA service centre.
pIf the power cable for this machine is damaged, it must be
repairedeitherdirectly byJURAorbya JURAapprovedservice
centre.
pMake sure that the IMPRESSA and the power cable are not
located close to hot surfaces.
pBecarefultoensurethatthe powercable doesnot getcaught
and does not rub against sharp edges.
pNever open and repair the machine yourself. Do not modify
themachineinanywaythatis notdescribedintheIMPRESSA
Manual. The machine contains live parts. If opened, there is a
danger of serious injury. Repairs may only be carried out by
JURA approved service centres, using original spare parts and
accessories.
There is a risk of scalds or burns on the spouts or on the nozzle:
pPlace the machine out of the reach of children.
pDo not touch any hot parts. Use the handles provided.
pBe careful to ensure that the appropriate nozzle is installed
and clean. The nozzle or parts of the nozzle might come off if
the parts are not assembled correctly or a blockage occurs.
For your safety
Proper use

7
Important information
A defective machine is not safe and could cause injury or fire. To
avoid damage and any associated risk of injury or fire:
pNeverallowthepowercabletolooselyhangdown.Thepower
cable can be tripped over or damaged.
pProtect your IMPRESSA from environmental influences such
as rain, frost and direct sunlight.
pDo not put the IMPRESSA, cable or connections in water.
pDo not put the IMPRESSA or any individual parts in the dish-
washer.
pSwitchyourIMPRESSAoffbeforecleaningit.Alwayswipeyour
IMPRESSA with a damp cloth rather than a wet one, and pro-
tect it from prolonged water splash.
pOnly connect the machine to a power supply in accordance
with the information on the rating plate. The rating plate is
locatedonthe undersideofyourIMPRESSA.Further technical
data is given in Chapter 10 ‘Technical Data’.
pUse only original JURA care products. Use of accessories that
are not explicitly recommended by JURA could damage the
IMPRESSA.
pDonotuseanycoffeebeanstreatedwithadditivesorcaramel-
ised coffee beans.
pAlways fill the water tank with cold, fresh mains water.
pIf you are absent for a prolonged period of time, turn the
machine off.
People, including children, who
pdonothavethephysical,sensoryormentalcapabilitiestouse
the machine safely or
pare inexperienced or lack knowledge in how to use the
machine safely
must be supervised by a responsible person when using it, or must
be instructed in how to use it correctly.
Safe handling of the CLARIS filter cartridges:
pFilter cartridges should be kept out of the reach of children.
pStore them dry in the sealed package.
pProtect them from heat and direct sunlight.
pDo NOT use damaged filter cartridges.
pDo NOT open filter cartridges.

8
The IMPRESSA C5 Manual
YouareholdingthemanualforyourIMPRESSAC5inyourhand.The
information contained in this manual will help you to familiarise
yourself with your IMPRESSA safely and quickly and teach you the
full range of facilities it offers.
Chapter 2, ‘Preparing and using your IMPRESSA for the first time’,
explains step-by-step how to set up and prepare the IMPRESSA.
Chapter 3, ‘Familiarising yourself with the control options’ is impor-
tant for you to read as you are familiarising yourself with your
IMPRESSA. It invites you to actively explore all the different coffee
experiences that it offers.
All the other chapters are intended to help you when you have a
specific query.
If you use the IMPRESSA C5 Manual, you will become a past master
at preparing exciting coffee specialities, you will be a Barista!
Youcandownloadtheshortoperatinginstructionsforyourmachine
from the JURA website (www.jura.com).
The IMPRESSA C5 Manual
Symbol description
Warnings
CAUTION
Always take note of any information marked with the CAUTION or WARNING sym-
bol. The signal word WARNING points out potential risk of serious injury, and the
signal word CAUTION potential risk of slight injury.
CAUTION TheCAUTIONsymbol isused todrawattentiontocircumstanceswhichcouldcause
the machine to become damaged.
Symbols used
o Information and tips to ease things for you as you use your IMPRESSA.
@References to the online JURA website, where you can find interesting further infor-
mation: www.jura.com
LPrompt to take action. This symbol means that you are being prompted to perform
some action.

9
1 IMPRESSA C5 – Click & Drink
JURA‘s avowed mission is to develop superior machines which get
the best out of every blend and roast of coffee. This it delivers
through a unique, intelligent pre-brew system combined with lov-
ing attention to detail.
The IMPRESSA C5 demonstrates just how wonderful a perfect cup
of coffee can taste and how easy it is to prepare one. Thus, the fur-
ther development of the IMPRESSA compact series is setting new
standards in coffee quality while at the same time maintaining a
visually pleasing appearance from every angle. The smart control
philosophyisespeciallytobeadmired.Thevariousspecialitycoffees
can be selected simply and intuitively using a single control
element.
pClick & Drink
Thanks to the revolutionary one-switch operation philosophy
with the smart Rotary Switch, you are only a single touch of a
button away from enjoying a perfect cup of coffee. To make
your choice, all you have to do is to rotate the switch between
coffee and Espresso, one or two cups. Just click the control and
seconds later you can be enjoying your drink.
pIndicators
Theeasy-to-understandindicatorslightupinaregalred,pro-
viding the information that you need. Just one click of the
Rotary Switchaway,unobtrusively concealed,arethe mainte-
nance buttons with associated indicators.
pHeight-adjustable coffee spout
Whether you are after a small cup of Espresso or a large cup
of breakfast coffee, the height-adjustable coffee spout, which
can be raised and lowered between 65 and 111 mm, can be
adjustedonacontinuousscaletosuitallsizesofcup.Thispre-
vents coffee splashing on the machine and is your guarantee
of a rich, thick crema. The superior design and feel of the
machine are also evident.
1 IMPRESSA C5 – Click & Drink
Coffee that fulfils your
wildest dreams
Click & Drink

10
1 IMPRESSA C5 – Click & Drink pConnector System©
The Connector System©allows one to use the Easy Cappuc-
cinoFrother,whichisfittedasstandard,ahotwaternozzlefor
anevenjetofwaterandtheoptionallyavailable2-stagefroth-
ing nozzle or the Professional Cappuccino Frother for perfect
milk foam or hot milk.
Visit us on the Internet.
@ At www.jura.com you will find interesting and up-to-date
information on your IMPRESSA and on every aspect of the
subject of coffee.
You can familiarise yourself with your IMPRESSA C5 in a fun way on
the PC.
@ The Knowledge Builder awaits you at www.jura.com. The
interactive assistant, LEO, will support you and explain the
benefits of and how to use your IMPRESSA.
JURA on the Internet
Knowledge Builder

11
2 Preparing and using your IMPRESSA for the first time
This chapter provides you with the information you need to use your
IMPRESSA without any problems. You will prepare your IMPRESSA
step-by-step for your first coffee experience using it.
When setting up your IMPRESSA, please note the following:
pSet the IMPRESSA down on a horizontal surface that is not
sensitive to water.
pChoose a spot for your IMPRESSA which is protected against
overheating. Ensure that the ventilation slots are not covered.
To enjoy perfect coffee, we recommend that you change the water
every day.
Milk, mineral water or other liquids can damage the water tank or
the machine.
lOnly fill the water tank with fresh, cold water.
lOpen the cover of the water tank.
lRemove the water tank and rinse it with cold water.
lFill the water tank with fresh, cold mains water and rein-
sert.
lClose the cover of the water tank.
Thebeancontainerhasanaromapreservationcover.Thiswillensure
that your coffee beans retain their aroma for longer.
Coffee beans which have been treated with additives (e.g. sugar),
either pre-ground or in the form of freeze-dried coffee, will damage
the grinder.
lOnly use untreated coffee beans to refill the bean container.
lOpenthecoverofthebeancontainerandremovethearoma
preservation cover.
lRemove any dirt or foreign objects inside the bean con-
tainer.
lNew machines contain an information sheet in the bean
container. Remove this information sheet.
2 Preparing and using your IMPRESSA for the first time
Setting up
Filling the water tank
CAUTION
Filling the bean
container
CAUTION

12
2 Preparing and using your IMPRESSA for the first time
lFill the bean container with coffee beans, then close the
aroma preservation cover and the bean container cover.
If the machine is operated with a defective power cable, there is a
danger of electric shock.
lNever use a machine which has a defective power cable.
Precondition: the water tank must be full.
lRemove the protective film from the symbol display.
lInsert the mains plug into a power socket.
G l Press the On/Off button to switch the IMPRESSA on.
The light segment by the switch will now flash.
lPlace a receptacle under the Easy Cappuccino Frother.
r l Turn the switch in the anticlockwise direction.
Thelightsegmentbytheswitchwillnowlightup.Thesystem
will now be filled with water. A small amount of water will
flow out of the Easy Cappuccino Frother.
Theoperationstopsautomatically.Thelightsegmentbythe
switch will now flash.
t l Turn the switch in the clockwise direction.
As long as the machine is heating up, the Maintenance
symbol hwill flash. The Maintenance symbol hlights up.
lPlace a receptacle under the coffee spout.
m l Press the Rotary Switch.
The machine will rinse itself, stopping automatically.
The 1 Espresso symbol awill light up indicating that your
IMPRESSA is ready to use.
oAfter the first time that a coffee speciality has been prepared,
you may find that the maintenance indicator and the bean
container cdisplayflash if the grinder hasnot yetbeen filled
with coffee beans. In that case, prepare a different coffee
speciality.
First-time use
WARNING

13
2 Preparing and using your IMPRESSA for the first time
YourIMPRESSAnolongerhastobedescaledifyouareusingCLARIS
filter cartridges.
oPerform the ‘Using filter’ operation without a break. This will
ensure that your IMPRESSA always produces its best.
@ Youcanalsotryoutthe‘Usingfilter’operationonline.Visitthe
Knowledge Builder on www.jura.com.
lRemove the packaging on the CLARIS filter cartridge.
lRemove the water tank and empty it.
lLift the cartridge holder and insert the filter cartridge into
the water tank, applying a light pressure.
lClose the cartridge holder. It will lock into place audibly.
lFill the water tank with cold, fresh mains water and rein-
sert.
oAfter two months, the filter will cease to work. Monitor the
elapsed time as shown on the date plate on the cartridge
holder.
Precondition: your IMPRESSA is ready for use.
lOpen the access door.
ä l Turn the Rotary Switch so that it points to the P symbol P.
m l Press the Rotary Switch.
The cleaning, descaling and filter indicators light up.
n l Hold down the Filter button until the Filter indicator n
lights up.
ä l TurntheRotarySwitchuntilthe3lightsegmentsaroundthe
Rotary Switch light up.
oWhen the 3 light segments light up, the filter is activated. If
none of the light segments light up, this means that the filter
has not been activated.
m l Press the Rotary Switch to confirm the setting.
The light segment by the switch will now flash.
Using and activating
filter

14
2 Preparing and using your IMPRESSA for the first time
lPlace a receptacle (containing at least 500 ml) under the
Easy Cappuccino Frother.
lIf the milk pipe is connected, remove it.
r l Turn the switch in the anticlockwise direction.
Rinsingofthefilterwillnowbegin.Thelightsegmentbythe
switch will light up.
oYou can interrupt rinsing of the filter at any time. To do this,
turn the switch clockwise. Turn the switch anticlockwise to
continue rinsing the filter.
oThe water couldbe slightly discoloured.This is notharmfulto
health, nor does it affect the taste.
Rinsing of the filter will automatically stop after approx.
500 ml, and the light segment by the switch will then flash.
t l Turn the switch in the clockwise direction.
Aslongasthemachineisheatingup,theMaintenancesym-
bol hwill flash. The IMPRESSA is ready for use again. The
filter is now activated.

15
2 Preparing and using your IMPRESSA for the first time
Theharderthewateris,themorefrequentlytheIMPRESSAneedsto
be descaled. It is therefore important to set the water hardness.
oHowever, if you are using the CLARIS filter cartridge and have
activated the filter, you will not be able to adjust the water
hardness.
The symbols in the symbol display show the configured degree of
waterhardness.Thenumberofsymbolscorrespondstotherelevant
level.
You can find out what the water hardness is, using the Aquadur®
test strip enclosed in the Welcome Pack.
lHold the test strip briefly (for one second) under flowing
mains water. Shake off the water.
lWait for about 1 minute.
lYou will then be able to read the degree of water hardness
from the discoloration of the Aquadur® test strip and the
description on the packaging.
You can now configure the water hardness.
Example: to change the water hardness from level 3 to level 4,
proceed as follows:
Precondition: your IMPRESSA is ready for use.
lOpen the access door.
Assessing and setting
water hardness
Level Water hardness Shown in display
0 The water hardness is switched off, the automatic
calcification indicator is switched off No symbol is illuminated
1 German degree of water hardness 1 – 7° dH
French degree of water hardness 1.79 – 12.53° f 1 symbol is illuminated
A
2 German degree of water hardness 8 – 15° dH
French degree of water hardness 14.32 – 26.85° f 2 symbols are illuminated
A S
3 German degree of water hardness 16 – 23° dH
French degree of water hardness 28.64 – 41.14° f 3 symbols are illuminated
A S D
4 German degree of water hardness 24 – 30° dH
French degree of water hardness 42.96 – 53.7° f 4 symbols are illuminated
A S D F

16
2 Preparing and using your IMPRESSA for the first time
b l Hold down the Descaling button until the Descaling indi-
cator blights up.
The Descaling indicator b and the symbols A S D will
now light up.
ä l
Turn the Rotary Switch until the four symbols a s d f
light up.
m l Press the Rotary Switch to confirm the level 4 setting.
The IMPRESSA is ready for use again. The water hardness is
now set.
You can adjust the grinder continuously to suit the roast of your
coffee.
Ifyouadjustthefinenessofgrindwhenthegrinderisnotoperating,
the grinding wheel could be damaged.
lOnly adjust the fineness of grind when the grinder is run-
ning.
The consistency of grind setting is correct if the coffee flows regu-
larly from the coffee spout. In addition a fine, thick crema forms.
Example: to change the fineness of grinding during preparation of
a coffee, proceed as follows:
lOpenthecoverofthebeancontainerandremovethearoma
preservation cover.
lPlace a cup under the coffee spout.
ä l Turn the Rotary Switch to the 1 coffee setting D.
m l Press the Rotary Switch to initiate preparation of the coffee.
The grinder will now start up, and the 1 coffee symbol D
flashes
.
lTurn the fineness of grind switch to the desired position
while the grinder is running.
The coffee will be prepared and the fineness of grind is set.
Adjusting grinder
CAUTION

17
2 Preparing and using your IMPRESSA for the first time
When the IMPRESSA is switched on, a prompt to perform a rinse
operation automatically appears.
G l Press the On/Off button to switch the IMPRESSA on.
As long as the machine is heating up, the Maintenance
symbol hwill flash. The Maintenance symbol hlights up.
lPlace a receptacle under the coffee spout.
m l Press the Rotary Switch to start the rinse operation.
The coffee spout will be rinsed. The operation stops auto-
matically and your IMPRESSA is now ready for use.
When you switch off your IMPRESSA, the system is automatically
rinsed.lPlace a receptacle under the coffee spout.
G l Press the On/Off button to switch the IMPRESSA off.
The system is rinsed and the Maintenance symbol H
flashes. The operation stops automatically.
The IMPRESSA is switched off
oWhen the IMPRESSA is switched off with the On/Off button,
the machine consumes less than 0.01 W of standby energy.
Switching on
Switching off

18
3 Familiarising yourself with the control options
With the IMPRESSA, you can prepare an excellent coffee speciality
at the touch of a button. You also have the option of adjusting the
coffee strength and amount of water to your personal taste while
the coffee is brewing.
This chapter will show you how to operate the machine with the aid
of examples. To familiarise yourself with your IMPRESSA, we recom-
mendthatyoumakeapointofactivelytryingthefacilitiesdescribed
in this chapter. You will find this is well worthwhile.
Learn how to perform the following:
pPreparing drinks at the touch of a button
pAdjusting the settings on a one-off basis while your drink is
being prepared
pAdjusting the permanent cup size settings
oYoucanstopthemachineatanytimewhileacoffeespeciality
is being prepared. To do this press the Rotary Switch.
@ If you prefer to familiarise yourself with your IMPRESSA in a fun
way on the PC, the interactive Knowledge Builder tutorial pro-
gram can be found on the Internet at www.jura.com
.
Prepare your favourite coffee speciality at the touch of a button.
Allcoffeespecialitiesare preparedfollowingthis model atthetouch
of a button.
oUnless you change the permanent settings, all coffee speci-
alities prepared at the touch of a button will have a coffee
strength of mild.
3 Familiarising yourself with the control options
Preparing drinks at the
touch of a button

19
3 Familiarising yourself with the control options
Example: this is how to prepare an Espresso.
lPlace an Espresso cup under the coffee spout.
ä l Turn the Rotary Switch to the 1 Espresso setting a.
m l Press the Rotary Switch to initiate preparation of the
Espresso.
The 1 Espresso symbol awill now flash, and the pre-set
amount of water wll flow into the cup.
Drink preparation stops automatically.
You can change both the coffee strength and the amount of water
while your drink is being prepared. These settings are not saved.
One-off settings during coffee preparation always follow this
model.
oDuring the grinding operation, the light segments above the
Rotary Switch indicate the coffee strength. The coffee
strength can be altered while 1 Espresso or 1 coffee is being
prepared.
The coffee strength options available are as follows:
Coffee strength Shown in symbol display
Mild 1 light segment is illuminated
Normal 2 light segments are illuminated
Strong 3 light segments are illuminated
oDuring the brew operation, the light segments indicate the
amount of water. At this stage of the operation, you can
change the amount of water by turning the Rotary Switch.
Example: this is how to prepare a strong coffee.
lPlace a cup under the coffee spout.
ä l Turn the Rotary Switch to the 1 coffee setting d.
m l Press the Rotary Switch to initiate preparation of the coffee.
Thegrinderstartsup,the1coffeesymboldflashes,andone
light segment above the Rotary Switch is illuminated.
One-off setting during
drink preparation

20
3 Familiarising yourself with the control options
ä l
While the grinder is running, turn the Rotary Switch in a
clockwise direction until three light segments have lit up.
The grinding operation stops, brewing begins and the pre-
defined quantity of water flows into the cup.
Drink preparation stops automatically.
It is easy to adjust the amount of water for all coffee specialities to
thecupsizeforgood.Asinthefollowingexample,adjusttheamount
of water once. Every time you prepare a drink in the future, this
amount of water will be dispensed.
Permanentadjustmentofcupsizeworksthesamewayforallcoffee
specialities.
Example: to permanently adjust the amount of water for an
Espresso, you should proceed as follows:
lPlace an Espresso cup under the coffee spout.
ä l Turn the Rotary Switch to the 1 Espresso setting a.
m l Keep the Rotary Switch pressed down until the light seg-
ment flashes above the Rotary Switch.
Coffee preparation will start and the Espresso will flow into
the cup.
m l Press the Rotary Switch again when enough Espresso has
flown into the cup.
Espresso preparation will now stop. Your IMPRESSA will
remember the amount of water you have specified for an
Espresso for good.
oYou can alter these settings at any time by repeating the
above procedure.
Adjusting the perma-
nent cup size settings
Other manuals for IMPRESSA C5
7
Table of contents
Other Jura Coffee Maker manuals

Jura
Jura Z6 User manual

Jura
Jura S8 User manual

Jura
Jura IMPRESSA C9 User manual

Jura
Jura WE6 Professional Manual

Jura
Jura Z6 User manual

Jura
Jura Impressa C9 One Touch User manual

Jura
Jura IMPRESSA J5 User manual

Jura
Jura WE8 User manual

Jura
Jura GIGA X9c Professional User manual

Jura
Jura IMPRESSA S9 One Touch User manual