KTI63155 9 7/17/14
MONTAJE
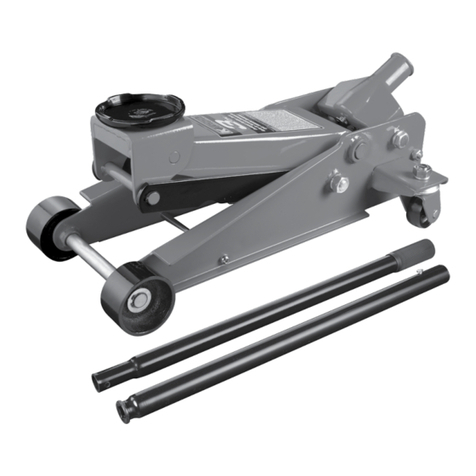
CONSULTE POR FAVOR EL DIBUJO DE VISTA EN DETALLE EN ESTE MANUAL PARA IDENTIFICAR LAS PARTES.
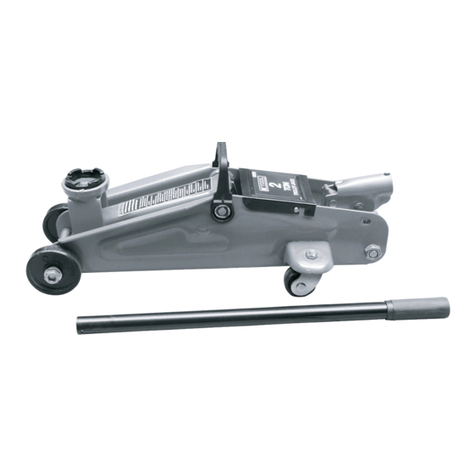
1. Parapoderinstalarelconjuntodelmango,artículo#57,enelcasquillodelmango,artículo#36.Primeroalineeeltubodelmangoprincipal
con el agujero más grande en el casquillo del mango y el pasador de seguridad con el agujero más pequeño en el casquillo del mango.
2. Antesdeinsertarloenelcasquillodelmango,asegúresequeelpasadordeseguridadestéenlaposicióndeseguridad/haciaabajo.Unavez
que el tubo del mango principal y el pasador de seguridad estén alineados con sus agujeros respectivos en el casquillo del mango, empuje
el conjunto del mango en el casquillo del mango con el fin de que el tubo del mango se encaje con el mecanismo de la válvula de liberación
enlaparteinferiordelcasquillodelmangoyelpasadordeseguridadseencajeconalgunodelostres(3)agujerosdeseguridadenel
armazóndelartículo#1.
3. Ahoragirelapartedelmangoen"T"delconjuntodelmangoconelfindequeestéperfectamentealineadaconelgatoantesdeapretarel
perno,artículo#40ylatuerca,artículo#39,yartículo#38.Aprieteelpernoylatuercaconelfindenosepuedagirarelmango.Desconecte
el pasador de seguridad al jalar la palanca hacia arriba y al encajar la palanca con la ranura en parte superior del conjunto de mango. El
conjunto del mango debe estar libre para bombear hacia arriba y hacia abajo.
4.Parapoderinspeccionarlaalineaciónadecuadadelconjuntodelmangoconelcasquillodelmango,verifiquequeelpernodeseguridadse
encajeconlostresagujerosdeseguridadenelarmazón.Además,girelaperilladelaválvuladeliberaciónenlapartesuperiordelconjunto
delmangohacialaizquierdayluegohacialaderechaparaverificarquelajuntaen“U”delaválvuladeliberación,enfrentedeydebajodel
casquillo del mango, se esté girando simultáneamente con la rotación de la perilla.
5. Antesdeluso:Elairepuedeentraparseenelsistemahidráulico.
PARAPURGARELAIREDELSISTEMAHIDRÁULICO:
a. Girelaperillaenlapartesuperiordelconjuntodelmangoenelsentidodelasagujasdelrelojhastaqueéstaestéapretada.Ahoragírela
en el contrasentido de las agujas del reloj dos vueltas completas.
b. Activeelpedaldelabombadepie-artículo#37-aproximadamente15veces.
c. Girelaperillaenlapartesuperiordelconjuntodelmangoenelsentidodelasagujasdelrelojhastaqueestéapretada.
d. Activelabombadepiehastaqueelbrazodeelevaciónestéelevadohastasualturamáxima.Usteddebeexperimentarunacorrida
completa de la bomba con cada bombeada del pedal.
e. Siustedconsideraquenoseestérecibiendoelgolpeincrementalcompletodelabombadurantecualquiermomentodelaoperaciónde
labomba,repitalospasos“a”al“d”hastaquesepurguetodoelairedelsistema.
INSTRUCCIONES DE USO
EstesímboloindicaunaalertadeseguridadyseutilizaenlapartedeestemanualqueversasobrelasINSTRUCCIONESDEUSO,
con el fin de advertir sobre los peligros de accidentes personales. Observe todas las instrucciones para evitar lesiones o peligros
de muerte.
IMPORTANTE: antes de comenzar a elevar un vehículo, consulte su manual de servicio para conocer las superficies de elevación
recomendadas.
FORMADEUSO:
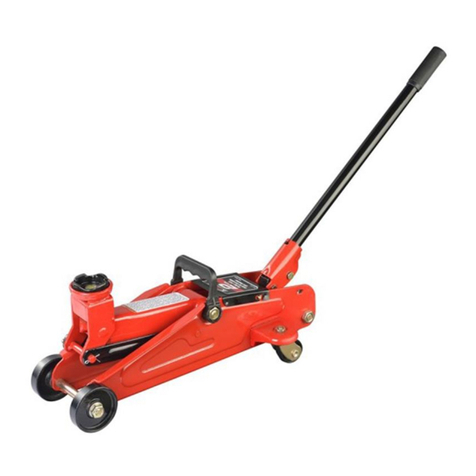
1.Paraelevarlacarga,cierrelaválvuladeseguridadhastasupuntodeajuste(girandolapalancaenelsentidodelasagujasdelreloj).NO
AJUSTELAVÁLVULAENEXCESO.Posicioneelgatodebajodelacargademodoqueelasientopuedaacoplarsermementeylacarga
quedecentradaandequenoresbale.Accionelapalancadelgatohastaquesuasientoseacerquealaposicióndeacople.Unavezmás,
compruebequeelasientoestéenlaposicióncorrecta.Elevelacargahastalaalturadeseada.Coloquetorresconcapacidadadecuada
debajo del vehículo. NO PASE POR DEBAJO DEL VEHÍCULO MIENTRAS LO ELEVA NI CUANDO COLOQUE O RETIRE LAS TORRES!
Coloquelastorresenlospuntosdeapoyorecomendadosporelfabricantedelvehículoqueproporcionenunasujeciónestableparalacarga
elevada.Unavezquelastorresesténensulugar,abralaválvuladeseguridadMUYDESPACIO(girandolapalancaenelsentidoopuestoal
delasagujasdelreloj).Bajelacargahastasupuntodeapoyosobrelastorres.Luego,asegúresedequelaválvuladeseguridaddelgatoesté
cerradaporcompleto(girandolapalancaenelsentidodelasagujasdelreloj).
2.Parabajarlacarga,vuelvaacomprobarquelaválvuladeseguridadestécerradaporcompleto.Luego,accionelapalancadelgatohasta
que la carga se eleve lo suciente como para retirar las torres. NO PASE POR DEBAJO DEL VEHÍCULO MIENTRAS LO ELEVA NI CUANDO
RETIRA LAS TORRES.Unavezquehayaretiradolastorres,abralaválvuladeseguridadmuydespacioparabajarelvehículo.Bajeelbrazo
elevador del gato por completo de modo que el vehículo repose sobre el suelo en forma segura, sin que haya contacto entre el gato y el
vehículo. PRECAUCIÓN: Mantenga las manos y los pies lejos del eje de articulación del gato.
MANTENIMIENTO DE SEGURIDAD
EstesímboloindicaunaalertadeseguridadyseutilizaenlapartedeestemanualqueversasobreelMANTENIMIENTODE
SEGURIDAD,conelfindeadvertirsobrelospeligrosdeaccidentespersonales.Observetodaslasinstruccionesparaevitarlesioneso
peligros de muerte.
1. Siempreguardeelgatoenunáreaprotegida,endondenoquedeexpuestoalascondicionesclimáticas,gasescorrosivos,sustancias
abrasivasuotrosmaterialesperjudiciales.Previoaluso,estegatodeberáestarlimpiodeagua,nieve,arena,gravilla,aceite,grasao
cualquier otro material ajeno.
2. Elgatosedebelubricarenformaperiódicaandeprevenireldesgasteprematurodesuspartes.Sedebeaplicargrasadeusogeneral
en todas las articulaciones, las ruedas pivotantes y del eje delantero, el brazo elevador, los pernos pivotantes de la base de la palanca,
elsistemadeseguridadylasdemássuperciesdeapoyo.Laspartesdesgastadasresultandodelalubricacióninadecuadaofaltanteno
serán elegibles para consideraciones de garantía
. IMPORTANTE: Andeprevenirdañosenlasjuntasherméticasyfallaseneldispositivo,no
usealcohol,líquidodefrenoshidráulicosniaceitedetransmisiónenelgato.UseaceitehidráulicoAWISO32deChevronosuequivalenteUnocal
UnaxAW150.
3. Elpropietariodelgatoesresponsabledemantenersusetiquetasenbuenestadodeconservación.Useunasoluciónjabonosasuavepara
lavar el exterior del gato, sin aplicarla a ninguna de las partes del sistema hidráulico.
4. Veriqueelgatoantesdeusarlo.Nouseelgatosialgunadesuspartesestáquebrada,rota,torcidaodañada,nicuando
elsistemahidráulicotengafugas.Nouseelgatosipresentaalteracionesoesinestabledebidoapiezasmetálicasopartes
desajustadas o faltantes. Tome las medidas de corrección apropiadas antes de usar el gato otra vez.
