5
Stretch the roof rafters (4) and apex to eave poles
(10) - apply as much pressure as possible without
causing any damage. Raise the legs to their ap-
proximate correct height—check that the pegging
points still comfortably reach the ground (L).
PEGGING
Start pegging at the rear of the awning closest to
the caravan. Take the rear corners and peg them
as close to and preferably slightly under the cara-
van, this will give a close fit. Next peg the front cor-
ners making sure that you pull the pegging point
and the corner frame leg in a diagonal direction
away from the caravan - this will give good tension
to the front and sides. Adjust the legs as neces-
sary. Peg the intermediate pegging points, pegging
the points either side of doorways first. These
doorways should be cross pegged - the points
should be pulled across each other. Once com-
pleted the awning should look taut without too
many creases - if necessary readjust the pegging
and adjust the height of the legs and tension the
roof poles.
STORM TIE DOWNS
If you are expecting to use your awning in windy
weather we recommend the use of the optional tie
down kit. The Gala comes complete with fixings -
just clip each tie down into the buckle (M) and firmly
peg the other end (N). We do not recommend the
use of tie down kits that go over the awning roof as
these can damage the frame and canvas.
PEGS
The Gala awning comes complete with general pur-
pose plastic pegs. These will be suitable for many
sites but there will be some instances where differ-
ent pegs will be necessary. Your dealer will stock a
range of pegs suitable for different types of ground.
For maximum effectiveness, pegs should be driven
into the ground at a 45°angle away from the peg-
ging point. CAUTION: Pegs can be sharp. Do not
allow children to play around the awning and en-
sure that suitable protective footwear is worn.
L
N
M
6
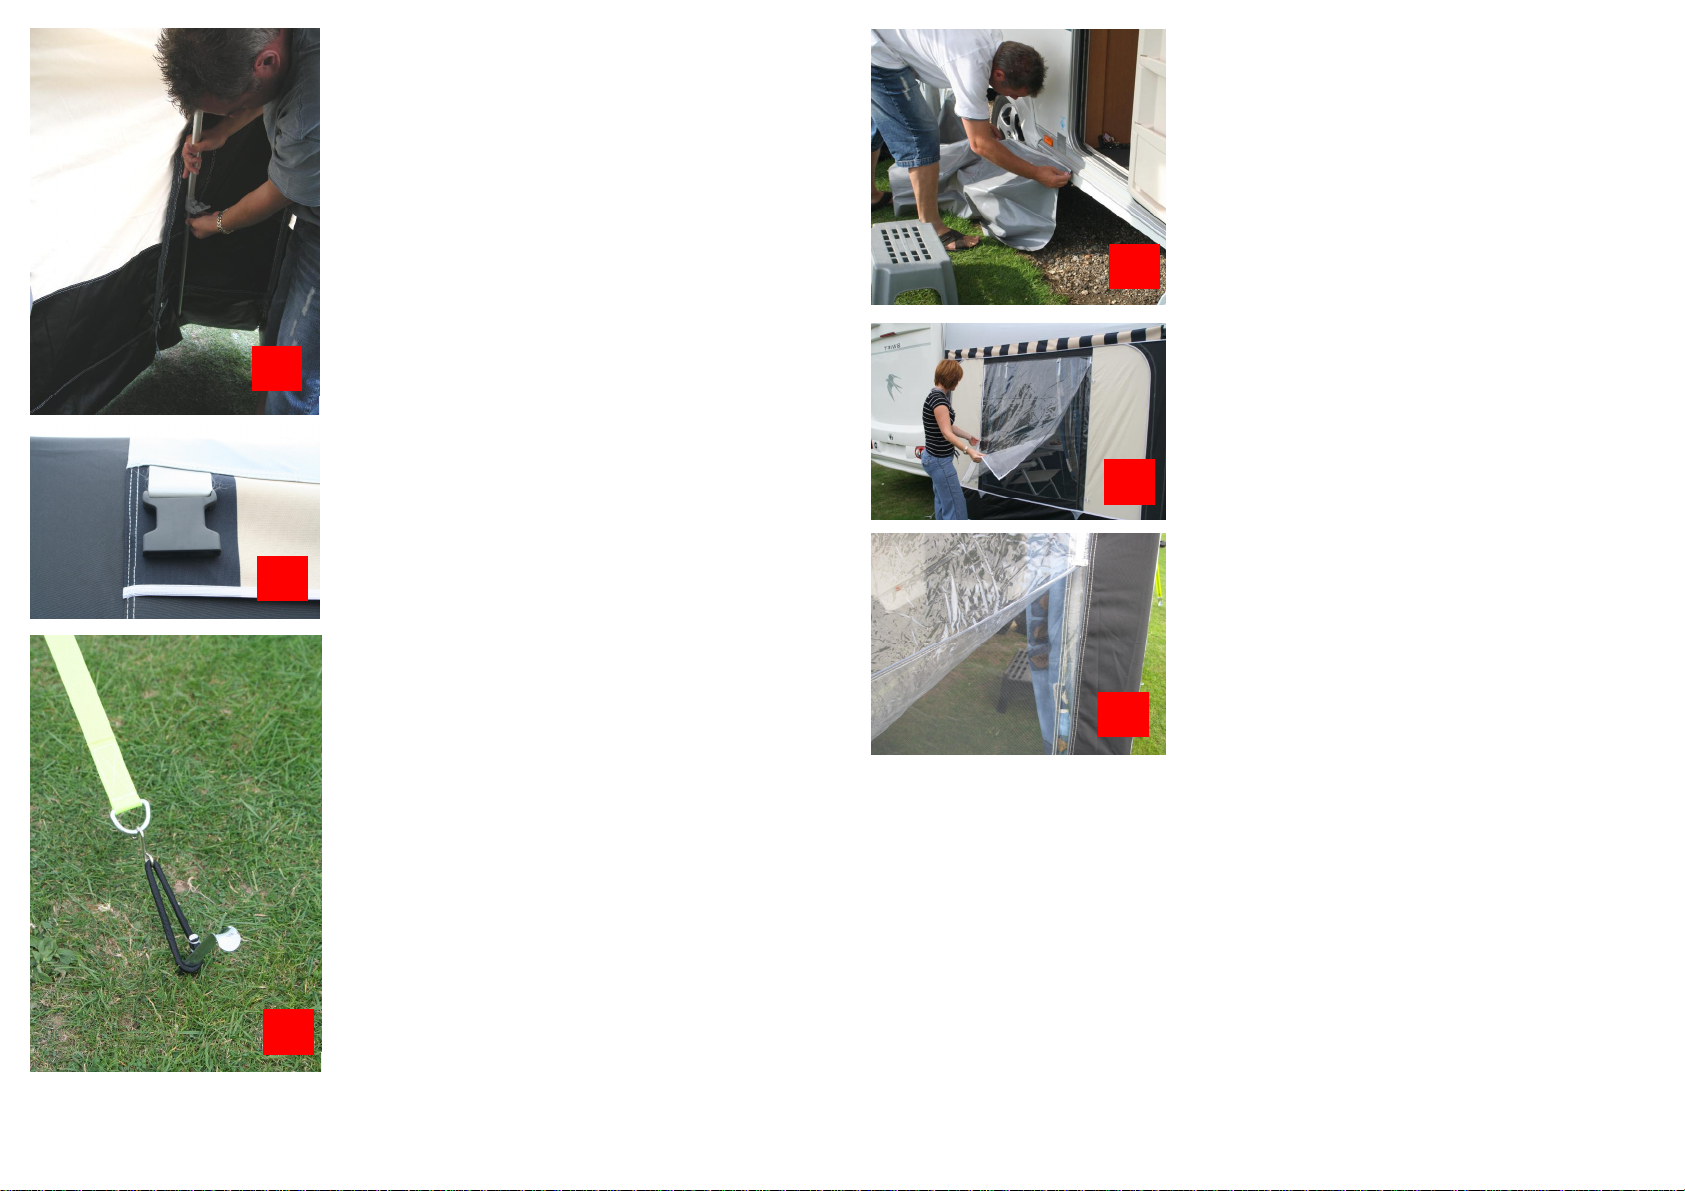
DRAUGHT SKIRT
The supplied draught skirt should be pulled through
the awning rail at the bottom of your caravan (O).
CURTAINS
The curtains should be attached to the curtain track
above each window. Curtains should be removed
when setting down and packed separately away
from the awning canvas to prevent colour transfer if
slightly damp.
MUD SKIRT
The Gala comes with an internal mud skirt to keep
out draughts. The mud skirt has eyelets that can
be used with pegs to secure it to the ground. DO
NOT use the mud skirt to peg your awning down.
ZIP OUT PANELS
Both side panels and the front panel can be zipped
out to provide ventilation or to act as a sun canopy.
The left hand side panel also has a ventilation
panel - the outer flap can be rolled up to increase
ventilation (P/Q). The side panels can also be used
in a veranda style arrangement, perhaps to keep
children or pets safe whilst allowing plenty of venti-
lation.
SEAMS
The main seams of this awning have been sewn
with a special thread to help prevent leakage. To
maximise the effectiveness of this thread it will be
necessary to weather the awning. This involves
setting it up and allowing it to become wet and the
dry. It may take several soakings to reach its maxi-
mum weatherproofing.
SUITABILITY
This awning is designed for use in light to moderate
weather. During strong winds or snowfall we rec-
ommend that you take your awning down. The
awning is designed for touring use; it is not de-
signed for static or commercial use.
O
P
Q