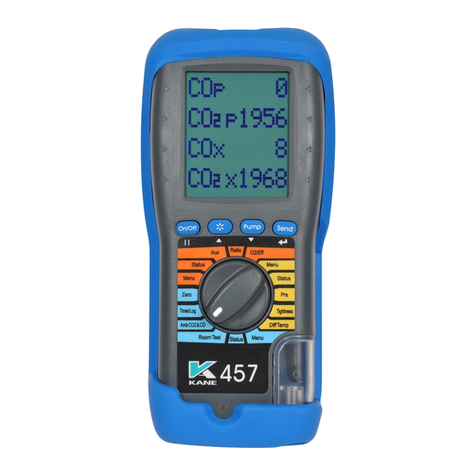
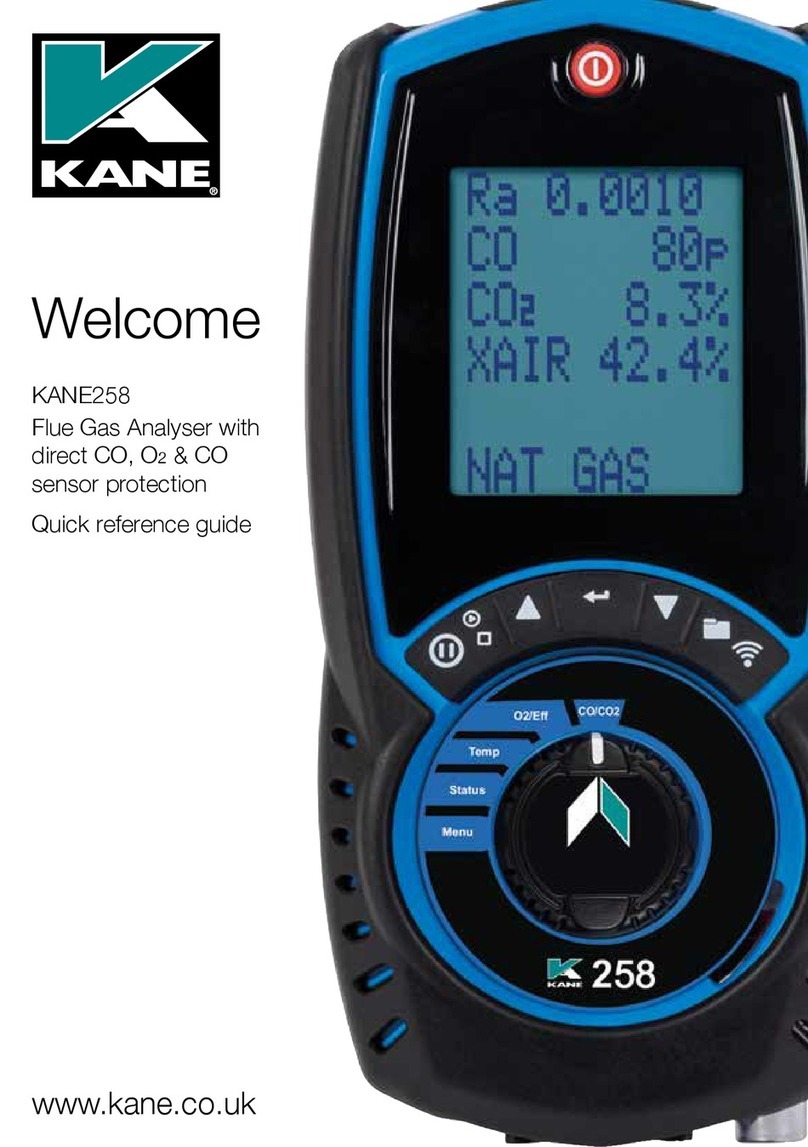
Kane 358 User manual

KANE 358
Flue Gas Analyser with direct O2 measurement
and CO sensor protection
Stock No: MAN00164 Rev: 1.00321 MARCH 2021
© Kane International Ltd

2KANE 358 MANUAL
CONTENTS
Page No.
KANE 358 OVERVIEW 4
INSTRUMENT FEATURES AND KEYPAD 5-8
KEYPAD BUTTONS 6
INSTRUMENT LAYOUT 7
BACK OF ANALYSER - PROBE ETC 8
BATTERIES 9
BATTERY TYPE 9
REPLACING BATTERIES 9
TIME AND DATE 9
CHARGING NIMH BATTERIES 9
BATTERY DISPOSAL 9
GENERAL SAFETY 10
FIRST TIME USE 11
GENERAL OPERATING PRINCIPLE 11-15
QUICK START 11
USER INTERFACE 11
STATUS 12
STATUS BAR 12
STATUS BAR LAYOUT 13
STATUS BAR MESSAGE AREA 13
STATUS BAR ICONS 14
STATUS BAR ICON LEVEL 14
STATUS BAR MENU OPTIONS 15
STANDARD OPTIONS 15
USING THE MENU 16
MENU ITEMS 17
MEASURING FLUE GASSES 17-18
PRINTING 18
KANE INFRARED PRINTER 18

3KANE 358 MANUAL
CO PROTECTION PUMP OPERATION 19
AUX SCREEN 19
EDITING THE AUX SCREEN 19
O2/EFF SCREEN 19
RATIO SCREEN 20
STORED MEMORY REPORTS 20
MENU OPTIONS 21
VIEWING STORED REPORTS 21
REPORT VIEW MENU OPTIONS 21
NAVIGATING STORED REPORTS 22
REPORT NAVIGATION MENU OPTIONS 22
PRESSURE & TEMPERATURE TESTING 23
TEMPERATURE & PRESSURE DISPLAY 23
VIEWING, SENDING & PRINTING 23
PRESSURE MEASUREMENT GOOD PRACTICE 24
LARGE BORE TUBING ISSUES 24
TESTS 24-27
COMMISSIONING TEST 24-25
LET-BY & TIGHTNESS TESTING 26-27
PRINTOUTS 28
SPECIFICATIONS 29-30
EU DECLARATION OF CONFORMITY 31
COLD WEATHER PRECAUTIONS 32

4KANE 358 MANUAL
KANE 358 OVERVIEW
The KANE358 combustion analyser measures:
● Carbon Monoxide (CO)
● Oxygen (O2)
● Pressure
● Temperature
Depending on your options these parameters are calculated:
● Carbon Dioxide (CO2)
● CO/CO2 ratio
● Combustion Eciency
● Losses
● Excess Air
● Dierential Pressure
● Dierential Temperature
Your KANE358 has a protective rubber cover with magnets for
“hands-free” operation and is supplied with a ue probe with integral
temperature sensor.
Your KANE358 has a low gas ow detector that switches o the
analyser’s pump if it detects water entering the analyser from an
overlled water trap.
Your KANE358 has a large 6 line display showing data & test results
based on your actions.
The display’s bottom line also highlights analyser status at all times.
Your KANE358 can print out test results using an optional infrared
printer or to KANE’s wireless printer App.
Your KANE358 stores up to 30 logs of any combination of
Combustion, AUX, Temperature & Pressure test results – including 10
Tightness Tests & 10 Commissioning tests
You can add 2 lines of 16 characters to your test results header.

5KANE 358 MANUAL
ANALYSER FEATURES AND KEYPAD

6KANE 358 MANUAL
KEYPAD BUTTONS
ICON DESCRIPTION
Save log – Long press to store data
Print report. Short press to print a report (Enters a
print destination when both wireless and irda tted)
Navigate up – Short press to scroll up
Enter button – Used to select the current option
Navigate down – Short press to scroll down
Data hold – Short press to hold current data on screen
(see status bar section)
Pump toggle – long press to toggle the pump on and
o
Function
buttons

7KANE 358 MANUAL
INSTRUMENT LAYOUT
Battery
charger
Watertrap drain with
red plug
Flue probe
temperature T1
Inlet temperature T2
Pressure
connection P1
Pressure
connection P2
(Differential)
Flue gas
inlet
On / Off
Function buttons
- see below
Water trap &
particle filter
Rotary switch
Red connector
– plugs into Flue
Gas Inlet
Flue Probe Temperature Plug –
plugs into T1
The narrower (+ve) pin must be
on the right hand side Flue Probe Hose

8KANE 358 MANUAL
Watertrap drain
with red plug
Thermocouple
Thermocouple
Wire
Stainless Steel
Shaft
Depth Stop Cone
Gas Path
Magnets x2

9KANE 358 MANUAL
BATTERIES
BATTERY TYPE
This analyser uses rechargeable Nickel Metal Hydride (NiMH) batteries
- Using other battery types may void your analyser’s warranty.
WARNING
Although you can use Alkaline batteries you must not charge your
analyser with Alkaline batteries tted.
Do not mix NiMH cells of dierent capacities or from dierent
manufacturers - All batteries must be identical.
REPLACING BATTERIES
Turn over your analyser & remove its protective rubber cover to nd trhe
battery compartment & t 3 NiMH “AA” rechargeable batteries ensuring
they are tted with correct battery polarity. Replace battery cover &
protective rubber cover.
TIME AND DATE
After changing batteries reset your analyser’s time & date.
CHARGING NIMH BATTERIES
Your KANE358 uses a standard Micro USB connector - For best
results turn it o then connect your charger. The charging indicator will
illuminate and turn o when the need for charge is over.
Your rst charge should be for 8 hours - Thereafter NiMH batteries can
be “topped up” at any time, even for short periods.
If your batteries discharge so that the analyser enters a low power
shutdown, 1 hour’s charge provides approx 2 hours continuous use.
BATTERY DISPOSAL
Always dispose of depleted batteries using approved disposal methods
that protect the environment.

10 KANE 358 MANUAL
GENERAL SAFETY
SAFETY WARNING
This analyser extracts combustion gases that may be toxic in relativity
low concentrations. These gases are exhausted from the bottom of the
analyser. This analyser must only be used in well-ventilated locations by
trained and competent persons after due consideration of all the
potential hazards.
Portable gas detectors users should conduct “bump” tests before
relying on units to verify atmospheres are free from hazard.
A “bump” test is a way to check an instrument works within
acceptable limits by briey exposing it to known gas mixtures to
change the output of all sensors present.
Note: This is dierent from a calibration where the instrument is also
exposed to known gas mixtures but allowed to settle to a steady gure
with readings adjusted to the stated gas concentration of the test gas.
Protection Against Electric Shock (In accordance with EN 61010-1:
2010):
This analyser is designed as Class III equipment and should only be
connected to SELV circuits. The battery charger is designated as:
● Class II equipment
● Installation category II
● Pollution degree 2
● Indoor use only
● Altitude to 2000m
● Ambient temperature 0°C-40°C
● Maximum relative humidity 80% for temperatures up to 31°C
decreasing linearly to 50%RH at 40°C
● Mains supply uctuations not to exceed 10% of the nominal voltage

11KANE 358 MANUAL
FIRST TIME USE
Charge your analyser’s batteries for 8 hours - an overnight charge
should be sucient for an average 8-hour day.
Take time to read this manual fully and be aware your analyser’s
conguration may not support all features explained in this manual.
Before using your analyser set it up for your requirements.
NOTE: Your analyser’s STATUS bar displays current time, date and
battery status - Check time & date are correct as they can only be
changed if you have not stored any logs in Memory to protect the
integrity of your stored data.
GENERAL OPERATING PRINCIPLE
Using your KANE358 is simple with the rotary dial and user interface.
Most tests can be made with little user activity.
Your analyser’s status bar oers options based on tasks you are
performing and displays useful information and messages.
QUICK START
Turn on your analyser pressing the button for 2 seconds until it starts.
Your analyser starts a 60 second zero calibration - once completed
select the tests you want by turning the analyser’s rotary dial.
USER INTERFACE
Your analyser’s large display shows 5 lines of tests & a status bar.
The backlight activates on each button press then turns o after 10
seconds.
Navigate through your options and menu choices via the 3 dedicated
& buttons
Button presses are either short or long presses.

12 KANE 358 MANUAL
STATUS
Select “Status” on the dial to view:
Current ambient temperature
Current atmospheric pressure (mbar)
No. of days until next calibration due
Status bar
Current fuel selection – use status
bar menu to change fuel selection
STATUS BAR
The Status bar shows instrument status and oers options based on
your settings.
Navigate through the status bar options via the & buttons when
the status bar is on the display.
Status bar

13KANE 358 MANUAL
CLOCK FUNCTION
DATA HOLD
FUNCTION
STATUS BAR LAYOUT
The status bar splits into 2 zones, the “Message” & “Icon” as shown
below:
STATUS BAR MESSAGE AREA
Display alternates
between Hold symbol &
time stamp of held data
Displays current time
CALIBRATION DUE
WARNING MESSAGE
AIR PURGE
“SNOOZE” TIMER
LOW BATTERY
WARNING MESSAGE
Display alternates
between calibration due
symbol & current time
Display alternates
between calibration due
symbol & current time
Display alternates
between low battery
symbol & current time

14 KANE 358 MANUAL
STATUS BAR ICONS
Icons give quick & simple status information:
STATUS BAR ICON LEVEL
Pump status On or Off
Analyser has logged/
stored data
Battery Status indication
Data being sent to App or
Printer
ICON LIST
PUMP
LOGGED DATA
SENDING DATA
BATTERY

15KANE 358 MANUAL
STATUS BAR MENU OPTIONS
The Status Bar will oer the user contextual menu items based on the
items displayed on the screen.
STANDARD OPTIONS
Date
Displays selected fuel type - To
change, long press button to
display selection indicators. Press or
buttons to select fuel then press
button
Turn rotary dial to Aux position to make
changes to the AUX screen then long
press button until cursor flashes

16 KANE 358 MANUAL
USING THE MENU
The Menu position on the rotary dial allows you to customise the
analyser’s default settings to your requirements.
Navigate through the Menu system using these buttons & .
Menu option to edit
As you navigate up or down through the menu items will move up or
down the screen returning to the beginning.
NOTE: To exit Menu simply turn your analyser’s rotary dial to any
position but any changes not entered will not be stored.

17KANE 358 MANUAL
MENU ITEMS
MENU ITEM MENU TEXT OPTIONS/COMMENTS
TIME TIME HH:MM:SS format
E.g.. 7am = 07:00:00, 7pm = 19:00:00
DATE DATE DD/MM/YY format
HEADER HEADER Edit the 2 Line Header on your printouts.
REPORTS REPORTS View current memory usage & view
stored reports.
EFFICIENCY EFF
Eciency calculation analyser is
set to Gross or Net —
Condensing automatically selected
based on selected fuel type
GAS SCALE ppm/mg Select, ppm, ppm(n), mg/m3, mg/m3(n),
mg/kWh, mg/kWh(n)
PRINTER TYPE IR PRINT Select, KMIRP, IRP-2
02 REF 02 REF Use for “Normalised” readings - Default
set to 3%, can adjust up or down
LANGUAGE LANG Selects your required language
CODE CODE
Password protected for
authorised service agents only -
Default to 000000
MEASURING FLUE GASSES
After the countdown is nished and the analyser is correctly set up, put
its ue probe into the appliance’s sampling point. The tip of the probe
should be at the centre of the ue. Use the ue probe’s depth stop cone
to set the position.
With balanced ues, make sure the probe is positioned far enough into
the ue so no air can “back ush” into the probe.
WARNING
Ensure the ue probe handle does not get hot!

18 KANE 358 MANUAL
Make sure you do not exceed the analyser’s operating specications. In
particular:
• Do not exceed ue probe max temperature - typically (600°C
• Do not exceed analyser internal temperature operating range
• Do not put analyser on hot surfaces
• Do not exceed analyser water trap’s levels
• Do not let analyser particle lter become dirty and blocked
View displayed data to ensure stable operating conditions are achieved
and readings are within expected range.
PRINTING
To print, simply press and release the button. Select your print
destination to either KANE IRP1 optional printer or App. Printing can be
stopped by pressing the button again.
KANE INFRARED PRINTER
Switch on your printer and make ready to accept data with its
infrared receiver in line with your analyser’s emitter on top of the
analyser – allow a 15cm gap between your analyser and printer.

19KANE 358 MANUAL
CO SENSOR PROTECTION PUMP OPERATION
Your analyser’s CO sensor is automatically protected from high levels
of CO - When it measures CO above 2000ppm the main pump stops
and the CO purge pump starts.
Your analyser display P-OFF until CO levels go below 2000ppm.
AUX SCREEN
EDITING THE AUX SCREEN
You can customise lines 1 to 5 of the AUX screen. To edit a line, press
until EDIT appears on the status bar. Press and hold to select EDIT.
The cursor ashes and the line number appears in the status bar. Use
to select your option to appear on the line then press to enter this
option.
Line 1
Line 2
Line 3
Line 4
Line 5
Status bar
O2/EFF SCREEN
Oxygen reading
Combustion efficiency reading
T1 Flue Temperature reading
T2 Inlet Temperature reading
Nett Temperature reading
Status bar

20 KANE 358 MANUAL
RATIO SCREEN
STORED MEMORY REPORTS
Your KANE358 utilises a shared memory system which means your
stored logs are not limited by type.
An icon displays when your analyser has stored data. To view current
memory turn rotary dial to MENU then select LOGS to display this:
CO/CO2 reading
Carbon Monoxide reading
Carbon Dioxide reading
Excess Air reading
Pressure reading
Status bar
No. of Combustion logs stored
No. of Auxiliary logs stored
No. of Pressure & Temperature logs
stored
Total memory used
Menu options
Table of contents
Other Kane Measuring Instrument manuals
Popular Measuring Instrument manuals by other brands

HT Italia
HT Italia HT52 user manual

LaserLiner
LaserLiner EvolutionCross-Laser 8P PowerBright operating instructions

Nielsen
Nielsen Mailable Meter 2 user manual

Liquid Instruments
Liquid Instruments Moku:Lab quick start guide

Sper scientific
Sper scientific 300001 instruction manual

KROHNE
KROHNE OPTIFLUX 5000 Handbook

Landis & Gyr
Landis & Gyr Cashpower Gemini PLC user guide

Generac Power Systems
Generac Power Systems MINI DUST-FIGHTER owner's manual

Ditel
Ditel JUNIOR JR-D Quick installation guide

Siemens
Siemens ULTRAHEAT T550 Series operating instructions

TZ Medical
TZ Medical Clarus 40L Operator's manual

Chemitec
Chemitec 50 SERIES Technical manual