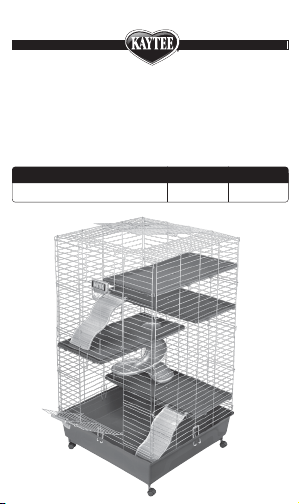
Kaytee My First Home Ferret User manual
Other Kaytee Pet Care Product manuals

Kaytee
Kaytee CritterTrail Simple Start Habitat User manual

Kaytee
Kaytee CritterTrail Two Level Habitat User manual

Kaytee
Kaytee MFH Giant 2pc 48"x24" Habitat User manual

Kaytee
Kaytee My First Home Ferret User manual

Kaytee
Kaytee 100523397 User manual

Kaytee
Kaytee EZ Clean 30"x18" Ultimate Habitat User manual

Kaytee
Kaytee CritterTrail LED Lighted Habitat User manual

Kaytee
Kaytee CritterTrail Two Level Habitat User manual

Kaytee
Kaytee CritterTrail Quick Clean Habitat User manual
Popular Pet Care Product manuals by other brands


ubbink
ubbink KoiFeeder Solar operating instructions

CADOCA
CADOCA Deuba 106911 instructions

Dogtra
Dogtra RR Deluxe owner's manual

Carson
Carson CONVERTIBLE PET YARD 2200 owner's manual

Creative Cedar Designs
Creative Cedar Designs K-9 Kabin Assembly instruction

Petdwell
Petdwell ON2PETS Canopies Assembly instructions