Small, Medium, Large and XL-Con
Selection of the different charging modes
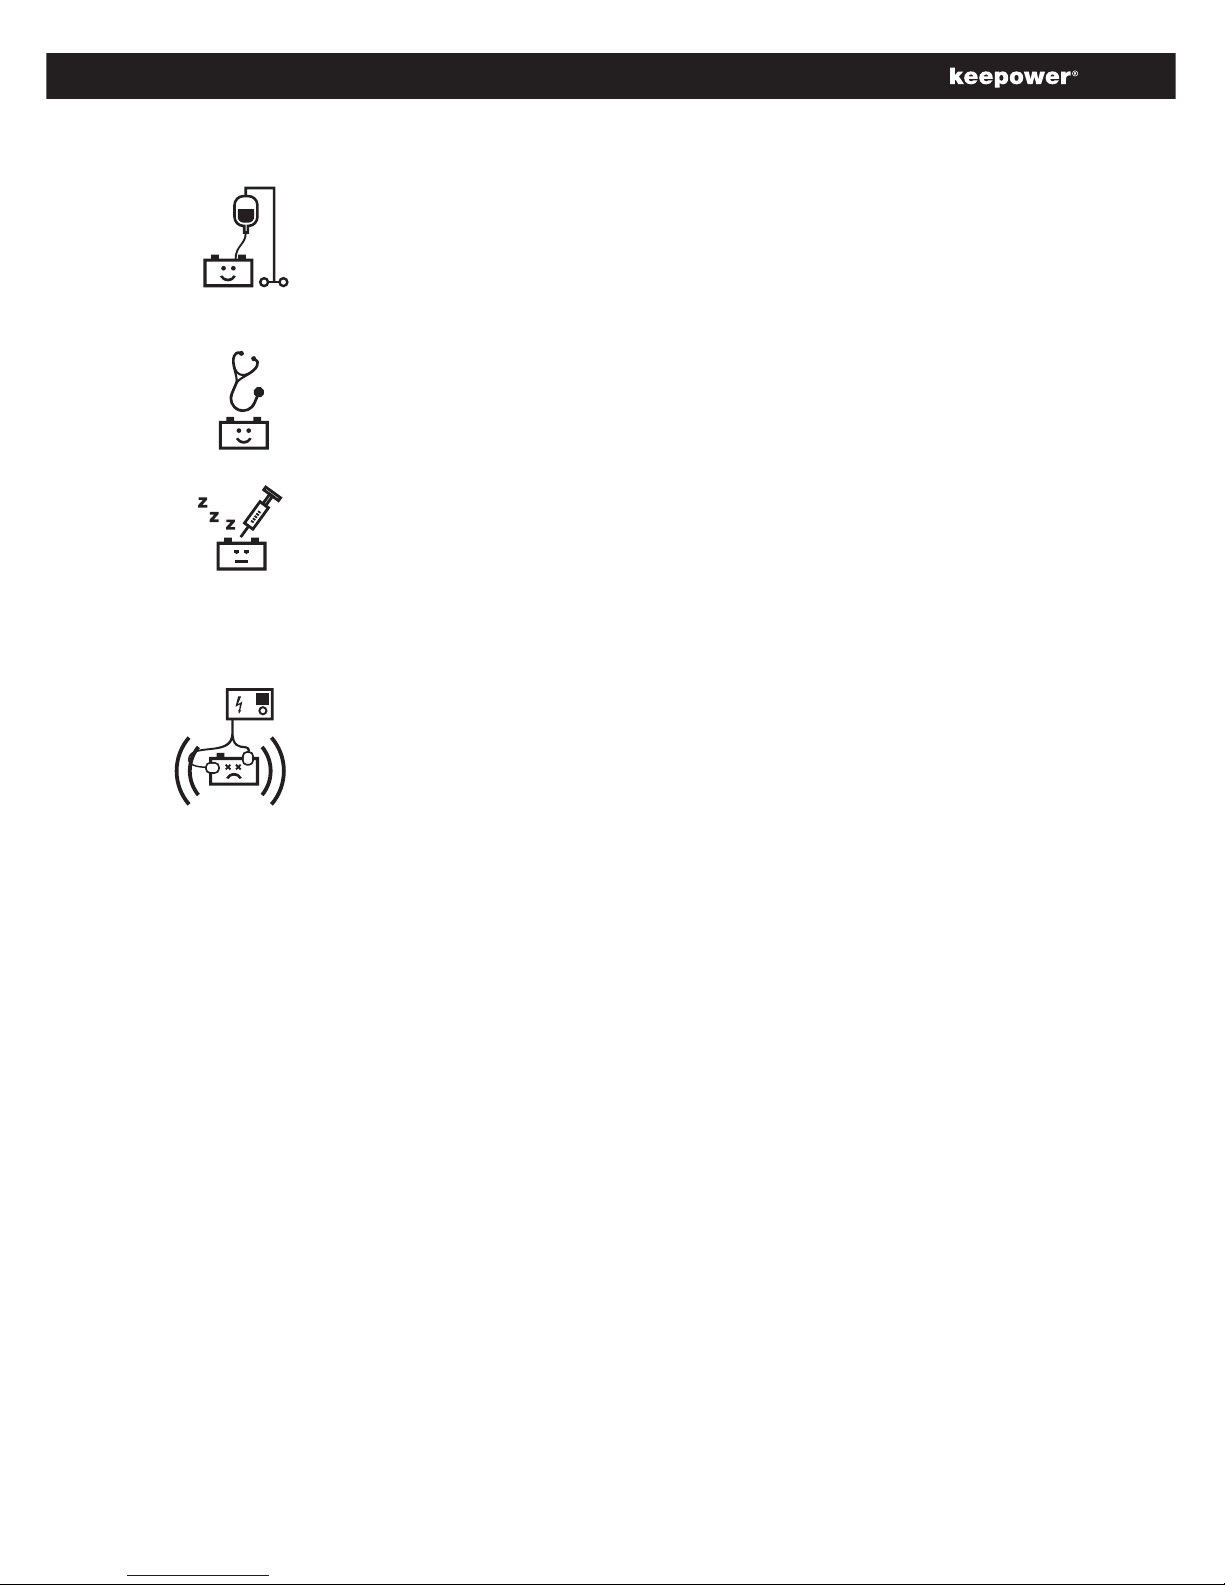
Normal charging is used on normal batteries (Wet, open type),
maintenance-free, GEL and sealed battery with a gas limit at 14.0V/12V
in Bulk mode, and 14.4V/12V in Aftercharge mode.
Normal charging is used on normal batteries (Wet, open type),
maintenance-free, GEL and sealed battery with a gas limit at 14.0V/12V
or 28.0V/24V in Bulk mode, and 14.4V/12V or 28.8V/24V in Aftercharge
mode.
“Bike charging” is the same as a “Normal Charging” but the current is
limited to 1A (only Keepower small).
Cold charging is used when the battery is below 5ºC and for most
AGM batteries. The gas limit is 14.4V/12V in Bulk mode, and 14.8V/12V
in Aftercharge mode.
Cold charging is used when the battery is below 5ºC and for most AGM
batteries. The gas limit is 14.4V/12V or 28.8V/24V in Bulk mode, and
14.8V/12V or 29.6V/24V in Aftercharge mode.
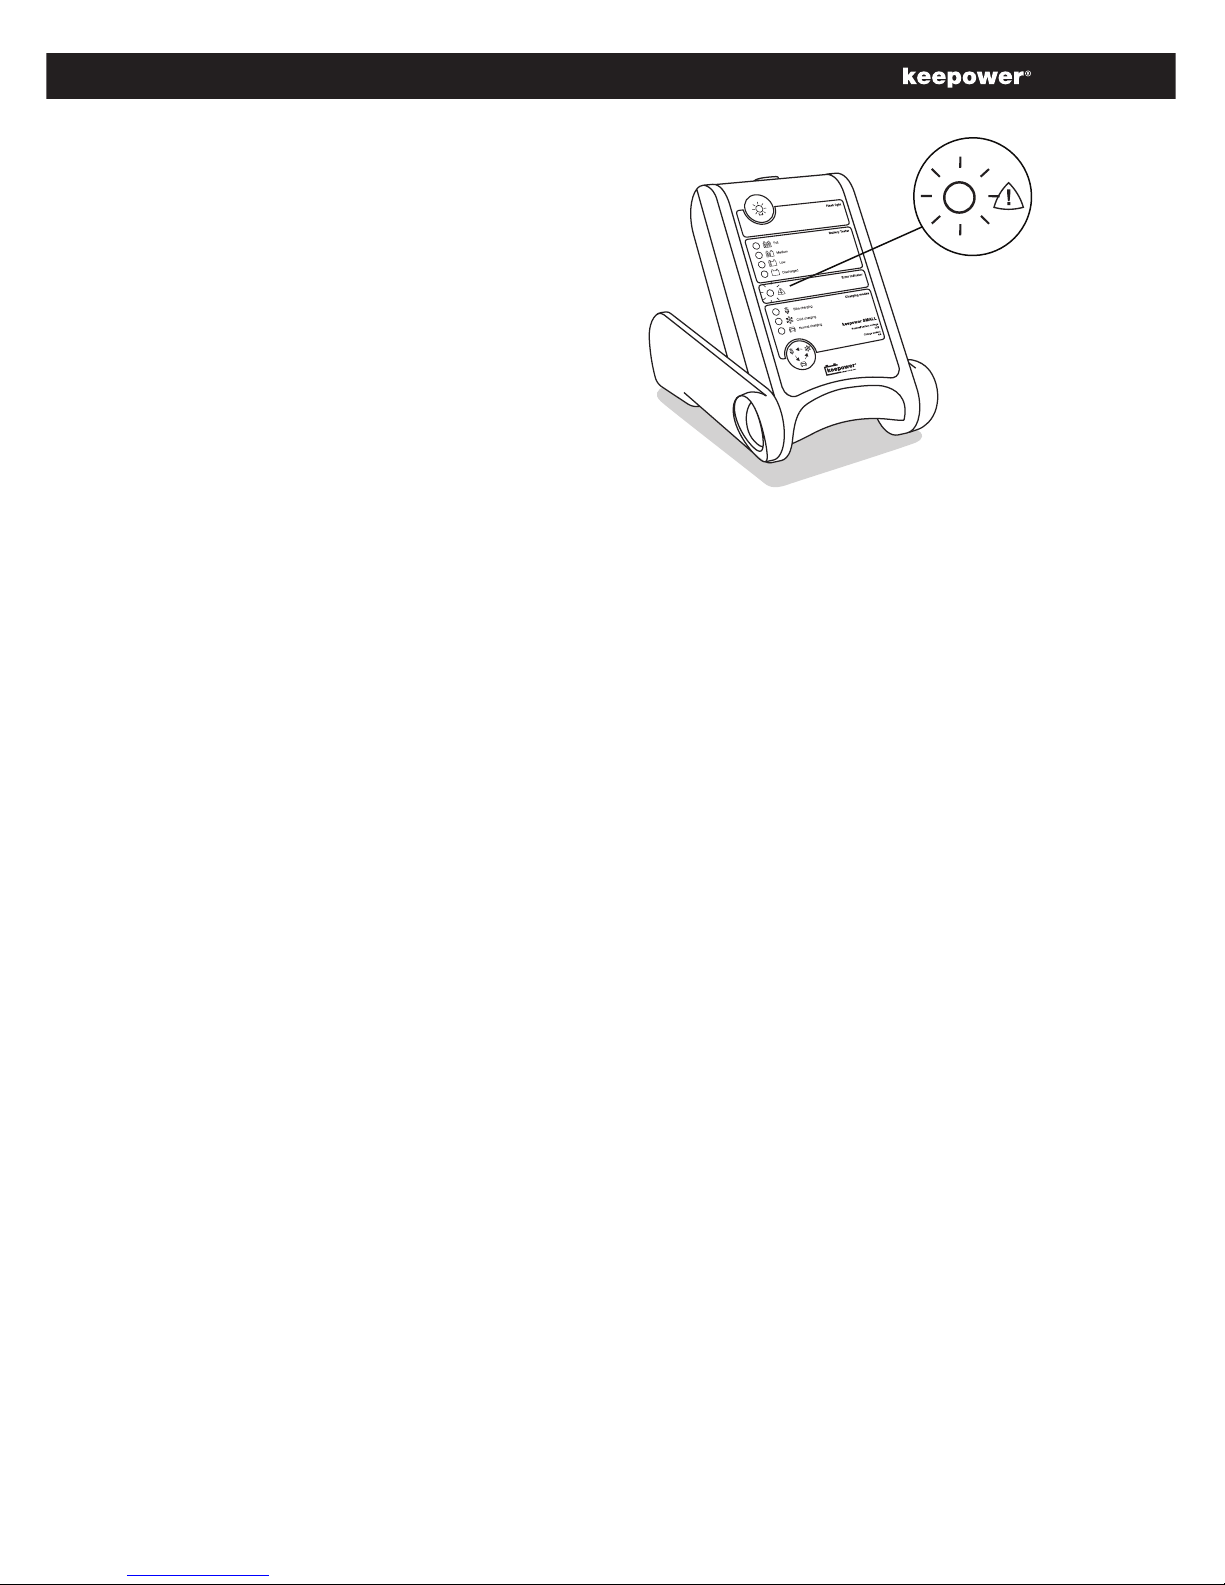
Supply Mode (Indication: Full LED constant):
The “Supply mode” is used as a power supply e.g. when the car is in a
showroom and the cars facilities is used without the motor running.
Incaseofoverload,theWarningLEDashes.Ifheavyoverload,the
charger switches off to protect it self (only Keepower Medium, Keepower
Large and Keepower XL-con). A battery has to be connected for
activation of “Supply mode”. Please note that spark protection is
not active when in supply mode.
Boost is selected by pressing the selection button for 3 sec.
(Indication: Flashing LED simultaneously):
Small, Medium and Large: XL-Con
The “Boost” phase is used to kick-start the battery if it has low power.
This “Boost” is made as an intelligent boosting. This means that the char-
ger is boosting the battery for 1 hour with maximum current and then the
battery is tested to see if it is ready for normal charging. If the battery is
not ready for normal charging, the charger will boost again. This process
is repeated 4 times and if the battery is not Ok after that the charger will
indicate a fault.
If nothing is selected within 5sec. the charger will start charging in the
mode selected last time.
(14.8V/29.6V)
(14.4V/28.8V)
Cold charging
Normal charging