manuals.online logo
Brands
  1. Home
  2. •
  3. Brands
  4. •
  5. KFI
  6. •
  7. Automobile Accessories
  8. •
  9. KFI 100700 User manual

KFI 100700 User manual

1“Figure 4” Wide Bolt pattern Set-up
“Figure 3” 4.875” Standard Bolt pattern Set-up
Kawasaki Teryx Winch Mount
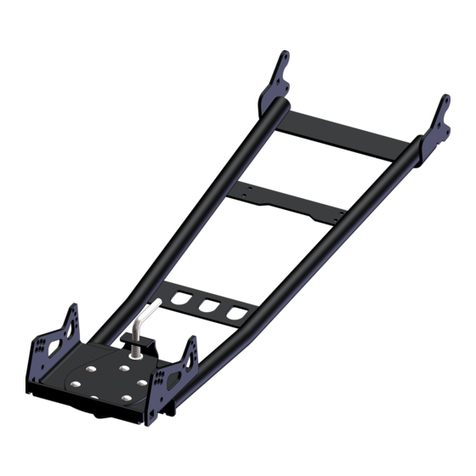
Winch Mount PART # 100700
Kit Components:
Qty Part Description
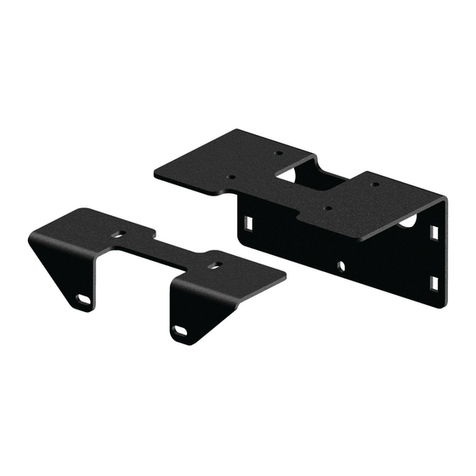
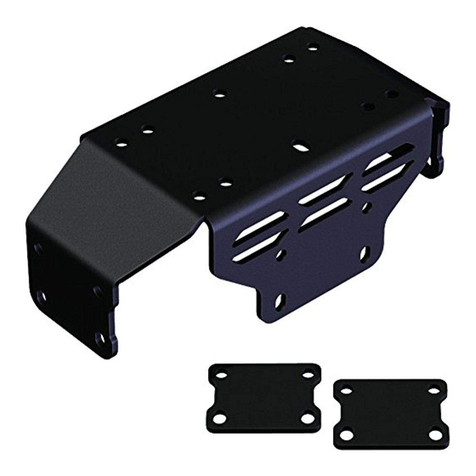
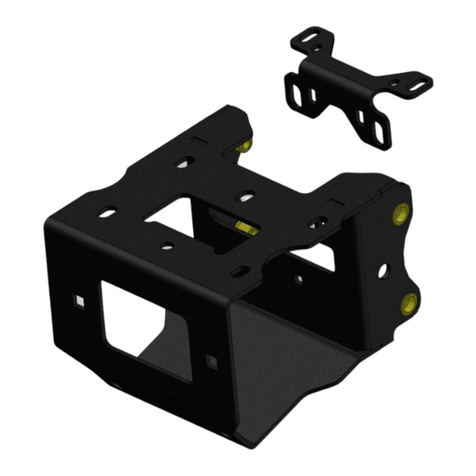
1……………. Winch Mount
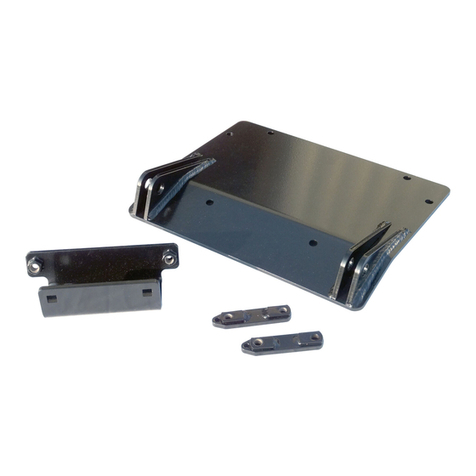
1……………. Wide Winch Plate
1……………. Reversible Fairlead Bracket
2……………. 3/8”x 1 1/4” Flange Bolt
4……………. 3/8”x 1” Carriage SN Bolt
6……………. 3/8” Nylock Nuts
6……………. 3/8” SAE Flat Washers
3……………. 5/16” x 1” Bolt
3……………. 5/16” Lock Washer
INSTALLATION INSTRUCTIONS:
1. Remove the front plastic bumper cover, by removing the (4)
screws as shown in Figure 1.
2. Remove the front bumper, by removing the (4) bolts as shown in
Figure 2.
3. Assemble your fairlead to the fairlead bracket using the
appropriate hole pattern and the hardware that was supplied with
your winch as shown in Figure 3.
4. Skip to Step 5, if you are installing a wide 4k plus winch with a
3.00” x 6.60” bolt pattern. Assemble your winch to the winch
mount using the hardware that was supplied with your winch as
shown in Figure 3. Skip to Step 6.
5. Wide winch install instructions: (see Figure 4)
Assemble your winch to the Wide Winch Plate that was
supplied with your mount using the hardware that was
supplied with your winch.
Loosely install the winch mount to your Teryx using
the supplied 3/8” carriage bolts and hardware as shown
in Figure 5.
Assemble your winch and Wide Winch Plate to the
winch mount using the supplied (3) 5/16” bolts and
lock washer into the weld-nuts on the bracket. (you
may need to pull some cable out to get the bolts in)
(skip to Step 7)
“Figure 1”
Remove Front Plastic Bumper Cover
“Figure 2”
Remove the Front Bumper
NOTE: The
fairlead bracket
is reversible to
accommodate
the standard
4.875” bolt
pattern fairleads
and the larger
6.60” bolt
pattern fairlead
bracket found on
wide 4000lbs
plus winches.
Wide Winch Plate
2
6. Place the winch and mount assembly into location
with the carriage bolts going through the frame holes
on the machine as shown in Figure5.
7. Once the winch assembly is in location and the
carriage bolts are through the appropriate holes you
can then assemble the washers and nylock nuts to the
carriage bolts, but do not tighten at this time.
8. Replace the front bumper that was removed in Step 2.
9. Place the fairlead bracket into location as shown in
Figure 6 (between the winch mount and the bumper
frame) and assemble the winch mount to the fairlead
bracket and bumper frame using the supplied 3/8”
hardware.
10. Tighten the carriage bolts from Step 5.
11. Replace the front plastic bumper cover that was
removed in Step 1.
12. Using the instructions provided with your winch, wire
accordingly.
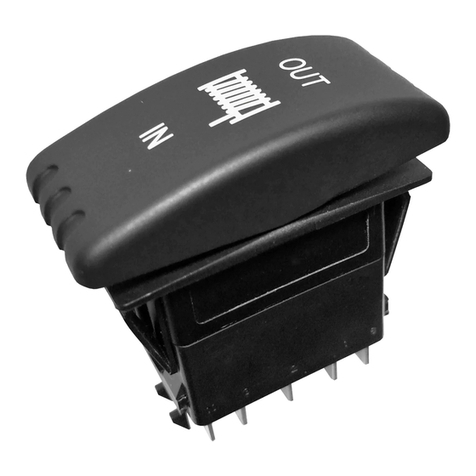
Mini-Rocker Switch Hardware Kit
This allows you to mount your usual handle bar mounted switch to
almost any desired location.
a. Remove handlebar mount hardware from the
switch.
b. Locate desired mounting location
c. Mark and drill two switch holes through dash
using switch housing as a template
d. Drill a 3rd hole for the switch wiring.
e. Assemble per Figure 7
“Figure 7” Mini-Rocker Mounting
“Figure 5”
Winch Mount Assembly in Position
“Figure 6”
Fairlead Bracket in Position
BUMPER
FRAME

Other KFI Automobile Accessories manuals

KFI HK-338 User manual

KFI

KFI HK-338 User manual

KFI OPEN TRAIL 105000 User manual

KFI

KFI OPEN TRAIL 105000 User manual

KFI OPEN TRAIL User manual

KFI

KFI OPEN TRAIL User manual

KFI 101215 User manual

KFI

KFI 101215 User manual

KFI UTV-DRS-K User manual

KFI

KFI UTV-DRS-K User manual

KFI 101355 User manual

KFI

KFI 101355 User manual

KFI A3000 Manual

KFI

KFI A3000 Manual

KFI 105250 User manual

KFI

KFI 105250 User manual

Popular Automobile Accessories manuals by other brands

Mont Blanc READY FIT 7 Fitting instructions

Mont Blanc

Mont Blanc READY FIT 7 Fitting instructions

MBRP 0130717 Assembly

MBRP

MBRP 0130717 Assembly

Kolpin Outdoors 15-0070 Assembly & owners manual

Kolpin Outdoors

Kolpin Outdoors 15-0070 Assembly & owners manual

Kargo Master 4A943 installation guide

Kargo Master

Kargo Master 4A943 installation guide

AudioBahn ACAP7J owner's manual

AudioBahn

AudioBahn ACAP7J owner's manual

Trailboss QTFD962L Fitting instructions

Trailboss

Trailboss QTFD962L Fitting instructions

Fab Fours VC3900 installation manual

Fab Fours

Fab Fours VC3900 installation manual

Guardsman G1585 FITTING INSTRUCTION

Guardsman

Guardsman G1585 FITTING INSTRUCTION

Oris 38.380-1932 FITTING INSTRUCTION

Oris

Oris 38.380-1932 FITTING INSTRUCTION

Kargo Master 4A823 Instruction guide

Kargo Master

Kargo Master 4A823 Instruction guide

Coyote GV65 Plus quick start guide

Coyote

Coyote GV65 Plus quick start guide

Possl Campster instruction manual

Possl

Possl Campster instruction manual

Directed Directechs DB3 installation guide

Directed

Directed Directechs DB3 installation guide

Active Controls ActiveStart ACS30P Installation, operation & application guide

Active Controls

Active Controls ActiveStart ACS30P Installation, operation & application guide

Dakota Digital LED Tail Lights for 1969 Mustang LAT-NR372 installation instructions

Dakota Digital

Dakota Digital LED Tail Lights for 1969 Mustang LAT-NR372 installation instructions

Roadmaster BrakeMaster 9100 installation instructions

Roadmaster

Roadmaster BrakeMaster 9100 installation instructions

Bracketron LUX LX1-851-2 manual

Bracketron

Bracketron LUX LX1-851-2 manual

ACV 381094-22 installation manual

ACV

ACV 381094-22 installation manual

manuals.online logo
manuals.online logoBrands
  • About & Mission
  • Contact us
  • Privacy Policy
  • Terms and Conditions

Copyright 2025 Manuals.Online. All Rights Reserved.