KFI 100660 User manual
1
(A)
Remove Bolts
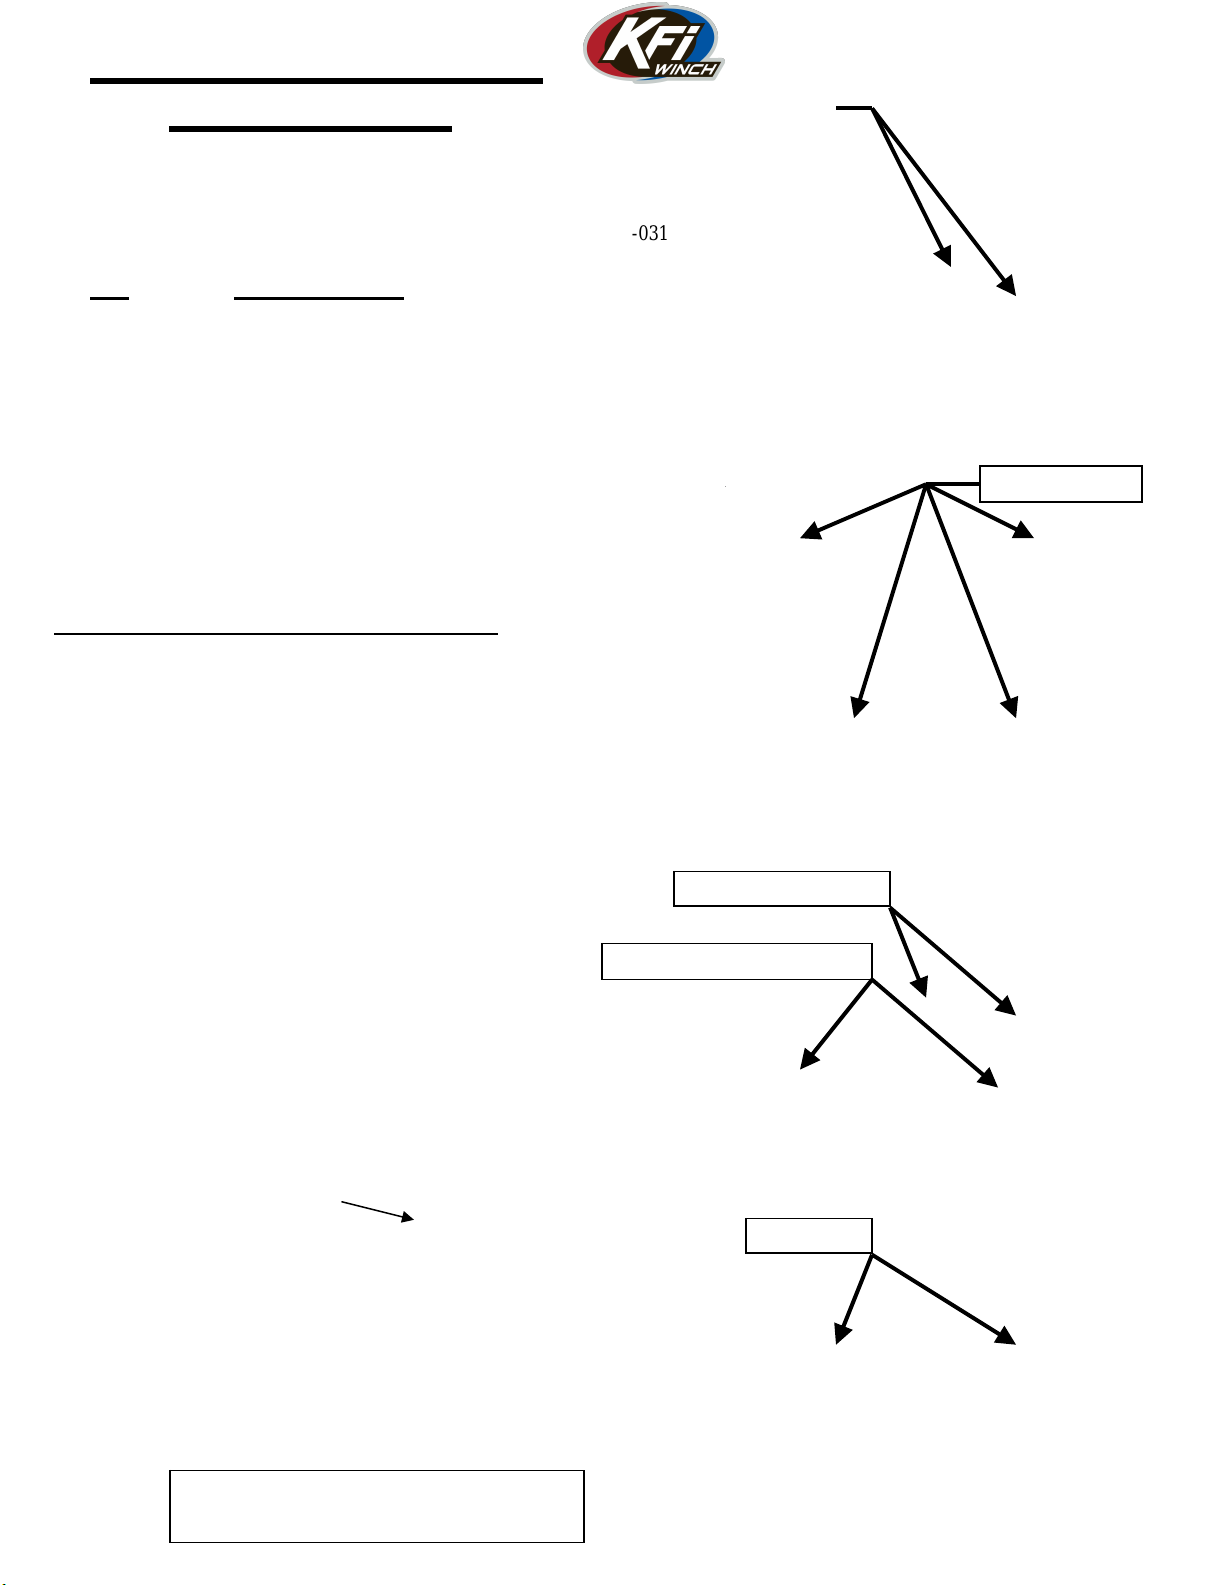
“Figure 1” Remove Cover and bolts
“Figure 3” Front of Mounting Angles
3/8” Hardware
Polaris RANGER RZR
Winch Mount
Winch Mount PART # 100660
Hardware Kit – HK-032, HK-031
Kit Components:
Qty Part Description
2……………. LH and RH Winch Mounting Angle
1……………. Winch Mount fairlead bracket
4……………. 5/16 x 3/4” Hex Head Flange Bolts
4……………. 5/16” SAE Flat Washers
4……………. 5/16” Nylock Nuts
4……………. 3/8” x 1” Hex Head Bolts
4……………. 3/8” SAE Flat Washers
2……………. 3/8” Lock Washers
2……………. 3/8” x 3/4” Shortneck Carriage Bolt
4……………. 3/8” Nylock Nut
2……………. Piggyback Quick-Connect
1……………. Hardware kit (Mini-Rocker Switch)
INSTALLATION INSTRUCTIONS:
1. Begin by removing the plastic cover (A) and
discarding as shown in Figure 1.
2. For ease of assembly remove 4 bolts as shown in
Figure 1.
3. Place LH and RH mounting angles into position as
shown in Figure 2 and 3. Assemble using the 3/8”
hardware supplied as shown in the above exploded
view. (Note: Make sure you route the cables and
hoses as shown in Figure 2)
4. Connect the shorter 2 electrical wires to your winch.
(Note: Your winch manual may state the opposite, but
you will need to connect the shorter wires to your
winch)
5. Place your Winch into position as shown in the above
exploded view and assemble using the hardware that
was supplied with your winch. (Note: If you are
installing a 2-hole mounted winch you will need to
first install the optional not included Converter Mount
#100480 as shown in Figure 4)
Note: The cable must come off
of the bottom of the spool.
Some 2-Hole mounted winches
may have the motor on the
opposite side as shown.
3/8” Bolt and Lock Washer
“Figure 2” Rear of Mounting Angles
Route Cables and Hoses as Shown
“Figure 4”
Exploded View of a 2-Hole Mounted Winch
Mount #100480 (not included)
(A)
Mounting Angles

2
6. Assemble the Fairlead Bracket to the RZR Frame as
shown in Figure 5 and the exploded view above
using the 5/16” hardware supplied.
7. Assemble your Fairlead to the fairlead bracket
while routing the cable thru. Attach your hook.
8. Replace hardware removed from Step 2.
9. Using the instructions provided with your winch,
wire accordingly.
CONTACTOR LOCATION
Contactor location is just above the passengers feet as
shown in Figure 6. (Note: You may need to re-drill the
contactor mounting holes as there are a few contactors that
will not have the same mounting bolt pattern that is on your
RZR)
SWITCH IGNITION WIRE
1. Crimp the red wire from the remote or switch
to the included Piggyback Quick Connect.
2. Remove the ORANGE electrical wire from the
accessory outlet and connect it to the
piggyback electrical connector. Figure 7
3. Connect the Piggyback connector to the
accessory outlet.
Mini-Rocker Switch Hardware Kit
This allows you to mount your usual handle bar mounted switch
to almost any desired location.
a. Remove handlebar mount hardware from the
switch.
b. Locate desired mounting location
c. Mark and drill two switch holes through dash
using switch housing as a template
d. Drill a 3rd hole for the switch wiring.
e. Assemble per Figure 8
Fairlead Bracke
t
“Figure 5” Mount Fairlead Bracket
“Figure 8” Mini-Rocker Mounting
“Figure 6” Contactor Location
Contactor Location
“Figure 7” Switch Ignition Wire
Orange Wire
Discover other winches on our website.
Other KFI Winch manuals


Popular Winch manuals by other brands


Topex
Topex 97X080 Instructions for use

Eastbound
Eastbound MotoWinch 1707001 operating instructions

Runva
Runva EWD8000 Assembly & operating instructions

Ingersoll-Rand
Ingersoll-Rand LIFTSTAR FG 1500/CN Series Parts, operation and maintenance manual

Granit
Granit 11157675 operating instructions

TREX
TREX TB75 user manual