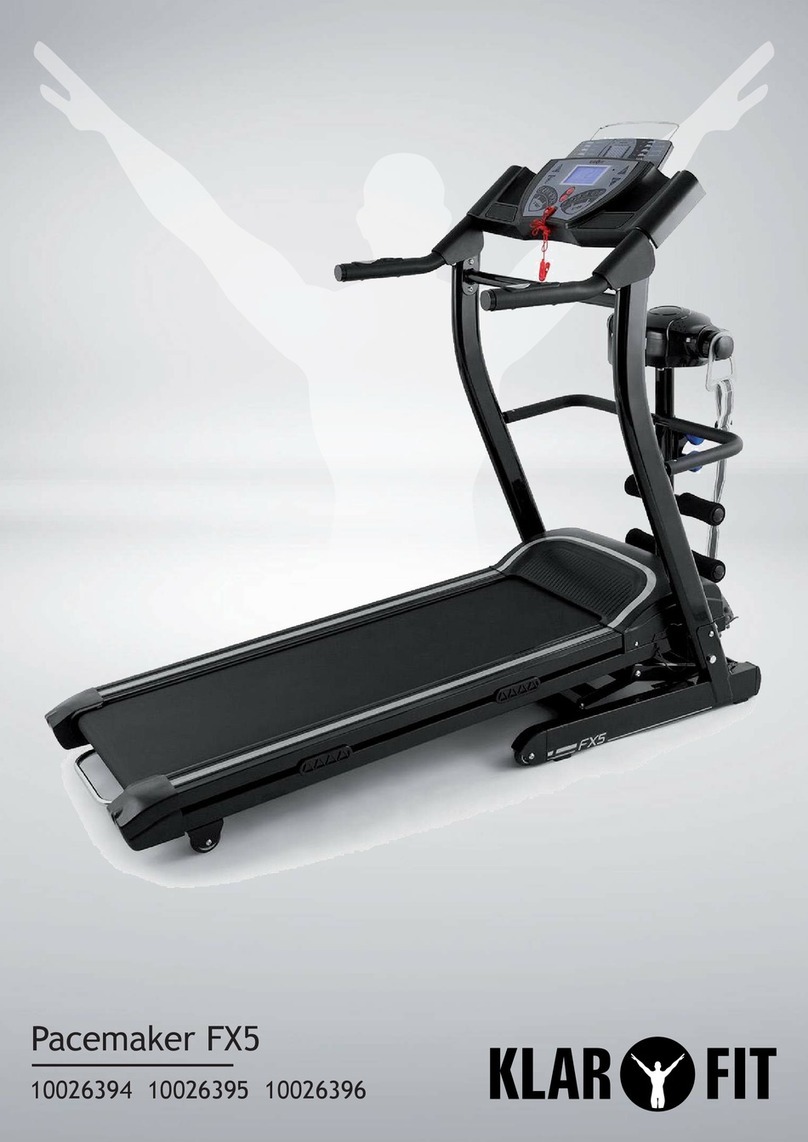
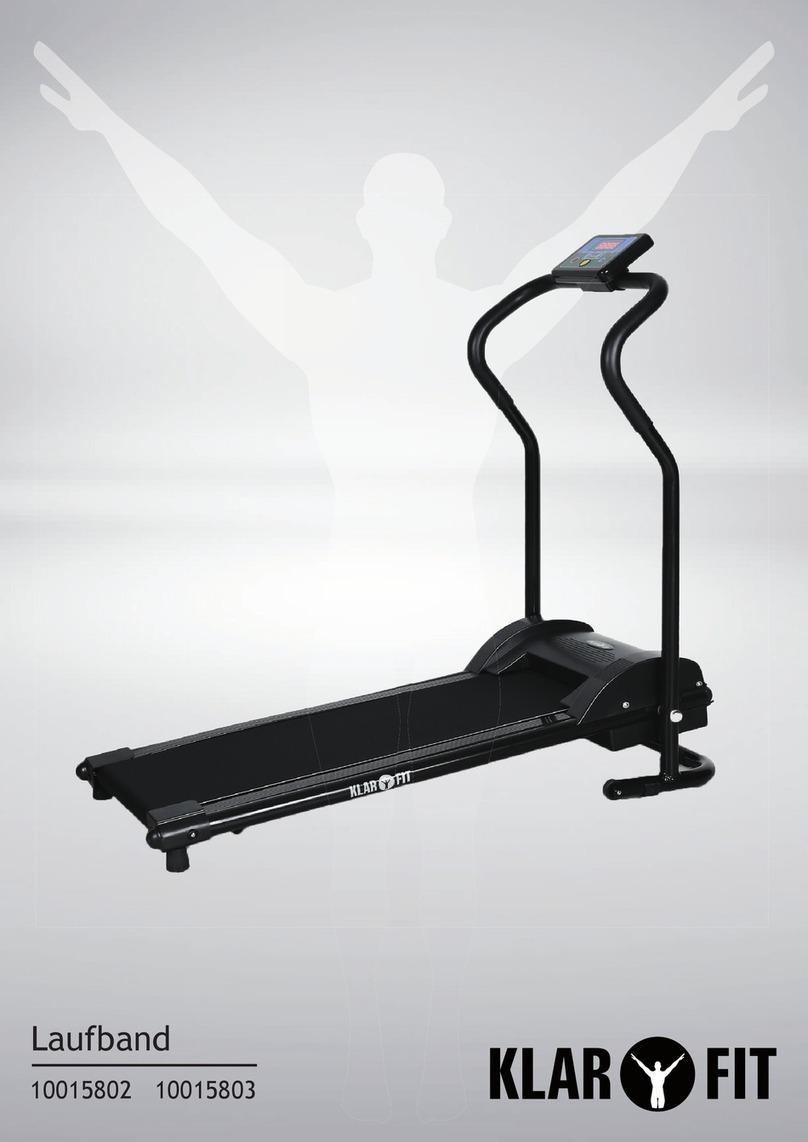
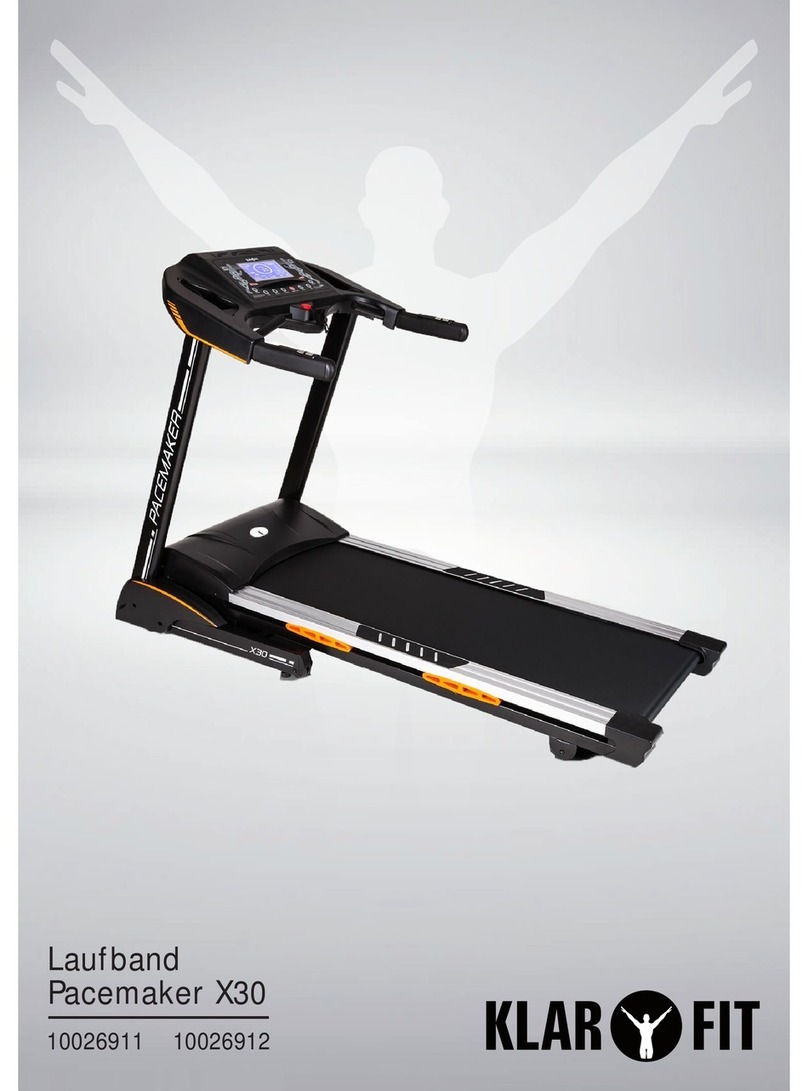
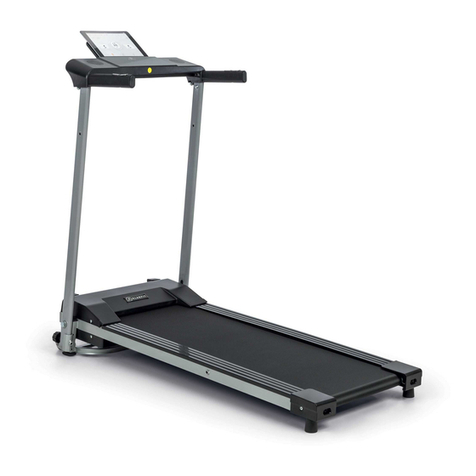
Klarfit 10032067 User manual

10032067 10032068
Laufband


3
DE
Sehr geehrter Kunde,
wir gratulieren Ihnen zum Erwerb Ihres Gerätes. Lesen Sie die folgenden
Hinweise sorgfältig durch und befolgen Sie diese, um möglichen Schäden
vorzubeugen. Für Schäden, die durch Missachtung der Hinweise und
unsachgemäßen Gebrauch entstehen, übernehmen wir keine Haftung.
TECHNISCHE DATEN
Artikelnummer 10032067, 10032068
Stromversorgung 220-240 V ~ 50-60 Hz
Leistung 1200 W
Maximale Tragkraft 100 kg
Geschwindigkeit 0.8-10 km/h
Laufäche 360 cm x 1000 cm
KONFORMITÄTSERKLÄRUNG
Hersteller:
Chal-Tec GmbH, Wallstraße 16, 10179 Berlin,
Deutschland.
Dieses Produkt entspricht den folgenden
Europäischen Richtlinien:
2014/30/EU (EMV)
2014/35/EU (LVD)
2011/65/EU (RoHS)
DIN EN 957
English 10
Français 17
Italiano 24
Español 31

4
DE
SICHERHEITSHINWEISE
• Lesen Sie sich alle Hinweise vor dem Gebrauch gut durch.
• Bevor Sie das Gerät bewegen oder transportieren, versichern Sie sich,
dass es zusammengefaltet und verriegelt ist. Transportieren Sie das Gerät
nur in zusammengefaltetem Zustand.
• Verstauen Sie das Gerät und den Not-Aus-Schalter an einem Ort, zu dem
Kinder keinen Zutritt haben.
• Halten Sie Kinder in einem Umkreis von 3 Metern vom Gerät fern solange
es benutzt wird oder wenn Sie es zusammenfalten.
• Konsultieren Sie vor dem Training einen Arzt, bezüglich Ihrer körperlichen
Fitness. Das gilt besonders für Personen über 35 Jahre.
• Benutzen Sie das Gerät nur in trockenen Innenräumen. Benutzen Sie es
nicht an feuchten Orten oder in der Nähe von Schwimmbädern.
• Stelen Sie das Gerät auf einen ebenen, stabilen Untergrund.
• Der Netzstecker muss jederzeit erreichbar sein und an eine separate
Steckdose angeschlossen werden, an der keine anderen Geräte
angeschlossen sind.
• Tragen Sie während dem Training geeignete Trainingskleidung.
• Es darf nur eine Person gleichzeitig auf dem Gerät stehen.
Hinweis: Die maximale Tragkraft für Personen beträgt 100 kg!
• Stehen Sie beim Start nicht auf der Laufäche. Stehen Sie auf den
Seitenleisten und bedienen Sie das Gerät von dort aus.
• Falls Sie sich zu irgendeinem Zeitpunkt unwohl fühlen, beenden Sie das
Training sofort.
• Warten Sie das Gerät regelmäßig und überprüfen Sie ob irgendein Teil
locker oder beschädigt ist.
• Berühren Sie mit den Händen während dem betrieb keine beweglichen
Teile.
• Schließen Sie das Gerät nur an Steckdosen an, die der Spannung des
Geräts entsprechen.
• Benutzen Sie das Gerät nicht zu lange am Stück. Lassen Sie das Gerät nach
50 Minuten Benutzung 10 Minuten lang abkühlen, bevor Sie es weiter
benutzen.
• Während der Benutzung können sich im Motor Funken bilden. Halten Sie
daher leichtentzündliche Stoffe und Sprays vom Gerät fern.

5
DE
INBETRIEBNAHME UND BEDIENUNG
Wenn Sie das Laufband zum ersten Mal benutzen, starten Sie mit einem
niedrigen Tempo. Wenn Sie sich dann sicher fühlen und das Gerät bedienen
können, passen Sie die Geschwindigkeit langsam an.
Inbetriebnahme
Not-Aus-Schalter:
Stecken Sie den Stecker
in die Steckdose und
befestigen Sie den Schalter
an der dargestellten Position.
Befestigen Sie die Klammer
an der Kleidung und drücken
Sie dann START, um mit dem
Training zu beginnen.
Auseinanderklappen und Zusammenfalten
Halten Sie das Gerät beim
Auseinanderklappen mit der
einen Hand vorne am Haken
fest. Betätigen Sie mit der
anderen Hand den roten
Knopf und lassen Sie die
Laufäche vorsichtig nach
unten ab.
Drücken Sie beim Zusammen
mit der einen Hand den
Knopf und ziehen Sie mit der
anderen Hand die Laufäche
nach oben, bis sie einrastet.

6
DE
Gerät bewegen
Stellen Sie sich seitlich neben
das zusammengefaltete Gerät
und halten Sie es oben am
Bedienfeld fest. Kippen Sie
es etwa um 45°. Sie können
das Gerät nun vor und zurück
bewegen.
BEDIENFELD UND FUNKTIONEN
1 Start/Stop 5 Geschwindigkeit erhöhen
2 Modus 6 Geschwindigkeit verringern
3 Zeit-Leuchte 7 Kalorien-Leuchte
4 Entfernungs-Leuchte 8 Geschwindigkeits-Leuchte

7
DE
Musikwiedergabe via BT
Wenn Sie über ein Smartphone verfügen können Sie es mit dem Gerät
verbinden. Öffnen Sie die BT-Einstellungen auf ihrem Mobiltelefon und
suchen Sie nach dem Gerätenamen [Shengbu]. Stellen Sie eine Verbindung mit
dem Gerät her. Sobald die Verbindung steht, können Sie Ihre Lieblingsmusik
abspielen.
Grundlegende Funktionen
• Das Gerät verfügt über eine BT-Funktion, die es erlaubt Musik
wiederzugeben.
• Die einstellbare Geschwindigkeit liegt zwischen 0.8 und 10 km/h.
• Die Pulserkennung liegt zwischen 50 und 199 BPM (Schläge pro Minute).
• Das Gerät führt regelmäßig einen Selbst-Check durch.
Bedienfeld und Anzeigen
• Distance: zeigt die zurückgelegte Entfernung an (0-99.99 km).
• Time: zeigt die Zeit an (00:0-99:59 Sekunden)
• Speed: zeigt die Geschwindigkeit an (0.8-10 km/h)
• Calories: zeigt die verbrannten Kalorien an (0-999 Kalorien)
• Pulse: zeigt den Puls an (50-199 BPM)
Tastenfunktionen
Start/Pause:
Drücken Sie im eingeschalteten Zustand auf die Taste und das Laufband
startet mit einer Geschwindigkeit von 0.8 km/h.
Mode:
Drücken Sie im eingeschalteten Zustand auf die Taste, um Zeit, Entfernung
oder Kalorien auszuwählen. Drücken Sie dann auf die Pfeiltasten, um den
Wert für die ausgewählte Kategorie einzustellen. Drücken Sie auf Start und
das Laufband startet mit einer Geschwindigkeit von 0.8 km/h. Benutzen Sie die
Pfeiltasten, um die Geschwindigkeit anzupassen. Wenn der eingestellte Wert
erreicht wurde, stoppt das Gerät.
Speed:
Drücken Sie während das Laufband läuft auf die Pfeiltasten, um die
Geschwindigkeit anzupassen.

8
DE
Not-Aus-Schalter
Der Notschalter besteht aus einem magnetischen Sensor, einem Nylonband
und einem Klammer, die an der Kleidung befestigt wird. Sobald die Verbindung
zum Gerät abreist, stoppt das Laufband. Das Display zeigt [----] an und ein
Warnton ertönt. Sobald wieder eine Verbindung zum Gerät besteht, läuft es im
letzen eingestellten Modus weiter.
WARTUNG UND PFLEGE
Schmierintervalle
Wir empfehlen Ihnen das Gerät in regelmäßigen Abständen mit einem
Silikonöl zu schmieren. Schmieren Sie es in den folgenden Abständen:
• Benutzung < 3 Stunden/ Woche: Alle 5 Monate schmieren.
• Benutzung ~ 4-7 Stunden/Woche: Alle 2 Monate schmieren.
• Benutzung bis zu 7 Stunden/Woche: Monatlich schmieren.
Laufband mit Silikonöl schmieren
1 Stoppen Sie das Band so, dass sich die Naht oben in der Mitte der
Laufäche bendet.
2 Stecken Sie die lange Nase in den Sprühkopf der Silikonölasche.
3 Heben Sie das Band an.
4 Setzen Sie die Nase zwischen Band und Laufdeck.
5 Geben Sie von vorne nach hinten und von der Mitte zum Rand einen
dünnen Schmierlm gleichmäßig zwischen Laufdeck und Laufband und
wiederholen Sie den Vorgang auf der anderen Seite.
6 Damit der Schmierlm gleichmäßig verteilen kann, lassen Sie das Laufband
mit 0.8 km/h laufen und gehen Sie ein paar Schritte auf dem Band.
Laufband anpassen
Das Laufband wurde ab Werk justiert, so dass es eigentlich problemlos laufen
sollte. Probleme können aber dann auftreten, wenn:
• Der Rahmen nicht stabil auiegt.
• Der Benutzer nicht auf der Mitte der Laufäche läuft.
• Der Benutzer nicht mit beiden Füßen gleichmäßig stark auftritt.

9
DE
In diesem Fall müssen Sie das Laufband nachjustieren. Gehen Sie dazu wie
folgt vor:
Wenn das Band dazu neigt, sich nach rechts zu bewegen, drehen
Sie die rechte Verstellschraube im Uhrzeigersinn Wir empfehlen
Ihnen die Schraube um 1/4 zu drehen und dann zu überprüfen,
ob das Band nun richtig läuft. Wenn sich das Band weiterhin nach
rechts bewegt, drehen Sie die linke Verstellschraube um 1/4
gegen den Uhrzeigersinn.
Wenn das Band dazu neigt, sich nach links zu bewegen, drehen Sie
die linke Verstellschraube im Uhrzeigersinn Wir empfehlen Ihnen
die Schraube um 1/4 zu drehen und dann zu überprüfen, ob das
Band nun richtig läuft. Wenn sich das Band weiterhin nach links
bewegt, drehen Sie die rechte Verstellschraube um 1/4 gegen den
Uhrzeigersinn.
Wenn Sie das Gerät länger nicht benutzt haben, kann das Band
etwas verlängert sein, was Rutschen und Anhalten zur Folge
haben kann. Wenn diese Probleme auftreten, drehen Sie die
Verstellschrauben auf beiden Seiten um 1/4 im Uhrzeigersinn.
Sitzt der Riemen zu fest, lösen Sie die Verstellschrauben auf
beiden Seiten um 1/4 Drehung.
HINWEISE ZUR ENTSORGUNG
Bendet sich die linke Abbildung (durchgestrichene
Mülltonne auf Rädern) auf dem Produkt, gilt die
Europäische Richtlinie 2012/19/EU. Diese Produkte
dürfen nicht mit dem normalen Hausmüll entsorgt
werden. Informieren Sie sich über die örtlichen
Regelungen zur getrennten Sammlung elektrischer und
elektronischer Gerätschaften. Richten Sie sich nach
den örtlichen Regelungen und entsorgen Sie Altgeräte
nicht über den Hausmüll. Durch die regelkonforme
Entsorgung der Altgeräte werden Umwelt und
die Gesundheit ihrer Mitmenschen vor möglichen
negativen Konsequenzen geschützt. Materialrecycling
hilft, den Verbrauch von Rohstoffen zu verringern.

10
EN
Dear Customer,
Congratulations on purchasing this equipment. Please read this manual
carefully and take care of the following hints to avoid damages. Any failure
caused by ignoring the mentioned items and cautions mentioned in the
instruction manual are not covered by our warranty and any liability.
TECHNICAL DATA
Item number 10032067, 10032068
Power supply 220-240 V ~ 50-60 Hz
Power consumtion 1200 W
Max User Weight 100 kg
Speed 0.8-10 km/h
Running Area 360 cm x 1000 cm
DECLARATION OF CONFORMITY
Producer:
Chal-Tec GmbH, Wallstraße 16, 10179 Berlin,
Germany.
This product is conform to the following European
Directives:
2014/30/EU (EMC)
2014/35/EU (LVD)
2011/65/EU (RoHS)
DIN EN 957

11
EN
SAFETY INSTRUCTIONS
• Please read this manual carefully before using, please comply with them,
to ensure safety.
• The machine moving, be sure to lock the treadmill to fold and conrm can
be carried out only after tight.
• Store treadmill after use, please place the urgent stop switch to children is
not easy to nd places, in order to avoid accidents
• Keep children away from being used or after folding machine, during the use
of children or pets should be at least 3 meters away from the running machine.
• Please consult your doctor before exercise, it‘s history for more than 35
years old and who is particularly important.
• Located indoors and in a running machine is suitable for instead of be
affected with damp be affected with damp;Water splashed on the treadmill
and are not allowed to be placed in the unit or insert any foreign body.
• The ground to level off, conrm the treadmill placed after smooth, reliable
foot touchdown, just can use.
• Power plug must be reliable grounding, the same power supply line to
avoid the use of other electrical appliances.
• Use running unit should wear sportswear and appropriate shoes, barefoot
on the treadmill exercise is forbidden.
• It is forbidden to two or more than two people at the same time on this
machine.
Note: The biggest load User is 100 kg!
• No standing on the run on startup, operation before should stand on the
side bar, hold the handrail, at startup to normal rear can use the computer.
• If you feel any discomfort in using or have abnormal situation, please press
the stop.
• This machine should be maintained periodically and kept clean .You should
check if there is any loose screw before using it ,ensuring it is in safe status.
• You must not put your hand into moving parts during use and had better
keep safe distance with the machine.
• The power supply voltage should be between 220V to 240V ,otherwise
the treadmill might work abnormally.
• Long time overland operation should be avoided. It is recommended that
after 50 minutes operation the machine stop for 10 minutes before work
again.
• While treadmill is operating, the motor generates sparks and should be
kept away from ammable and volatile matters.

12
EN
USE AND OPERATION
In order to ensure our own security, just beginning to learn the running man,
recommendations from low starting.When the runner feeling itself able to
control the speed of a good on treadmill that you can accelerate appropriate ,
to achieve a better training effect.
Getting Started
Security Lock:
Plug in the power, and
then turn on the
power switch into the
electronic security lock
position as shown in the
table, press the start button
(START), you can start running
up.
Folding and Unfolding
Fold the front hook live, when
you want to expand one
hand against the treadmill,
one hand on the red button.
Hand treadmill slowly down.
Expanding the hand by
treadmill and down slowly.
When folding treadmill left
hand, right hand to press this
position while the left hand
to force the treadmill can
be pushed upward to hook
caught.

13
EN
Moving the Unit
Standing on the treadmill one
side, hands holding the top of
the treadmill, and Bring the
power cord. Let the treadmill
inclined at 45 degrees,
You can move forward and
backward folded machine.
CONTROL PANEL AND FUNCTIONS
1 Start/Stop 5 Speed up
2 Mode 6 Speed down
3 Time Indicator Light 7 Calories Indicator Light
4 Distance Indicator Light 8 Speed Indicator Light

14
EN
Music Playback via BT
You need a Smartphon with long distance wireless connectivity for audio.
Settings Tap on the phone, nd the BT function in the settings, turn on BT
and point to search for BT, a BT name will appear on the phone, [shengbu]. BT
connection and then search the phone to connect some music playback, it will
automatically play music.
General Functions
• The treadmill has bluetooth,you can listen music by the cellphone.
• The running speed of the range: 0.8 to 10.0 KM/H.
• Heart rate detection range: 50 to 199 BPM.
• System self-check, abnormal information prompt functions.
Control Panel and Display
• Distance: it shows the distance.(range:0 km-99.99km)
• Time: it shows time.(range:00:00 -99:59second(
• Speed: it shows speed. (range:0.8km/h-10km/h(
• Calorie: it shows calorie (range:0-999 calorie(
• Pulse: it shows heart rate(range: 50 to 199bpm)
Key Functions
Start/Pause:
Under ready condition, press this key, the treadmill runs at the speed of
0.8 km/h, and it will stop working after pressing again.
Mode:
Under ready condition, press this key to set time, distance and calorie
accordingly. Press “speed+”” or “speed-” keys to set the value of time, distance
and calorie. Then press “start” key, the machine will run at 0.8km/h. The speed
can change by speed key.And the set gures will be counted down, when it
comes to “0”, machine stops.
Speed +/–:
Under ready condition, press them to change speed when the machine is
running.

15
EN
Safety Lock Function
Safety locks consist of magnetic sensors, clothes-pins and nylon ropes, which
is a protection in case of emergency. As long as the safety lock off position,
treadmill will stop running fast. The screen will show“----”with warning tone
and the keyboard of the electronic watch allow no operation .The whole screen
will display for 2 seconds and then enter working state with default settings
after putting the safety lock to the right position again.
CARE AND MAINTENANCE
Lubrication
Running a period of time , must be congured with special cymene silicone oil
for lubrication. Suggestion:
• Using less than 3 hour each week: 5 month lubrication
• Using 4~7 hours each week: 2 month lubrication
• Using up to 7 hours each week: 1 month lubrication
How to Lubricant
1 Stop running belt so that the seam is located on top and in the center of
the desk.
2 Insert nozzle into spray head of lubricant can.
3 Lift running belt
4 Position nozzle between the belt and the board approximately 200 mm
(8”) from the front of the treadmill.
5 Apply the silicone from the front to the rear for the treadmill on each side
of the treadmill. Try to reach the spray as far into the center of the running
desk as possible .The spray time should be approximately four seconds for
each side .
6 Spread the silicone by running the treadmill at 0.8 km/h and step gently on
the belt front the left to right.
Running Belt Tension Adjustment
The treadmill has been adjusted and passed QC inspection before leaving the
factory. If there is phenomenon of bias running of the belt, the possible reasons
might be:
• The frame is not stably laid.
• The user is not running on the centre of the running belt.
• The user’s two feet are not using even strength.

16
EN
For bias which can not be xed automatically, try the following methods to x
the belt, as picture shown:
If the belt tends to move to the right, you should turn the belt
adjustment screw on the right in clockwise direction. We
recommend you turn 1/4 turn each time and check how it
works. If the belt remains slanting to the right ,then turn the belt
adjustment screw on the left in counterclockwise direction 1/4,as
shown in the picture A.
If the belt tends to move to the left, then turn the belt adjustment
screw on the left in clockwise direction for 1/4 turn. If the belt
remains slanting to the left ,then turn the belt adjustment screw
on the right in counterclockwise direction for 1/4 turn, as shown
in the picture B.
After having been used for a period, the belt might be slightly
elongated, and slipping and halting might appear when a person is
running on it. When these phenomena appear, you should secure
the screws on both sides for 1/4 turn. If the belt is too tight just
loosen the screw on both sides for 1/4 turn, as shown in picturec.
HINTS ON DISPOSAL
According to the European waste regulation 2012/19/
EU this symbol on the product or on its packaging
indicates that this product may not be treated as
household waste. Instead it should be taken to the
appropriate collection point for the recycling of
electrical and electronic equipment. By ensuring this
product is disposed of correctly, you will help prevent
potential negative consequences for the environment
and human health, which could otherwise be caused by
inappropriate waste handling of this product. For more
detailled information about recycling of this product,
please contact your local council or your household
waste disposal service.

17
FR
Cher client,
Toutes nos félicitations pour l’acquisition de ce nouvel appareil. Veuillez lire
attentivement les instructions suivantes de branchement et d’utilisation
an d’éviter d’éventuels dommages. Le fabricant ne saurait être tenu pour
responsable des dommages dus au non-respect des consignes de sécurité et à la
mauvaise utilisation de l’appareil.
FICHE TECHNIQUE
Numéro d’article 10032067, 10032068
Alimentation 220-240 V ~ 50-60 Hz
Puissance 1200 W
Charge maximale 100 kg
Vitesse 0.8-10 km/h
Surface de course 360 cm x 1000 cm
DÉCLARATION DE CONFORMITÉ
Fabricant :
Chal-Tec GmbH, Wallstraße 16, 10179 Berlin,
Allemagne.
Ce produit est conforme aux directives européennes
suivantes :
2014/30/UE (CEM)
2014/35/UE (LVD)
2011/65/UE (RoHS)
DIN EN 957

18
FR
CONSIGNES DE SÉCURITÉ
• Avant l‘utilisation, lisez bien toutes les consignes.
• Avant de déplacer ou de transporter l‘appareil, assurez-vous qu‘il est bien
replié et verrouillé. Transportez l‘appareil replié uniquement.
• Rangez l‘appareil et l‘interrupteur d‘arrêt d‘urgence dans un lieu hors de
portée des enfants.
• Tenez les enfants à 3 mètres au moins de l‘appareil pendant que vous
l‘utilisez ou le repliez.
• Avant de vous entraîner, consultez un médecin pour vérier votre forme
physique. Cela est valable pour les personnes de plus de 35 ans en
particulier.
• Utilisez l‘appareil dans les pièces intérieures sèches uniquement. Ne
l‘utilisez pas dans les endroits humides ou à proximité d‘une piscine.
• Installez l‘appareil sur un support horizontal et stable.
• La che doit toujours rester accessible et être branchée sur une prise
réservée, sans aucun autre appareil branché dessus.
• Pendant l‘entraînement, portez des vêtements adaptés.
• L‘appareil ne doit être utilisé que par une seule personne à la fois.
Remarque: le poids maximum de l‘utilisateur est de 100 kg !
• Ne vous tenez pas sur le tapis lors du démarrage. Tenez-vous sur les
bandes latérales et commandez l‘appareil à partir de cet endroit.
• Si à un moment ou à un autre vous ne vous sentez pas bien, mettez n à
l‘entraînement immédiatement.
• Entretenez l‘appareil régulièrement et vériez que toutes les pièces sont
bien serrées et en bon état.
• Pendant l‘utilisation, ne touchez à aucune pièce mobile avec les mains.
• Branchez l‘appareil uniquement sur des prises dont la tension correspond
à celle de l‘appareil.
• Ne faites pas de trop longues séances avec l‘appareil. Au bout de 50
minutes d‘utilisation, laissez l‘appareil refroidir 10 minutes avant de
continuer à l‘utiliser.
• Pendant l‘utilisation, des étincelles peuvent apparaître dans le moteur.
Pour cette raison, tenez les substances inammables et les sprays à
distance de l‘appareil.

19
FR
MISE EN SERVICE ET UTILISATION
Lorsque vous utilisez le tapis de course pour la première fois, commencez avec
une vitesse lente. Lorsque vous vous sentirez plus sûr de vous et que vous
connaîtrez mieux l‘appareil, adaptez progressivement la vitesse.
Mise en service
Arrêt d‘urgence :
Branchez la che dans la
prise et xez l‘interrupteur
à l‘endroit indiqué. Fixez les
pinces sur les vêtements puis
appuyez sur START pour
débuter l‘entraînement.
Déplier et replier l‘appareil
Lorsque vous dépliez
l‘appareil, tenez-le d‘une main
à l‘avant au niveau du crochet.
De l‘autre main, actionnez
le bouton rouge et faites
descendre doucement le tapis.
Lorsque vous repliez
l‘appareil, appuyez d‘une main
sur le bouton et tirez le tapis
de l‘autre pour le remonter
jusqu‘à ce qu‘il s‘enclenche.

20
FR
Déplacer l‘appareil
Placez-vous sur le côté de
l‘appareil replié et tenez-
le en haut par le panneau
de commande. Inclinez-le
environ à 45°. Vous pouvez
maintenant déplacer l‘appareil
en avant et en arrière.
PANNEAU DE COMMANDE ET FONCTIONS
1 Start/Stop 5 Augmenter la vitesse
2 Mode 6 Réduire la vitesse
3 Témoin de durée 7 Témoin des calories
4 Témoin de distance 8 Témoin de vitesse
This manual suits for next models
1
Table of contents
Languages:
Other Klarfit Treadmill manuals

Klarfit
Klarfit Highflyer FX2 User manual

Klarfit
Klarfit 10034444 User manual

Klarfit
Klarfit Pacemaker X1 User manual

Klarfit
Klarfit Pacemaker X3 User manual

Klarfit
Klarfit 10026911 User manual

Klarfit
Klarfit Pacemaker FX5 User manual

Klarfit
Klarfit 10026388 User manual

Klarfit
Klarfit Treado Advanced 2.0 User manual

Klarfit
Klarfit 10015803 User manual

Klarfit
Klarfit Pacemaker X3 User manual