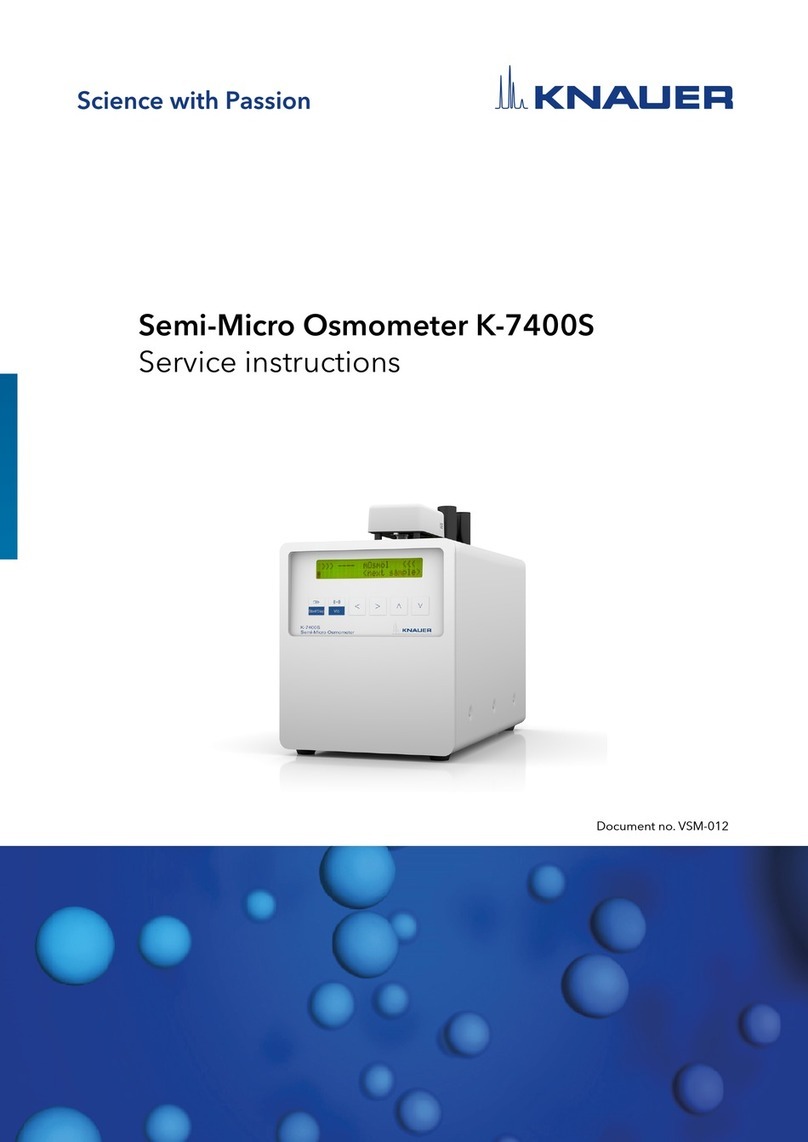
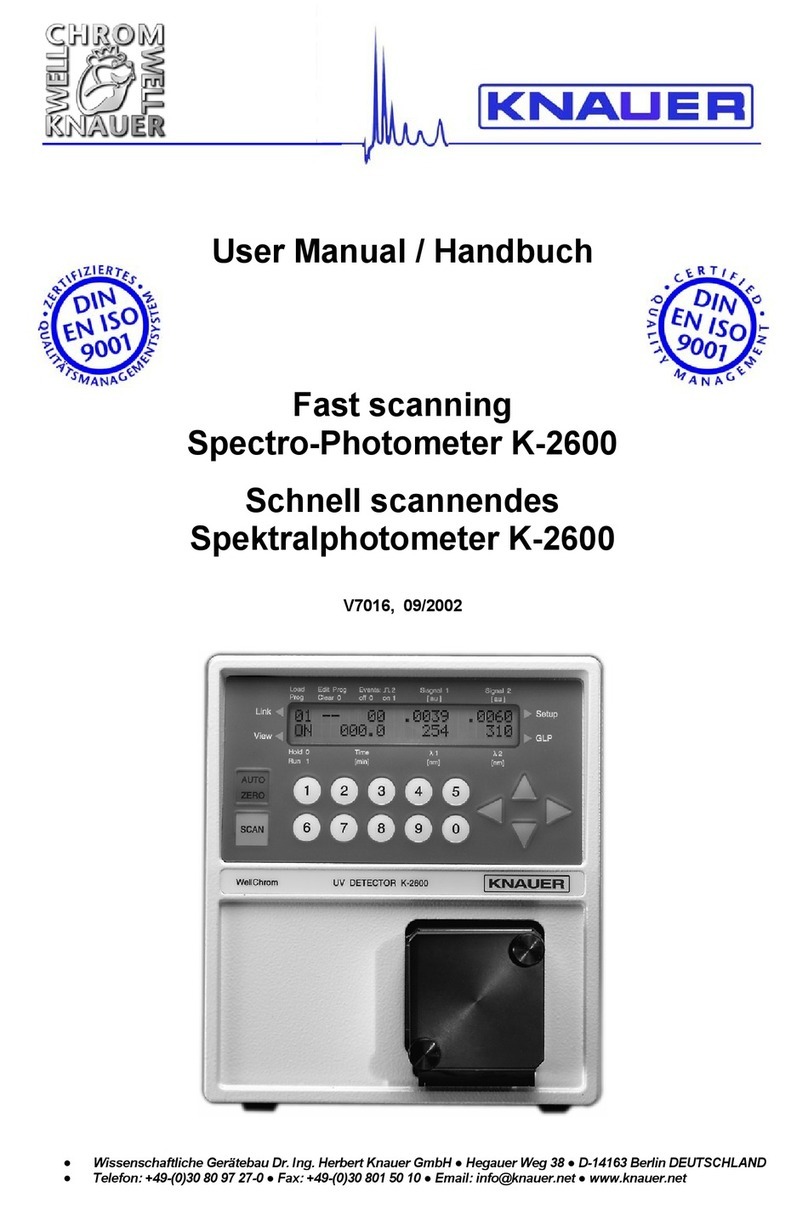
Knauer K-7400 User manual

Semimicro Osmometer
User Manual
Halbmikro-Osmometer
Benutzerhandbuch
V3707, 04/2016
K-7400
HPLC · SMB · Osmometry
KNAUER
Wissenschaftliche Geräte GmbH
Hegauer Weg 38
D-14163 Berlin, Germany
Phone: +49 30 809727-0
Telefax: +49 30 8015010
E-Mail: info@knauer.net
Internet: www.knauer.net

CONTENTS
Using this Manual ....................................................................................6
Conventions in this Manual ............................................................... 6
SOP´s in this manual......................................................................... 6
Setting up the Osmometer K-7400..........................................................7
Unpacking the Osmometer K-7400................................................... 7
Delivery Content................................................................................ 7
Power supply..................................................................................... 7
Placing the Osmometer K-7400 ........................................................ 7
Description of the Osmometer K-7400 ....................................................8
Front View ......................................................................................... 8
Rear View .......................................................................................... 8
Connection of the Measuring Head................................................... 8
Measuring Head Storage ............................................................. 9
Measurement Principle and Process............................................... 10
Using the Osmometer K-7400...............................................................11
Switching on .................................................................................... 11
Internal Software Structure.............................................................. 12
Preparing the Osmometer K-7400 .................................................. 13
Calibration ....................................................................................... 13
Pre- calibration ........................................................................... 13
Measuring calibration ................................................................. 14
Measuring Samples......................................................................... 15
Important Hints for Using................................................................. 16
Possible Error Messages ................................................................ 17
Self-Freezing of the Sample............................................................ 17
Non-Freezing of the Sample ........................................................... 18
Using the EuroOsmo®7400 Software ...................................................18
Installation ....................................................................................... 18
Hardware Installation.................................................................. 18
Description of the main screen........................................................ 19
Maintenance by the User.......................................................................25
Function Checks of Cooling Capacity ............................................. 25
Spare Parts and Accessories ................................................................26
Technical Data.......................................................................................26
Warranty statement ...............................................................................49
Declaration of Conformity......................................................................49
KNAUER Software License Agreement ................................................50

INHALTSVERZEICHNIS
Konventionen in diesem Handbuch................................................. 27
SOP´s in diesem Handbuch ............................................................ 27
Inbetriebnahme des Osmometers K-7400............................................ 28
Auspacken des Osmometers K-7400.............................................. 28
Lieferumfang.................................................................................... 28
Netzanschluss ................................................................................. 28
Aufstellen des Osmometers K-7400................................................ 28
Beschreibung des Osmometers K-7400............................................... 29
Frontansicht ..................................................................................... 29
Rückseitenansicht............................................................................ 29
Messkopfanschluss ......................................................................... 29
Messkopflagerung ...................................................................... 30
Messprinzip und -ablauf................................................................... 31
Bedienung des Osmometers K-7400.................................................... 32
Einschalten ...................................................................................... 32
Menüführung.................................................................................... 33
Messvorbereitung ............................................................................ 34
Kalibrierung...................................................................................... 34
Vorkalibrierung ........................................................................... 34
Messkalibrierung ........................................................................ 35
Messung von Probelösungen .......................................................... 37
Wichtige Bedienungshinweise......................................................... 38
Mögliche Fehlermeldungen ............................................................. 38
Frühkristallisation der Proben.......................................................... 39
Nichtgefrieren der Proben ............................................................... 40
Arbeit mit der EuroOsmo®7400 Software ............................................ 40
Installation........................................................................................ 40
Hardware Installation.................................................................. 40
Erläuterung des Hauptbildschirms................................................... 41
Wartung durch den Anwender.............................................................. 47
Funktionsprüfung der Kühlleistung .................................................. 47
Ersatzteile und Zubehör........................................................................ 48
Technische Daten ................................................................................. 48
Gewährleistungsbedingungen .............................................................. 49
Konformitätserklärung........................................................................... 49
KNAUER Software License Agreement ............................................... 50


6 Using this Manual
Using this Manual
Conventions in this Manual
Special Warnings are indicated by the marginal warning sign and
printed in bold letters.
The marginal lamp symbol indicates helpful advice.
Important Hints are marked by the marginal hand symbol.
Arrows in an outlined form like this example used in block diagrams
indicate an automatic program run and change to the next line without the
necessity of manual interventions.
Arrows like this, used in block diagrams, indicate that the user is asked to
press the corresponding arrow keys
The triangles symbolize the use of corresponding arrow keys.
SOP´s in this manual
The Standard Operating Procedures (SOP) provided with this manual
offer a convenient way of structuring complex tasks in the operation of
your Semi Micro Osmometer K7400. They include step-by-step
instructions leading the user through all routine tasks during operation.
They can be used for documentation purposes and be copied, applied,
signed, and filed in order to document the performance of the instrument.
Please operate the instrument and all accessories according to the
instructions and SOP´s in this manual. This ensures proper results
and longevity of your equipment.
Table 1 SOP´s in this manual
SOP 1Preparing a Measurement 13
SOP 2Pre- calibration after measuring head exchange 13
SOP 3Performing a Calibration 14
SOP 4Performing a Sample Measurement 15

Setting up the Osmometer K-7400 7
Setting up the Osmometer K-7400
Unpacking the Osmometer K-7400
Unpack the instrument and check the Osmometer K-7400 and
accessories for any damage due to shipping. Make any claims for
shipping damage to the transportation company responsible for shipping.
Please check that the semi-micro Osmometer K-7400 is complete, using
the Delivery Content List as a guide at page 7. Should any article be
missing, please contact our service department.
A complete list of available spare parts and consumables you can find in
the section „Spare Parts and Accessories“ on page 26.
Delivery Content
The standard delivery contents of:
Semi-micro Osmometer K-7400
Printer (optionally)
User manual
Power supply cable
RS232 cable
Measuring head with thermistor and stir assembly
(version for either glass or plastic vials)
Pack of 100 measuring vessels
Bottle cleaning solution
Pack 10 ampoules calibration solution 400 mOsm/kg
Pack of cotton swabs
Power supply
Make certain that the correct voltage has been set on the rear panel of
the instrument, the power supply is grounded and a corresponding 3-
pole power cable is used.
Connect the Osmometer K-7400 to the power supply and switch on the
instrument. After switching ON the display presents for a short time
information’s concerning the instrument version and number.
Placing the Osmometer K-7400
During a measurement no greater temperature changes are allowed.
The air convection holes at both sides of the instrument must
remain uncovered.
Otherwise the instrument temperature may increase to values, which
disclose a proper function of the Osmometer K-7400. This leads to an
automatically shutting down of the display.
To avoid serious damages the reason for the overheating has to be
omitted.

8 Description of the Osmometer K-7400
Description of the Osmometer K-7400
Front View
Measuring Head
LCD Display
Key pad
Fig. 1 Front view of the Osmometer K-7400
Buttons Function
START/STOP 1. Starts a measurement or calibration run.
2. It interrupts any running measurement!
3. If no run can be started or stopped it causes a
jump into the main menu.
VIBRATOR Activates the stirrer for one second. During a
measurement or calibration run the button is not
in function.
ARROW KEYS Cursor navigation buttons for parameter or value
selection
Rear View
RS232 connector (printer)
Measuring head connector
Ventilator
Power connector
Main power switch
Fig. 2 Rear view of the Osmometer K-7400
Connection of the Measuring Head
Parts of the measuring head are an inbuilt motor with a stirring wire
(vibrator), the thermistor and a cone adapting the measurement vial. The
measuring head cable is to be plugged into the connector.
The measuring vial, filled with exact 0.15 ml solution (calibration or
measuring) is to fix to the adapter. Two versions of measuring heads are
available, for the use of glass vials and plastic vials respectively. The

Description of the Osmometer K-7400 9
measuring and calibration procedures are independent on the type of the
measuring head.
1Nut
2Thermistor support
3 Counter nut
4 Bottom plate
5 Cone
6 Adapter sleeve for
Measuring vials (glass)
7 Thermistor
8 Vibration wire
9 Measuring vial (glass)
Fig. 3 Measuring head scheme of the Osmometer K-7400
Fig. 4 Measuring heads of the Osmometer K-7400 for glass (A) and
plastic vials (B)
The obvious difference of glass and plastic vials consists in the fixing
manner. The plastic vials are simply to push on the cone while the
cylindrical glass vials are to push into the adapter sleeve. This gives also
the necessity for a different supporter length.
It is not possible to transform a head for glass vials into one for
plastic vials or vice versa simply by using or removing the adapter
sleeve. Due to the different thermal conduction also internal
deviations exist.
Any change of the measuring head type causes the need for a pre-
calibration to adapt the instrument to the measuring head (see SOP
2 on page 13).
The measuring head is placed on the housing plate with the measuring
vial rising into the cooling compartment. The instrument is now ready for
the measurement.
Measuring Head Storage
Generally the measuring head shall be stored with attached
measuring vial.
For temporarily put down the measuring head without measuring vial
while working with the osmometer use the four feet on top of the
instrument.
A B

10 Description of the Osmometer K-7400
Fig. 5 Putting down the measuring head without vial
Measurement Principle and Process
The osmotic pressure in a solution is proportional the freezing point
depression of that solution. An aqueous solution, with an osmotic
pressure corresponding to an ideal 1-molal solution, freezes at -1.858 °C.
An aqueous solution with this freezing point has a concentration of
1 Osm/kg.
To perform a measurement first the sample solution is cooled down
without stirring. Even pure water can be super-cooled down to about -5
through -8°C without freezing. The freezing is initiated by an
automatically start of the vibrator at a set temperature. The temperature
reaches the freezing point, 0°C in case of pure water.
°C
10
0
-10
0 1 2 3 min
Freezing point
Super-cooling
Fig. 6 Temperature-time-curve for pure water
The freezing point of a solution is below 0°C. The freezing point
depression T is a measure for the osmolality of a solution, which can be
red directly from the display given in mOsm/kg.

Using the Osmometer K-7400 11
°C
10
0
-10
0 1 2 3 min
Freezing point
T
Super-cooling
Fig. 7 Temperature-time-curve for a sample solution
During a measurement the actual temperature is displayed. The
instrument detects the maximum temperature reached, stores it, and if
crystallization occurred satisfactory, displays the result.
After finishing the measurement the sample vessel is warmed up to 20°C.
As this is the stand-by temperature of the cooling cavity, the measuring
head can remain there before and after measurement as long as desired.
Using the Osmometer K-7400
Switching on
After switching ON the display presents for a short time information
concerning the instrument and the firmware version:
KNAUER V01.XX
Freezing Point Osmometer
Now the osmometer is ready for use. In the display the main menu is
shown with the result of the last measurement. The cursor is placed on
the rhombus field ♦.
>>> 1234 mOsmol <<<
♦<next sample>
Depending on the actual settings the measurement value can also be
shown as a percentage or temperature value.
>>> 12.34 % <<<
♦<next sample>
>>> -1.234 °C <<<
♦<next sample>

12 Using the Osmometer K-7400
Using the osmometer the first time neither measuring or calibration
values are present. Accordingly the last value will not be displayed.
>>> _____ mOsmol <<<
♦<next sample>
Internal Software Structure
Starting with the cursor on the rhombus field further menus become
accessible in an endless loop by pushing the vertical arrow keys .
Pushing the horizontal arrow keys moves the cursor from field to
field. Only those fields are accessible, which are allowed for changing the
setting. Other fields like the actual measured temperature will be
overleaped.
On any changeable field the possible settings are scrolled using the
keys. The displayed values will be accepted and stored when leaving the
field with one of the keys.
1>>> 1234 mOsmol <<< 6CALIBRATE-T sample
♦<next sample>
♦
<start>
2TEMP sample: -12.0°C 5COOL freeze: -5.5°C
♦[°C] cooler: -2.2°C ♦[°C] cooling limit: -14.5°C
3DATE date: 14.03.15 4CALIBRATE mOsmol
♦time: 14.55.45 ♦0000 0400 ____ ____
Fig. 8 Example menu sequence of the Osmometer K-7400
Screen 2 TEMP displays the actual measured temperatures of the
sample and the cooling compartment. The values can be changed from
[°C] to [°F] with the keys.
Screen 3 DATE enables the setting of date and time. The setting remains
active when switching of the instrument.
Screen 4 CALIBRATE displays the calibration points which are actual in
use. 3 calibration points are possible (second row). The first field is fixed
on „0000“. At least two calibration points are necessary for any
measurement. From this screen the calibration runs will be started, refer
SOP 3 on page 14.
Calibration and measurement must be performed at the same
settings. After changing the settings, a new calibration is required.
In screen 5 COOL the initiation point „freeze“ can be set within the range
from -9.0 to -4.0 °C and the minimum temperature „cooling limit“ within
the range from -18.0 to -12.0 °C, both in steps of 0.5° .
Screen 6 CALIBRATE-T enables the pre-calibration to adapt the
osmometer to the selected measuring head, refer SOP 2 on page 13.

Using the Osmometer K-7400 13
Preparing the Osmometer K-7400
The instrument should be switched ON at least 5 minutes before
use.
The vibrator key may be pressed to check the stirrer. It will run for a
second.
Optionally a printer can be connected to the RS232 socket. The result of
each measurement will be printed automatically in the format:
Measured 0400 mOsmol / kg
23.04.15 08:24:35
After a calibration run you get the outprint:
Calibrated 1234 mOsmol / kg
23.04.15 07:36:17
In case of interrupted runs (caused by any error) the screen displays the
corresponding error message and you get the printout
(NO) FREEZE
23.04.15 09:06:04
without specifying the individual error.
SOP 1 Preparing a Measurement
1. Place 0.15 ml sample or calibration solution into a clean, dry
measurement vial.
2. Put the vial all the way into the adapter. The meniscus of the liquid
must be horizontal.
3. Place the measuring head on the instrument in such a way that the
vial extends into the cooling cavity.
4. Thus the instrument is ready for calibrating or measuring.
Calibration
Pre- calibration
If you intend to use both types of measuring heads alternatively with the
osmometer, it is necessary after each exchange to adapt the instrument
to the new measuring head by a pre-calibration procedure as described
in SOP 2 on page 13.
SOP 2 Pre- calibration after measuring head exchange
1. Prepare the instrument according SOP 1 for a measurement of
deionised water.
2. Select the CALIBRATE-T screen.
3. Press the start key. While the pre-calibration is running the screen
displays the sample temperature and the elapsed time.
0000 mOsmol > +5.43°C
01:23
At any time the run can be interrupted pressing the STOP key.
4. After finishing the run on the screen is displayed „successful“. The
previous measuring calibration will be aborted.

14 Using the Osmometer K-7400
Any performed pre-calibration deletes the existing measuring
calibration, because it is not valid for the new measuring head!
5. If you get „not successful“ the sample is not frozen. Please check
that
the sample is a 0 mOsm/kg one
a valid measuring head is proper connected to the instrument
and repeat the pre-calibration.
Measuring calibration
Normally a two point calibration is sufficient.
Calibration must be performed very carefully. A confusion of the
calibration solutions will affect all later measurements and give
incorrect results.
Up to three calibration points are possible, two are necessary. On any of
the second row fields the desired calibration concentration can be
selected. After this the calibration run is started by pressing the
START/STOP button.
The first field is fixed on „0000“. On the other fields the choices are ----,
%%%%, 50, 100, 150, up to 1900, 1950, 2000 in steps of 50
mOsmol/kg..
Selecting „----“ the corresponding calibration point will be deactivated.
The selection of „%%%%“ deactivates all other calibration points except
„0000“. Simultaneously the displayed measurement results will be shown
in % of this calibration point instead of „mOsmol/kg“.
At least two calibration points must be active, the „0000“ and one of
the others.
The calibration point remains active until a new valid value for the
selected field is created. If a calibration run is not successfully finished
the last calibration value becomes reactivated.
SOP 3 Performing a Calibration
1. Prepare the instrument according SOP 1 for a measurement of
deionised water.
2. Set the first field in the second row of the CALIBRATE screen to
„0000“.
3. Press the start key. While the calibration is running the screen
displays the selected calibration point, the sample temperature and
the elapsed time.
0000 mOsmol > +5.43°C
01:23
At any time the run can be interrupted pressing the STOP key.
4. After finishing the run on the screen is displayed
0000 mOsmol > -0.00°C<
o.k.? <start>
To accept this value presses the START key again. An earlier
measured calibration will be overwritten. Pushing any other key the

Using the Osmometer K-7400 15
new value will be abandoned and the CALIBRATE menu will be
shown again.
5. Wait for the warming up to the stand-by temperature.
6. Prepare the instrument according SOP 1 for a measurement of a
400 mOsm/kg calibration solution (KNAUER Order No. Y1241).
7. Activate the second calibration field and select “0400” and repeat
steps 3 to 5.
If for special applications as some times in the pharmaceutical industry a
3 point calibration is required proceed according SOP 3 and repeat the
procedure for calibration field 3.
A new calibration is also necessary after
1. exchanging the measurement head
2. changing the settings of FREEZING potentiometer
Measuring Samples
SOP 4 Performing a Sample Measurement
1. Prepare the instrument according SOP 1 for a measurement of a
sample solution.
2. Press the START key to start the measurement run. While running
the screen displays the sample temperature and the elapsed time.
RUN > -1.23°C<
01:23
At any time the run can be interrupted pressing the STOP key.
3. The instrument detects the freezing point depression and if the
crystallisation occurred properly displays the corresponding
osmolality. On the main screen.
>>> 1234 mOsmol <<<
♦<next sample>
4. The printer output is given in the format
Measured 1234 mOsmol/kg
19.03.15 16:05:35
If no crystallisation (temperature increase) takes place after the
automatically start of the vibrator the measurement will be stopped
with the error message
> ERROR <
NO FREEZE
If the crystallisation (temperature increase) takes place before the
start of the vibrator the measurement also will be stopped with an
error message

16 Using the Osmometer K-7400
> ERROR <
FREEZE
Do not remove the measurement vessel from the adapter before the
sample is molten. Otherwise the danger of damaging the measuring
head is given.
The sample melting can be accelerated by warming up with the
fingers.
Important Hints for Using
1. To ensure a fixed sample volume, always introduce the solutions with
a clean and dry pipette tip into the measuring vessel.
2. Handle the thermistor always very carefully. All abrasive materials
should be kept away from it. Measuring vessel and thermistor should
be cleaned occasionally with KNAUER cleaning solution supplied with
the instrument.
3. (Dilution: 1:10 solution in distilled water of 40±5 °C)
4. A dirty thermistor does not give accurate measurement results!
5. Cleaning and drying the measuring vessels with alcohol or acetone is
not recommended because remaining solvent vapours could cause
false results!
6. Solutions containing proteins, such as sera, can only be measured
once. Freezing causes denaturisation of the protein so that repetition
of the measurement with the same sample would result in increased
values. Thus, in the case of sera, only one measurement is possible
for one sample.
7. Please note the difference between deal and real osmolality. Only real
osmolality can be measured. It is not possible to prepare other
standard solutions by dilution of a calibration solution since the activity
coefficient of the solution changes with dilution.
8. It is sometimes difficult to cool distilled water which is kept in
polyethylene bottles for a longer period. We recommend in this case
storing the water which is used for the zero point calibration in glass
bottles.
9. If the same salt solution is measured several times, it must be mixed
after thawing (stir briefly). During the thawing process ice floats to the
top of the solution. As ice does not contain salt, the top layer of the
solution is diluted while thawing.
10.Calibration solutions can become more concentrated if the bottle is
opened more than 1 our. We recommend using KNAUER calibration
solutions in glass ampoules (Order No. Y240, Y1241, Y1248, Y1250)
11.Depending on the room conditions it may possible that after a longer
period in the standby mode a little bit water is condensed in the
cooling compartment. Prior to the next measuring it should be
removed with a dry cloth.

Using the Osmometer K-7400 17
Possible Error Messages
Any error message will be deleted simply by pressing any key. The main
screen will be displayed.
In any case the first row shows > ERROR < which is specified in the
second row.
Table 2 Message Cause Removal
FREEZE
The crystallisation took
place or another fault
occurred before the start
of the vibrator
See Table 3
On page 16
NO FREEZE
No crystallisation took
place after the
automatically start of the
vibrator
SeeTable 4
on page 18
OUT OF RANGE
The measured value is
outside the acceptable
range
Usually
malfunction of the
thermistor
NOT CALIBRATED No calibration points are
available
See SOP 3
on page 14
COOLER TIMEOUT Timeout due to too slow
cooling.: >3 minutes
MEASUREMENT
TIMEOUT
Timeout due to too long
measurement.: >5
minutes from START
Self-Freezing of the Sample
If the sample does not super-cool but freezes continuously without any
external agent there are three possible causes:
Table 3 Error reason Solution
Too less sample solution is in the measuring
vial. A very cold zone, which causes self-
freezing of the sample, develops above the
solution on the measuring vial material.
Use exact the required
sample volume of
0.15 ml
Scratches or contaminations at the
thermistor or measuring vial nucleate
inducing premature freezing.
Exchange of the
measuring vial and
cleaning the thermistor
with cleaning solution.
Solutions saturated with air or gases are
sometimes difficult to super-cool.
Degas the sample
solution by ultra sound
If these three remedies do not produce the desired result, it is indicated
that the difficulties are caused by the nature of the sample to be
measured and the set cooling temperature is too low. In this case the
freezing temperatures must be set higher. Setting the cooling
temperature see screen 5 COOL in Fig. 8 on page 12.
Calibration and measurement must be performed at the same
setting. After changing the setting, a new calibration is required.

18 Using the EuroOsmo® 7400 Software
Non-Freezing of the Sample
If the sample does not freeze, one of the following causes may be
responsible:
Table 4 Error reason Solution
The cooling rate is not sufficient
Ensure that the air inlets
and outlets at the
instrument are free.
Too much sample solution is in the
measuring vessel leads to a no cooled zone
in the upper part of the solution. The stirring
results only in mixing of warm and cold
sample layers.
Use exact the required
sample volume of
0.15 ml
If these remedies do not produce the desired result, it is indicated that the
difficulties are caused by the nature of the sample to be measured and
the set cooling temperature is too high. In this case the freezing
temperatures must be set lower. Setting the cooling temperature see
screen 5 COOL in Fig. 8 on page 12.
Calibration and measurement must be performed at the same
setting. After changing the setting, a new calibration is required.
Using the EuroOsmo®7400 Software
The whole features of the osmometer K-7400 become available, running
it with the software EuroOsmo®7400 for Windows, version 1.5 or higher.
The License Agreement should be read before using the
EuroOsmo®7000 software! Using the software, the user indicates
that he has read the License Agreement and agrees with the
regulations.
This chapter will explain the basic knowledge needed for working with K-
7400 and the EuroOsmo®7400 software.
Installation
The hardware requirements (processor, working memory) are very low for
the installation of EuroOsmo®7400. The program runs under Windows7
and 8 but also with older operating systems, back to Windows XP.
1. Insert CD into CD drive of the PC
2. Wait up to 30 seconds. The set-up starts automatically
3. If your CD ROM drive does not have AutoPlay:
3.1. Double-click on „My Computer”
3.2. Right-mouse click on your CD ROM
3.3. Select AutoPlay from the right-click menu
3.4. If there is no AutoPlay menu, select Explore from the right-click
menu, go to „EuroOsmo 7000/Disk1” and double-click on
„Setup.exe“
4. Follow the installation guide.
Hardware Installation
The Osmometer K-7400 has to be connected with a defined port of the
computer (com1 for instance) prior to starting the program.

Using the EuroOsmo® 7400 Software 19
Description of the main screen
After starting the program usually by a double-click on the corresponding
icon you will get a screen similar to Fig. 9.
Fig. 9 Opening screen of the EuroOsmo®7400 Software
If the osmometer is not connected or switched off you will get the
corresponding message.
Fig. 10 Error message for a not connected osmometer
Table 5 Description Screen Elements
Menu line File Edit View Help
File Menu for opening, saving, and printing of data
files or previews (measurement or calibration)
Edit
Menu for editing file changes and search perfor-
ming.
View Menu to show or to hide status bar and toolbar
Help The Version of the EuroOsmo
®
is shown
Toolbar
Most of the icons are usual windows features and
do not need further explanation
Opens in any case a printer setup window prior
printing
Displays a preview of the actual report
Starts the search function of EuroOsmo 7400
Paste the data of a selected (first) field into
following lines of the chosen column
After each bar code scan the cursor switches
to the next sample line

20 Using the EuroOsmo® 7400 Software
Run Settings
Select the number of the sample to be
measured via the pull down menu.
Start button for any measurement or calibration
run. While starting the run it changes to a stop
button to enable a manually aborting of the run.
If the sample has already been measured the
following warning will be displayed when the
button is used.
Fig. 11 Warning bevor overwriting existing results
Sample List This list is used to name the samples and their
codes. The measurement results will be filled in
automatically. Using the scroll bar at the bottom a
Comments column becomes accessible for
detailed information. Using the „insert row“ and
„delete row“ functions of the EDIT menu the list
can be extended ore shortened.
The samples will be measured in the order of the
list and the results are filled in and stored in it.
Fig. 12 New sample list
Double clicking on the No. of an already measured
sample displays the corresponding temperature
sequence. On top of the graph the path of the
already stored sample list is shown.

Using the EuroOsmo® 7400 Software 21
Fig. 13 Measuring window with the temperature sequence of a run
Fig. 14 Setup area of the main window
Setup Area for entering general settings for measurement
sequences and corresponding reports.
Operator Enter the operator’s name
Communication Port Select the COM port to which your osmometer is
connected.
Working Parameters
Monitoring view The entered value defines the scale of the monitor
by its final value in minutes. The temperature
pattern is shown continuously for the defined
period.
Measurement view The entered value defines the scale of the
measurement window by its final value in minutes.
Freezing Level The initiation point „freeze“ can be set within the
range from -13.0 to -4.0 °C. Any decimal value will
be rounded in steps of 0.5°.
Cooling Limit The minimum temperature can be set within the
range from -18.0 to -12.0 °C. Any decimal value
will be rounded in steps of 0.5°.
Units Select the units valid for the measurement
sequence. The choice is mOsmol, °C, °F, and %. If
°F is selected the values of the freezing level and
cooling limit are automatically changed to °F.
By clicking on the Apply button the entered values
are sended to the osmometer. If any value is out of
the allowed range a corresponding message will
Table of contents
Languages:
Other Knauer Measuring Instrument manuals