manuals.online logo
Brands
  1. Home
  2. •
  3. Brands
  4. •
  5. Kohler
  6. •
  7. Bathtub
  8. •
  9. Kohler ENGLEFIELD MILANO FS User manual

Kohler ENGLEFIELD MILANO FS User manual

Other Kohler Bathtub manuals

Kohler K-1239 Quick start guide

Kohler

Kohler K-1239 Quick start guide

Kohler K-845 Quick start guide

Kohler

Kohler K-845 Quick start guide

Kohler K-1259-LA Quick start guide

Kohler

Kohler K-1259-LA Quick start guide

Kohler Mariposa K-1224-GRAW User manual

Kohler

Kohler Mariposa K-1224-GRAW User manual

Kohler K-1232 Quick start guide

Kohler

Kohler K-1232 Quick start guide

Kohler K-1375-AH Assembly instructions

Kohler

Kohler K-1375-AH Assembly instructions

Kohler Mendota K-513-H User manual

Kohler

Kohler Mendota K-513-H User manual

Kohler K-29325 User manual

Kohler

Kohler K-29325 User manual

Kohler K-1108 User manual

Kohler

Kohler K-1108 User manual

Kohler K-513-H2 Quick start guide

Kohler

Kohler K-513-H2 Quick start guide

Kohler Mariposa K-1224-GHRW User manual

Kohler

Kohler Mariposa K-1224-GHRW User manual

Kohler K-820-GC Quick start guide

Kohler

Kohler K-820-GC Quick start guide

Kohler Roughing-In K-1112-L User manual

Kohler

Kohler Roughing-In K-1112-L User manual

Kohler K-8331T Series Assembly instructions

Kohler

Kohler K-8331T Series Assembly instructions

Kohler K-1112P-GLF Quick start guide

Kohler

Kohler K-1112P-GLF Quick start guide

Kohler K-1160-CD Quick start guide

Kohler

Kohler K-1160-CD Quick start guide

Kohler K-18778T User manual

Kohler

Kohler K-18778T User manual

Kohler VOLUTE C6D062-00 User manual

Kohler

Kohler VOLUTE C6D062-00 User manual

Kohler K-1189 User manual

Kohler

Kohler K-1189 User manual

Kohler K-1492 Quick start guide

Kohler

Kohler K-1492 Quick start guide

Kohler K-1158 Quick start guide

Kohler

Kohler K-1158 Quick start guide

Kohler K-1201-CB Quick start guide

Kohler

Kohler K-1201-CB Quick start guide

Kohler K-1800 Assembly instructions

Kohler

Kohler K-1800 Assembly instructions

Kohler K-1013 Assembly instructions

Kohler

Kohler K-1013 Assembly instructions

Popular Bathtub manuals by other brands

Globo PAESTUM Vasca PA100 quick start guide

Globo

Globo PAESTUM Vasca PA100 quick start guide

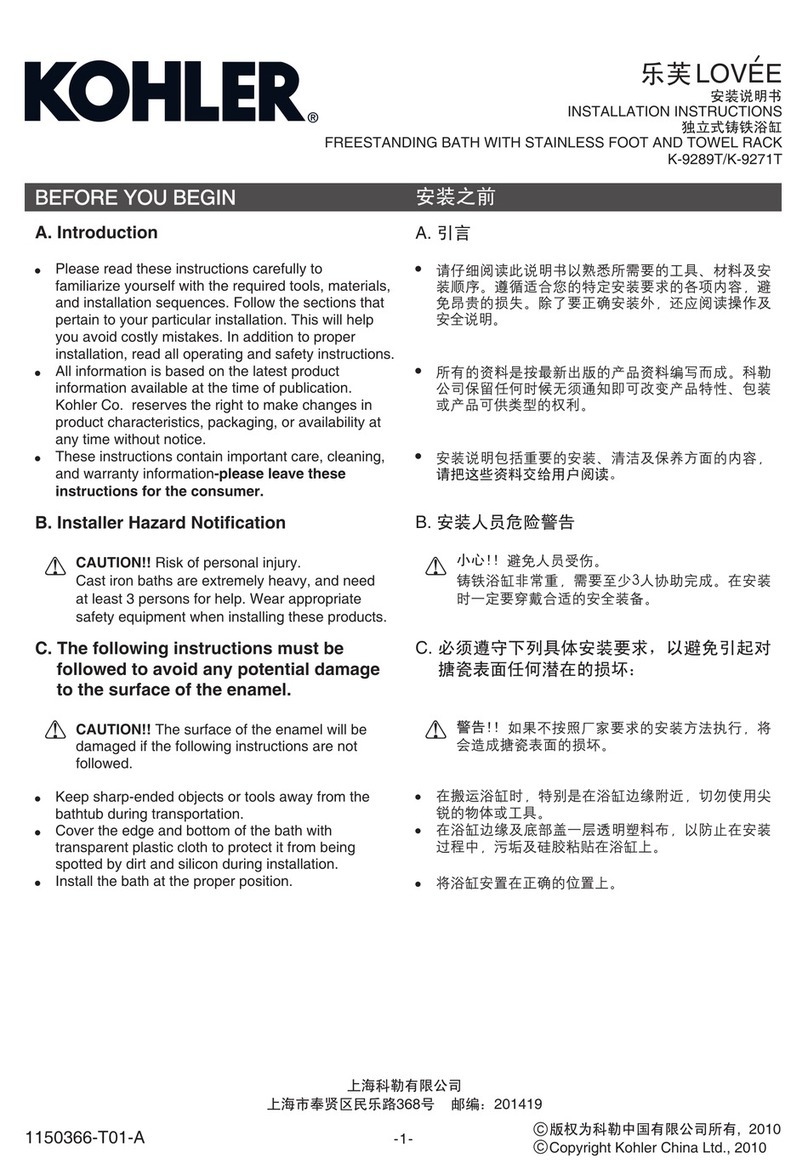
Jacob Delafon LOVEE CE9287-00 Assembly instructions

Jacob Delafon

Jacob Delafon LOVEE CE9287-00 Assembly instructions

Crosswater US-N9CS installation instructions

Crosswater

Crosswater US-N9CS installation instructions

Clou CL/05.70020.20 installation instructions

Clou

Clou CL/05.70020.20 installation instructions

Agua BARTOLI-66 quick start guide

Agua

Agua BARTOLI-66 quick start guide

PAA PRELUDE owner's manual

PAA

PAA PRELUDE owner's manual

BETTE SILHOUETTE installation guide

BETTE

BETTE SILHOUETTE installation guide

agape MARSIGLIA AVAS1075 Assembly instructions

agape

agape MARSIGLIA AVAS1075 Assembly instructions

Oliveri Naples installation instructions

Oliveri

Oliveri Naples installation instructions

Lyons Elite ETLxx663219 Series manual

Lyons

Lyons Elite ETLxx663219 Series manual

Woodbridge BJ500 Installation and care guide

Woodbridge

Woodbridge BJ500 Installation and care guide

Whirlpool Ariel ARL-702 installation manual

Whirlpool

Whirlpool Ariel ARL-702 installation manual

American Standard 3052OD.X0X Installation instructions and owner's manual

American Standard

American Standard 3052OD.X0X Installation instructions and owner's manual

Ariel AM Series user manual

Ariel

Ariel AM Series user manual

Agua BAHLI-60 quick start guide

Agua

Agua BAHLI-60 quick start guide

DURAVIT XViu 700443 Mounting instructions

DURAVIT

DURAVIT XViu 700443 Mounting instructions

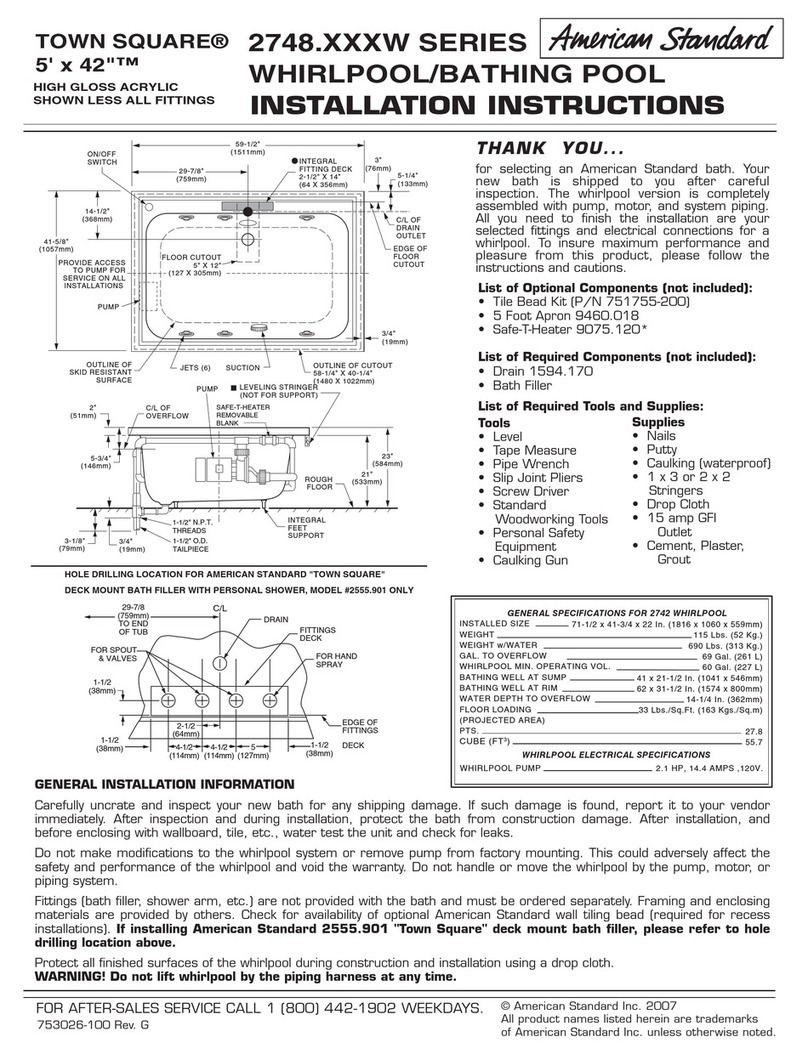
American Standard Whirlpool/Bathing Pool 2748.XXXW installation instructions

American Standard

American Standard Whirlpool/Bathing Pool 2748.XXXW installation instructions

American Standard Colony 2740 Series installation instructions

American Standard

American Standard Colony 2740 Series installation instructions

manuals.online logo
manuals.online logoBrands
  • About & Mission
  • Contact us
  • Privacy Policy
  • Terms and Conditions

Copyright 2025 Manuals.Online. All Rights Reserved.

1378872-A02-A 5/03/2019
INSTALLATION
INSTRUCTIONS
BATHS
Engleeld
MILANO Solid Surface FS Baths
Englefield has a history of
making superb baths and
their popularity is testament to
their quality and affordability.
It’s the details that Englefield
cares about - from pioneering
the latest technology, to
innovative design, it’s all to
make your bathing
experience the very best it
can be.
ROUGH IN DIMENSIONS
NOTE: Check the rough-in and room dimensions to provide adequate available
space for the bath unit. Arrange the location of the drain in advance and ensure
that the flooring is prepared to allow space for the drain. Ensure that the floor is level.
800
1700
540
1146 542
TM
WARNING: The Milano Solid Surface Freestanding bath is very heavy. Please make
sure that the floor is structurally sound and provides adequate support for the bath,
water and the user. A mechanical lifting device is advised when manoeuvring the
bath.
Page 1
Before installing the bath please read these instructions carefully to familiarise yourself with
the required tools, materials and installation sequences. The installation documents included
assume that walls are plumb and floors are level.
In addition to proper installation, read all safety instructions and refer to the Homeowner’s
Guide for important care and cleaning information. Ensure that all local building and plumbing
codes are observed. These instructions contain important care, cleaning and warranty
information. Please leave these instructions for the consumer after installation.
IMPORTANT: Before installation please remove the protective packaging from the bath and
inpsect the Milano Solid Surface FS bath and report any damage to us. Installers are
responsible for damage that occurs during installation and no claims for damages will be
accepted once the bath has been installed.
INSTALLATION INSTRUCTIONSMILANO Solid Surface FS Baths
BEFORE YOU BEGIN
TOOLS AND MATERIALS REQUIRED
ENGLEFIELD
CONCRETE SLAB FLOOR PREPARATION - IF APPLICABLE
Note: Instructions, drawings, and diagrams contained in this manual present information available at the
time of printing. Although every attempt has been made to keep them up-to-date, Englefield reserves the
right to implement product changes without further notice.
Timber blocks
TM
1) Mark out the drain position and mark out the region in the floor for the drain.
2) Make floor and plumbing preparations as necessary to make space for the drain. It is
recommended to prepare a waterproof layer for the sub-floor.
Minimum
120mm
Minimum
100mm
Maximum
520mm
Page 2
INSTALLATION INSTRUCTIONS
ENGLEFIELD
MILANO Solid Surface FS Baths
TM
1) Install the drain in the sub-floor & position it accordingly to allow for the waste to be
connected. The self-sealing trap with flexible waste pipe (80144A-NA) is recommended,
where there is no underfloor access. Please adhere to the relevant sections of AS/NZS
3500 plumbing standard.
INSTALLATION
3) Connect the waste outlet to the drain. Check to see that all connections are firmly
tightened.
4) Close-off the waste and fill the bath with water, allow the water to stand for at least 30
minutes, check for leaks. Attend to waste and pipe connections as necessary.
2) Raise the Free Standing bath off the floor by propping it up onto timber blocks
positioned at either end of the bath. Install and connect the waste outlet. Apply silicone
sealant around the waste connections to ensure a water-tight fit.
Page 3
INSTALLATION INSTRUCTIONS
ENGLEFIELD
CONTACT AND WARRANTY INFORMATION
NEW ZEALAND
KOHLER NZ LTD
Free Ph: 0800 100 382
Free Fax: 0800 664 488
www.englefield.co.nz
AUSTRALIA
KOHLER CO.
Free Ph: 1 800 ENGLEFIELD
(1 800 364 533)
www.englefield.com
1) Please refer to the Homeowner’s Guide for cleaning instructions.
2) Because baths are often placed on cold floors, and Solid surface baths are sensitive
to thermal shock, it is highly recommende in cold periods, to run in lukewarm water for
a couple of minutes before running hot water. It is recommended the hot water be no
more than 60 C.
For warranty information, please visit our website.
CLEANING AND MAINTENANCE INSTRUCTIONS
Installation complete.
MILANO Solid Surface FS Baths
TM
5) Carefully slide the timber blocks out and gently lower the bath into place. Apply an
appropriate silicone sealant, ensuring a watertight seal between the bath and adjacent
surfaces.
3) Light scratches can be removed, if necessary, with very fine sandpaper. It is
recommended to start with 1200 grade followed by 2500 grade. Finally use car cutting
compound to polish the area to recover the gloss surface.