manuals.online logo
Brands
  1. Home
  2. •
  3. Brands
  4. •
  5. Kohler
  6. •
  7. Indoor Furnishing
  8. •
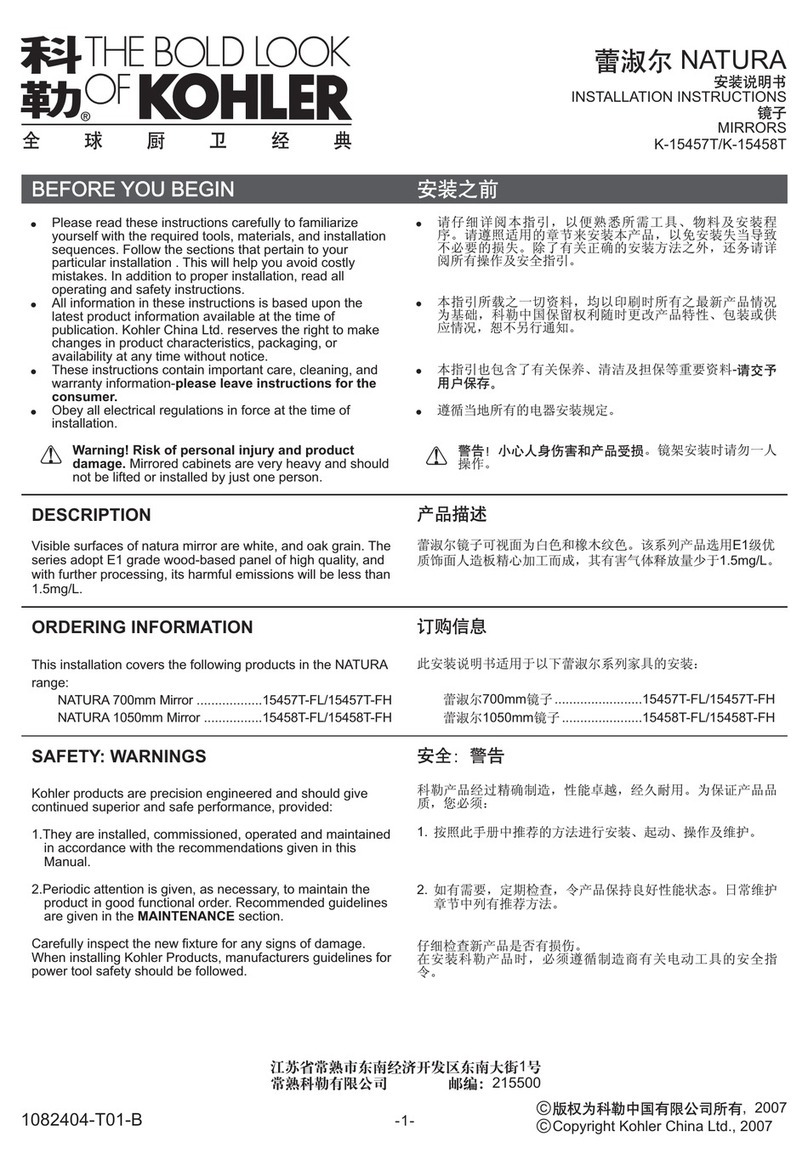
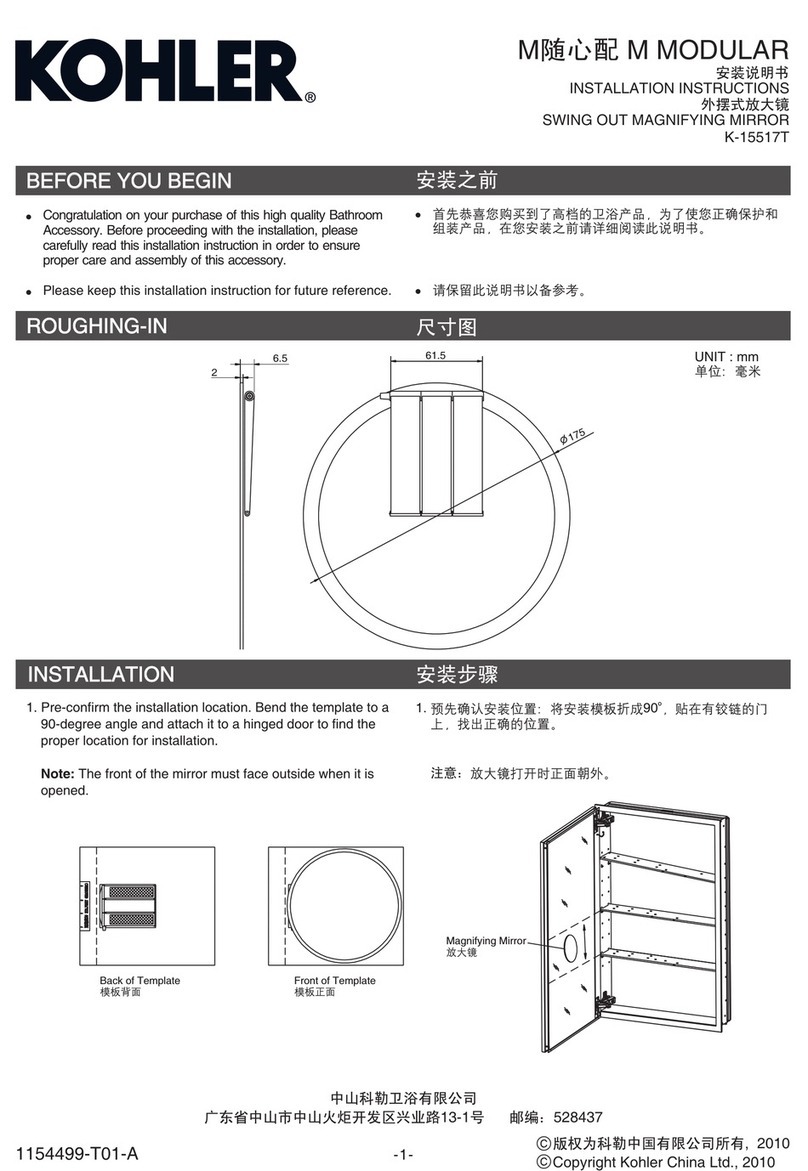
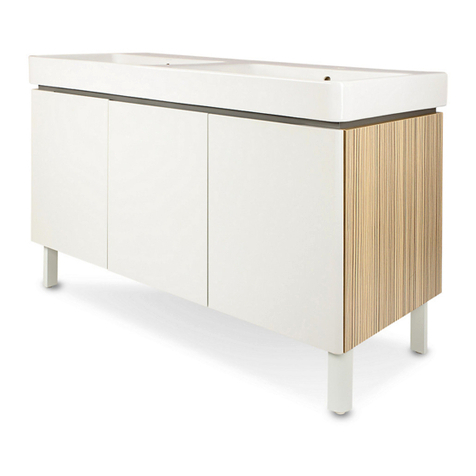
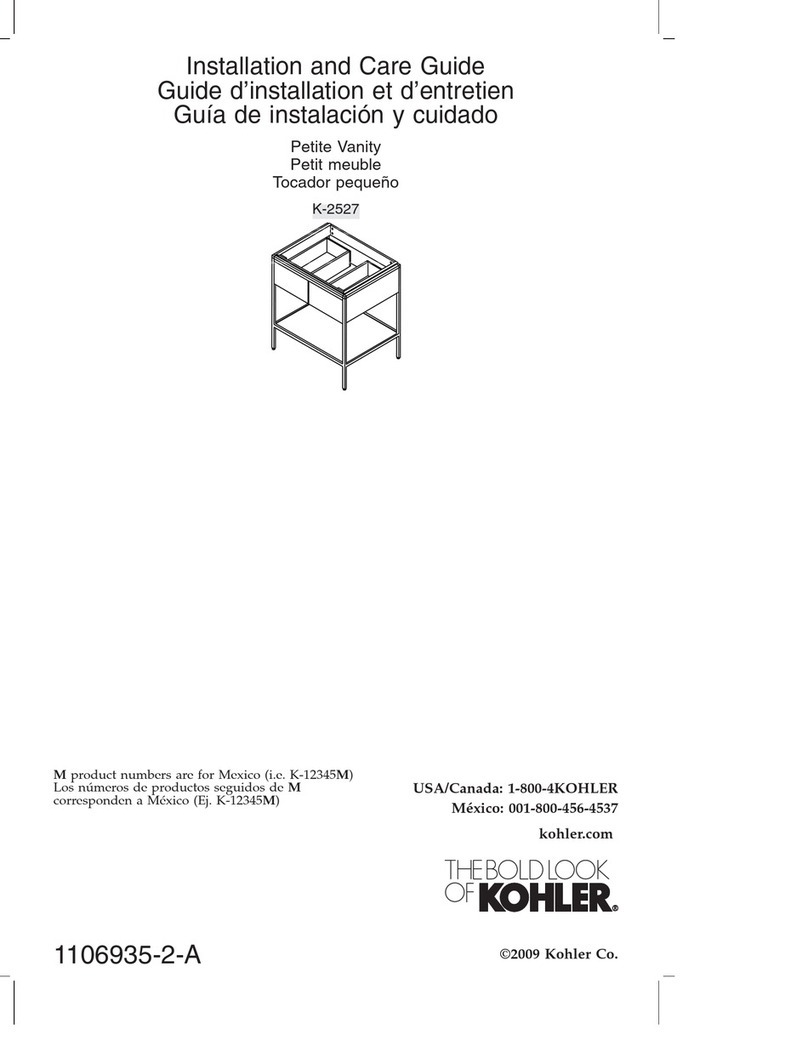
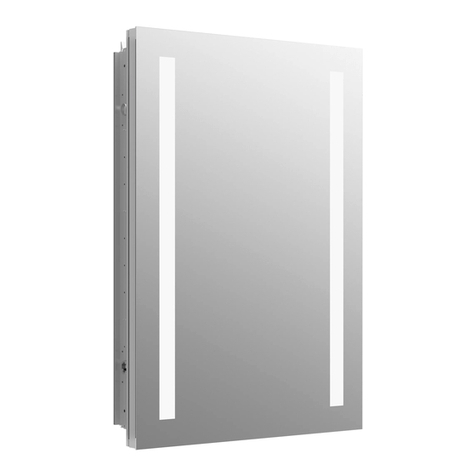
  9. Kohler K-26773-C05 User manual

Kohler K-26773-C05 User manual

•
•
•
•
• GB 24977-2010
• Please read these instructions carefully to familiarize
yourself with the required tools, materials, and installation
sequences. Follow the sections that pertain to your
particular installation. This will help you avoid costly
mistakes. In addition to proper installation, read all
operating and safety instructions.
•
All information in these instructions is based upon the latest
product information available at the time of publication.
Kohler China. reserves the right to make changes in
product characteristics, packaging, or availability at any
time without notice.
• These instructions contain important care, cleaning, and
warranty information-please leave instructions for the
consumer.
• Before installation carefully inspect the new fixture for any
signs of damage.
• This product complies with GB 24977-2010.
WARNING: Risk of injury or product damage.
Tempered glass can not be cut.
WARNING: Don't use acidic or alkaline cleaners or
alcohol to clean the wooden surface. Use a dampened
cloth to clean.
WARNING: Risk of electrical shock. A licensed
electrician should make all electrical connections.
WARNING: Risk of electrical shock. Connect only to
a circuit protected by a typical two-pole circuit breaker.
WARNING: Risk of electrical shock. Disconnect
power before servicing.
-1-
ACCESSORIES LIST
Wall Anchors
8PCS
GROOMING MIRROR
INSTALLATIONINSTRUCTIONS
MIRROR
K-26773-C05/K-26774-C05
BEFORE YOU BEGIN
Screws ST3.5 × 35
ST3.5 × 35
8PCS
Mounting Bar
L=60
4PCS
ZHONGSHAN KOHLER SHOWER CO., LTD. NO13-1, XINYE ROAD, ZHONGSHAN TORCH
DEVELOPMENT ZONE, ZHONGSHAN, GUANGDONG, CHINA POST CODE: 528437
13-1 528437
© Copyright Kohler China Investment Co., Ltd. 2021
© 2021
Kohler reserves the right to change marked dimensions without prior notice.
ROUGHING-IN
Unit: mmReference Value
K-26773-C05 K-26774-C05
600
1000
46
650
1200 46
1521949-T2-A
MIRROR INSTALLATION
ELECTRICAL COMPONENTS LIST
Unit: mm
Step2: Install mirror
1. First snap the lower bracket back of the mirror into the lower
back board groove.
2. Then snap the upper bracket back of the mirror into the
upper back board groove.
3. Fine-tune the mirror left and right to the right position.
1
2
3
Operation
Power on
Wiring ColorOutlet
Fixture
Hot Brown
Neutral Blue
Step 1: Install the brackets. Drill holes at desired positions to
install the brackets, and keep two brackets at the same level.
Screw the bracket to the wall
40mm from top of countertop (such as faucet)
40mm
40mm from top of countertop (such as faucet)
40mm
Recommended installation height (adjustable if necessary).
-2-
Item
Electrical Function
Type Description Fixate Place
1 Power
Input: 220V/50Hz, Pmax=100W
Back of Outer-mirror
3
2
K-26773-C05
Defogger
K-26774-C05
Defogger
Input: 24V, Pmax=28.8W Back of Outer-mirror
Input: 24V, Pmax=21.6W Back of Outer-mirror
Back of Outer-mirror
4
K-26773-C05
Lighting
K-26773-C05
梳妆灯具
K-26773-C05
除雾膜
K-26774-C05
除雾膜
K-26773-C05
氛围灯具
K-26774-C05
梳妆灯具
K-26774-C05
氛围灯具
K-26774-C05
Lighting
K-26774-C05
Lighting
K-26773-C05
Lighting
Input: 24V, Pmax= 31.7W
5 Input: 24V, Pmax=14.8W
1 Input: 220V/50Hz, Pmax=100W
3
2
Input: 24V, Pmax=28.8W
Input: 24V, Pmax=21.6W
4 Input: 24V, Pmax=31.7W
5 Input: 24V, Pmax=14.8W
Back of Outer-mirror
6 Input: 24V, Pmax= 37.5W
7 Input: 24V, Pmax=17.3W
6 Input: 24V, Pmax=37.5W
7 Input: 24V, Pmax=17.3W
Snap the upper bracket into the
upper back board groove
Fine-tune the mirror left and right
Snap the lower bracket into the
lower back board groove
1175 2175
1175
1825
K-26773-C05 K-26774-C05
Wire Input
220V/50Hz
126
724
132.5 60 218 60 132.5
105 60 273 60 105
260260 60 563 60
232.5 60 618 60 232.5
126384
1521949-T2-A
 
 


 
 


 
 


 
 


-3-
Button Functions
Color
Temperature
BrightnessPower
Sensor
1. The manual mode is enabled by default. After power on, the
light remains off and the power button lights white.
1.
1. Press down the power button for 2 seconds. After the blue
light flashes three times, the light enters into the Auto mode
and the power button lights blue. The sensor starts (detecting
that someone is in front of the mirror). The light automatically
goes on. The brightness and the color temperature buttons
light white, in which case the brightness and the color
temperature may be switched by pressing these buttons or
adjusted steplessly and cyclically by holding down these
buttons.
1. 2
( )
/ /
4. Pressing the power button in the Auto mode will turn off the
light and return the system to the manual mode.
4.
The light goes off. The mirror returns to the manual mode and
the initial manual set status.
3.
When someone gets close to the mirror, the light in front of the
mirror slowly goes on. The power button lights blue and the
brightness/color temperature buttons keep lighting white. The
brightness and the color temperature may be switched by
pressing these buttons or adjusted steplessly and cyclically by
holding down these buttons.
3.
/ /
The bathroom shall be kept in good ventilation. Clean the cabinet with water and
soft cloth. Do not use detergent containing abrasive and chemical substance.
Notes
1. In the Auto mode, the light will remain on for 60 seconds after you leave the mirror and go
off if the sensor detects that nobody is in front of the mirror after 60 seconds.
2. In both Auto and manual modes, the defogger will remain on for 30 minutes after you leave
the mirror and/or the mirror is switched off manually.
3. In both Auto and manual modes, holding down the brightness and the color temperature
buttons will steplessly adjust the brightness and the color temperature within the allowable
ranges, so that the you may freely select the desired brightness and color temperature.
1. 60
2. / 30
3.
Warning! Risk of product damage.
USER MAINTENANCE
Button Functions
Manual/Auto Mode
Switch
/
Quick switching
between levels
Quick switching
between levels
Lux +/-
(3 level loop)
+/- 3
Color temp. +/-
(3 level loop)
+/- 3
Single-Click
Long-Press
Light & Defogger
On/Off
/
Manual mode/on (light blue upon being pressed)
Status Indication
Not operable/Closed
Auto mode/on (light white upon being pressed)
Manual Mode
Auto Mode
Single
Click
Long
Press
Steadily light blue
Flash three
times after
being hold
down
Single
Click
Single
Click
2. After the power button is pressed, the mirror light and
background light slowly goes on and the sensor remains off.
The brightness and the color temperature buttons light white,
in which case the brightness and color temperature may be
switched by pressing these buttons or adjusted steplessly and
cyclically by holding down these buttons. The defogger
switches on at the same time.
2.
/
3. After the power button is pressed again in front of the mirror,
the light slowly goes off and the defogger closes after 30
minutes. The background light remains on and will not slowly go
off until the power button is pressed again. The buttons enter
into the factory set status. The brightness and the color
temperature buttons go off and the brightness and the color
temperature are unadjustable.
3.
30
2. If you leave the mirror in the Auto mode, the sensor detects that
nobody is in front of the mirror and the light in front of the mirror
slowly goes off. The background light remains on and the
defogger closes after 30 minutes. The power/brightness and
the color temperature buttons go off. The mirror stands by.
2.
30
/
1521949-T2-A

This manual suits for next models

1

Other Kohler Indoor Furnishing manuals

Kohler K-2962 Assembly instructions

Kohler

Kohler K-2962 Assembly instructions

Kohler SEQUOIA User manual

Kohler

Kohler SEQUOIA User manual

Kohler K-3082 Assembly instructions

Kohler

Kohler K-3082 Assembly instructions

Kohler Memoirs 485T User manual

Kohler

Kohler Memoirs 485T User manual

Kohler K-2684 Assembly instructions

Kohler

Kohler K-2684 Assembly instructions

Kohler K-3082 User manual

Kohler

Kohler K-3082 User manual

Kohler VEIL K-21800T-X User manual

Kohler

Kohler VEIL K-21800T-X User manual

Kohler Archer K-2449 User manual

Kohler

Kohler Archer K-2449 User manual

Kohler NEW ELOSIS User manual

Kohler

Kohler NEW ELOSIS User manual

Kohler Conceal K-2970 Assembly instructions

Kohler

Kohler Conceal K-2970 Assembly instructions

Kohler Fountainhead K-2441 User manual

Kohler

Kohler Fountainhead K-2441 User manual

Kohler K-2607 Assembly instructions

Kohler

Kohler K-2607 Assembly instructions

Kohler 97631-G9 Assembly instructions

Kohler

Kohler 97631-G9 Assembly instructions

Kohler Natura 15457T User manual

Kohler

Kohler Natura 15457T User manual

Kohler K-2412 Assembly instructions

Kohler

Kohler K-2412 Assembly instructions

Kohler K-23111T User manual

Kohler

Kohler K-23111T User manual

Kohler M MODULAR User manual

Kohler

Kohler M MODULAR User manual

Kohler K-99003-TLC Assembly instructions

Kohler

Kohler K-99003-TLC Assembly instructions

Kohler K-98850T User manual

Kohler

Kohler K-98850T User manual

Kohler Top Art K-14041 Assembly instructions

Kohler

Kohler Top Art K-14041 Assembly instructions

Kohler K-2659 Assembly instructions

Kohler

Kohler K-2659 Assembly instructions

Kohler K-76663T User manual

Kohler

Kohler K-76663T User manual

Kohler K-2529 Assembly instructions

Kohler

Kohler K-2529 Assembly instructions

Kohler PERSUADE K-2527T User manual

Kohler

Kohler PERSUADE K-2527T User manual

Popular Indoor Furnishing manuals by other brands

Atlantic SHF6T77 Assembly instructions

Atlantic

Atlantic SHF6T77 Assembly instructions

Artopex Take Off installation guide

Artopex

Artopex Take Off installation guide

CONFORAMA PEN 32 Assembling instructions

CONFORAMA

CONFORAMA PEN 32 Assembling instructions

MID.YOU SFNK211 Assembling Instruction

MID.YOU

MID.YOU SFNK211 Assembling Instruction

Whittier Wood Furniture McKenzie Twin Headboard Assembly instructions

Whittier Wood Furniture

Whittier Wood Furniture McKenzie Twin Headboard Assembly instructions

Strictly Beds & Bunks Molly Assembly instructions

Strictly Beds & Bunks

Strictly Beds & Bunks Molly Assembly instructions

kingsley-bate CO-30SR Assembly instructions

kingsley-bate

kingsley-bate CO-30SR Assembly instructions

DITALIA MC-153 Assembly manual

DITALIA

DITALIA MC-153 Assembly manual

RTA Products Techni Mobili RTA-7050 Assembly instructions

RTA Products

RTA Products Techni Mobili RTA-7050 Assembly instructions

Auping K2 77 user manual

Auping

Auping K2 77 user manual

True ARCA AA WT00 Assembly instructions

True

True ARCA AA WT00 Assembly instructions

Coaster 300350QB1 Assembly instructions

Coaster

Coaster 300350QB1 Assembly instructions

Gami J14-HANNA 085 Assembly instructions

Gami

Gami J14-HANNA 085 Assembly instructions

Inter-Furn MERAN 203 installation instructions

Inter-Furn

Inter-Furn MERAN 203 installation instructions

ClassiCon NYMPHENBURG COAT STAND instructions

ClassiCon

ClassiCon NYMPHENBURG COAT STAND instructions

BCP SKYY4654 Assembly manual

BCP

BCP SKYY4654 Assembly manual

COUGAR ARMOR AIR Assembly

COUGAR

COUGAR ARMOR AIR Assembly

Noble House Home Furnishings Glider Recliner WithSwivel Assembly instructions

Noble House Home Furnishings

Noble House Home Furnishings Glider Recliner WithSwivel Assembly instructions

manuals.online logo
manuals.online logoBrands
  • About & Mission
  • Contact us
  • Privacy Policy
  • Terms and Conditions

Copyright 2025 Manuals.Online. All Rights Reserved.