manuals.online logo
Brands
  1. Home
  2. •
  3. Brands
  4. •
  5. Kohler
  6. •
  7. Plumbing Product
  8. •
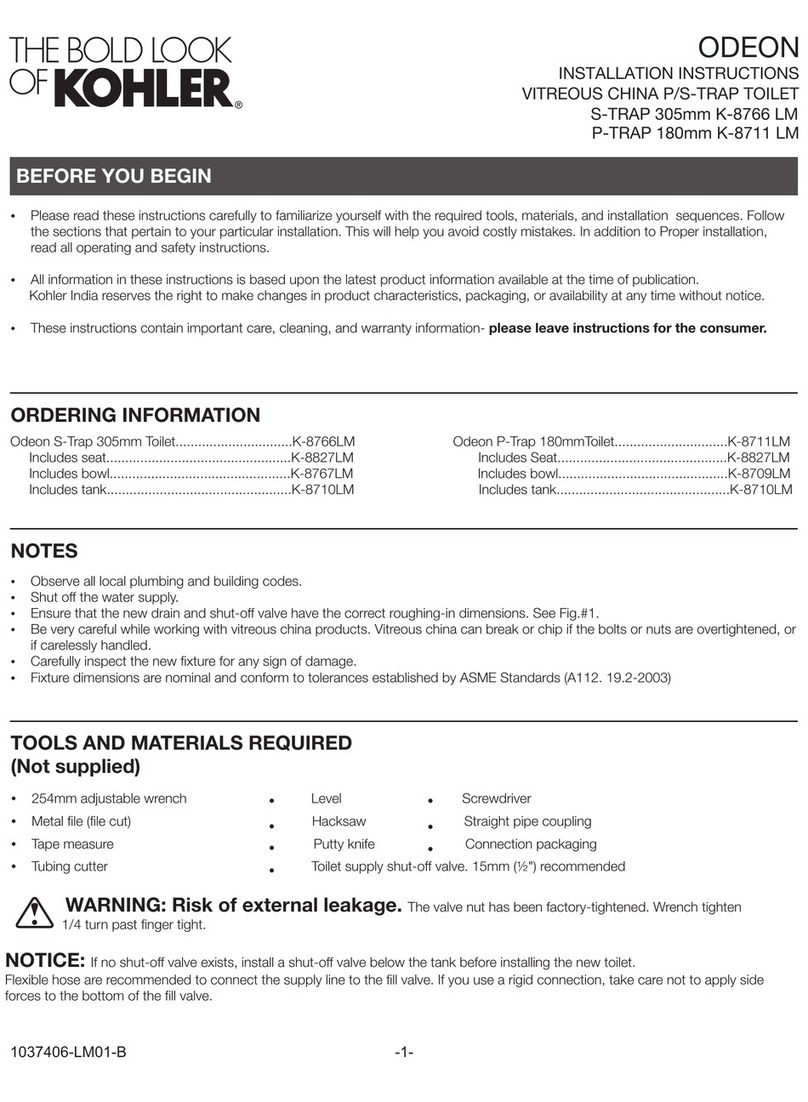
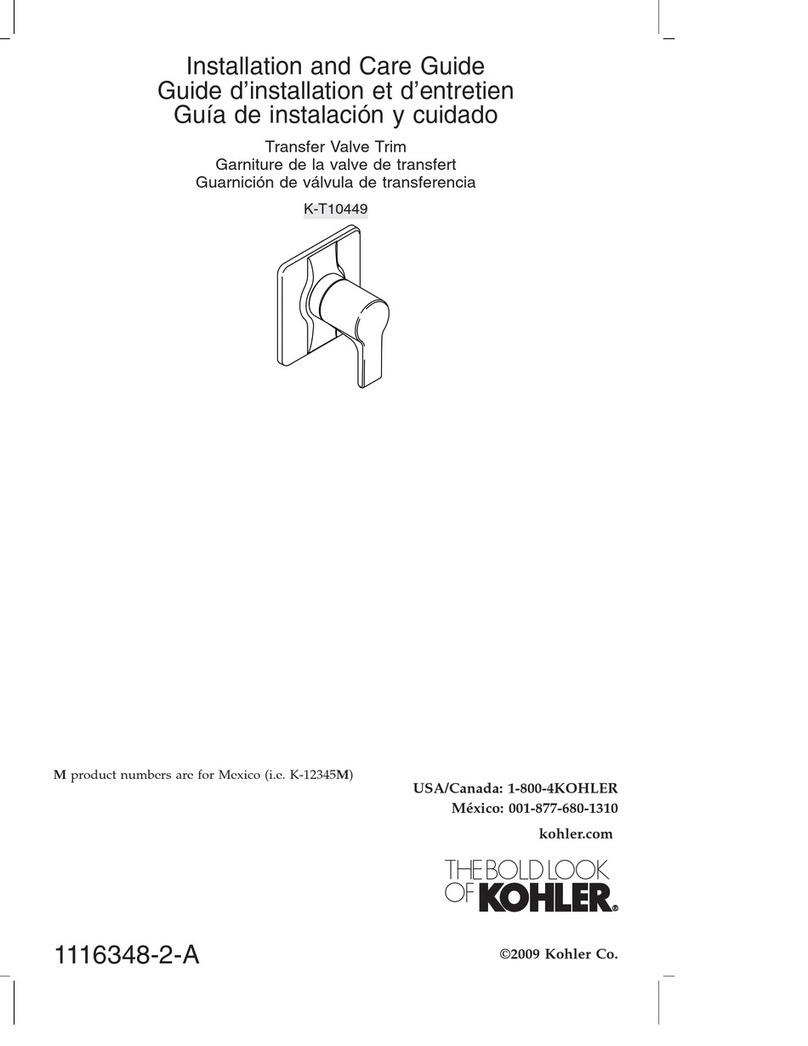
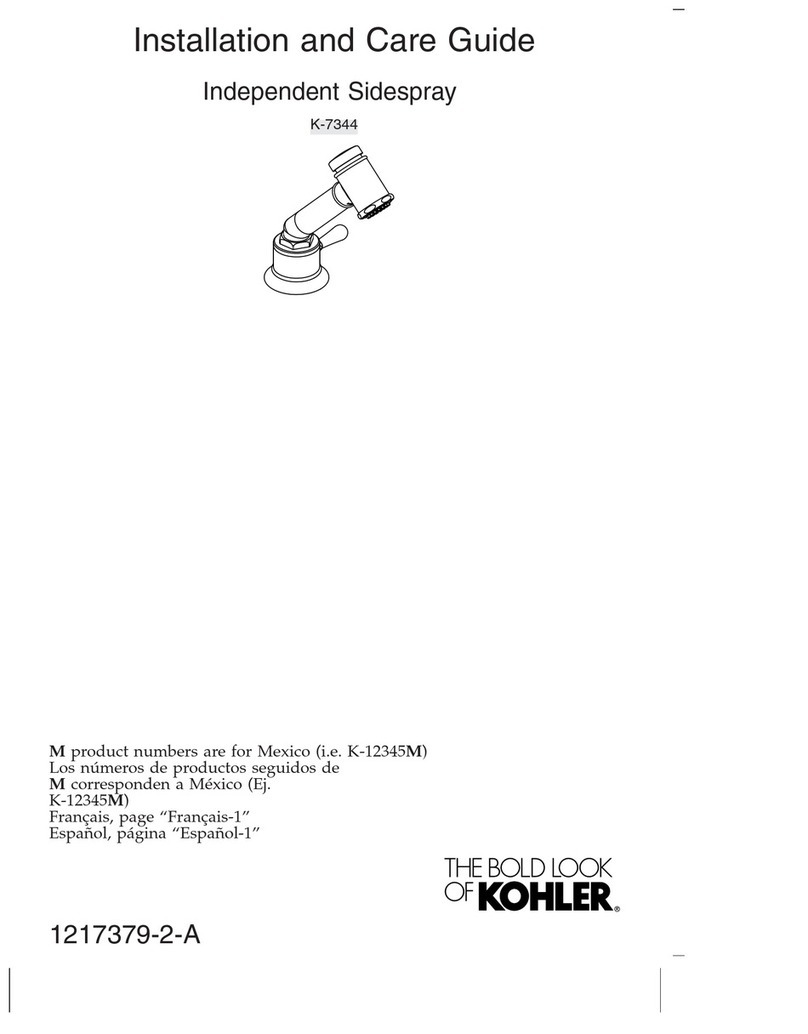
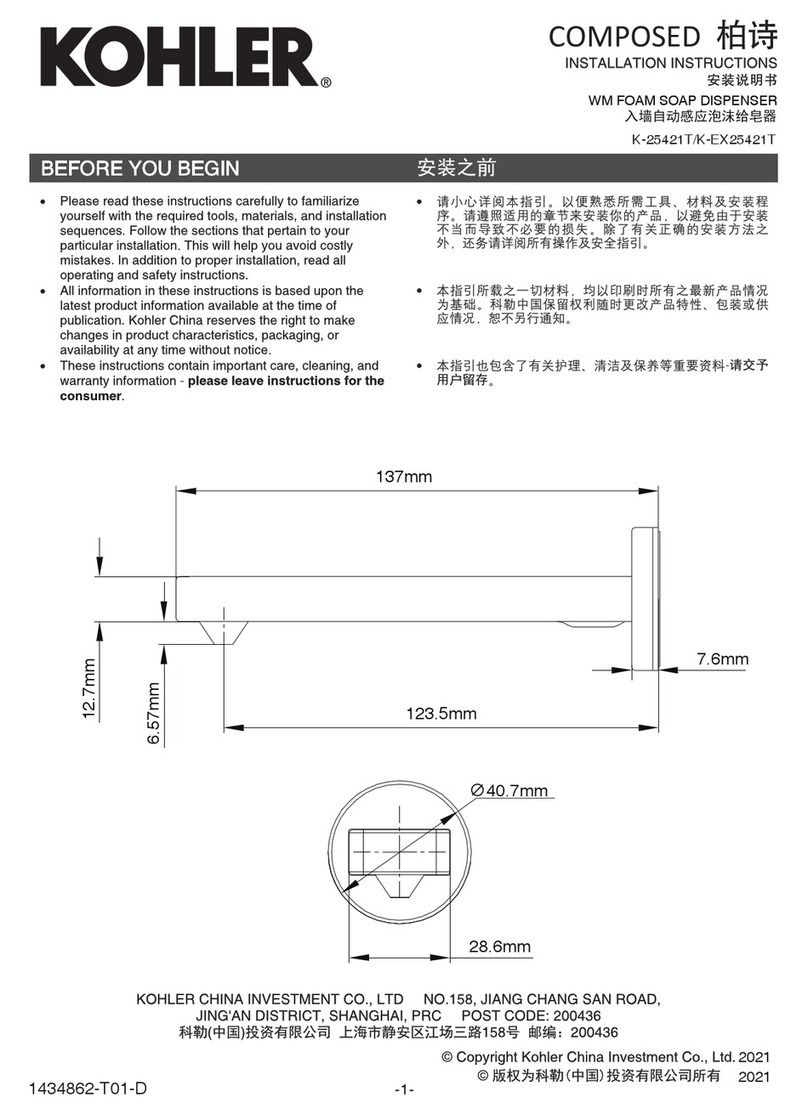
  9. Kohler ELLISTON 75522T-4 User manual

Kohler ELLISTON 75522T-4 User manual

1250178-2A-A 1
BEFORE YOU BEGIN
All information is based on the latest product information available at the time of publication. Kohler Co. reserves
the right to make changes in product characteristics, packaging, or availability at any time without notice.
Please leave these instructions for the consumer. They contain important information.
NOTES:
1. Flush the water supply pipes thoroughly to remove debris.
2. The minimum inlet water pressure for the diverter is 0.05MPa(0.5bar).
3. The highest working pressure for handspray & showerhead is 0.5MPa(5bar). If it exceeds 0.5MPa(5bar), a
pressure reducer is needed. The highest water and environment temperature is 60ºC. Please keep handspray,
showerhead and the shower arm away from heater, or it may become damaged and cause injury to the user.
4. Shut off the water supplies to the fitting.
HANDLE OPERATION
Lift the handle gently, turn clockwise for hot water, counter-clockwise for cold water. For 75523T-4, lift the diverter
knob gently, handspray work.
INSTALLATION INSTRUCTIONS
75522T-4 Wall Mount Shower Only Faucet
75523T-4 Wall Mount Bath/Shower Faucet
75522T-4 Wall Mount Shower Only Faucet
75523T-4 Wall Mount Bath/Shower Faucet
ELLISTONELLISTON
ROUGH-IN DIMENSIONS
1250178-2A-A 4
SERVICE PARTS
**Color code must be specified when ordering
75523T-4
49
40º
27
60
57.5
G1/2˝
1500
G1/2˝
Ø116
249
258
G1/2˝
75522T-4:870721
75523T-4:1214971**
75523T-4:3005148
75523T-4:1250160**
831752
1186138
3006660
1228157**
1250157**
832940
1260044**
834554
1041450
75522T-4:864922**
831752
1170944**
1250159**
1218659
864471
870992
3010698
3010697**
880010
831727**
1226887**
79680
1216770**
75523T-4:3006148
G1/2˝
194
G1/2˝
150±15
Ø64 127
18.5º
137~147 54
1250178-2A-A 2
1250178-2A-A 3
INSTALLATION
Ensure that all coupling nuts are tight. Ensure that the
lever handle is in the off position.
Turn on the main water supply and drain, and check
for leaks. Repair as needed.
Remove the handshower(12), remove aerator(17) by
key(18). Run hot and cold water through faucet for
about one minute to remove any debris. Check for
leaks. Repair as needed. Remove any debris from the
aerator. Shut off the faucet. Reinstall the aerator.
Put the washer(8) into the end A of the hose(9), and
connect to the faucet outlet(10).
Put the check valve(11) into the handshower(12) inlet
as shown if needed. Put the washer(8) into the end B
of the hose, and connect to the handshower.
How to Install the Bracket
Determine a suitable location on the finished wall to
install the bracket.
Mark bracket base mounting hole locations on the wall
according to the dimension. Drill two holes on the
finished wall, the holes should match the anchors(15).
Install the anchors. Tighten screws(16) to secure
bracket base(13) to the finished wall. Put the
bracket(14) onto the bracket base and lock by
stopper. Hang the handshower on the shower bracket.
INSTALLATION CHECKOUT
CLEANING INSTRUCTIONS
All Finishes: Clean the finish with mild soap and warm water. Wipe entire surface completely dry with clean soft
cloth. Many cleaners may contain chemicals, such as ammonia, chlorine, toilet cleaner etc, which could adversely
affect the finish and are not recommended for cleaning.
Do not use abrasive cleaners or solvents on Kohler faucets and fittings.
75522T-4
49
40º
27
60
57.5
G1/2˝
1500
G1/2˝
Ø116
249
258
G1/2˝
热
冷
2
①
5
2
3
②
1
31~41mm
4
150mm
How to Install the Faucet
To perform installation, installer must provide G1/2˝
female supply fittings(1), spaced 150mm apart and
horizontally. The supply fittings should be vertical and
not beyond the finished wall. Hot supply pipe must be
located on the left.
Install the two offset connectors(2) into the hot and
cold supply pipes. Use appropriate thread sealants or
thread tape on pipe threads.
Adjust the center-to-center distance between the
connectors to 150mm and horizontally. They should
extend 31~41mm beyond the finished wall. Install the
escutcheons(3) onto the connectors until they are
against the finished wall.
Put the washers(4) into the nuts(5), thread the nuts to
connectors. Tighten the nuts with strap wrench or soft
cloth between product and regular wrench.
③
④
8
11
12
B
10
8
9
A
12
17
13
14
15
16
27mm
18
G1/2˝
58~68
150±15
194
122
G1/2˝ Ø64

This manual suits for next models

1

Other Kohler Plumbing Product manuals

Kohler K-8508 Assembly instructions

Kohler

Kohler K-8508 Assembly instructions

Kohler K-4918 User manual

Kohler

Kohler K-4918 User manual

Kohler S-TRAP K-27344T User manual

Kohler

Kohler S-TRAP K-27344T User manual

Kohler Evoke 6332A-4 User manual

Kohler

Kohler Evoke 6332A-4 User manual

Kohler Revival K-2950-1 Assembly instructions

Kohler

Kohler Revival K-2950-1 Assembly instructions

Kohler Jarves K-5055 User manual

Kohler

Kohler Jarves K-5055 User manual

Kohler K-2209 User manual

Kohler

Kohler K-2209 User manual

Kohler K-9018 Assembly instructions

Kohler

Kohler K-9018 Assembly instructions

Kohler K-26228T User manual

Kohler

Kohler K-26228T User manual

Kohler Memoris 10435T User manual

Kohler

Kohler Memoris 10435T User manual

Kohler K-7331 Assembly instructions

Kohler

Kohler K-7331 Assembly instructions

Kohler K-3145 Assembly instructions

Kohler

Kohler K-3145 Assembly instructions

Kohler K-T343 User manual

Kohler

Kohler K-T343 User manual

Kohler K-8247 Assembly instructions

Kohler

Kohler K-8247 Assembly instructions

Kohler Mira 1836.457 User manual

Kohler

Kohler Mira 1836.457 User manual

Kohler K-T944 Assembly instructions

Kohler

Kohler K-T944 Assembly instructions

Kohler K-7145 Assembly instructions

Kohler

Kohler K-7145 Assembly instructions

Kohler Refinia K-T5324 Assembly instructions

Kohler

Kohler Refinia K-T5324 Assembly instructions

Kohler EX28093K-8 User manual

Kohler

Kohler EX28093K-8 User manual

Kohler 10282 User manual

Kohler

Kohler 10282 User manual

Kohler K-8703X Assembly instructions

Kohler

Kohler K-8703X Assembly instructions

Kohler K-20199 Assembly instructions

Kohler

Kohler K-20199 Assembly instructions

Kohler K-19909-4 Assembly instructions

Kohler

Kohler K-19909-4 Assembly instructions

Kohler Mira Move 8.5 User manual

Kohler

Kohler Mira Move 8.5 User manual

Popular Plumbing Product manuals by other brands

Stern VENUS 3002 Series Installation and maintenance guide

Stern

Stern VENUS 3002 Series Installation and maintenance guide

Glacier bay HD67389W-6201 Installation and care guide

Glacier bay

Glacier bay HD67389W-6201 Installation and care guide

American Standard VORMAX PLUS INSTALLATION INSTRUCTIONS CARE AND MAINTENANCE

American Standard

American Standard VORMAX PLUS INSTALLATION INSTRUCTIONS CARE AND MAINTENANCE

SuperKlean 3600 Series Installation and maintenance instructions

SuperKlean

SuperKlean 3600 Series Installation and maintenance instructions

Elkay Ferrara LK7126 Specifications

Elkay

Elkay Ferrara LK7126 Specifications

Sanela SLUN 51ET Instructions for use

Sanela

Sanela SLUN 51ET Instructions for use

Hans Grohe RainDrain UK Coupler DN50 to 56 mm 94344000 manual

Hans Grohe

Hans Grohe RainDrain UK Coupler DN50 to 56 mm 94344000 manual

KWC Shower Arm Specification sheet

KWC

KWC Shower Arm Specification sheet

Brizo T608 Series manual

Brizo

Brizo T608 Series manual

Grohe Tenso 19 293 quick start guide

Grohe

Grohe Tenso 19 293 quick start guide

Sterling Plumbing 71140112 Specification sheet

Sterling Plumbing

Sterling Plumbing 71140112 Specification sheet

Caroma TITAN installation instructions

Caroma

Caroma TITAN installation instructions

Crosswater Belgravia US-BL130 installation instructions

Crosswater

Crosswater Belgravia US-BL130 installation instructions

KWC ONO 10.151.102.700 Specification sheet

KWC

KWC ONO 10.151.102.700 Specification sheet

The Splash Lab Aerofoil Instruction guide

The Splash Lab

The Splash Lab Aerofoil Instruction guide

Symmons Symmetrix S2502 Series Operation & maintenance manual

Symmons

Symmons Symmetrix S2502 Series Operation & maintenance manual

American Standard Standard 4271 installation instructions

American Standard

American Standard Standard 4271 installation instructions

Sanela SLU 54 Instructions for use

Sanela

Sanela SLU 54 Instructions for use

manuals.online logo
manuals.online logoBrands
  • About & Mission
  • Contact us
  • Privacy Policy
  • Terms and Conditions

Copyright 2025 Manuals.Online. All Rights Reserved.