Timed Shower / Bath Fill – Countdown Mode
This setting enables or disables timed showering/bath fill. When enabled, a countdown timer will begin
counting down at system start-up and the system will automatically turn off after the set duration.
The countdown timer will chime (if sound is enabled) at 2 minutes remaining (2:00). At 1 minute remaining
(1:00), the system will chime (if the sound is enabled) and the timer will blink for the remaining 59 seconds.
Factory default for this setting is disabled (n).
NOTE: The shower/bath fill can be paused and resumed at any time during the countdown.
Set the time duration within the ″Prog 4″screens.
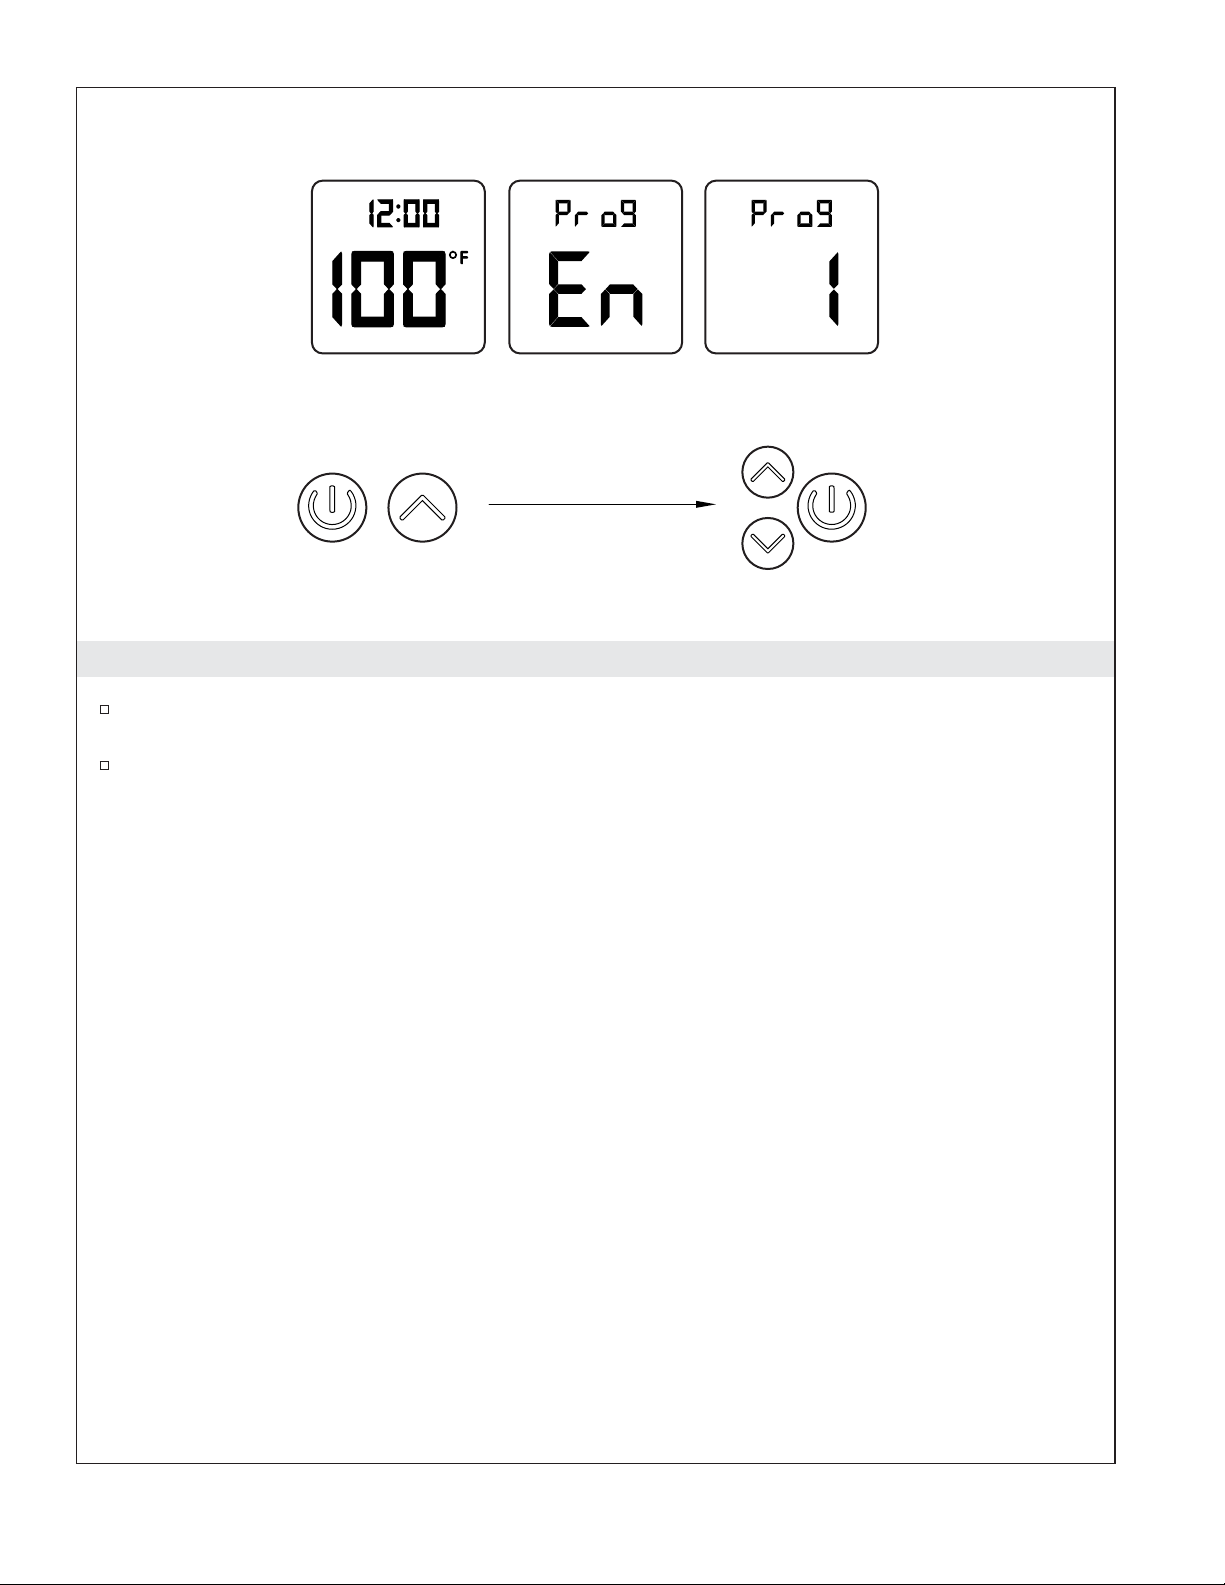
Press and hold the [Power Icon] and the [Up Icon] to enter the settings menu. If your shower is on,
the water will be shut off.
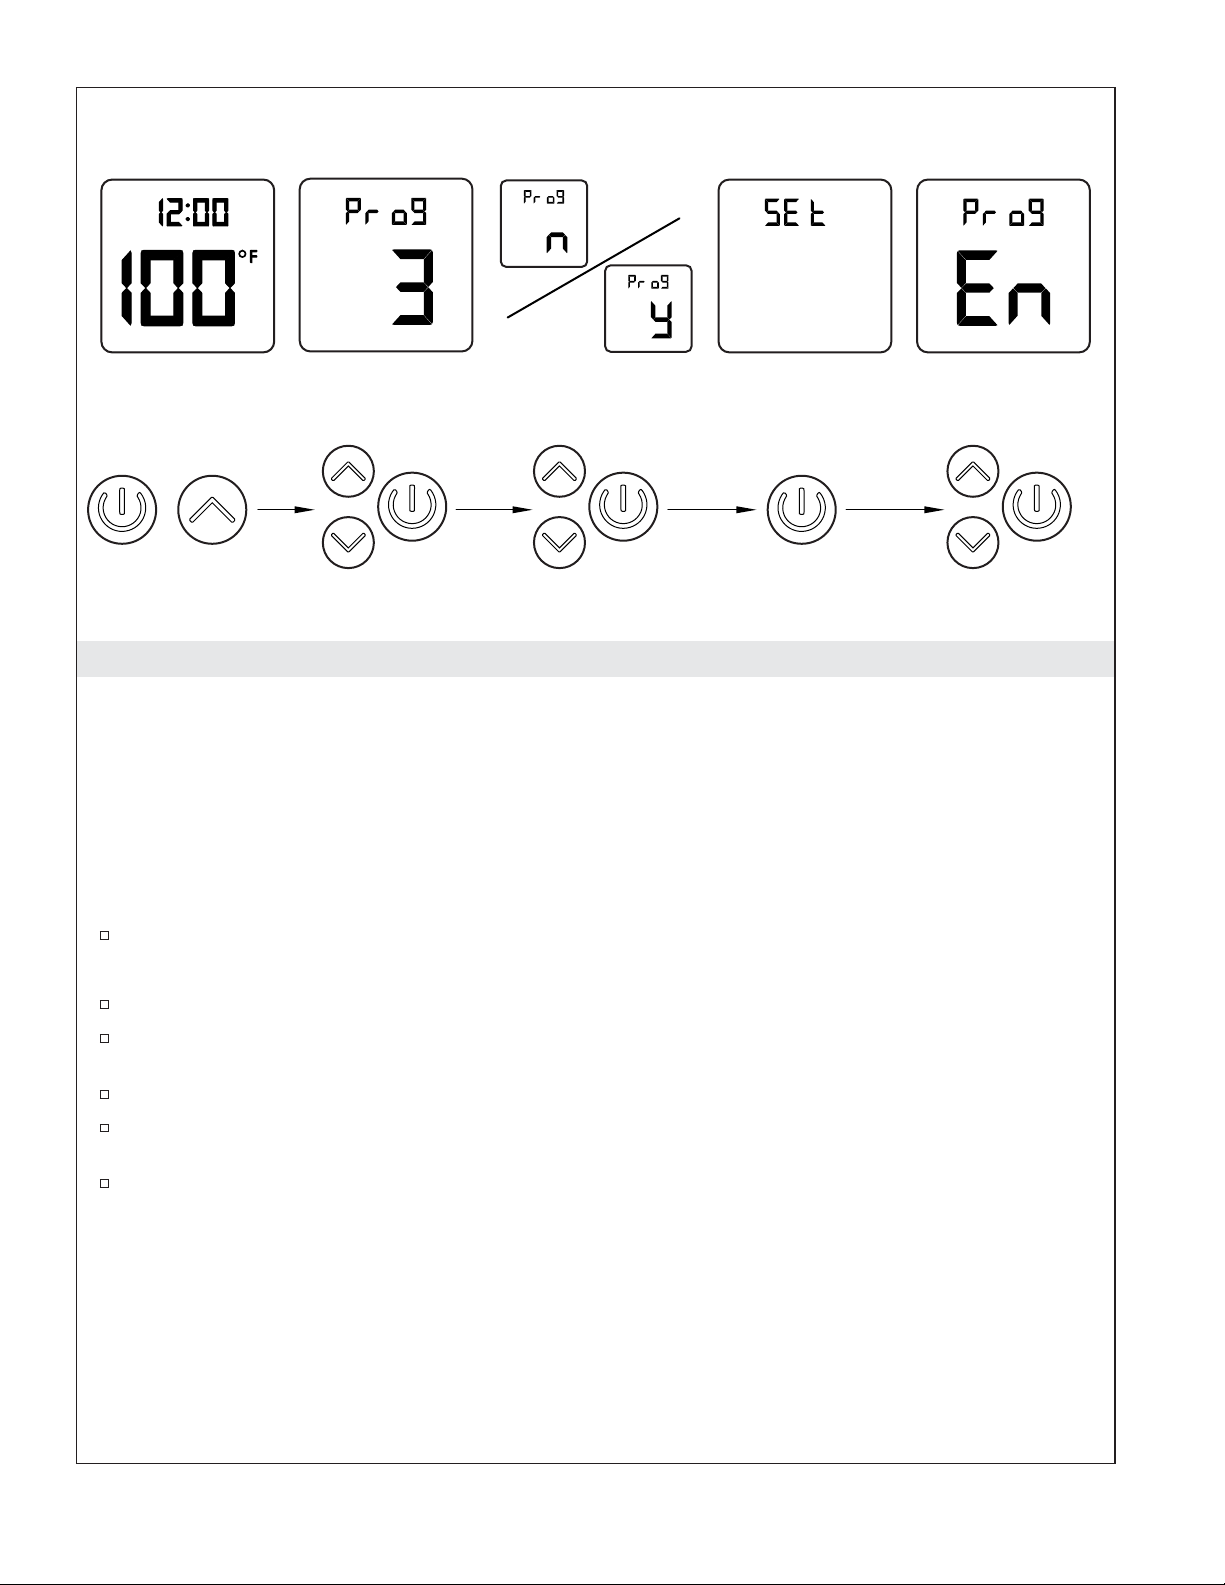
Use the [Up Icon] or [Down Icon], to step to the ″Prog 3″screen. Press the [Power Icon].
Use the [Up Icon] or [Down Icon] to choose ″n″to disable timed showering/bath fill, or ″y″to
enable. Press the [Power Icon] to set.
Press the [Power Icon] again to return to the settings menu.
Continue Set-up: Use the [Up Icon] or [Down Icon], to choose the next desired setting; press the
[Power Icon] to select. See the section for the chosen setting.
To Exit the Settings Menu: Use the [Up Icon] or [Down Icon], to step to the ″Prog En″screen and
press the [Power Icon]. The system will go into standby mode.
Press and hold both icons
for 2 seconds.
+
Choose to disable (n)
or enable (y).
1144502-5-D 10 Kohler Co.