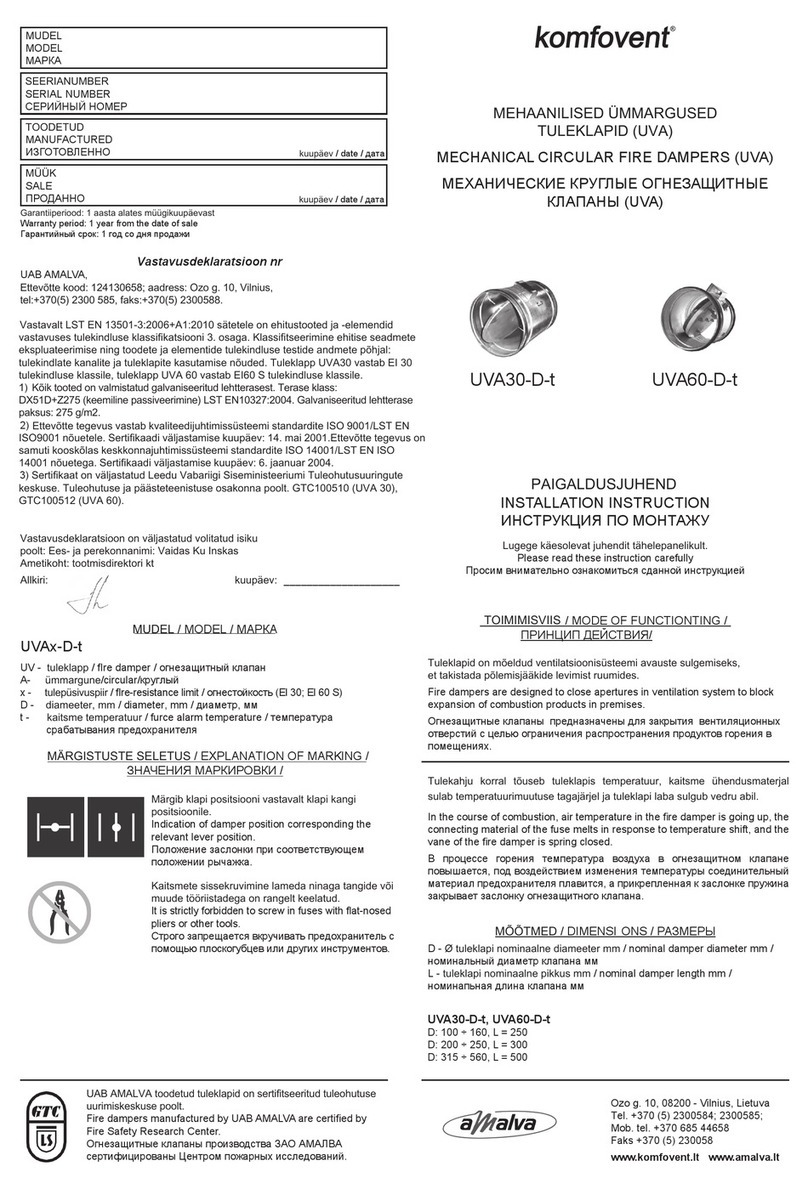
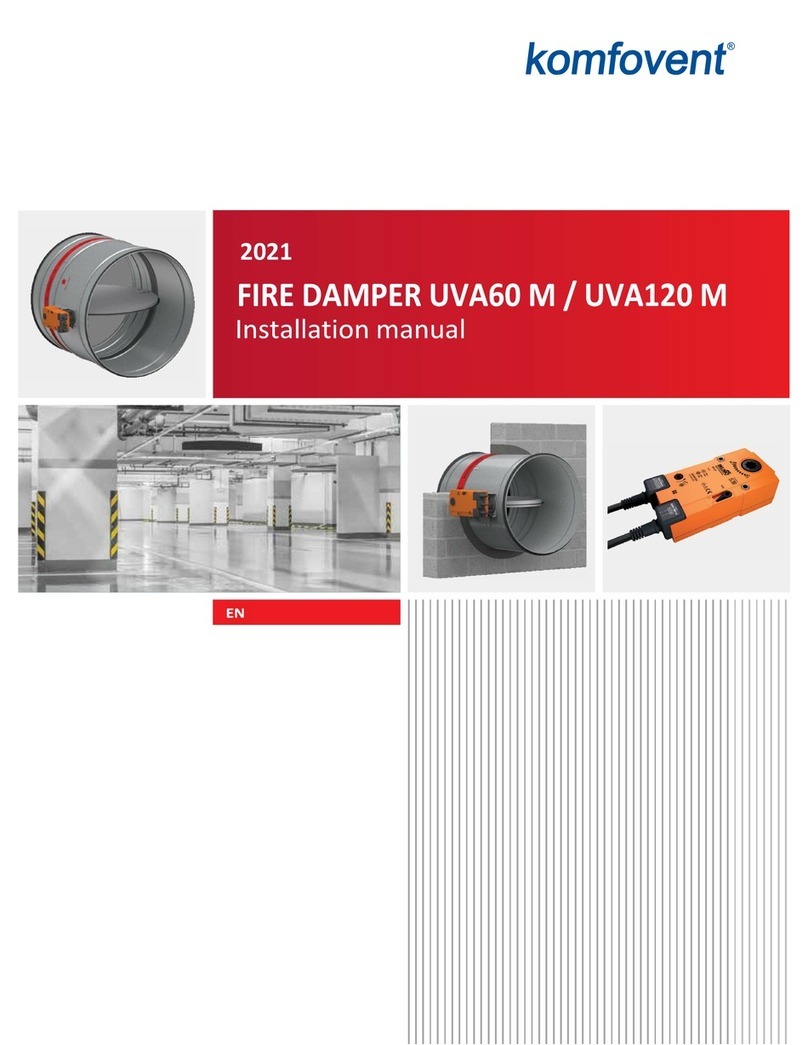
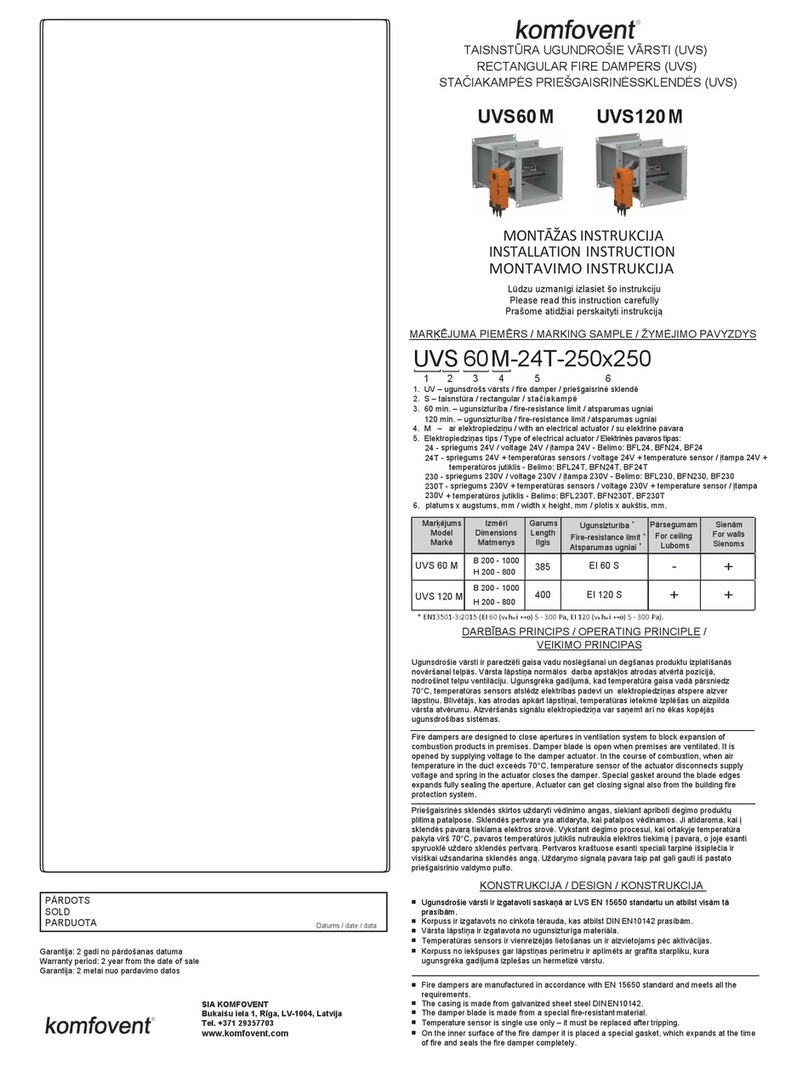
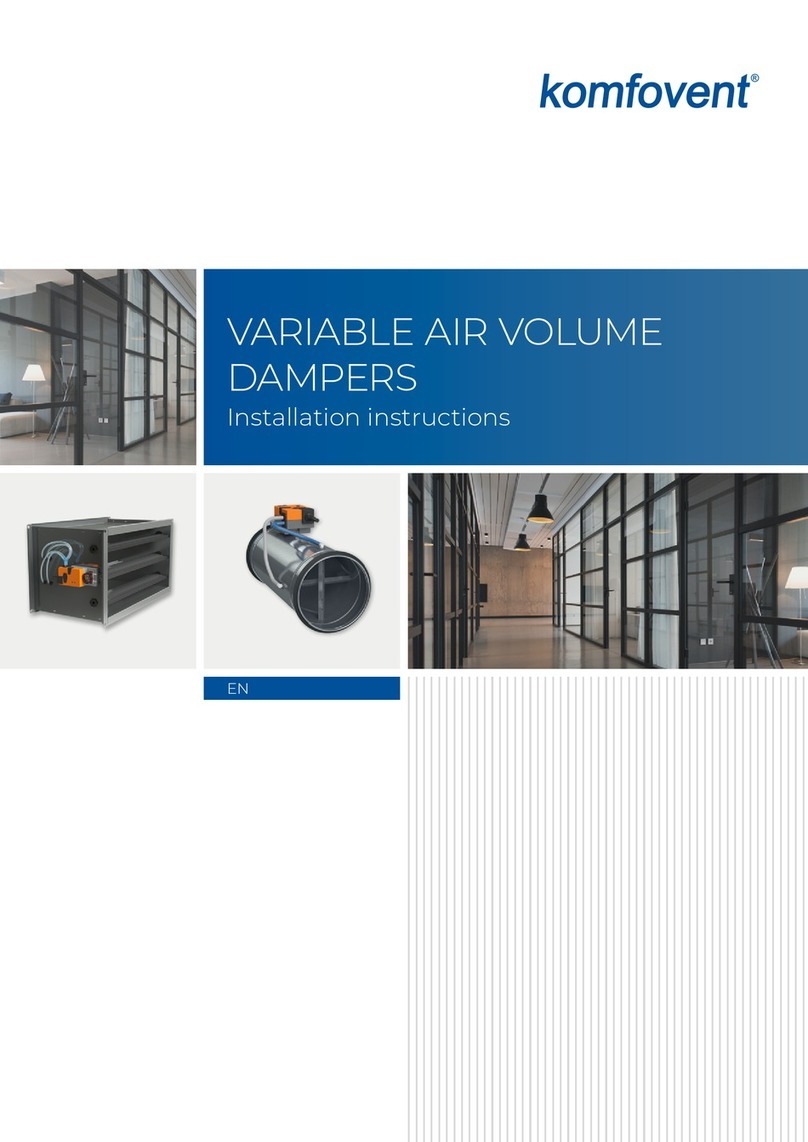
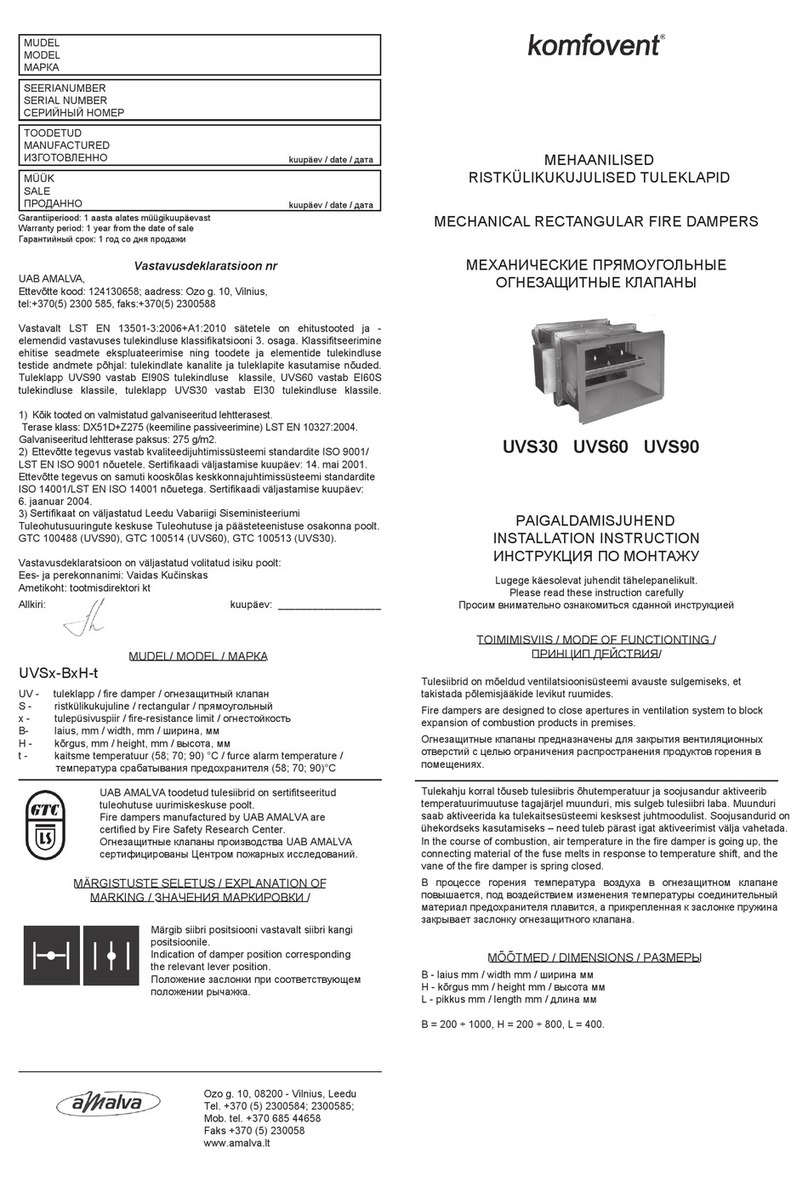
Komfovent UVS 120H User manual

EN
FIRE DAMPER UVS 120H (Two-Bladed design)
Installation manual

SIA KOMFOVENT reserves the right to make changes without prior notice
Fire damper UVS120 H (Two-Bladed design) ∙ Installation manual ∙ 21-01
2
CONTENT
1. FIRE DAMPER DESIGN AND DIMENSIONS ....................................................................................................................................................3
2. INSTALLATION METHOD EXAMPLES ...............................................................................................................................................................5
2.1. Installation in a solid wall ..................................................................................................................................................................................5
3. SAFETY REQUIREMENTS .........................................................................................................................................................................................6
4. INSTALLATION STEPS ...............................................................................................................................................................................................7
4.1. Signalling devices (switches) installation instructions for fire dampers UVS-H .........................................................................11
5. PERIODICAL INSPECTIONS ................................................................................................................................................................................13

5
6
7
8
9
11
10
9
1
4
2
3
SIA KOMFOVENT reserves the right to make changes without prior notice
Fire damper UVS120 H (Two-Bladed design) ∙ Installation manual ∙ 21-01 3
1. FIRE DAMPER DESIGN AND DIMENSIONS
1 – casing, 2 – blade, 3 – opening device with spring, 4 – intumescent seal, 5 – handle attaching screw,
6 – spring washer, 7 – handle of the opening device, 8 – microswitch cap, 9 – PUSH button mechanism (replacing part),
10 – screw, 11 – Fuse element 70˚
The rectangular fire damper UVS120H is an emergency application type damper having two synchronously moving
blades.

A A
H
1
H
B 54.2
400 L
166,4
L
SIA KOMFOVENT reserves the right to make changes without prior notice
Fire damper UVS120 H (Two-Bladed design) ∙ Installation manual ∙ 21-01
4
Fire damper UVS-120H main sizes (EIS 90)
1050 ÷ 1600
200 H = 240, H1 = 180, L = 0
250 H = 290, H1 = 230, L = 0
300 H = 340, H1 = 280, L = 0
350 H = 390, H1 = 330, L = 0
400 H = 440, H1 = 380, L = 0
450 H = 490, H1 = 430, L = 15
500 H = 540, H1 = 480, L = 40
550 H = 490, H1 = 430, L = 65
600 H = 640, H1 = 580, L = 80
650 H = 690, H1 = 630, L = 115
700 H = 740, H1 = 680, L = 140
750 H = 790, H1 = 730, L = 165
800 H = 840, H1 = 780, L = 190
850 H = 890, H1 = 830, L = 215
900 H = 940, H1 = 880, L = 240
950 H = 990, H1 = 930, L = 265
1000 H = 1040, H1 = 980, L = 290
Bnom
Hnom
200 ÷ 1000
1050 A = 505, B = 1090
1100 A = 530, B = 1140
1150 A = 555, B = 1190
1200 A = 580, B = 1240
1250 A = 605, B = 1290
1300 A = 630, B = 1340
1350 A = 655, B = 1390
1400 A = 680, B = 1440
1450 A = 705, B = 1490
1500 A = 730, B = 1540
1550 A = 755, B = 1590
1600 A = 780, B = 1640
Hnom
Bnom
Handle in open
position
Blade in open
position

A-A
B+60mm
H+60mm
400
3
1
2
140
115+10
0
A
A
SIA KOMFOVENT reserves the right to make changes without prior notice
Fire damper UVS120 H (Two-Bladed design) ∙ Installation manual ∙ 21-01 5
2.1. Installation in a solid wall
2. INSTALLATION METHOD EXAMPLES
EIS 90.
1. Solid wall (made of concrete, bricks,
or aerated concrete blocks, masonry
650 kg/m³, minimum 115 mm thick).
2. Plaster / mortar (e.g. Knauf MP75L or
analogue).
3. Fire damper UVS.
Anchor screws
(according wall material)
Opening dimension

SIA KOMFOVENT reserves the right to make changes without prior notice
Fire damper UVS120 H (Two-Bladed design) ∙ Installation manual ∙ 21-01
6
3. SAFETY REQUIREMENTS
The local regulations for health and safety at work and general safety regulations to be applied.
Personal protective equipment must be worn for such types of work: re damper electrical installation, re damper
mechanical connection to the air duct system (ductwork) and any type of service or maintenance works.
Protective gloves must
be worn
Protective gloves protect
hands against abrasion,
oily environment, sharp
metal parts and contact
with hot surfaces.
Protective industrial
helmet must be worn
Industrial helmets protect
the head against impact
from objects falling from
above, by resisting and
deflecting blows to the
head.
Protective boots must
be worn
Protective boots protect
the foot from falling
objects or compression
and prevent slipping on a
slippery floor.
Incorrect use might
cause dangerous
situations.
It is important to correctly use the re damper in prescribed way only:
• Fire damper is permitted to use in exhaust or supply air systems.
• Not allowed to operate the fire damper if it do not comply with manufacturer’s installation requirements specified in
this instruction.
• Any changes or modifications of the fire damper are strictly prohibited, except for using manufacturer’s provided
replacement parts.
• Qualified staff only are allowed to replace parts or service the fire damper.

L L
H
SIA KOMFOVENT reserves the right to make changes without prior notice
Fire damper UVS120 H (Two-Bladed design) ∙ Installation manual ∙ 21-01 7
H, mm L, mm
450 15
500 40
550 65
600 80
650 115
700 140
750 165
800 190
850 215
900 240
950 265
1000 290
4. INSTALLATION STEPS
Before starting installation process any re damper shall be inspected for damages by responsible person!
The installation process must include the following steps:
1. Check if the blade is closing and opening without additional resistance by pressing “Push’ button several times. If
sticking occurs, lubricate rotation and sliding points as shown below using a suitable amount of grease:
2. Please consider that fire damper has exposition of the blade into the duct within a certain distance in either direction:

≥75
≥200
≥75
B+60 0
+30
H+60 0
+30
SIA KOMFOVENT reserves the right to make changes without prior notice
Fire damper UVS120 H (Two-Bladed design) ∙ Installation manual ∙ 21-01
8
3. Close the blade of a fire damper. If a re damper has been installed with an open blade, this may cause incomplete
closing of the blade or even damage! Blade position can be easily controlled also after installation by referring to
marks located on the casing of locking mechanism:
• The fuse element is single-
use only and should be
replaced after activation.
• The fuse element can be
easily accessible by screwing
out PUSH button screw and
pulling out the thermal
release mechanism.
• In case the fuse element
is melted it can be simply
replaced with a new one.
Blade open
Blade closed
4. Cover the main mechanism (if delivered uncovered) with plastic film or another material to protect it against clogging
with construction dust and materials.
5. Prepare installation opening in the wall in accordance with the prescriptions:
It is highly recommended to install the fire dampers in a way that completely prevents excess load on the
dampers and transfer any load from ducts or supporting constructions!
For solid walls
6. The distance between multiple fire dampers installed close to each other shall not exceed 200 mm, as well as damper
must not be installed closer than 75 mm to the walls, ceiling or other partitions, but it is recommended to leave the
access space to main mechanism at least 300 mm.

8 ... 10 mm
SIA KOMFOVENT reserves the right to make changes without prior notice
Fire damper UVS120 H (Two-Bladed design) ∙ Installation manual ∙ 21-01 9
1050 110 0 1150 1200 1250 1300 1350 1400 1450 1500 1550 1600
200 21.1 21.9 22.5 23.3 23.9 24.7 25.3 26.1 26.7 27. 5 28.1 28.8
250 23.1 23.9 24.6 25.3 26.1 27.1 27.7 28.5 29.3 30.0 30.8 31.6
300 25.0 25.9 26.6 27.3 28.3 29.5 30.0 32.9 33.8 34.6 35.4 36.2
350 27.0 27.9 28.7 31.9 32.8 33.7 34.6 35.4 36.3 37.2 38.1 39.0
400 31.1 32.1 33.0 34.0 34.9 36.0 36.9 37.9 38.8 39.8 40.7 41.7
450 33.1 34.2 35.1 36.2 37.2 38.3 39.3 40.3 41.3 42.4 43.3 44.4
500 35.0 36.2 37.2 38.4 39.4 40.5 41.6 42.7 43.8 44.9 45.9 47.1
550 37.0 38.2 39.3 40.5 41.6 42.8 43.9 45.0 46.2 50.6 51.8 52.9
600 38.9 40.1 41.3 42.6 43.7 45.0 49.4 50.7 51.8 53.1 54.3 55.5
650 40.9 42.1 43.4 44.8 49.7 51.0 51.7 53.1 54.3 55.6 56.9 58.1
700 42.8 44.1 48.7 50.1 51.4 52.8 54.0 55.5 56.7 58.1 59.4 60.8
750 44.8 49.3 50.7 52.1 53.5 54.9 56.3 57.8 59.2 60.6 62.0 63.4
800 49.8 51.3 52.7 54.2 55.7 57.2 58.6 60.2 61.6 63.1 64.5 66.0
850 51.5 53.1 54.7 56.2 57.8 59.2 60.9 62.6 64.1 65.6 67.1 68.7
900 53.2 54.9 56.5 58.1 59.8 61.2 63.2 65.0 66.5 68.1 69.6 71.3
950 55.0 56.7 58.4 60.2 61.9 63.3 65.5 67.3 69.0 70.6 72.2 74.0
1000 56.7 58.6 60.4 62.2 64.0 65.4 67.8 69.7 71.4 73.1 74.7 76.6
Bnom
Hnom
Note: for installation of a damper into a wall axle of the blade should be positioned horizontally only! Blade of a damper always has to be
placed INSIDE the supporting construction. Main mechanism can be used as a guide to find right damper’s position:
Recommended distance between supporting construction (wall or
ceiling) edge and main mechanism of the fire damper is 8 to 10 mm.
It is extremely important that the blade is positioned into the
supporting construction, if possible closer to its center.
Red duct tape can be used as a guide to identify fire damper’s blade
position.
It is important to select only appropriate fastening for fire damper supporting based on its weight, kg:
Please be advised, that after installation of the damper periodical inspections will be held in accordance with p. 4 and it is necessary to
ensure access to the main mechanism of a fire damper.

SIA KOMFOVENT reserves the right to make changes without prior notice
Fire damper UVS120 H (Two-Bladed design) ∙ Installation manual ∙ 21-01
10
7. Fill in the gap between the casing and supporting construction with prescribed type of the filler and let the filler dry
out completely.
8. Visually check that fire damper is securely installed into the supporting construction, check if the fuse element and
levers system are undamaged and check if the blade is closing and opening properly by pressing “Push’ button
several times. The blade must be fully closed and no seizing should be observed.
9. When fire damper is fully installed and verified, make sure it is left in its normal working position with blade OPEN.
10. Please consider that all EU working safety and Fire safety standards must be observed during the installation
process.
11.
End position microswitches is an additional option that can be used to identify the blades position from a distance.
For each position of the blade (OPEN / CLOSE) one end switch is needed. Meaning in total it will be two end
position switches for one fire damper. It is easy to mount end positions switches on fire dampers with plastic
actuation mechanism – only one additional plastic part must be installed. This plastic part comes as a set with the
switches.

SIA KOMFOVENT reserves the right to make changes without prior notice
Fire damper UVS120 H (Two-Bladed design) ∙ Installation manual ∙ 21-01 11
Installation steps:
4.1. Signalling devices (switches) installation instructions for re dampers UVS-H
If fire damper is additionally completed by one or two signaling devices (microswitches) and switch cam, simple
installation of the parts is required:
Switch cam – 1 pc. Microswitch – 1 or 2 pcs.
1. Unscrew damper’s handle holding screw DIN 912,
then remove handle and cap.
2. Place switch cam to
the axis and one or
two microswitches
to the indicated
positions. Make sure
that the cam ledge
pushes the microswi-
thes’ metal plate.
3. Place
switch cam
and handle
back and
screw in
DIN 912
screw.
4. Connect microswitches to designed way. Each
microswitch has NC (normally closed), NO (nor-
mally open) and C (common) poles. Connection
scheme using signaling device:
Using an appropriate tool (e.g. pliers), GENTLY
fold the metal plate as shown:
ACTION SHOULD BE TAKEN IF THE CAM DOESN’T PUSH
THE METAL PLATE:
Avoid to fold the plate too hard so it can be broken!
C NO NC
3-30 V
C NO NC
3-30 V
Each microswitch has NC (normally closed), NO
(normally open) and C (common) poles. Connection
scheme using signaling device is shown
Tool:
3-5°
Screw:
DIN 912 M6x10
1
2
3
NC
NO
COM
Normally Closed
Normally Open
Common

SIA KOMFOVENT reserves the right to make changes without prior notice
Fire damper UVS120 H (Two-Bladed design) ∙ Installation manual ∙ 21-01
12
IF ANY OF THE FOLLOWING ISSUES OBSERVED AFTER THE FIRE DAMPER INSTALLATION, IT IS STRICTLY PROHIBITED
TO ACCEPT IT INTO OPERATION:
• INSPECTION HATCH OF THE FIRE DAMPER IS INACCESSIBLE;
• BLADE OF THE FIRE DAMPER IS BLOCKED IN OPEN POSITION;
• CASING OF THE FIRE DAMPER HAD BEEN DAMAGED OR SKEWED DURING INSTALLATION PROCESS;
• THE FIRE DAMPER IS FITTED WITHOUT OBSERVING THE REQUIREMENTS OF THIS INSTRUCTION;
• FASTENERS USED DURING INSTALLATION PROCESS BLOCK CLOSING OF THE FIRE DAMPER BLADE;
• GAPS BETWEEN CASING OF THE FIRE DAMPER AND THE SUPPORTING CONSTRUCTION REMAIN UNFILLED;
• THE DAMPER IS INSTALLED REMOTELY FROM THE WALL OR CEILING;
• CONSTRUCTION WASTE OR DUST SHOULD NOT BE LEFT ON THE SURFACES OF THE DAMPER;
• ACTUATOR IS DISCONNECTED OR MOUNTED LOOSE ON SHAFT;
• WIRES RUN THROUGH THE FIRE DAMPER.
SELF-TEST IS REQUIRED AFTER THE COMPLETION OF THE FIRE DAMPER INSTALLATION!

SIA KOMFOVENT reserves the right to make changes without prior notice
Fire damper UVS120 H (Two-Bladed design) ∙ Installation manual ∙ 21-01 13
5. PERIODICAL INSPECTIONS
It is a mandatory requirement of EN 15650:2010 standard that all fire dampers must be checked at least twice a year.
Below is Komfovent recommended maintenance inspection checklist.
Year of inspection Year 1 Year 2 Year 3 Year 4 Year 5
Date of inspection 01.01.21
Inspected by
Installation date:
RECORDS OF THE FIRE DAMPER
PERIODICAL INSPECTIONS
Checked by / date:
Accepted by / date:
Fire damper ref. No. FD25
Location Kitchen 21
Damper type and size UVS90H-1200x1000
Mounted in wall (w) or slab (s) thickness W115
Access to the damper compliant Yes
Installation in acc. to manufacturer’s instructions Yes
Correct operation of the fire damper Yes
Damper cleanness (accumulated dust, grease) No
Lubricate all moving Parts (done/not done) Yes
Damper condition (corrosion, rust) No
Fusible link or thermosensor was replaced No
Damages or modifications No
Blade and sealing material are undamaged Yes
Wiring of the end switches is undamaged and connected Yes
Wiring of the actuator is undamaged and connected NA
Pass / fail blade drop test Pass
End switches indicate blade closing Yes
Fire damper left in OPEN position Yes
Year of inspection
1x
2
3
4
5
Comments

www.komfovent.com
Fire damper UVS120 H (Two-Bladed design) ∙ Installation manual ∙ 21-01
SIA KOMFOVENT
Bukaišu iela 1, LV-1004 Riga, Latvia
Tel. +371 24 66 4433
info.lv@komfovent.com
Table of contents
Other Komfovent Fire And Smoke Damper manuals
Popular Fire And Smoke Damper manuals by other brands
NuTone
NuTone RDM2 installation guide

MAT
MAT Roto-Twist RT-150 Series Installation & operation instructions
Emerson
Emerson Enardo EN FVFA Series instruction manual
NuTone
NuTone RDFUWT installation guide
EKOVENT
EKOVENT EKO-RBG1 Installation and maintenance instructions

Schako
Schako BKA-EN Installation, mounting and operating instructions
