GB│IE│NI│CY │ 7 ■
KM 250 D1
NOTE
► The speeds and times given in the table are
intended as reference values. These can vary
depending on the quality and quantity of the
ingredients!
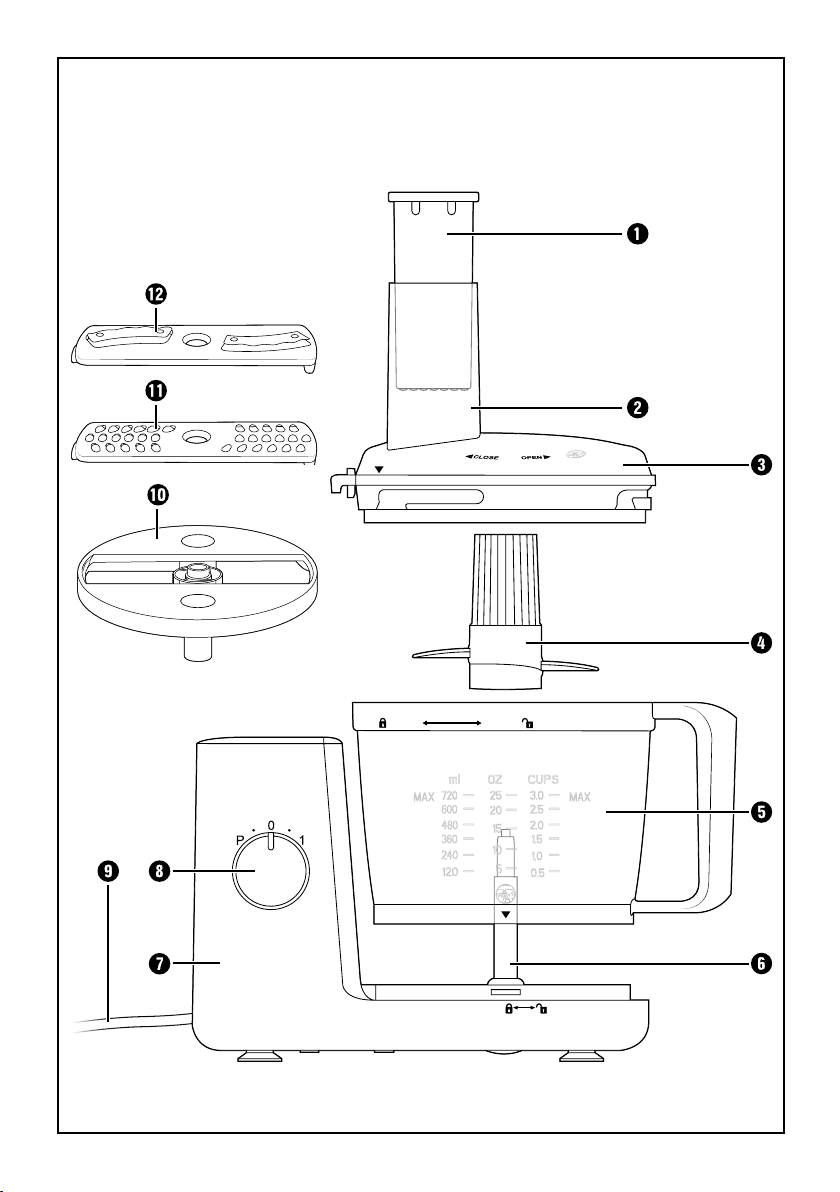
4) Close the lid 3.
WARNING! RISK OF INJURY!
► Always use the pusher to push ingredients
into the feed tube.
► Do not open the lid until the cutting blade
has stopped rotating.
5) Start chopping by turning the dial 8to position
1. Turn the dial 8back to position 0once all
the ingredients have been chopped and you
want to stop the appliance.
If you would like to continue to process the
ingredients using the PULSE function, turn the
dial 8several times in succession to the
position Puntil the ingredients are sufficiently
chopped.
If ingredients stick to the sides of the bowl 5
or the blades:
–Switch the appliance off.
–Remove the lid 3.
–Remove the ingredients from the cutting
blades 4and the inside using a dough
scraper or a spoon.
–Close the lid 3.
–Restart the appliance.
NOTE
► Only process meat that is boneless!
► Do not allow the appliance to operate for long
periods when chopping (hard) cheese.
Otherwise the cheese will become too hot,
start to melt and clump.
► Never allow the appliance to run for longer
than 1 minute! Otherwise, the motor unit could
overheat!
► If you wish to add ingredients during the cutting
process, add them via the feed tube2! The
appliance stops if the lid 3is opened!
Do not exceed the maximum quantities specified
in the table when adding ingredients!
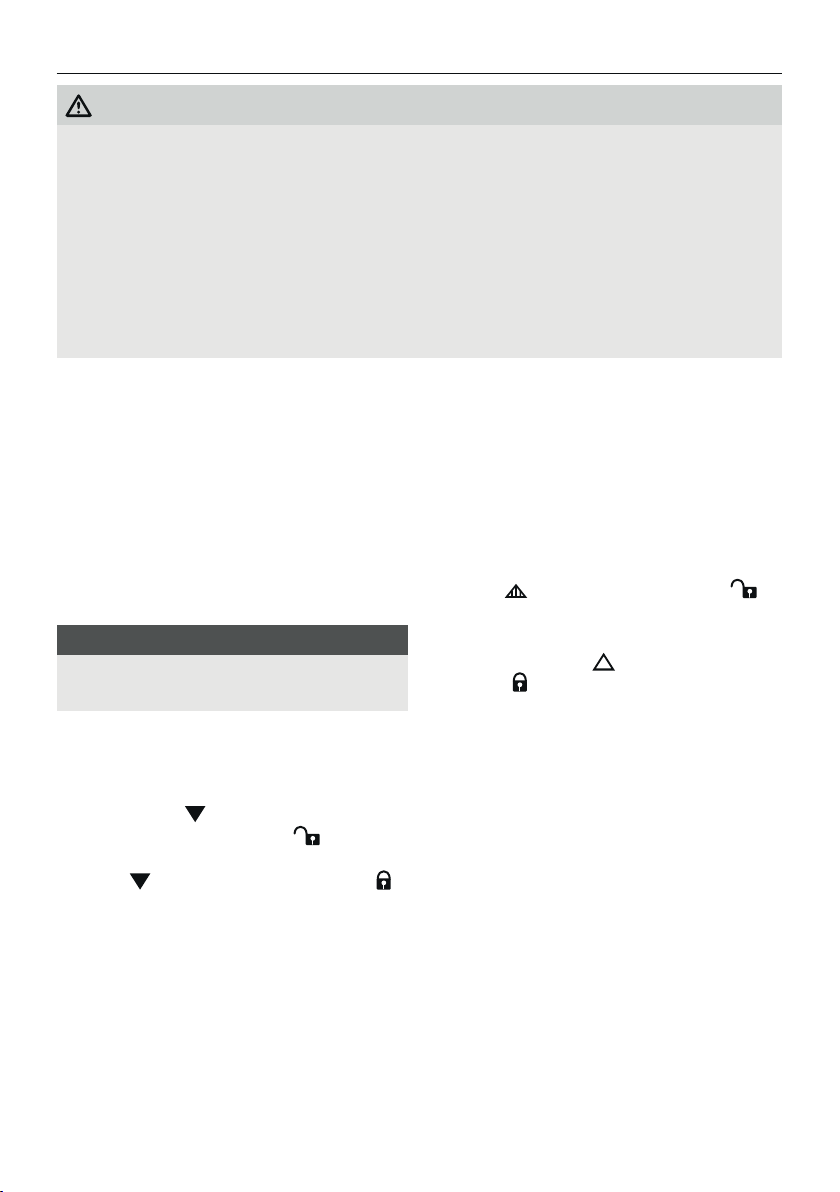
Working with the food processor
You can grate or slice food using the processor’s
attachments q/w.
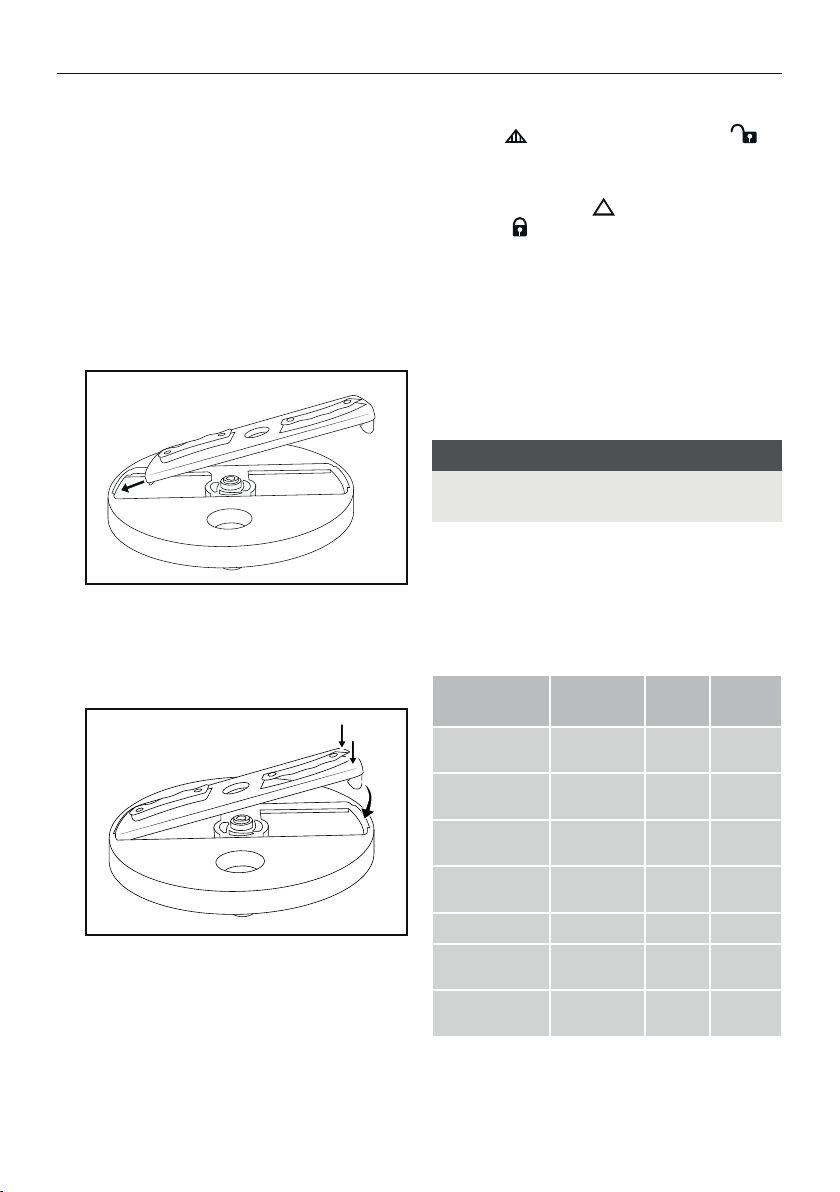
1) Select the required attachment and assemble
everything as described in the chapter
“Assembling the appliance”.
2) Remove the pusher 1from the feed tube 2.
3) Cut the food into pieces that will easily fit into
the feed tube 2.
4) Start grating/slicing by turning the dial 8to
position 1.
5) Then gradually add the food. Push the food in
using the pusher 1without applying pressure.
Do not exceed the quantities specified in the
following table.
INGREDIENT SLICER ATTACHMENT
Apples/carrots max. 350 g
Cucumber max. 1.5
Potatoes max. 350 g
Onions max. 200 g
IB_379078_KM250D1_LB6-.indb 7 04.01.2022 10:48:23