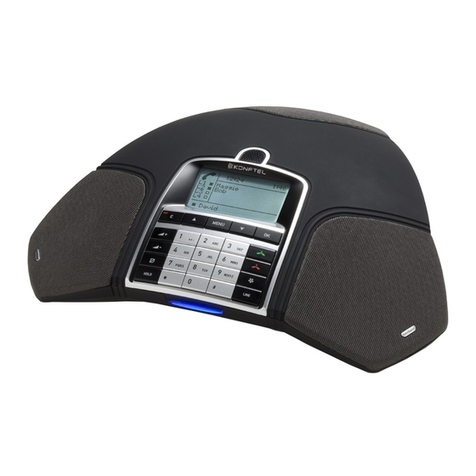
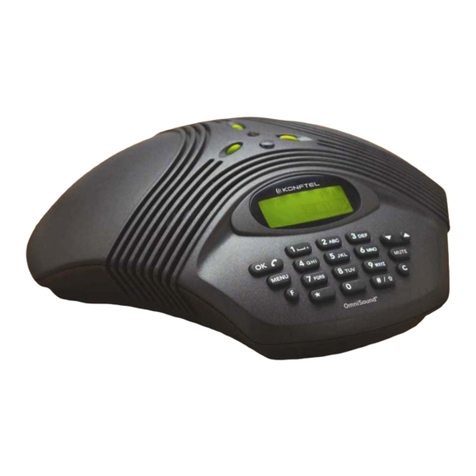
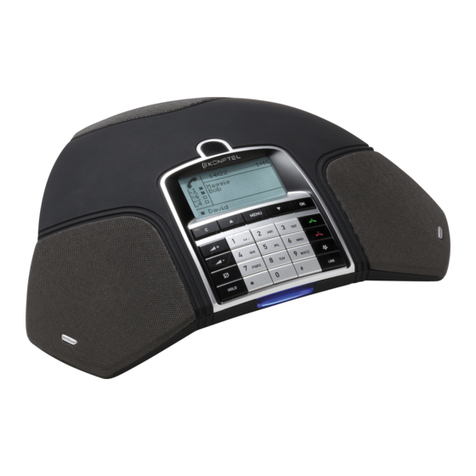
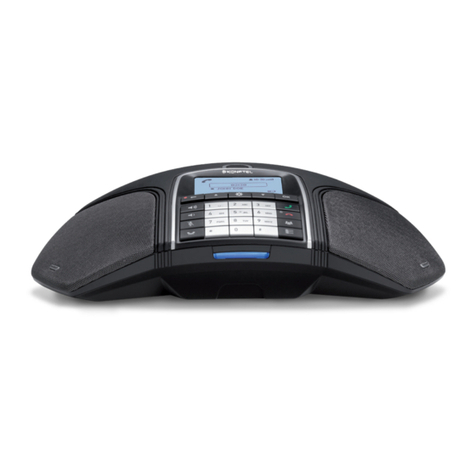
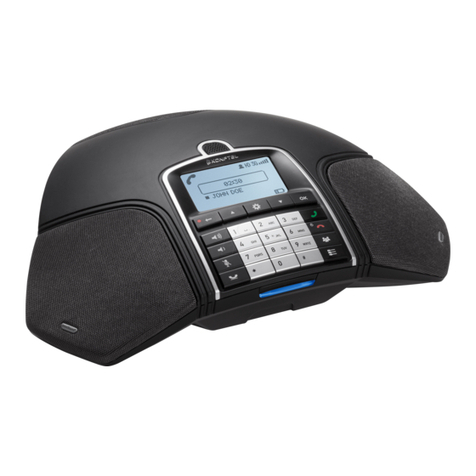
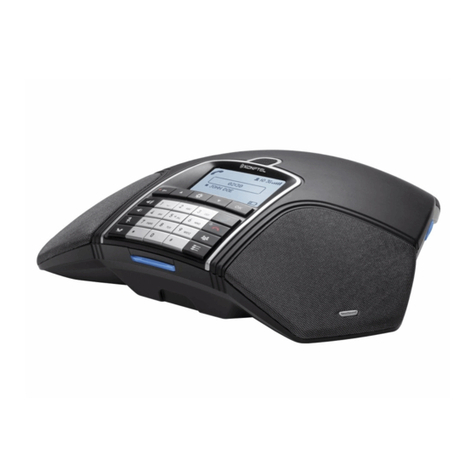
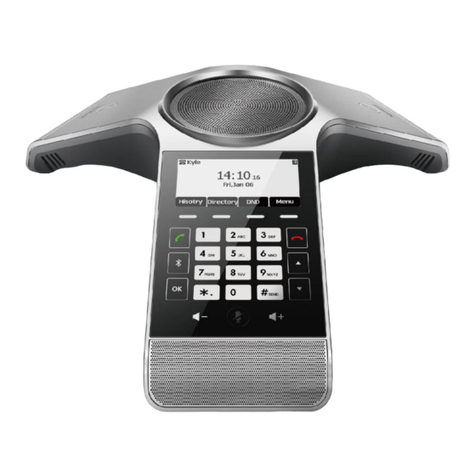
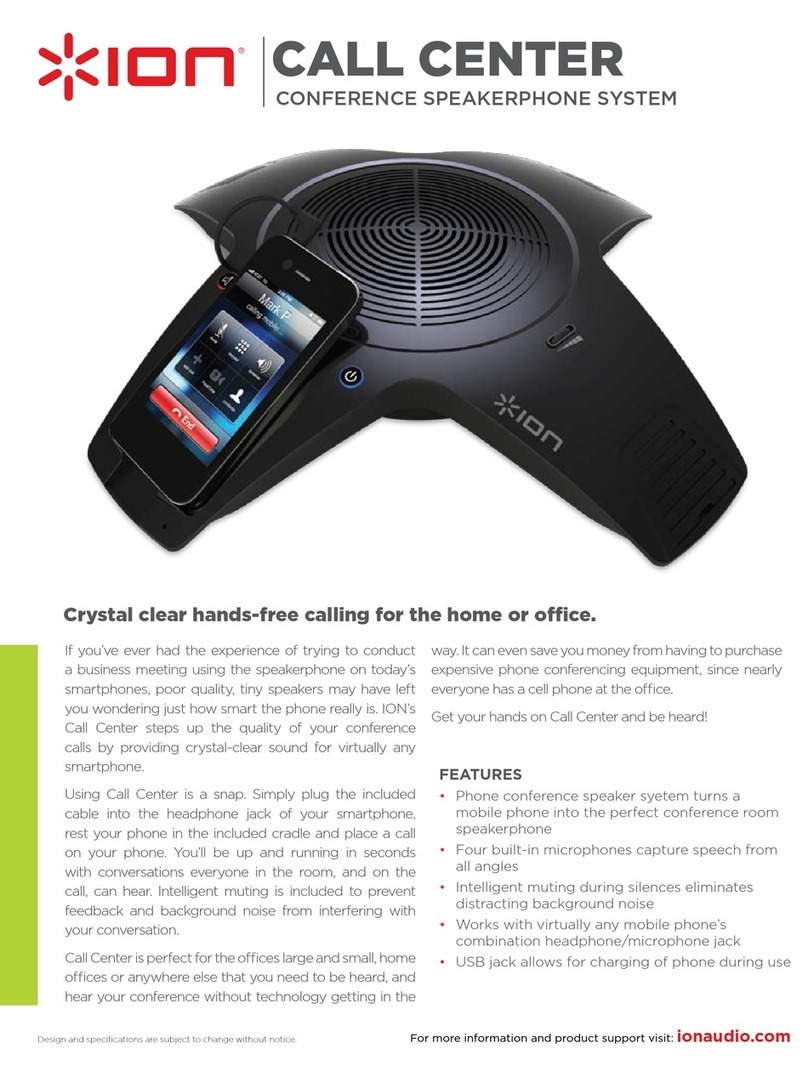
The Konftel 300IP must obtain a network address and be registered in a SIP switch (or PBX)
before it can be used. The easiest way to register an account and make the settings in the
Konftel 300IP is to use a PC connected to the same network and use the integrated web server
of the Konftel 300IP.
Obtaining a network address
When the conference phone is connected to the network, it usually automatically gets a network
identity (IP address) via the network’s DHCP function. If DHCP is not used in the network, please
refer to “Installation and Administration of Konftel 300IP” for instructions on setting a static IP
address.
Checking the network address
Press MENU and select the sub menu STATUS > NETWORK.
Read the quick reference guide if you want help navigating the menu system.
Check the conference phone’s network address under the heading IP ADDRESS.
Use this address to log into the web server in the conference phone.
Login
Log into the Konftel 300IP web server by entering the phone’s network address in your
computer’s web browser.
Select Admin as Prole and enter your PIN code.
The default PIN code is 1234.
GETTING STARTED
These settings should be done during the installation. A full description of all the options is given
in ”Installation and Administration of Konftel 300IP”.
Upgrading software
Select Settings > Provisioning.
Click on Check Now.
Compare the latest version with the current version (shown on the web page).
If you want to upgrade, select the version you want from the list and click on Upgrade.
The browser window and the Konftel 300 IP display shows that the upgrading has begun.
Downloading and installation can take several minutes. Do not stop the upgrading process
or unplug the Konftel 300IP during the upgrade as this may render the conference phone
inoperable.
When the installation process is completed, the words “Upgrade Complete. The unit will be
rebooted.” appear in the web browser and shortly after you will hear the Konftel signature
tune which indicates that the conference phone has started.
Setting time and region
Select Settings > Time & Region.
Select the time zone and if you want correction for DST (Daylight saving).
It is also possible to set the time and date manually or choose a different time server.
Select the region where you are.
This setting affects the tone generation.
Save the setting.
The Konftel 300IP reboots with the new settings.
Changing the language
Select Settings > Basic.
Select the language you want from the list after Language and save the setting.
Changing the PIN
We recommend that you change the PIN code for Admin from the default setting to protect the
settings. Make a note of the new PIN code and keep it in a safe place. The administrator’s PIN
code can only be reset with a complete reset to factory settings!
Select Settings > Basic and click the Edit button on the Admin line.
Enter a new PIN code.
The PIN code may consist of 8 digits.
Click on the Set and Save buttons.
SOFTWARE UPGRADE AND BASIC SETTINGS
