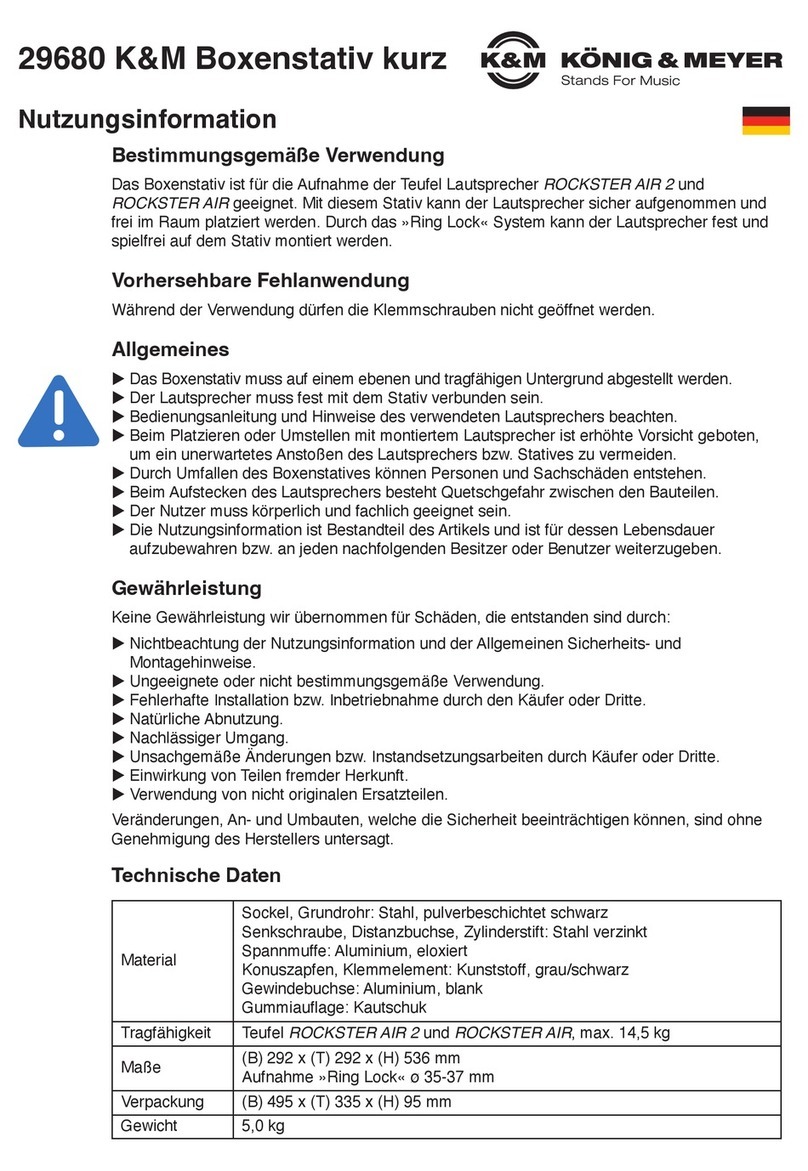
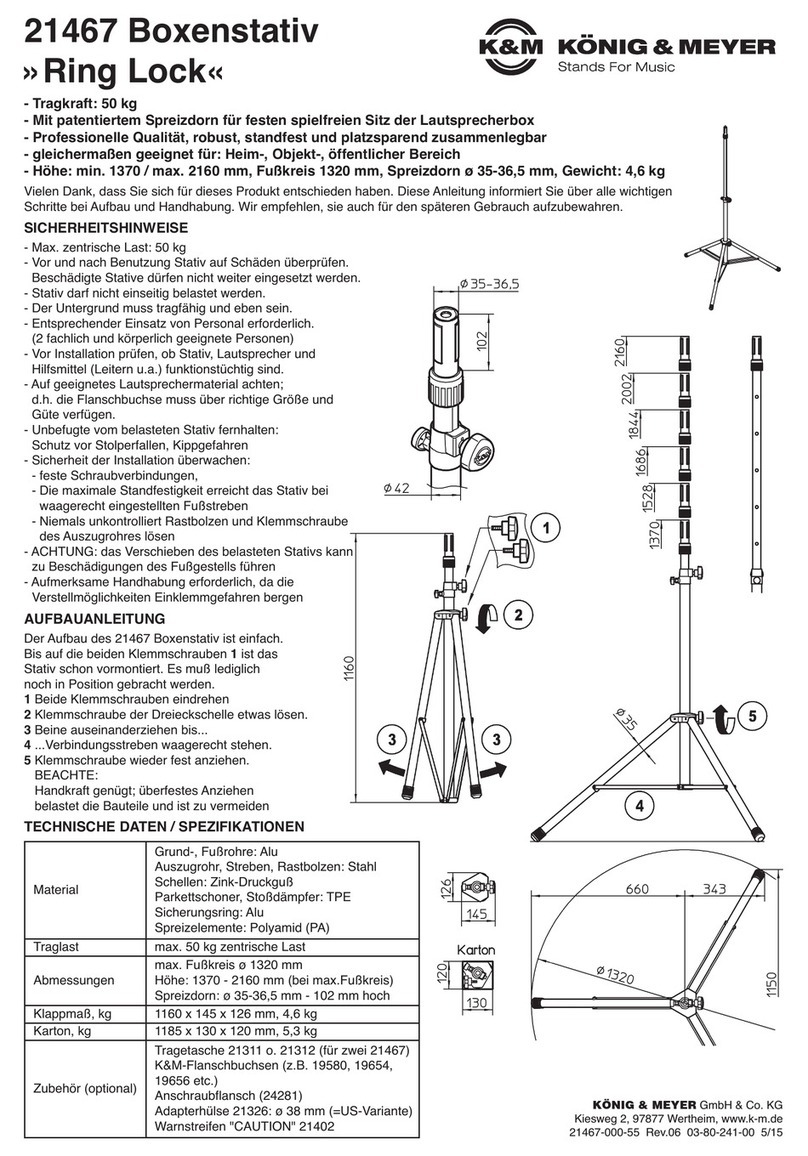
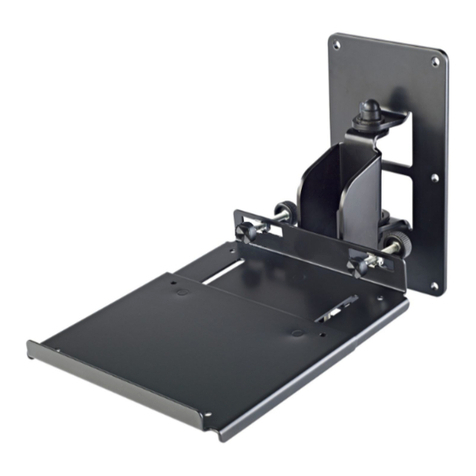
Konig & Meyer 24496 User manual

24496 Boxendeckenhalter
- Zweckmäßig, robust und sehr vielseitig
- Lautsprecher positionieren: Neigung von 0 - 45° / Ausrichtung seitlich +/- 45°
- Verkabelung: - u.a. geeignet zur Montage unter Decken-Installationsdosen
- Optional erhältlich: zahlreiche Adapterplatten für diverse Lautsprecher
SICHERHEITSHINWEISE
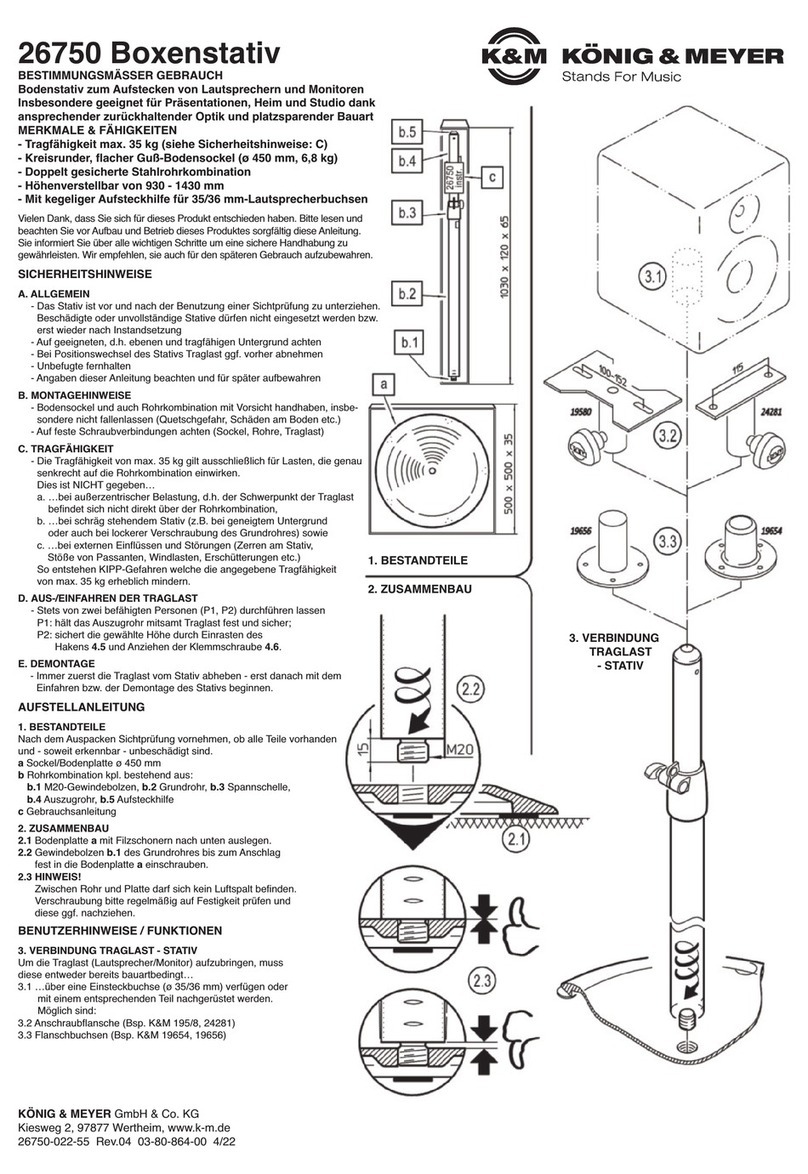
AUFBAUANLEITUNG (1-5)
1
-Tragkraft: max. 25 kg
- Nur für Innenräume
- Bei Schäden darf das Produkt nicht weiter eingesetzt werden
- Montage durch ausgebildetes Installationspersonal
- Wird das Produkt eingesetzt bei Produktionen und Veranstaltungen gelten die Berufsgenossenschaftlichen Vorschriften (BGV C1) (BGI 810, Kap. 3.2.3)
- Benutzen Sie 4 Schrauben/Anker für die Deckenbefestigung unter Beachtung örtlich gültiger Befestigungsvorschriften (evtl. abweichend von
-angegeben Beispielen)
- Montage nur an geeigneter Decke mit entsprechendem Montagematerial (nicht im Lieferumfang); Beispiel siehe unter Punkt 2. Setzanweisungen der
-Dübelhersteller bitte beachten.
- Ungeeignet sind Decken die zu schwach sind oder in denen Strom- und Wasserleitungen oder dgl. verlegt sind. Im Zweifelsfall einen Fachmann zu Rate ziehen
- Auf feste Schraubverbindungen achten, insbesondere bei Einstellung der Boxenneigung - Aufmerksame Handhabung erforderlich, da die
-Verstellmöglichkeiten Einklemmgefahren bergen
Diese Anleitung informiert Sie über alle wichtigen Schritte bei Aufbau und Handhabung. Wir empfehlen, Sie auch für den späteren Gebrauch aufzubewahren.
5.3 - Lautsprecher bis zum Anschlag
5.3 - neigen, dann obere Schraube/
5.3 - Mutter mit Schlüssel festziehen
5.2 - Erst untere Schraube/Mutter
5.2 - mit Schlüssel festziehen
5.1 - Lautsprecher
5.1 - einhängen
Deckenplatte befestigen
Halterung an Decken-
platte schrauben
Kabel einführen
VORSCHAU
1.b
Deckenplatte
abheben
Kabel
Kabel
Halterung
Kabel
1.a
Alle vier Schrauben
(M8x12) komplett los-
drehen und entnehmen
3.a
Das U-Blech
der Halterung
über die Deckenplatte
schieben: Bohrungen
müssen übereinstimmen
3.b
Alle vier
Schrauben (M8x12)
wieder eindrehen
und festziehen;
empfohlener Anzieh-
drehmoment: 10 Nm
4.a
Seitliche Öffnung (20x12mm)
für Kabel-Aufputz-Installation.
4.b
Öffnung Deckenplatte (ø 62mm)
für Kabel-Unterputz-Installation.
2.a
- Deckenplatte ausrichten,
- Bohrlöcher markieren,
- alle 4 Löcher vorbohren
- Löcher ausblasen;
BEACHTE: je nach
Beschaffenheit der Decke
(Beton, Holzbalken etc.)
sind unterschiedliche
Befestigungen erforderlich.
Die Befestigung muss durch
qualifiziertes Montagepersonal
erfolgen.
2.b
Befestigungsbeispiel für
Betondecken:
4x Bolzen Anker M8 x 75 mm
einschlagen, Deckenplatte
anbringen- U-Scheiben setzen
und Muttern anziehen.
5.a -direkte Verschraubung
Deckenplatte von der Halterung abnehmen
4Kabelführung
2
21
3Lautsprecher vorbe-
reiten und montieren
5
4
Deckenplatte befestigen (hier am Beispiel einer Betondecke)
3Halteplatte mit der Deckenplatte verschrauben
alternativ
5.b -per Adapter

24496 Boxendeckenhalter
- Bei Wartungsarbeiten auf evtl. Gefährdungen achten (Einklemmen, Anstoßen, Leiter?)
- Zur Reinigung am besten ein leicht feuchtes Tuch und ein nicht scheuerndes
Reinigungsmittel benutzen
- Wird das Produkt eingesetzt bei Produktionen und Veranstaltungen gelten Prüfpflichten
lt. BGV C1 §§ 33ff (siehe auch Beiblatt Allg. Sicherheit)
FEHLERSUCHE (F) und BESEITIGUNG (B)
F: Deckenhalterung sitzt locker an der Decke
F: B: Eignung der Decke prüfen (Fachmann einschalten)
F: B: Verschraubung prüfen und nachziehen/ersetzen (Fachmann einschalten)
F: Box sitzt locker an der Halteplatte
F: B: Schrauben prüfen und nachziehen bzw. austauschen
F: B: Boxencase prüfen
F: Box neigt sich ungewollt nach vorne
F: B: Schraubverbindung 6.a nicht fest genug angezogen, d.h. Schrauben nachziehen
AUFBAUANLEITUNG (1-5)
5
6
PRÜFEN, INSTANDHALTEN, REINIGEN TECHNISCHE DATEN
Material
Platten, Rohr, Bügel: Stahl, pulverbeschichtet
schwarz
Verschraubung: Stahl, verzinkt
Lagerschalen, Kappen: Kunststoff (PE, PA)
Tragelast Lautsprecher, max. bis 25 kg
Maße B x T x H: 295 x 160 x 118 mm
Karton B x T x H: 350 x 220 x 130 mm
Gewicht netto: 1,8 kg; brutto: 2,1 kg
KÖNIG & MEYER GmbH & Co. KG
Kiesweg 2, 97877 Wertheim, www.k-m.de
24496-000-55 Rev.10 03-80-883-00 6/15
FUNKTIONEN (6)
5.a DIREKTE Verschraubung:
5.b INDIREKTE Verschraubung
5.b per ADAPTERPLATTE
5.b (Art.: 24352 -24359)
5.b.1
Muttern bis ca.4 mm
Abstand in Box eindrehen und diese bis
zum Anschlag in Halteplatte einhängen
5.a.1
Schrauben bis ca. 4 mm
Abstand in Box eindrehen und diese dann
bis zum Anschlag in Halteplatte einhängen
*Nm-Angaben des Lautsprecherherstellers beachten! -allg. 10 Nm
24359-Ad.6 24358-Ad.5 24357-Ad.4 24356-Ad.3 24354-Ad.2 24352-Ad.1
5.a.2
Untere Schraube mit
dem Schlüssel festziehen
5.a.3
Halterung nach
schwenken und
obere Schraube mit
dem Schlüssel festziehen
(Schrauben M6 oder M8 - ISO 7380, ISO 4762
nicht im Lieferumfang)
(Schrauben M6 x 14, Scheiben ø 6,4/12
und die Sicherungsmuttern M6 gehören
zum Lieferumfang der hier darge-
stellten Adapterplatten)
5.b.0
Adapterplatte mit den
beiden Inbusschrauben
fest an den Lautsprecher
schrauben
5.b.2
Untere Mutter mit dem
Schlüssel (SW10) festziehen
5.b.3
Halterung nach
schwenken und obere
Mutter mit dem Schlüssel
(SW10) festziehen (10Nm)
6.a
Vor dem Verstellen der Neigung oder der Richtung zunächst die vier
Halbrundkopfschrauben leicht lösen, gewünschte Position einstellen und
alle 4 Schrauben wieder anziehen: empf. Anziehdrehmoment (10 Nm) Richtung: +/- 45°
Neigung:
0 - 45°
Lautsprecher mit der Halteplatte verbinden
Einstellungen: Neigung / Richtung
Seitenansicht
Halteplatte
Halte-
platte
Halte-
platte
Draufsicht

24496 Speaker ceiling mount
- Functional, robust and very versatile
- Position loudspeakers: Angle from 0 - 45° / Direction to the side +/- 45°
- Cabling: - suited for mounting to ceiling installation brackets
- Optional: a multitude of adapter plates for a variety of loudspeakers are available
SAFETY NOTES
SETUP INSTRUCTIONS (1-5)
1
- Load bearing weight: max. 25 kg
- Only for indoors
- In case of damage the product may not be used.
- Only use trained technicians to install the system.
- If the product is used at productions and events the Trade Association Regulations (BGV C1) (BGI 810, Section 3.2.3) apply.
- Use 4 screws/anchors for the ceiling mount under observation of the applicable local mounting regulations (they may deviate from the examples presented here).
- Only mount on suitable ceilings with the corresponding assembly materials (not included in the delivery); Example - see Point 2. Observe the
-placement instructions provided by the anchor manufacturer
- Ceilings, that are not suited include ceiling that are not strong enough or have electrical and water conduits or similar. In case of doubt consult a
-qualified technician.
- Ensure that the screws are tight and load-bearing, in particular as regards the setting of the loudspeaker angle.
- Careful and attentive handling is required when adjusting the stand - due to the possibility of pinching or wedging your hand.
The instructions provide directions to all of the important set up and handling steps. We recommend you keep these instructions for future reference.
5.3 - Adjust the angle of the loud-
5.3 - speaker until it cannot go any
5.3 - further, then tighten the upper
5.3 - screw/nut with the allen wrench
5.2 - First tighten the lower screw/
5.2 - nut with the allen wrench
5.1 - Place the
5.1 - loudspeaker
Install the ceiling plate
Screw the holder onto
the ceiling mount
Insert cable
PREVIEW
1.b
Remove the
ceiling plate
cable
cable
bracket
cable
1.a
Unscrew and remove
the 4 (M8x12) screws
completely
3.a
Place the U cover over
the ceiling plate: the drill
holes must be lined up
3.b
Screw in and tighten all
four screws (M8x12),
recommended torque:
10 Nm
4.a
Side opening (20x12mm) for
surface installation of the
cable.
4.b
Opening in the ceiling plate (ø62mm)
for sub-surface installation of the
cable.
2.a
- Place the ceiling plate in
-the proper position,
- mark the drill holes,
- drill all 4 drill holes
- blowout the drill holes;
NOTE depending on the
characteristics of the ceiling
(concrete, wood beams etc.)
different screws etc. are
required. The installation must
be performed by qualified
installation professionals.
2.b
Installation example for
concrete ceilings:
Hammer in 4 bolt anchors
M8x75, install the ceiling plate,
place the U discs and tighten
the nuts.
5.a -direct connection
Remove the ceiling plate from the bracket
4Cable Guide
2
21
3Prepare and mount
the loudspeaker
5
4
Install the ceiling plate (the example used here is for the concrete ceiling installations)
3Screw the mounting plate into the ceiling plate
alternative
5.b -via adapter

24496 Speaker ceiling mount
- In the event of maintenance pay attention to possible risks (wedging, possibility of the
-product being knocked into, ladder?)
- To care for the product use a damp cloth and a non-abrasive cleaning agent.
- If the product is used at productions and events the Inspection Regulations in
-accordance with BGV C1 Sections 33 et seq apply
FAULT-FINDING (F) and REPAIR (R)
F: The ceiling mount is loose
F: B: Check to ensure the ceiling is suitable (load bearing) (use a qualified technician)
F: B: Check the screws and tighten/replace (use a qualified technician)
F: The loudspeaker is not properly placed in the mount - it sits loosely
F: B: Check and re-tighten/replace the screws
F: B: Check the loudspeaker case
F: The loudspeaker inadvertently leans forward
F: B: Screw connections 6.a i.e. screws not properly tightened, tighten the screws
SETUP INSTRUCTIONS (1-5)
5
6
CHECK, MAINTENANCE, CLEANING TECHNISCHE DATEN
Material
Plate/bracket, tube, support arms:
Steel, powder coating, black
Screws: Steel, galvanized
Bearing shells, caps: Plastic (PE, PA)
Load Loudspeakers, max. 25 kg
Dimensions W x D x H: 295 x 160 x 118 mm
Karton W x D x H: 350 x 220 x 130 mm
Weight net: 1.8 kg; gross: 2.1 kg
KÖNIG & MEYER GmbH & Co. KG
Kiesweg 2, 97877 Wertheim, www.k-m.de
24496-000-55 Rev.10 03-80-883-00 6/15
FUNCTIONS (6)
5.a DIRECT connection:
5.b INDIRECT connection
5.b with ADAPTER PLATE
5.b (Type: 24352 -24359)
5.b.1
Place the
nuts up to approx.
4 mm distance into the
loudspeaker and hang these into the
mounting plate as far as they will go
5.a.1
Screw in screws up to approx. 4mm
distance into the loudspeaker and hang
these into the mounting plate as far as
they will go *Nm-Note details of the loudspeaker manufacturer! -general 10 Nm
24359-Ad.6 24358-Ad.5 24357-Ad.4 24356-Ad.3 24354-Ad.2 24352-Ad.1
5.a.2
Tighten the lower screw
with the allen wrench
5.a.3
Position the holder
downwards and
tighten the upper screw
with the allen wrench
(Screws M6 or M8 - ISO 7380, ISO 4762
not included in the delivery)
(Screw M6x14, Discs ø 6,4/12 and the
safety nuts M6 are included in the
delivery of the adapter plate shown
in the illustration)
5.b.0
Screw the adapter plate
into the loudspeaker with
both allen wrenches
5.b.2
Tighten the lower nut
with the allen wrench (SW10)
5.b.3
Position the holder
downwards and tighten
the upper nut with the allen
wrench (SW10) (10 Nm)
6.a
Prior to adjusting the angle or the direction first loosen the four
half-round head screws a little, position into the desired position
and tighten all 4 screws: recommended torque (10 Nm) direction: +/- 45°
Tilt:
0 - 45°
Connect the loudspeaker with the mounting plate
Tilt/direction settings
Side view
mounting plate
mounting
plate
mounting
plate
Front view
Table of contents
Languages:
Other Konig & Meyer Speakers manuals
Konig & Meyer
Konig & Meyer 21435 User manual
Konig & Meyer
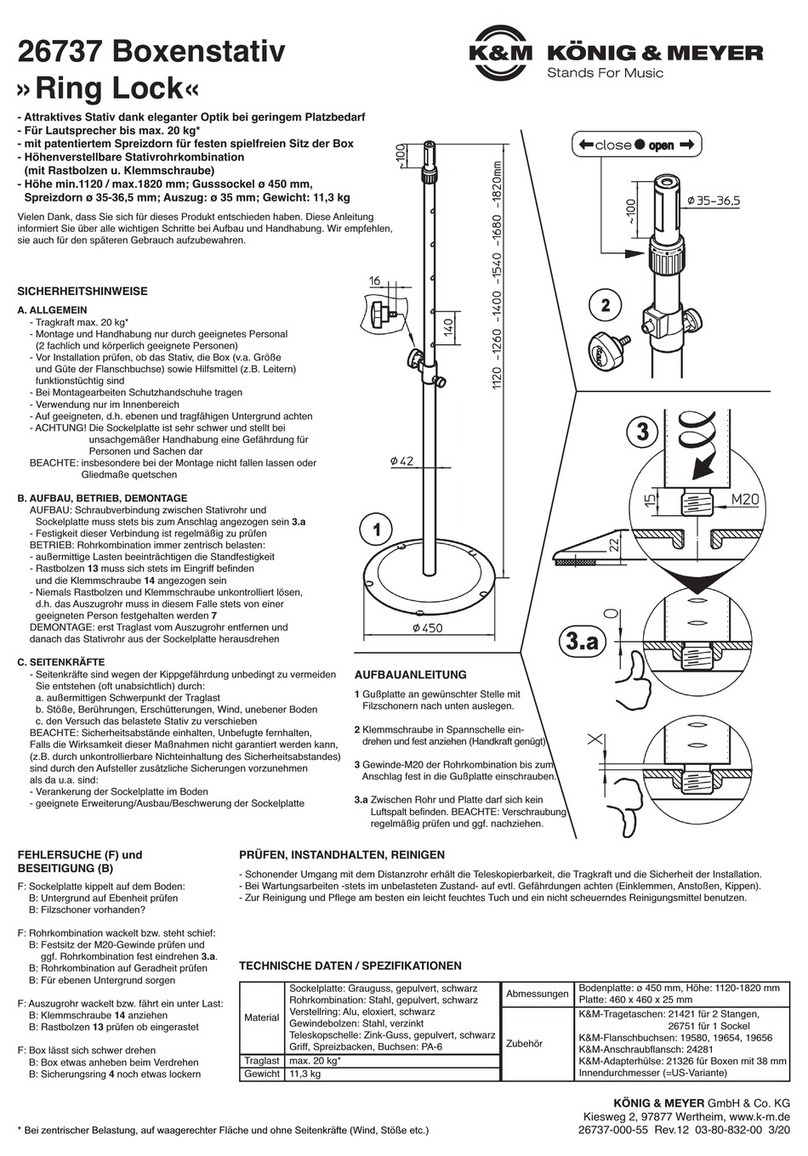
Konig & Meyer Ring Lock User manual
Konig & Meyer
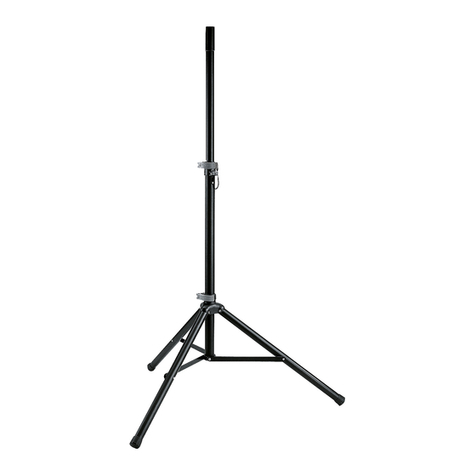
Konig & Meyer Ring Lock 26737 User manual
Konig & Meyer
Konig & Meyer 21450 User manual
Konig & Meyer
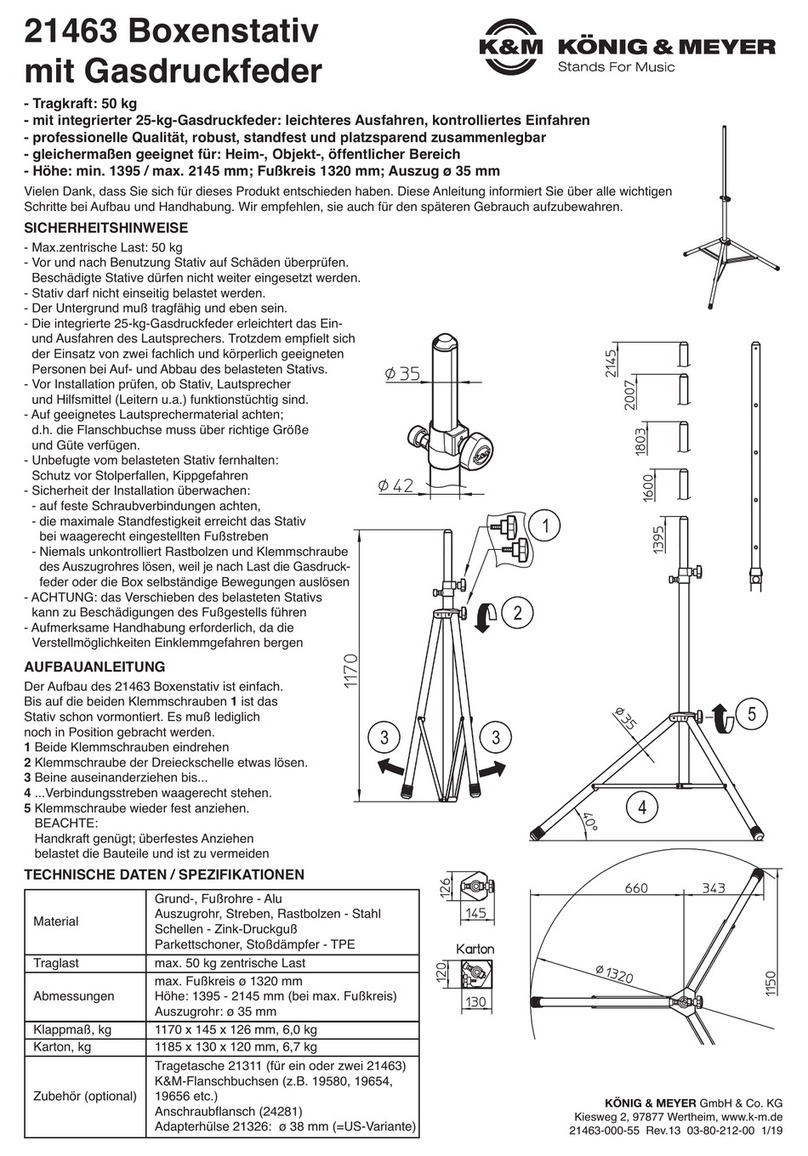
Konig & Meyer 21463 User manual

Konig & Meyer
Konig & Meyer 26734 User manual
Konig & Meyer
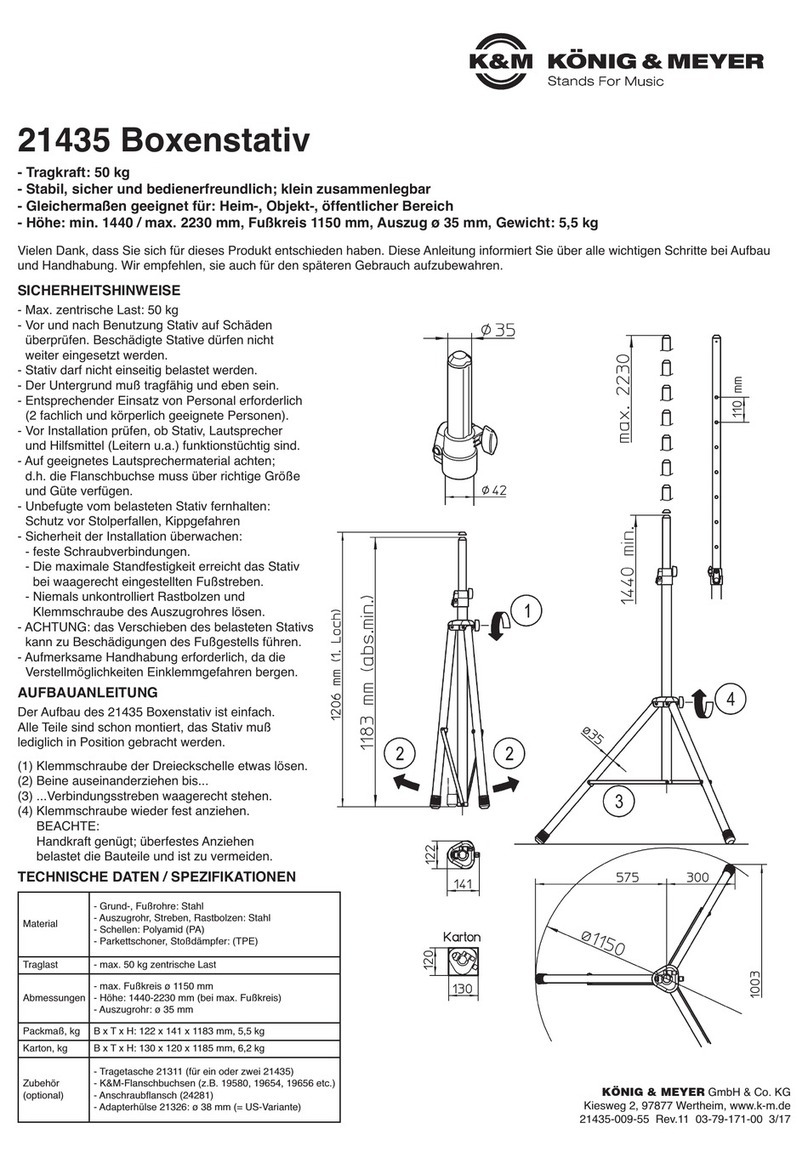
Konig & Meyer 21435 User manual
Konig & Meyer
Konig & Meyer 21450 User manual
Konig & Meyer
Konig & Meyer 214/6 User manual
Konig & Meyer
Konig & Meyer Speaker stand XL 21472 User manual
