manuals.online logo
Brands
  1. Home
  2. •
  3. Brands
  4. •
  5. Konig
  6. •
  7. Security System
  8. •
  9. Konig VID-TRANS300 User manual

Konig VID-TRANS300 User manual

This manual suits for next models

2

Other Konig Security System manuals

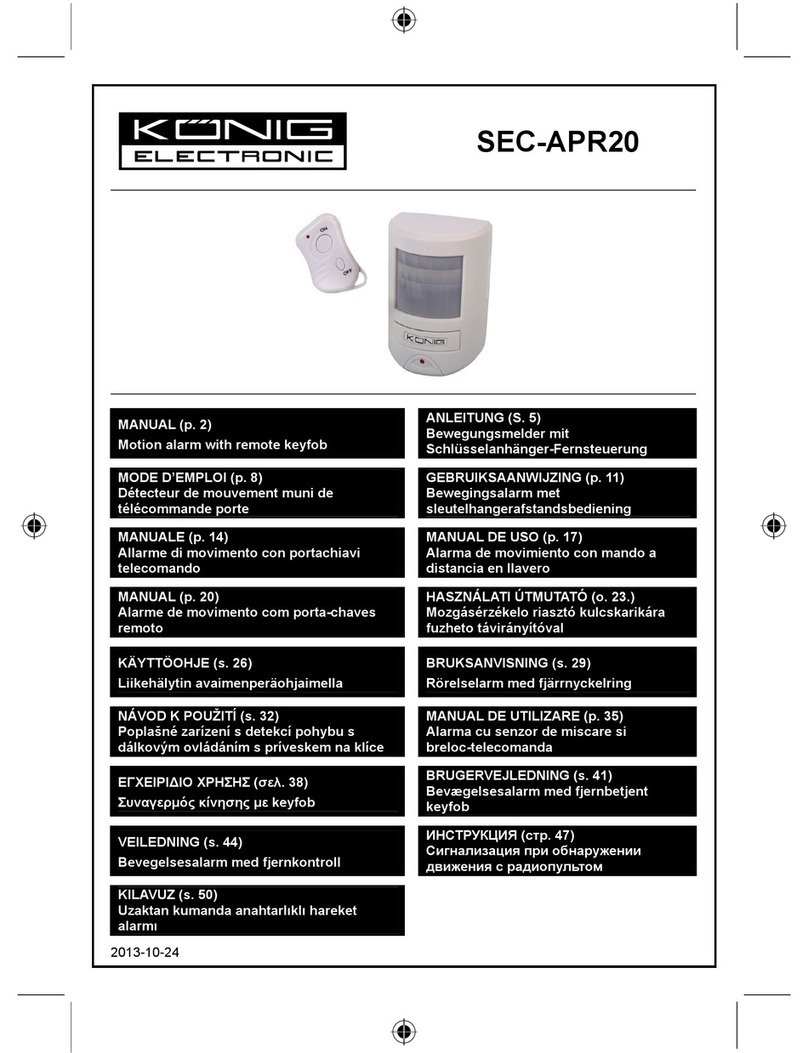
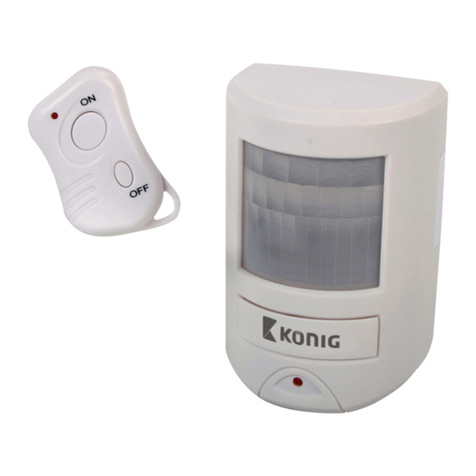
Konig SEC-APR20 User manual

Konig

Konig SEC-APR20 User manual

Konig SAS-ALARM100 User manual

Konig

Konig SAS-ALARM100 User manual

Konig SEC-ALARM200 User manual

Konig

Konig SEC-ALARM200 User manual

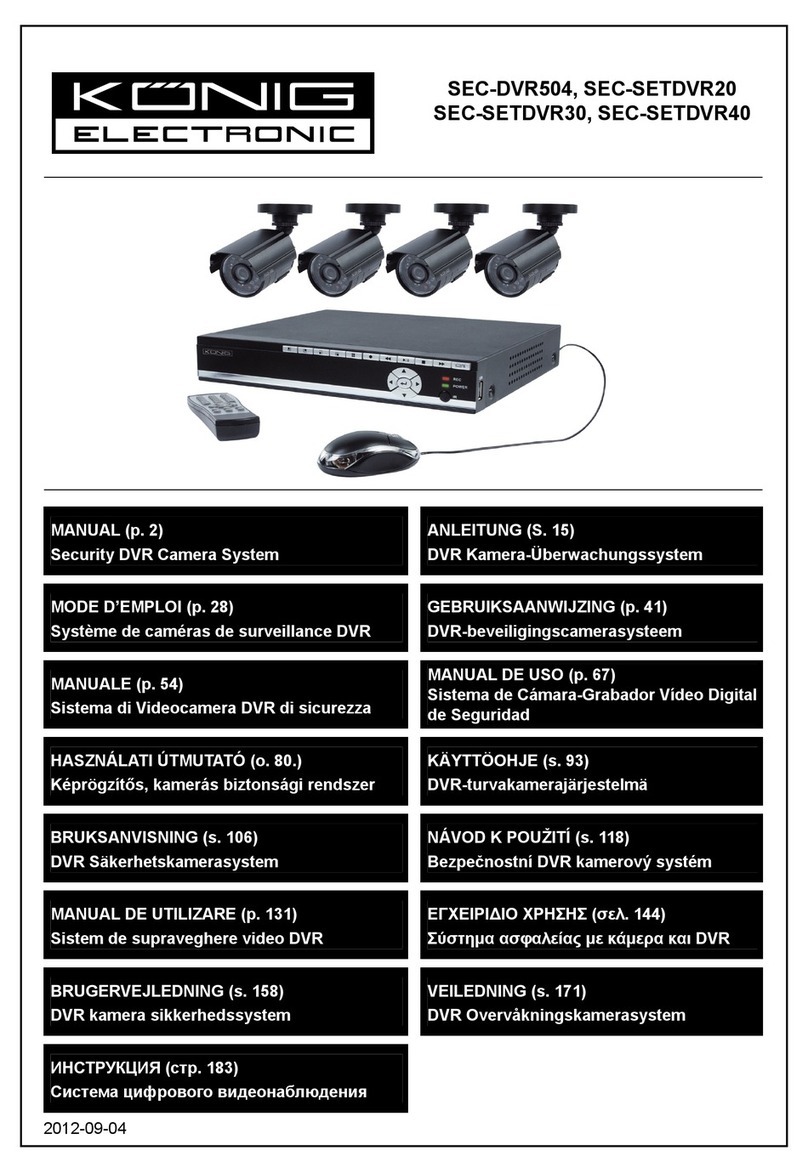
Konig SEC-DVR504 User manual

Konig

Konig SEC-DVR504 User manual
Konig SAS-APR20 User manual

Konig

Konig SAS-APR20 User manual

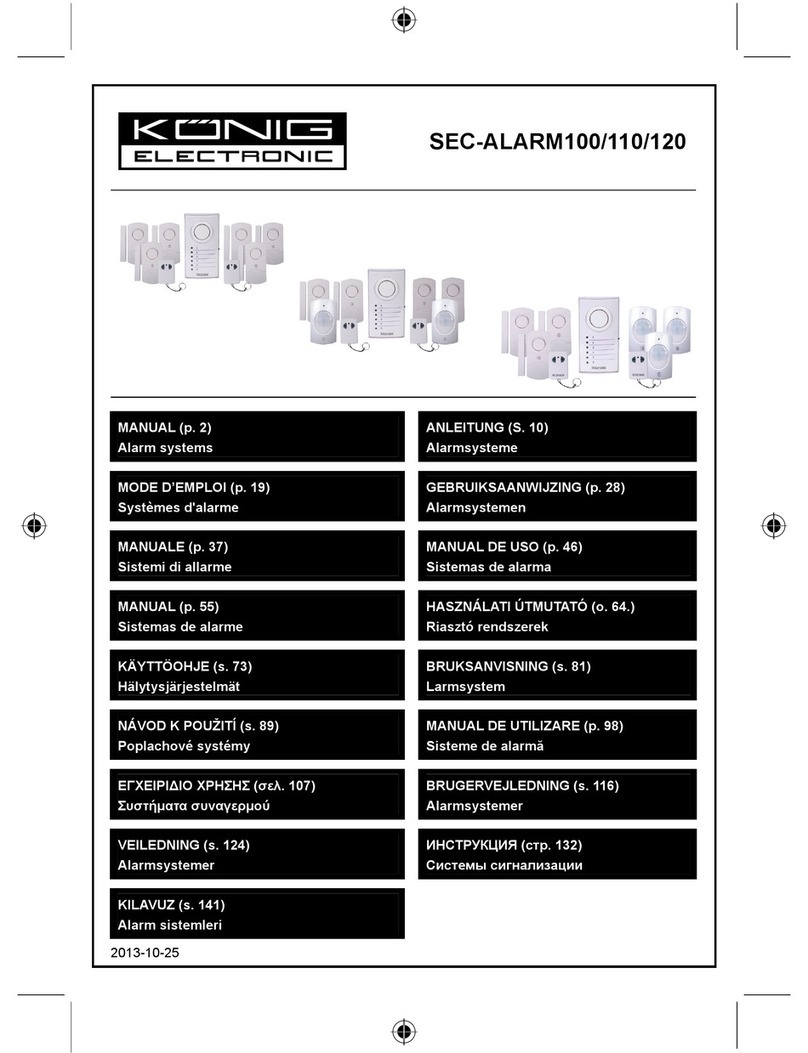
Konig SEC-ALARM100 User manual

Konig

Konig SEC-ALARM100 User manual

Konig SEC-AED10 (V.2) User manual

Konig

Konig SEC-AED10 (V.2) User manual

Konig SEC-ALARM200 User manual

Konig

Konig SEC-ALARM200 User manual

Konig SEC-APC10 User manual

Konig

Konig SEC-APC10 User manual
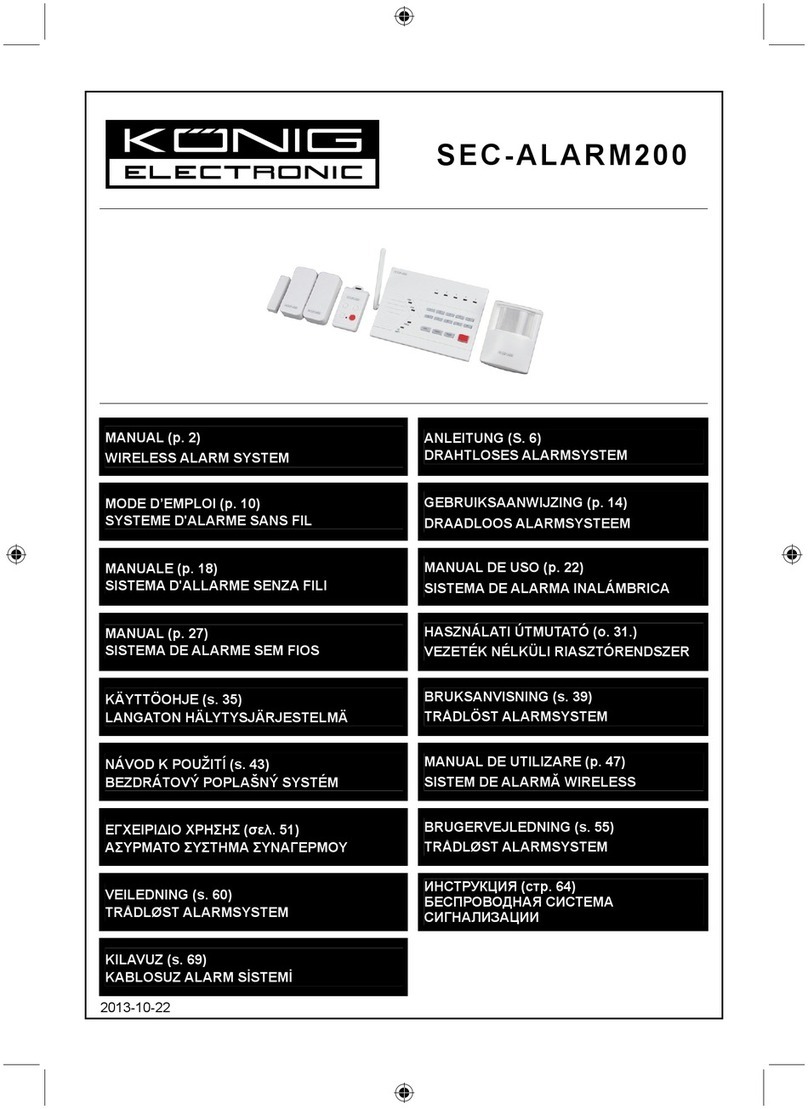
Konig SAS-TRANS60/U User manual

Konig

Konig SAS-TRANS60/U User manual

Popular Security System manuals by other brands

Polon-Alfa 4000 Installation and maintenance manual

Polon-Alfa

Polon-Alfa 4000 Installation and maintenance manual

Nexcom NViS 14162 Series user manual

Nexcom

Nexcom NViS 14162 Series user manual

Eminent EM8670 Quick install

Eminent

Eminent EM8670 Quick install

urmet domus alpha 1060 INSTALLATION AND USE BOOKLET

urmet domus

urmet domus alpha 1060 INSTALLATION AND USE BOOKLET

SmartPool YardGuard YG03 manual

SmartPool

SmartPool YardGuard YG03 manual

DSC PC5964 Mounting instructions

DSC

DSC PC5964 Mounting instructions

Secure USAB-1 operating instructions

Secure

Secure USAB-1 operating instructions

B&B 480 SERIES Operation & maintenance manual

B&B

B&B 480 SERIES Operation & maintenance manual

ADEMCO VISTA-20P Series Installation and setup guide

ADEMCO

ADEMCO VISTA-20P Series Installation and setup guide

Inner Range Concept 2000 user manual

Inner Range

Inner Range Concept 2000 user manual

Johnson Controls PENN Connected PC10 Install and Commissioning Guide

Johnson Controls

Johnson Controls PENN Connected PC10 Install and Commissioning Guide

Aeotec Siren Gen5 quick start guide

Aeotec

Aeotec Siren Gen5 quick start guide

Swann SW-P-MC2 Specifications

Swann

Swann SW-P-MC2 Specifications

Ecolink Siren+Chime user manual

Ecolink

Ecolink Siren+Chime user manual

EDM Solution 6+6 Wireless-AE installation manual

EDM

EDM Solution 6+6 Wireless-AE installation manual

Siren LED GSM operating manual

Siren

Siren LED GSM operating manual

Detection Systems 7090i Installation and programming manual

Detection Systems

Detection Systems 7090i Installation and programming manual

FRIEDLAND MA10 Installation and operating instructions

FRIEDLAND

FRIEDLAND MA10 Installation and operating instructions

manuals.online logo
manuals.online logoBrands
  • About & Mission
  • Contact us
  • Privacy Policy
  • Terms and Conditions

Copyright 2025 Manuals.Online. All Rights Reserved.

2.4
GHz
PAN
&
TILT
MIC
BUILT-IN
NIGHT
VISION
IR LED
LCD
TFT
RC
UNIT
3
CHANNELS
OBSERVATION
&
SECURITY
PLL
CIRCUIT
VID-TRANS300
VID-TRANS310
VID-TRANS320
MANUAL
ENGLISH
Systems:
VID-TRANS300
1x Pan/Tilt Camera
1x 2.5” LCD/TFT monitor
2x AC/DC adapter
1x Audio/Video cable
1x In ear headphone
Batteries not included
VID-TRANS310
1x Pan/Tilt camera
1x Receiver with antenna
1x Remote control
2x AC/DC adapter
1x Audio/Video cable
Batteries not included
VID-TRANS320
1x Pan/Tilt camera
1x Remote control
1x AC/DC adapter
Batteries not included
2
EN
Descriptio receiver VID-TRANS300:
Cha el i dicator: indicates which channel is in use
LCD scree : displays the picture of the camera
Camera ma ual vertical rotatio : rotates the camera in vertical
direction (cursor up = camera up, cursor down = camera down)
Camera power butto : switches the camera on or off
Camera auto horizo tal rotatio : rotates the camera automatically in
horizontal direction (camera rotates from right to left and stops)
Power jack: connection for AC/DC adapter
AV output: connection to TV/monitor or recorder with audio/video cable
A te a: omni directional antenna for receiving of 2.4GHz signal
Volume co trol: adjusts the volume
Bright ess co trol: for more or less brightness in the picture
Cha el butto : select channel 1, 2 or 3 (note: select the same channel
as chosen on the camera)
Camera ma ual horizo tal rotatio : rotates the camera in horizontal
direction (cursor left = camera left, cursor right = camera right)
Power switch: to switch the receiver on or off
Earpho e socket: connection for earphone
Battery cover: battery compartment for 4x AAA batteries
Bracket: folding bracket for positioning the receiver straight up
3
EN
Operatio receiver VID-TRANS300:
1) Put the camera in position
2) Connect the AC/DC adapter to the camera.
Switch on the camera with the power switch.
The power indicator lights up. Select a
channel.
3) Connect the AC/DC adapter to the receiver or
place 4x AAA batteries into the battery
compartment for power. Switch on the receiver
with the power switch. The channel indicator lights
up. Select the same channel as chosen on the
camera. The display shows the picture of the
camera.
4) Use the cursor buttons to rotate the camera horizontal and/or vertical.
5) If desired, adjust the volume and set the brightness of the picture.
6) With the AV output it’s possible to connect the
receiver to a TV/monitor or recorder with the
audio/video cable
7) Switch off the camera with the camera power button if
the system is not in use.
8) The receiver supports up to 3 cameras working at the
same time. All cameras can be seen in sequel. Press and
hold the channel button on the receiver for 2 seconds to
enable the automatic looping function. The channels are
shown one by one every 8 seconds. Press the channel
button on the receiver again to exit the looping function.
4
EN
For the descriptio a d operatio of the camera see chapter :
“descriptio camera”
Descriptio receiver VID-TRANS310
A te a: omni directional antenna for receiving of 2.4GHz signal
Cha el i dicator: indicates which channel is in use
Cha el butto : select channel 1, 2 or 3 (note: select the same channel
as chosen on the camera)
Mode co trol: setting for channel set up
AV output: connection to TV/monitor or recorder with audio/video cable
Power socket: connection for AC/DC adapter
Mute: turn off the sound for 30 seconds
Operatio receiver VID-TRANS310:
1) Put the camera in position
2) Connect the AC/DC adapter to the camera.
Switch on the camera with the power switch. The
power indicator lights up. Select a channel.
3) Connect the antenna to the receiver.
4) Connect the receiver (AV output) with
the audio/video cable to a TV/monitor or
recorder.
5
EN
Mute Button
5) Connect the AC/DC adapter the power socket. The
receiver switch on automatically. The channel indicator
lights up. Select the same channel as chosen on the
camera. Refer to the chapter channel set up for the
channel settings.
6) The TV/monitor shows the picture of the camera.
Cha el set-up receiver VID-TRANS300:
The receiver supports up to 3 cameras working at the same time. All
cameras can be seen in sequel. See mode control at the backside of the
camera for settings.
Switch 1: switch up, reception of channel 1 is active. Switch down,
channel 1 is off
Switch 2: switch up, reception of channel 2 is active. Switch down,
channel 2 is off
Switch 3: switch up, reception of channel 3 is active. Switch down,
channel 3 is off
Switch 4: L (loop function). Switch up, the sequel is active for the
channel with the switch up. Switch down, the loop function is off.
Channel will switch every 5 seconds.
Switch 5: switch up, the sound is on. Switch down, the sound is off.
Note: alarm function is not available
For the descriptio a d operatio of the camera see chapter :
“descriptio camera”
6
EN
Descriptio camera VID-TRANS320 (VID-TRANS300, 310):
Rotate axis: rotating part of the camera, controlled by remote control
I frared lights: 10 IR LED’s for night view
Le s: adjustable (focus) lens with CMOS image chip
Micropho e: built in microphone for sound monitoring
Base: stand/holder for the Pan & Tilt camera
A te a: omni directional antenna for sending of 2.4GHz signal
I dicator: indicates if camera is on or off
Cha el switch: select channel 1, 2 or 3
Power jack: connection for AC/DC adapter
Power switch: to switch the camera on or off
Operatio camera VID-TRANS320 (VID-TRANS300, 310):
1) Put the camera in position
2) Connect the AC/DC adapter to the
camera. Switch on the camera with the
power switch. The power indicator lights
up. Select a channel.
7
EN
Microphone
Operatio with VID-TRANS300:
Use the cursor buttons on the LCD monitor of the receiver to rotate the
Pan & Tilt camera.
When using up to 3 cameras, select for every camera a different
channel. The Pan & Tilt function is available for the channel which is
chosen on the receiver.
Operatio with VID-TRANS310:
Use the cursor buttons on the remote control to rotate the Pan & Tilt
camera.
When using up to 3 cameras, select for every camera a different
channel.
The Pan & Tilt function is available for the channel which is chosen on
the remote control. Select on the receiver the same channel to see the
picture on TV/monitor.
Descriptio remote co trol:
A te a: telescopic omni directional antenna
Ma ual vertical rotatio butto : rotates the camera in vertical direction
(cursor up = camera up, cursor down = camera down)
Camera cha el butto : select a channel (channel 4 is not available)
Camera power butto : switches the camera on or off
Auto horizo tal rotatio butto : rotates the camera automatically in
horizontal direction (camera rotates from right to left and stops)
Ma ual horizo tal rotatio butto : rotates the camera in horizontal
direction (cursor left = camera left, cursor right = camera right)
Battery cover: battery compartment for 2x AAA batteries
8
EN
Operatio remote co trol:
1) Press the power button on the remote control to switch on the camera
(Press again to switch off the camera when not in use).
2) Press the channel button on the remote controller to select the
channel.
3) Use the cursor buttons to rotate the Pan & Tilt camera to a desired
position. With the auto rotation button the camera automatically rotates
from right to left in horizontal direction and stops.
Safety precautio s:
To reduce risk of electric shock, this product should ONLY be opened by
an authorized technician when service is required. Disconnect the
product from mains and other equipment if a problem should occur.
Warra ty:
No guarantee or liability can be accepted for any changes and
modifications of the product or damage caused due to incorrect use of
this product.
Ge eral:
9
EN
Designs and specifications are subject to change without notice.
Specificatio s:
Receiver VID-TRANS300
Power Supply: 8 VDC
Controls: Brightness, volume, camera on/off
Display: 6,5cm
Consumption Current (Max.): 250mA
Receiving Frequency: 2,400GHz~2,483GHz
Modulation: FM
Receiving Sensitivity: <= 85 dBm
Video Output Signal Impedance: 75 ohm
Video Output Signal Level: 1.0 V +/ 0.15 Vpp
Video S/N Ratio: 38dB
Audio Output Signal Impedance: 600 ohm
Audio Output Signal Level: 1.25 V +/ 0.25 Vpp / 1 kHz
Audio Output Frequency Range: 250 Hz ~ 10 kHz
Effective Range: 100m (open field) 30m (indoor)
Dimensions (WxLxH): 83 x 110 x 18 mm (Excluding Antenna)
Weight: 115g
Operating Temperature: 10°C~+50°C
Receiver VID-TRANS310
Power Supply: 8 VDC
Consumption Current (Max.): 170mA
Receiving Frequency: 2,400GHz~2,483GHz
Modulation: FM
Receiving Sensitivity: <= 85 dBm
Video Output Signal Impedance: 75 ohm
Video Output Signal Level: 1.0 V +/ 0.15 Vpp
Video S/N Ratio: 38dB
Audio Output Signal Impedance: 600 ohm
Audio Output Signal Level: 1.25 V +/ 0.25 Vpp / 1 kHz
Audio Output Frequency Range: 250 Hz ~ 10 kHz
Effective Range: 100m (open field) 30m (indoor)
Dimensions (WxDxH): 105 x 74 x 22 mm (Excluding Antenna)
Weight: 123g
Operating Temperature: 10°C~+50°C
Remote control
Power supply: 2x AAA battery
Consumption Current: 40mA
10
EN