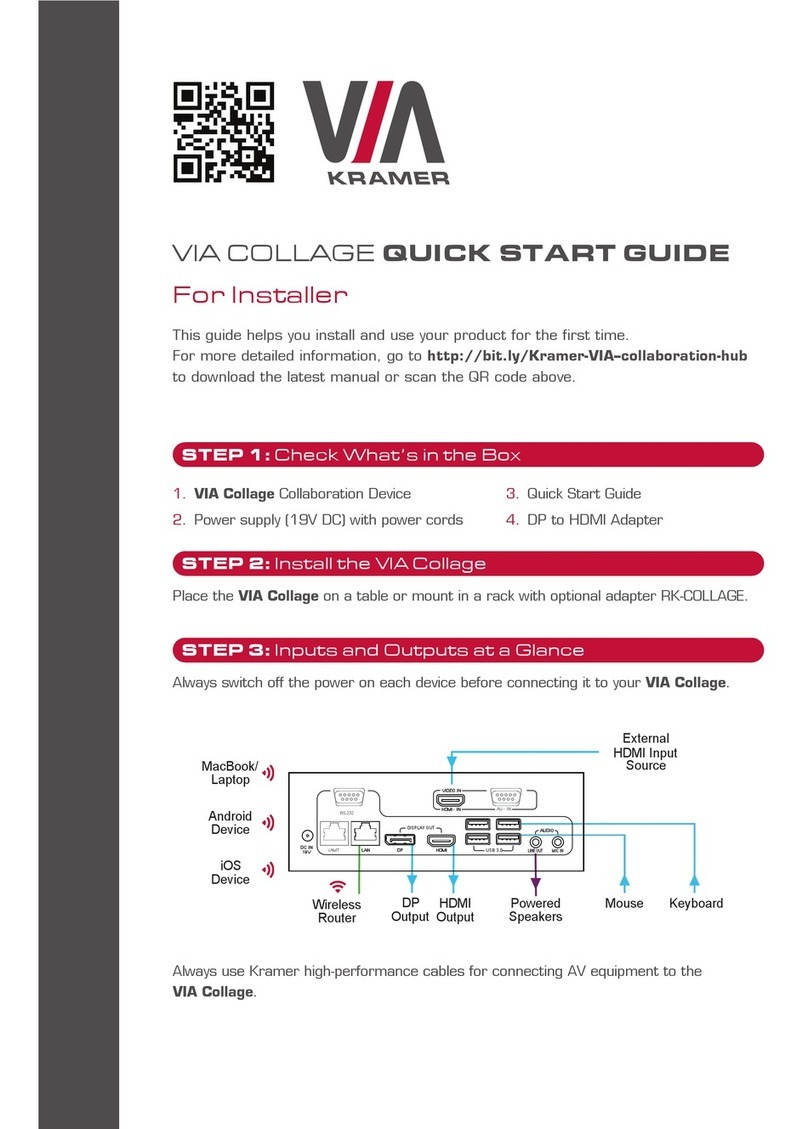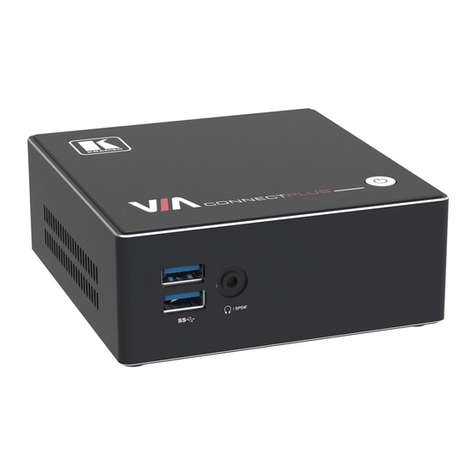
Always use Kramer high-performance cables for connecting AV equipment to the VIA GO.
STEP 4: Connect the Unit
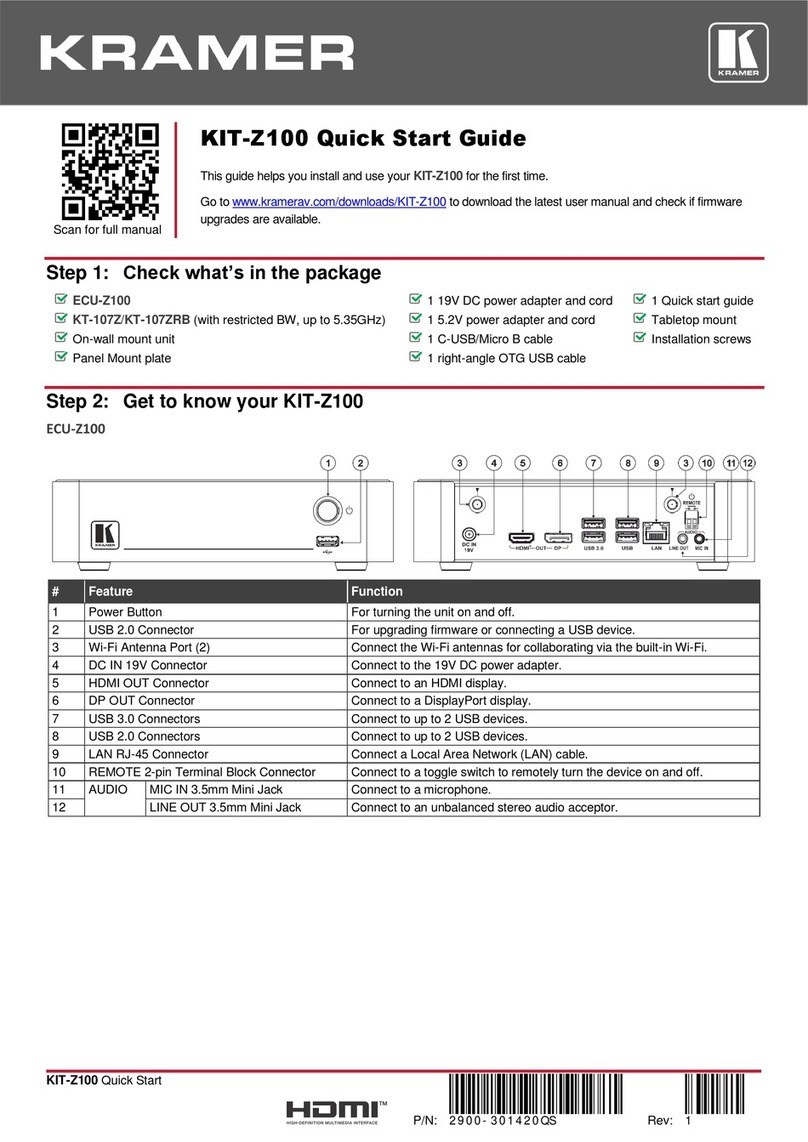
• Connect keyboard and mouse
• Connect your display
• Connect a Local Area Network (LAN) cable for connection to your network or use Built-In WiFi
• Connect the power supply
• Turn on the device
STEP 5: Congure VIA GO
Open the VIA GO menu and click on Features, then on Settings.
Enter password: supass.
The Settings Menu tabs are:
• LAN Settings – Congure your network parameters and apply settings
(DHCP is enabled by default)
• System Controls – Manage your display and audio settings, run control panel,
select your language, etc.
• WiFi (when using built-in WiFi capability) – Setup your WiFi adapter as a secondary
Access Point or attach your unit as a Client device to your main WiFi network
After settings are dened, click on reboot button to apply all settings.
For more details, read the Settings section in the user manual.
www.KramerAV.com


