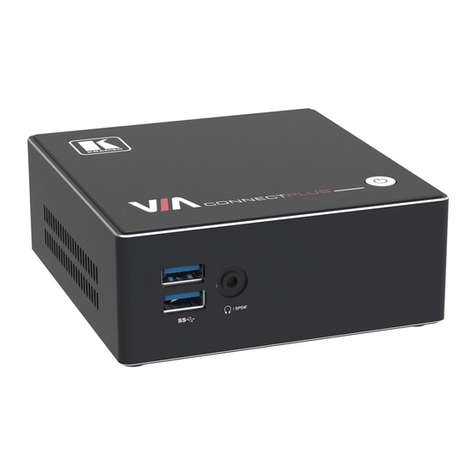
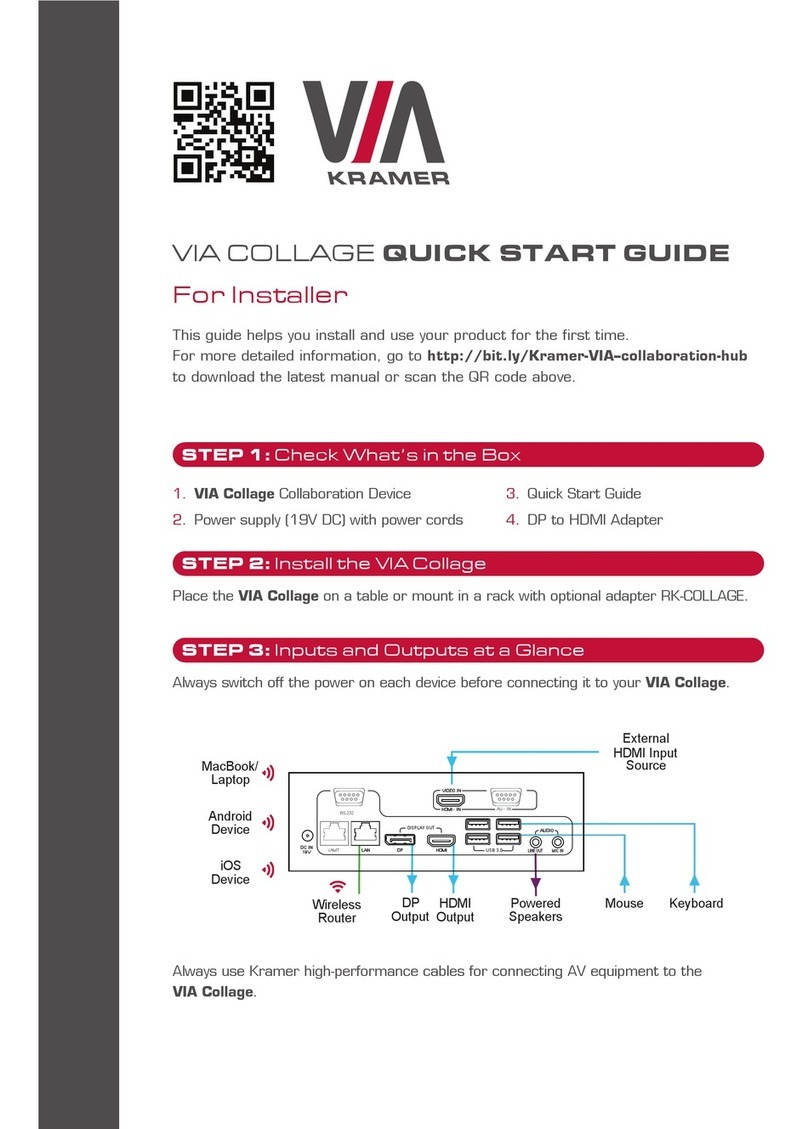
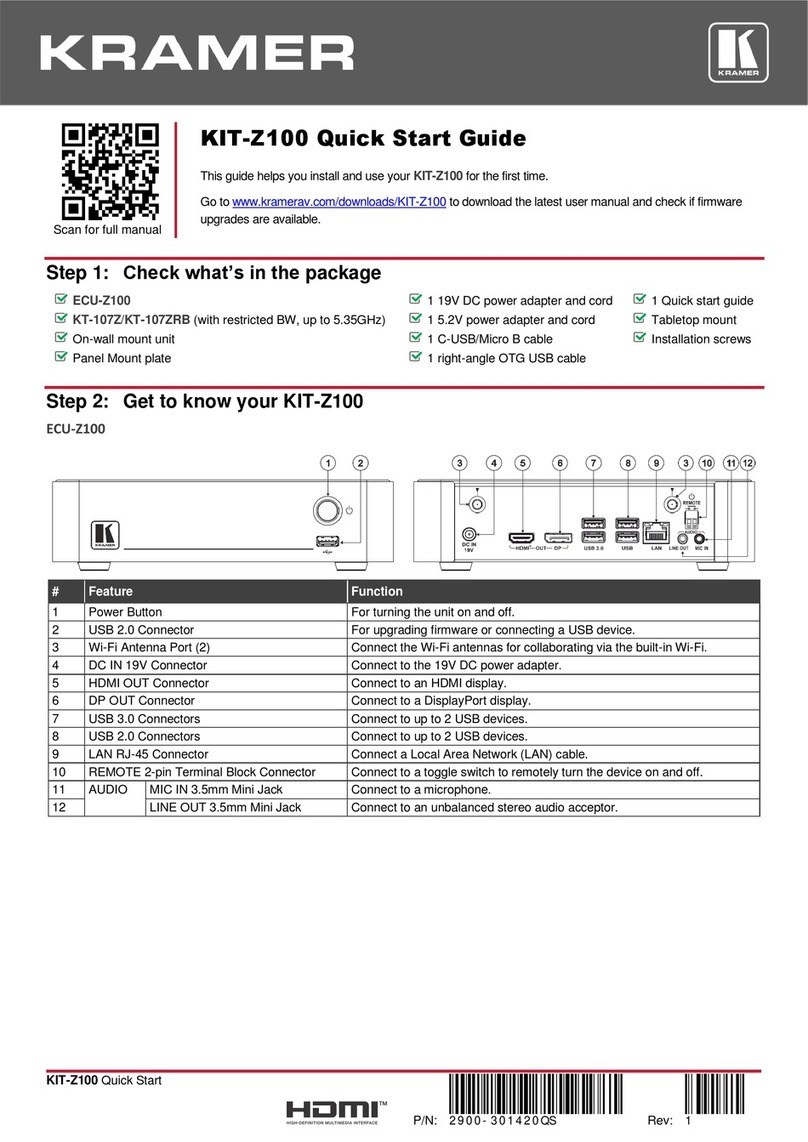
Kramer VIA GO2 User manual

KramerElectronicsLtd.
VIA GO² –Contents
i
Contents
Introduction 1
Getting Started 1
Overview 2
Supported Devices 3
Defining VIA GO² Wireless Presentation Solution 4
For Installer: Mounting VIA GO² 5
For Installer: Connecting VIA GO² 6
Connecting Device 6
Connecting Main Display 7
For Web Administrator: Configuring Settings –Embedded Web Pages 8
Logging in to Embedded Web Pages 8
Managing Network Settings 9
Managing VIA Features 14
For User: Running Kramer VIA App 16
Running Kramer VIA App for PC and Mac 16
Running Kramer VIA App for Tablets & Smartphones 16
Running Kramer VIA App from a Web Browser 17
Running Kramer VIA App Using an Installation File 18
For User: Participating in a VIA Meeting 19
Joining a VIA Meeting 19
Mirroring Your Device Screen 24
Technical Specifications 33
VIA App Android Permissions 34

KramerElectronicsLtd.
VIA GO² –Introduction
1
Introduction
Welcometo KramerElectronics! Since1981, KramerElectronics has been providing a world
of unique, creative,and affordablesolutions to the vast range of problems that confrontthe
video, audio, presentation, and broadcasting professional on a daily basis. In recent years, we
have redesigned and upgraded most of our line, makingthe best even better!
Getting Started
Congratulations on purchasing your KramerVIA GO² Wireless Presentation Solution.
We recommendthat you:
•Unpack the equipment carefully and save the original box and packaging materials for
possible future shipment.
•Reviewthe contents of this user manual.
Go to www.kramerav.com/downloads/VIAGO² tocheck forup-to-date user manuals,
application programs, and to check if firmwareupgrades are available (where appropriate).
Achieving Best Performance
•Use only good quality connection cables (we recommendKramerhigh-performance,
high-resolution cables) to avoid interference, deterioration in signal quality due to poor
matching, and elevated noise levels (oftenassociated with low quality cables).
•Do not secure the cables in tight bundles or roll the slack into tight coils.
•Avoid interferencefrom neighboring electrical appliances that may adversely influence
signal quality.
•Position your Kramer VIA GO² away from moisture,excessive sunlight and dust.
This equipment is to be used only inside a building. It may only be connected to other
equipment that is installed inside a building.
Safety Instructions
Caution: There are no operator serviceable parts inside the unit
Warning: Use only the Kramer Electronics power supply that is provided with the unit
Warning: Disconnect the power and unplug the unit from the wall before installing
Recycling Kramer Products
The Waste Electrical and Electronic Equipment (WEEE)Directive2002/96/EC aims to reduce
the amount of WEEEsent fordisposal to landfill or incineration by requiring it to be collected
and recycled.To comply withthe WEEEDirective,KramerElectronics has made
arrangements with the European AdvancedRecyclingNetwork (EARN)and will coverany
costs of treatment, recyclingand recovery of waste Kramer Electronicsbranded equipment on

KramerElectronicsLtd.
VIA GO² –Introduction
2
arrival at the EARN facility. For details of Kramer’s recycling arrangements in your particular
country go to our recyclingpages at www.kramerav.com/support/recycling.
Overview
Congratulations on purchasing your Kramer VIA GO² Wireless Presentation Solution.
VIA GO² gives iOS,Android, Chromebook,PC, and Mac users instant wireless connectivity
with 4K advanced presentation capabilities. The product features content streaming with
crystal-clearmirrored images and stunning video playback and includes iOS mirroringvia
AirPlay™, Windows & Android mirroring via Miracast™, as well as ChromeBook mirroring.
VIA GO² is super-compact(7x7cm)and flexible to install, with both built-in Wi-Fi and LAN
connectivity and includes industry-leading 1024-bit encryption forsecure use on the internal
network.
Key Features
•Quick and Reliable Wireless Connectivity –A simple and intuitive user interface enables
iOS, Android, Chromebook, PC,and Mac deviceusers to instantly connect to a main
display without a dongle. 2.4GHz/5GHzWi-Fi and MIMO antennas establish and
maintain a fast and reliable connection.
•High Quality Video Streaming –Supports up to 4K@30Hz resolution (using the VIAapp
Multimedia feature).
•Simultaneous Display –Two participants can simultaneously present content on main
display.
•VIA ProductIntegration –Seamlessly compatible with VIA Site Management (VSM)
Software& VIA Pad.
•Easy and Flexible Installation –With a super-compact7x7cm form factor,itcan be
discreetly installed on the back of a display, projector or almost anywhere.
Typical Applications
•Presentation environments
•Small to mid-size meeting rooms
•Classrooms
•Huddle spaces

KramerElectronicsLtd.
VIA GO² –Introduction
3
Supported Devices
The following user devices are supported by the VIA GO² Wireless Presentation Solution:
•Windows 7/8/10®(32-bit/64-bit) computer.
•Macintosh®computer,using OSX10.11.x or newer.
•Chromebook.
•iPad/iPhone®tablet/smartphone (iPad 2 or later, iOS 10 or later).
When using the Airplay service, no KramerVIA application is needed. However,we
recommendusing iOS12, MojaveOSX, or higher, for a better experience.
•Android®OS5. x tablet/smartphone or newer.
The minimum system requirement forusing the Kramer VIA mirroring featurefor
an Android device is Android 5.1.

KramerElectronicsLtd.
VIA GO² –DefiningVIAGO² WirelessPresentationSolution
4
Defining VIA GO² Wireless
Presentation Solution
This section defines VIA GO².
Figure1: VIA GO² Wireless PresentationSolution
#
Feature
Function
Micro SD Card Slot
Not in use.
Power Button with LED
Press to power ON or turn OFF the device.
USB 3.0 Connector
Connect to a USB device, for example, a keyboard ormouse.
USB 2.0 Connector
Connect to a USB device, forexample, a keyboard ormouse.
Lock Opening
Connect to a security locking cable.
HDMI™Connector
Connect to an HDMI sink.
RJ-45 Connector
Connect to a LAN (default mode).
Power Connector
Connect to the 12V DC power supply.
1
2
3
4
5
6
7
8

KramerElectronicsLtd.
VIA GO² –For Installer: MountingVIA GO²
5
For Installer: Mounting VIA GO²
This section provides instructions formounting VIA GO².Before installing, verify that the
environment is within the recommendedrange:
•Operation temperature –0to 40C (32 to 104F).
•Storage temperature –-40to +70C (-40 to +158F).
•Humidity –10% to 90%, RHLnon-condensing.
Caution:
•Mount VIA GO² before connecting any cables or power.
Warning:
•Ensure that the environment(e.g., maximum ambienttemperature & air flow)is
compatible forthe device.
•Avoid uneven mechanicalloading.
•Appropriate consideration of equipment nameplate ratings should be used foravoiding
overloading of the circuits.
•Reliable earthing of rack-mountedequipment should be maintained.
You can install VIA GO² using one of the following methods:
▪Place the device on a flat surface.
▪Mount on a wall or the back of adisplay using the included VESA mounting bracket:
1. Attach the VESA mounting bracket
to the back of thedisplay with 4
screws.
2. Fasten two screws to the bottom
of VIA GO².
3. Insert the screws on the
bottom of VIA GO² into
the slots on the mounting
bracket.

KramerElectronicsLtd.
VIA GO² –For Installer: ConnectingVIA GO²
6
For Installer: Connecting VIA GO²
Always switchoff the power to each devicebefore connecting it to your VIA GO².After
connecting your VIA GO²,connect its power and then switchon the power to each device.
Connecting Device
If you wish to use a Krameractiveoptical pluggable HDMIcable with your VIA GO²,contact
your local Kramerofficeto assist in purchasing the correctcable.
Figure 2: Connecting to VIA GO²
Toconnect VIA GO² as illustrated in the example in (Figure 2):
1. Connect a keyboardand mouse to the USB 3.0 Connector and the USB 2.0
Connector .
2. Connect an HDMIdisplay to the HDMIConnector to be used as the main display for
the meeting (see Connecting Main Display on page 7).
3. Connect the LAN (Local Area Network)cable to the RJ-45connector
-OR-
Connect to your network using a commercialwireless router.
4. Connect wirelessly with a supported device (see Supported Deviceson page 3) after
installing the KramerVIA app (see For User: Running KramerVIA App on page 16).
To enable participation in a presentation session (send and receive content), connect
VIA GO² and all participant devices (PCs/ MACs/smartphones/tablets) to the same
network (LAN or WLAN).
For a list of supported devices, see Supported Devices on page 3.
Eth
KeyboardKeyboard Mouse
USB USB
Display
HDMI
LAN
3
4
6
6

KramerElectronicsLtd.
VIA GO² –For Installer: ConnectingVIA GO²
7
Connecting Main Display
The main display is the screen connected directly to VIA GO².When VIA GO² is booted up,
the VIA gateway screen appears on the main display. All collaboration activityis then
displayed here.
VIA GO²’s internal video card reads the EDID (Extended Display Identification Data) forany
connected display and sets the optimum display resolution and image refresh rate
automatically through the display connectors.

KramerElectronicsLtd.
VIA GO² –For Web Administrator:Configuring Settings –EmbeddedWebPages
8
For Web Administrator:
Configuring Settings –Embedded
Web Pages
VIA GO² enables users with Web Administrator accessto configuresettings foryour VIA GO²
unit.
VIA GO² enables you to do the following:
•Logging in to Embedded Web Pages on page 8.
•Managing Network Settings on page 9.
•Managing VIAFeatures on page 14.
Logging in to Embedded Web Pages
The embedded web pages enable you to configureyour VIA GO² unit. The embedded web
pages are accessed from any computerthrough the Internet or your local network.
Tolog in to the VIA GO² embedded web pages:
1. Open a Web browser and go to the IP address foryour VIA GO² unit.
The embedded web pages Welcomepage appears.
Figure3: EmbeddedWebPagesWelcomePage
2. ClickManage GatewaySettings in the upper right corner.
The Administrator Login page appears.
3. Type a Web Administrator Username(default = su) and Password (default =supass).
You must log in as a user with Web Administrator user role to access settings through the
embedded web pages.

KramerElectronicsLtd.
VIA GO² –For Web Administrator:Configuring Settings –EmbeddedWebPages
9
4. Type the two Captcha Text strings with a space between them in the textbox.
You can change the CaptchaText by clickingthe refresh button to the right of the text box.
5. Click Login.
The Home page appears.
Figure4: EmbeddedWebPagesHome>System Information Page
Click the tabs in the navigation pane on the leftto display the VIA web pages.
Click the arrow in the upper right corner to select a differentlanguage forthe web pages.
After changing a setting, click Reset VIA Session forchanges to take effect.
For settings that display the Apply or Apply Settings button, click Apply or Apply Settings to
save the changes and then click Reset VIA Session forchanges to take effect.
Managing Network Settings
VIA GO² enables you to do the following:
•Changing DeviceIP Address on page 10.
•Setting Up SecureWireless Guest AccessPoint on page 10.
•Connecting VIA GO² to Network Wirelessly on page 11.
•Uploading SSL Certificate on page 13.

KramerElectronicsLtd.
VIA GO² –For Web Administrator:Configuring Settings –EmbeddedWebPages
10
Changing Device IP Address
The default IP setting is DHCP that assigns an automatic IPaddress to your VIA GO² device.
This enables easy plug and play setup when connecting your VIA GO² to the network.The
following explains how to change a static IP address.
When changing these settings, makesure they are correct.Incorrect values can cause a loss
of communication.
Tochange the IP address of your VIA GO² unit:
1. Click VIA Management > NetworkSettings.
The Network Settings page appears.
Figure5: VIA Management>Network SettingsPage
2. Under IP Configuration, select Static.
3. Under Network Information,change the IP settings.
4. Click Apply Settings.
The IP address of your VIA GO² unit is changed.
Setting Up Secure Wireless Guest Access Point
Using the built-in Wi-Fi module, VIA GO² enables youto set up a secure access point for
users to connect to your VIA GO² network. This setup is ideal forguest users whom you may
not want to connectdirectly to your network.
Toset up a secure wireless guest access point:
1. Click VIA Management > NetworkSettings.
The Network Settings page appears (Figure 5).

KramerElectronicsLtd.
VIA GO² –For Web Administrator:Configuring Settings –EmbeddedWebPages
11
2. Click WiFi.
The WiFi tab appears.
Figure6: VIA Management>Network SettingsPage > WiFi Tab
3. Click the Switch On or Off Wifi switch.
The switch turns green and the WiFi settings appear.
Figure7: WiFi Settings Tab withSettings Showing
4. Click AP Mode, and enter a new name in the SSIDfield and a new password or use the
default name and password.
5. Select Enable Internet if your VIA GO² deviceis connected to a network with internet.
-OR-
Select Activate Standalone Wifi to create an autonomous network without Internet
access.
6. Click Apply.
The secure wireless guest accesspoint is set up.
Connecting VIA GO² to Network Wirelessly
VIA GO² enables you to wirelessly connectyour VIA GO² deviceas a client deviceto your
main network.
Toset up Client Wi-Fi mode:
1. Click VIA Management > NetworkSettings.
The Network Settings page appears (Figure 5).
2. Click WiFi.
The WiFi tab appears (Figure 6).
3. Click the Switch On or Off Wifi switch.
The switch turns green and the WiFi settings appear (Figure 7).

KramerElectronicsLtd.
VIA GO² –For Web Administrator:Configuring Settings –EmbeddedWebPages
12
4. Click Client Mode.
A message appears.
Figure8: ClientModeMessage
5. Click OK.
The Client Mode tab appears.
Figure9: WiFi Settings > ClientMode Tab
6. If you do not see the desired network in the dropdown, click Click Here to Scan all
Networks.
7. Select an available network from the drop-down.
8. Enter the network password and click Apply.
9. Disconnect the LAN cable (if connected) and reboot the device.
Client Wi-Fi Mode is set up.

KramerElectronicsLtd.
VIA GO² –For Web Administrator:Configuring Settings –EmbeddedWebPages
13
Uploading SSL Certificate
VIA GO² enables you to upload a custom SSLcertificateto better provide for the security needs of
your organization.
To prevent damage to the system, makesure you upload files that can be used by the
system. If you are unsure of how to use this feature, contacttechnical support.
For information on how to create a certificate,see Creating an SSL CertificateforVIA,
available at: www.kramerav.com/product/VIAGO².
After obtaining your certificate,install it on yourVIA device.
The uploaded files must stay in the format of “server.crt” & “server.key”.
Toupload an SSL certificate:
1. Click VIA Management > Global Settings on the navigation pane (Figure 4).
The Global Settings page appears.
2. Click Upload Certificate.
The Upload Certificatetab appears.
Figure10: VIA Management>Global Settings –UploadCertificateTab
3. In Step 1, click BrowseFile to upload the web server certificate.
A file browser appears.
4. Open the relevant certificatefile and click Upload.
5. In Step 2, click BrowseFile to upload the key file.
A file browser appears.
6. Open the relevant key file click Upload.
Do not upload the key file until the certificatefile is finished uploading.
7. Restart your device.
The SSL certificateupload is completed.

KramerElectronicsLtd.
VIA GO² –For Web Administrator:Configuring Settings –EmbeddedWebPages
14
Managing VIA Features
VIA GO² enables you to manage VIA features:
•Configuring iOS AirPlay Mirroring Settings on page 14.
•Enabling Miracast Mirroring on page 14.
•Activating Do NotDisturb Mirroring Feature on page 15.
Configuring iOS AirPlay Mirroring Settings
VIA GO² enables you to configureiOS mirroring settings for using AirPlay to present on the
main display.
Toconfigure iOS AirPlay mirroringsettings:
1. Click VIA Management > VIA Settings on the navigation pane (Figure 4).
The VIA Settings page appears with the System & IOS tab open.
2. Click the AirPlay switch.
The switch turns green.
3. If desired, typea new MirrorName. This is the name that appears when you look for
AirPlay deviceson youriOS device.
4. Select the maximum number of mirrored iOSdevices that can be used simultaneously.
5. Click Apply.
iOS mirroring settings are configured.
Enabling Miracast Mirroring
VIA GO² enables you to provide Miracast mirroring formeeting participants. After you enable
this feature, participants can use the native Miracast featureon their Windows 10 laptop or
Android deviceto mirror their screen on the main display (see Mirroring Using Miracast
on page 29).
If you are using the built-in Wi-Fi for Client or AP mode, a VIAcast dongle (purchased
separately) is needed to provide Miracast mirroring for meeting participants. For more
information see: www.kramerav.com/product/VIA GO².
Toenable Miracast mirroring:
1. On the VIA embedded web pages, click VIA Management > VIA Settingson the
navigation pane.
The VIA Settings page appears with the System & IOS tab open.
2. Click the Miracast switch.
The switch turns green and Miracast mirroring is enabled.

KramerElectronicsLtd.
VIA GO² –For Web Administrator:Configuring Settings –EmbeddedWebPages
15
Activating Do Not Disturb Mirroring Feature
VIA GO² enables you to activate the Do Not Disturb mirroring feature that enables any
participant to prevent others from mirroringwhile he is using Kramer VIA app to mirror.
Toactivate the DoNot Disturbmirroring feature:
1. Click VIA Management > VIA Settings on the navigation pane (Figure 4).
The VIA Settings page appears with the System & IOS tab open.
2. Select the Do Not Disturb checkbox.
Do Not Disturb is enabled after the next reboot.

KramerElectronicsLtd.
VIA GO² –For User: Running KramerVIA App
16
For User: Running Kramer VIA
App
Kramer VIA app enables you to use VIA GO² forcollaborative meetings. Beforemoderating
or joining a meeting, run the Kramer VIA app on your deviceusing one of the following
methods:
•Running KramerVIA App forPCand Mac on page 16.
•Running KramerVIA App forTablets & Smartphones on page 16.
•Running KramerVIA App from aWeb Browser on page 17.
•Running KramerVIA App Using an Installation File on page 18.
Participants using an Apple devicecan mirror their screen on the main display using the
Apple AirPlay service without running the Kramer VIA app (see Mirroring Apple Laptops and
iPhones Using iOS/OS X Airplay Serviceon page 26).
Running Kramer VIA App for PC and Mac
Torun Kramer VIA, for PC and Mac computers:
1. Open your Web browser and enter the IP address foryour VIA GO² unit.
Your Web browser recognizes youroperating system (MAC/Windows) and directs you to
the correctclient software.
The embedded web pages Welcomepage appears (Figure 3).
2. Click one of the following two options:
▪Run VIA –runs Kramer VIA virtually, without installing it on your computer.
Oncedownloaded, locate the file on your computer (under “Downloads”) and click it
to launch.
The VIA GO² join screen appears.
▪Install VIA –installs Kramer VIA on yourcomputer. Afterthe .exe file is downloaded
to your computer,a confirmationmessage appears. Click Yes and follow the Setup
Wizard instructions.
The Kramer VIA app is saved to the KRAMER folder on yourC:/ProgramFiles
directory drive by default and a desktop shortcut is created foreasy access.
However,you can select a differenttarget folder in the Setup Wizard.
Running Kramer VIA App for Tablets & Smartphones
Torun Kramer VIA for tablets and smartphones:
▪Download Kramer VIA app from the App Store (iOS)or Google Play (Android).

KramerElectronicsLtd.
VIA GO² –For User: RunningKramerVIA App
17
Running Kramer VIA App from a Web Browser
You can run Kramer VIA app directly from a Chromebook,Chromeor FireFox web browser,
without downloading any app to yourdevice.
Tojoin a meeting locally using Chromebooks, Chrome, or Firefox webbrowser:
1. Navigate to the VIA GO² IP address with yourbrowser.
The embedded web pages Welcomepage appears (Figure 3).
2. Click Join through browser.
The VIA login page appears.
Figure 11: VIA Chrome BrowserLogin
3. Enter your screen nick name and click Login.
You are logged into the meeting. The VIA dashboard appears on the leftside of the
page.
Figure12: VIA Web BrowserDashboard

KramerElectronicsLtd.
VIA GO² –For User: Running KramerVIA App
18
Joining a Meeting Remotely Using a Web Browser
If VIA GO² has an activeinternet connection, a participant can join a meeting remotely, from
any location, with the help of a participant in the meeting room.
Tojoin a meeting remotely using using Chromebooks, Chrome, or Firefox:
1. A participant in the meeting room,on the same network as VIA GO² navigates to the VIA
GO²IP address with their browser.
The embedded web pages Welcomepage appears (Figure 3).
2. This local participant copies the URLfrom the VIA Welcomepage and sends it to the
remote participant.
3. The remote participant pastes the URLinto their Chromebooks, Chrome,or Firefox
browser and navigates to the VIA Welcomepage.
This URLis unique foreach meeting and cannot be used for another VIA meeting.
4. Follow the directions in Running KramerVIA App from a Web Browser on page 17 to
join the meeting.
If the Room Code is activated, a participant in the meeting room must tell the remote
participant the code for logging in.
Running Kramer VIA App Using an Installation File
For easy deployment and installation of Kramer VIA app on participant devices, IT managers
can use the msi file (Windows) or dmg file (Apple) available at:
www.kramerav.com/product/VIAGO²
Other manuals for VIA GO2
2
Table of contents
Other Kramer Conference System manuals
Popular Conference System manuals by other brands

Telepath
Telepath Coach user manual

Bell System
Bell System Com Key 416 Identification, Installation, Connection, Operation, and Maintenance Customer Equipment

PictureTel
PictureTel LIVE50 installation guide

Huawei
Huawei MA5833-BS60 Commissioning Guide

SMART
SMART SRS-LYNC-XS Software configuration guide

scope
scope DL4ACLUSA Installation & user manual