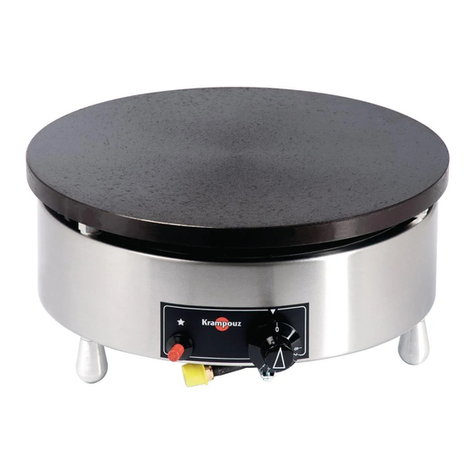
4. Press the piezo (red ignition button) then push in the knob in this position until the burner is fully
ignited.
5. Keep the knob pressed in between 5 and 10 seconds to trip the thermocouple safety system.
6. Release the knob and allow the burner to heat the hot plate to the suitable temperature. If the burner
does not light, wait a minute to allow gas to dissipate and then repeat from step 3.
7. Your appliance is now ready to be used.
Adjustments
In the event of a change of gas, the injectors must be compulsorily changed (as per the indications
given in the table on page 3) and the low heat adjusted.
Changing the injectors:
In the case of an appliance already being installed, before changing the injectors and making new
adjustments, shut off the tap from the gas pipe or gas cylinder.
Proceed as follows:
1. Shut off the tap of the gas pipe or the gas cylinder.
2. Remove the enamelled steel plate, unscrew the screws holding the burner and turn the appliance
over.
3. Remove the protection by unscrewing the two screws (see figure 3, page 7).
4. Push on the burner to distance it from the tap.
5. Unscrew the injector using a spanner and get the transformation bag (bag of injectors).
6. Change the injectors and seals adhering to the indications in the table of correspondence of the
different types of supply (table).
7. According to the gas used, the value from the base of the injector to the burner changes (see figure 2
& see table).
8. Move the burner along according to the arrow for a new adjustment (see figure 3, page 7).
9. After repositioning the burner to the recommended value, screw back the screws in order to block
the burner. Close and screw back on the protection of the appliance. You are advised to write the
new configuration on the data plate of the appliance and erase the old one.
10. Place the changed injector in the transformation bag and store it carefully then proceed to start up.
Low flame (see figure 4)
When appliances are adjusted to butane/propane gas, the low heat screw is turned fully to the right
If you switch from Butane/Propane gas to Natural gas, this screw must be loosened until the correct
adjustment of the low heat is obtained. The low heat is properly adjusted if the flame does not go out when
going quickly from the maximum position to the minimum position. The flame must be as low as possible,
approximately the equivalent of a needle head on each hole.
The low heat adjustment must be made with the hot plate in position.
1. Heat up the burner in the maximum position for 3 to 4 minutes
2. Place the knob in the small flame position.
3. Remove the knob by pulling it towards you.
4. Using a small screwdriver, you can now access the adjustment screw on the tap shaft end.
5. Watching the flame under the plate, loosen the screw to increase the low heat and tighten it to
reduce it.
