3826W658
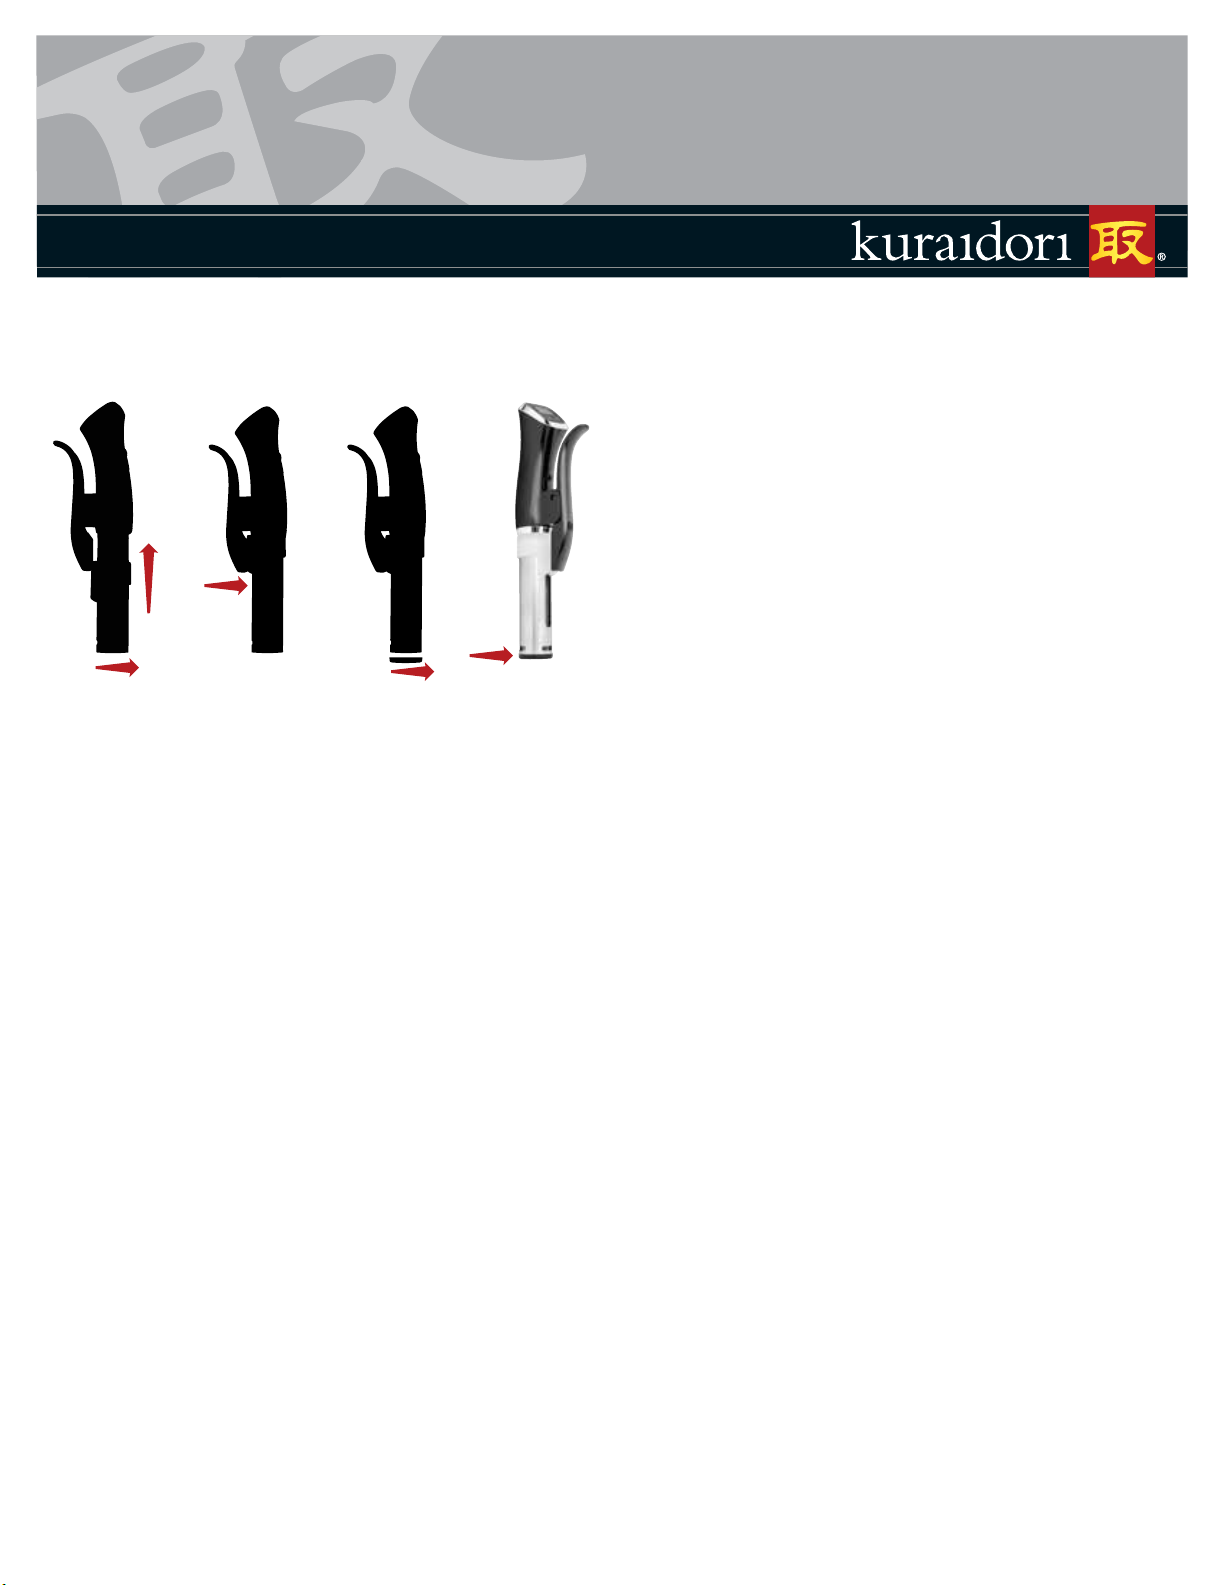
To replace the stainless steel tube, simply line up the indicator marks on the body and
the tube and turn it to the right until it is secure. Place the plastic cap back onto the
bottom of the stainless steel tube, ensuring that the impeller rod is in the center, and
then turn it right to secure it as well. See diagram.
After several uses the Kuraidori Precision Cooker may develop some scaling from hard
water. This is common and may occur more frequently depending on the minerals in the
water used. To descale, clamp the unit onto a heat proof vessel. Add water to the
maximum water fill line. Add 2 tablespoons of citric acid descaling powder to the water.
Run the Precision Cooker at a temperature of 158°F / 70°C for 20 minutes. Turn the unit
off and unplug it. Rinse the submersible stainless steel base under cold water and wipe
it dry with a clean cloth. Another option to decalcify would be to soak the water circulator
in a calcium, lime and rust remover product such as HH SKU 4526-276. Rinse the unit
with water after soaking.
COOKING WITH THE KURAIDORI PRECISION COOKER
If using for the first time, clean the unit using a damp soft cloth. Using your Precision
Cooker is a simple process that only requires the Kuraidori Precision Cooker, a vessel to
contain a water-bath, sealable bags, the food being cooked, and time.
Step By Step Instructions
Follow these simple instructions when using your Kuraidori Precision Cooker
Step 1. Choose The Appropriate Cooking Vessel
A heat proof container should be deep enough so that the Kuraidori Precision Cooker can
clip onto the side of the unit without touching the container’s bottom. The side wall of the
vessel should not be so thick that it does not allow the clamp to secure properly. Different
options for vessels include a large stock pot, polycarbonate food storage containers
or even hard sided coolers. The Kuraidori 12 Quart Stainless Steel Stockpot, Item
# 4070-615 is an excellent choice. Having a vessel that allows for a lid to be placed on it
by cutting out a hole for the Precision Cooker will prevent water from evaporating and
prevent having to top up the water-bath during long cooks. Plastic wrap or even a cookie
sheet can substitute for a lid. Using a cooler helps keep the water insulated as well, which
helps save energy.
Step 2. Set Up
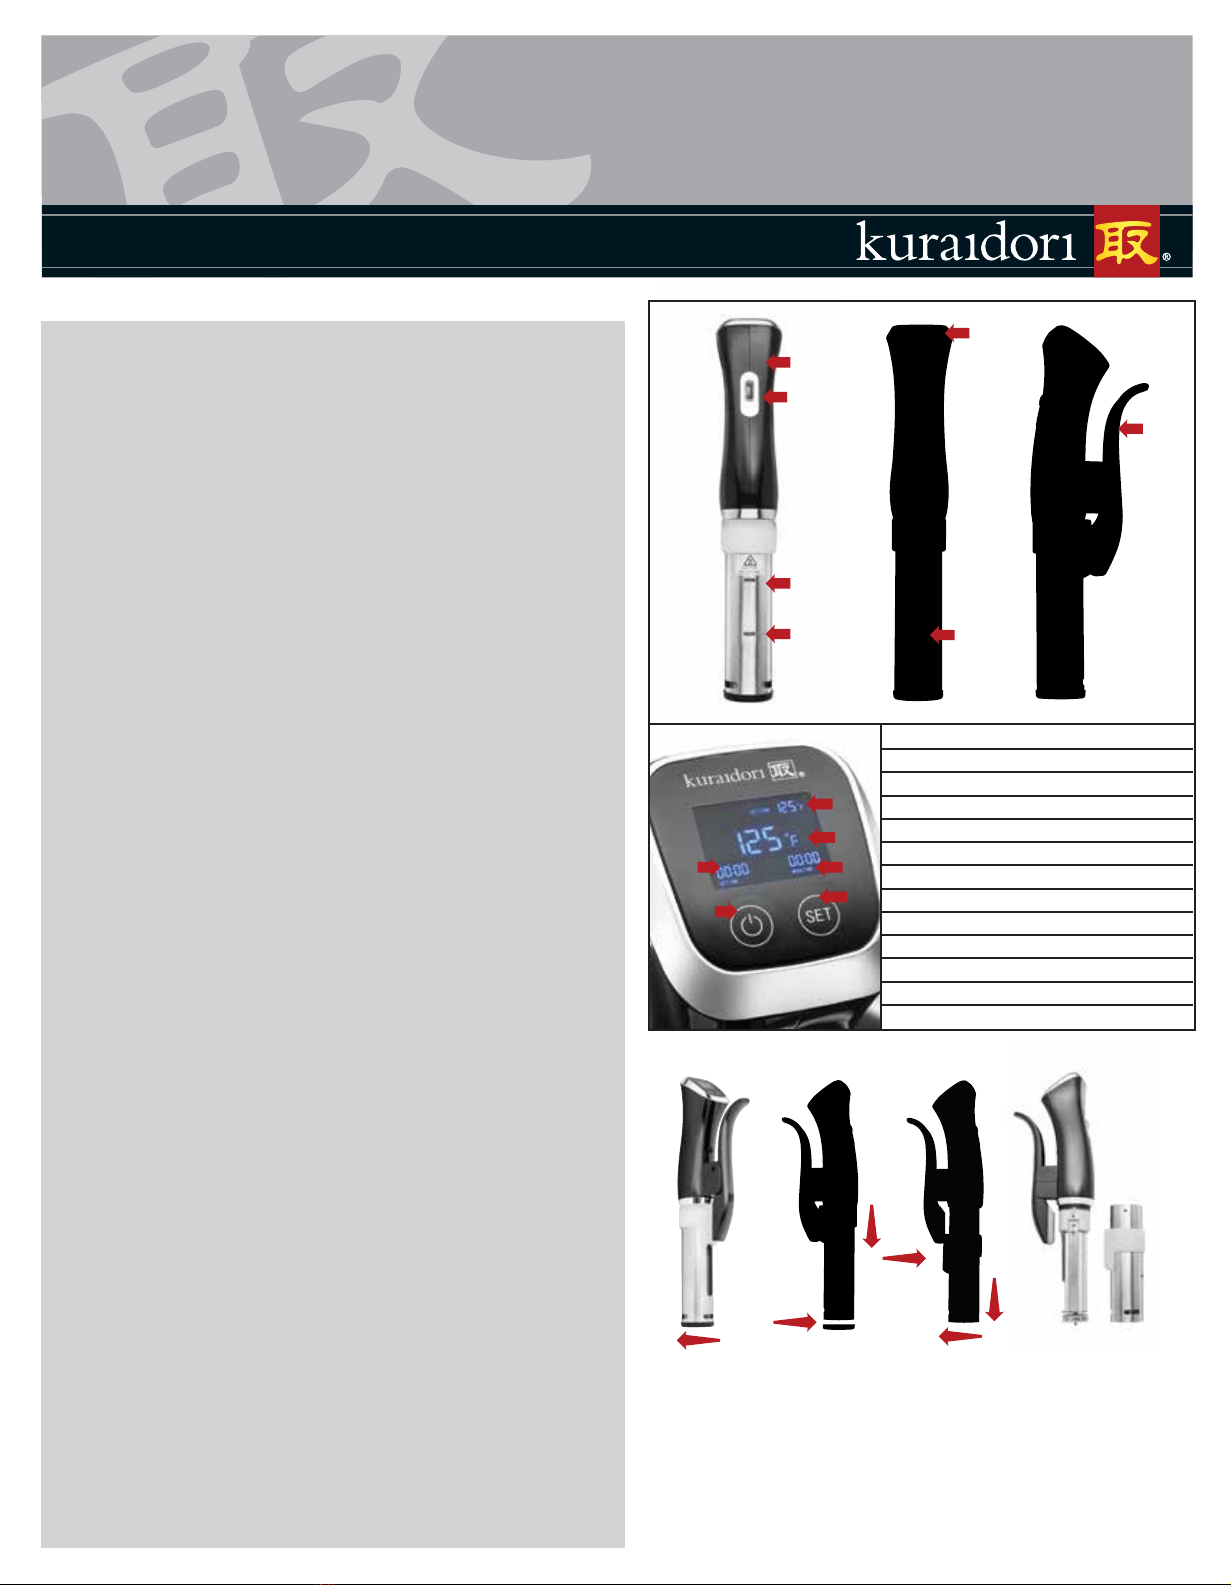
Use the Precision Cooker Clamp (G) and attach it to the side of the vessel by squeezing
it. Fill the vessel with water to a level between the Minimum Water Fill Line (D) and the
Maximum Water Fill Line (C). When food is added to the vessel the water level will rise
so take caution not to overfill the vessel. Place the filled vessel in a convenient location
for cooking. A trivet or potholders may need to be placed under the unit to prevent heat
transfer during the cooking process.
Step 3. Set Temperature For Cooking
Plug the unit directly into an electrical outlet. Press and hold (4 seconds) the Power
Button (L) to turn the unit on. The Kuraidori Precision Cooker is preset to display in
Fahrenheit. If Celsius is preferred hold the Power Button (L) and the Set Buttons (M) at
the same time until a beep is heard. The default temperature for cooking is set to 140°F
(60°C). To adjust the cooking temperature, rotate the Variable Time and Temperature
Wheel (B) to the desired temperature. As the wheel is rotated the Set Temperature (H)
on the display will correspond accordingly. If the timer function is desired proceed to
step 4. If no timer is desired the Precision Cooker can be run by pressing the Power
Button (L) once. The unit will begin to circulate water. Skip to step 5.
Step 4. Set Timer For Cooking
Press the Set Button (M) once and the hour display will flash. Rotate the Variable Time
and Temperature Wheel (B) to the desired hour. Press the Set Button (M) twice and
the minutes will flash. Rotate the Variable Time and Temperature Wheel (B) to the
desired minutes. The cooking times can run up to 59 hrs 59 minutes. Press the Power
Button (L) once to run the Precision Cooker.
Step 5. Preparing Food For Cooking
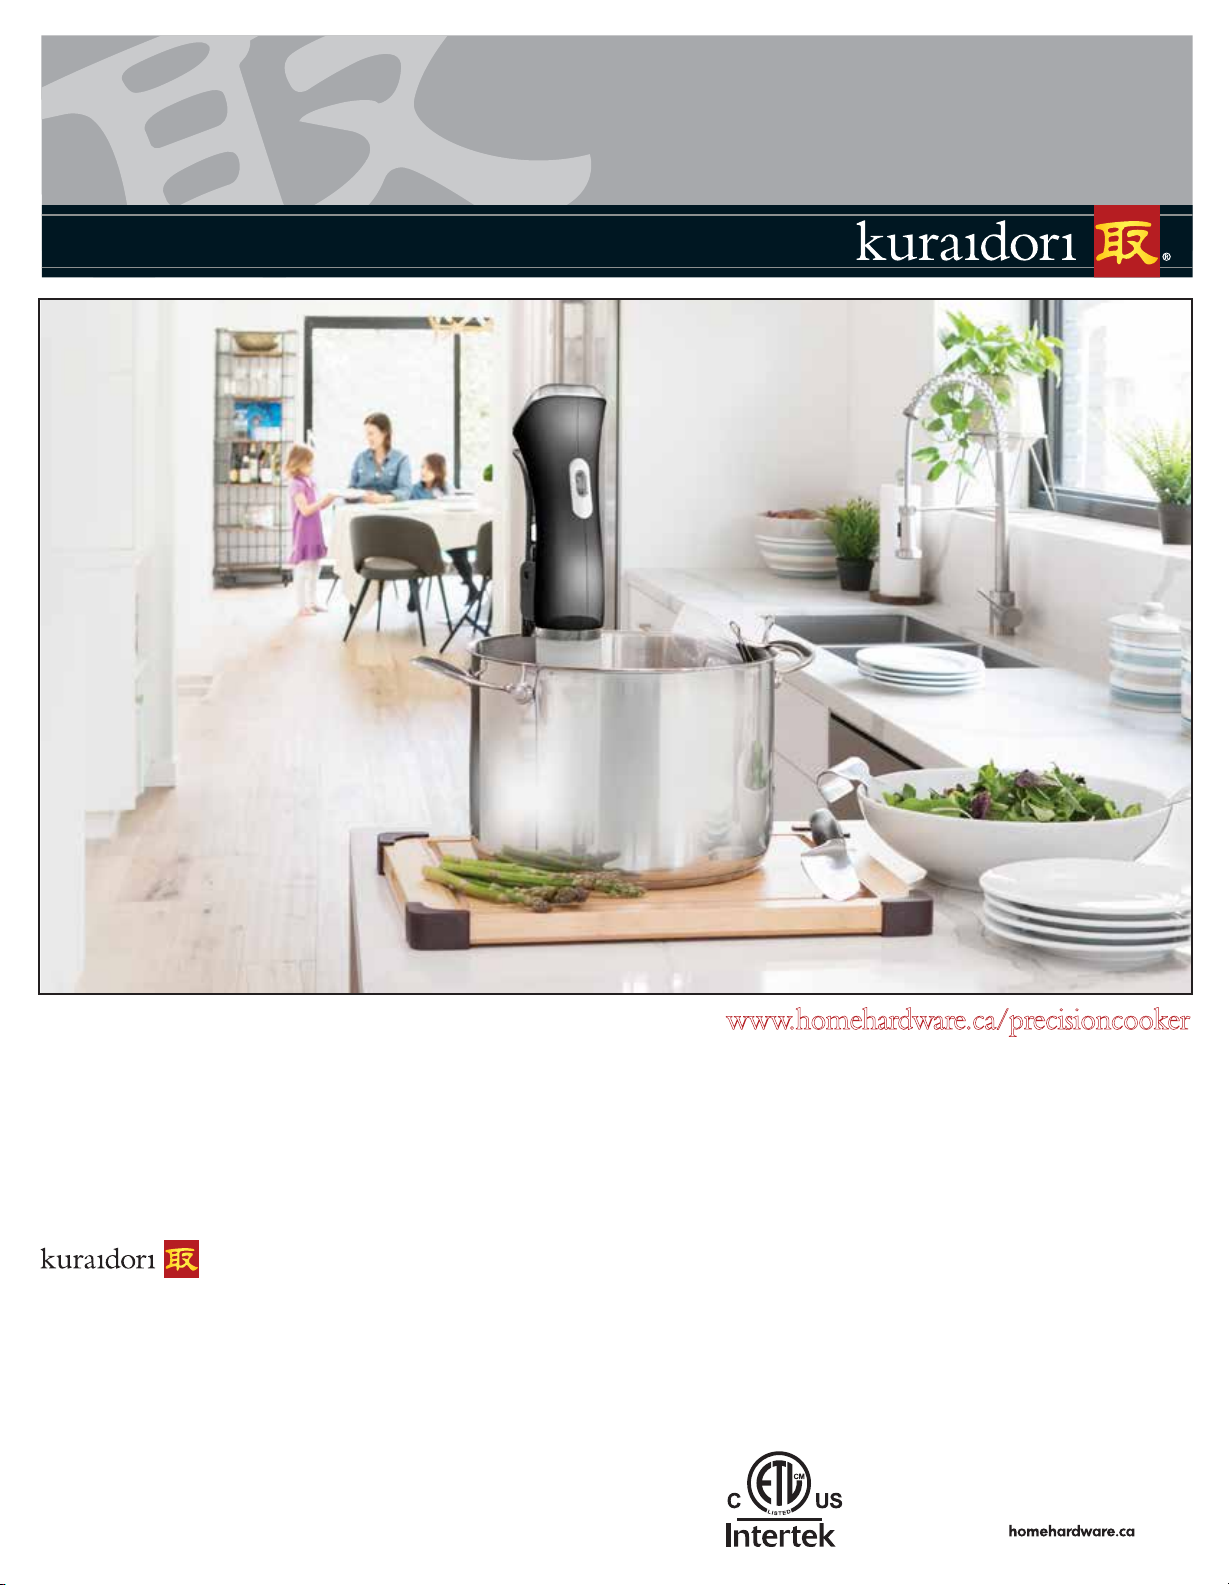
Follow a recipe in the booklet provided, the website www.homehardware.ca/precisioncooker
or from cookbooks or other sources. Place the food in a plastic sealable bag. For Sous
Vide cooking (under vacuum) use a vacuum seal bag, remove all the air with a
vacuum sealing system appliance and seal it. A resealable plastic freezer bag can be
used as an inexpensive alternative. Air can be removed from the bag by using the
Water displacement Method described below. Food with bones or other hard surfaces
can be double bagged to prevent possible leakage during the cooking process.
Water Displacement Method – The water displacement method can be used if a vacuum
sealer system is not available. Insert food into a resealable freezer bag but do not seal it
up immediately. Slowly lower the bag into a water bath keeping the top of the bag open.
As the bag is lowered the air will be pushed out of it. Continue to immerse the bag until
almost at the top of the seal. While still in the water close the seal up. Most of the air at
this point should be removed from the bag. Take care not to allow water into the bag
during this process. Your food is now bagged and ready to be cooked.
Step 6. Cook
When the water-bath achieves the desired temperature a beep will sound three
seconds apart to alert the user that food can be placed in the bath. Press and hold the
Set Button (M) for two seconds to turn off the beeping. This will also start the timer
countdown if using the timer. Place the bagged food into the water bath making sure
that water can flow all around it and that it is totally submerged. A metal rack can be
placed in the water-bath to help with this. Some foods may require a weight to be
placed on them to keep the food from floating. Place a lid, plastic wrap or even a
cookie sheet over the cooking vessel to prevent water from evaporating. Cook the
food for the time stated in the recipe. If using the timer function, when the time counts
down an alarm will beep every three seconds. Press the Set Button (M) for two
seconds to turn off the alarm.
Step 7. Remove Food, Serve and Turn the Unit Off
Use tongs to remove the bagged food from the water-bath. Exercise caution as the
water will be hot. Press and hold the Power Button (L) for five seconds to turn the unit
off and unplug it. Remove the food from the bag and set aside. Most recipes at this
time will direct you to sear any proteins that have been cooked. A quick sear after
Sous Vide cooking creates an attractive look and a nice crust. To do this, pat the food
dry on both sides using a paper towel, removing as much moisture as possible.
Searing can be done in a hot frypan, oven broiler, hot barbecue or even a cooking
torch. Take care not to sear the food for too long of a time. This searing process is only
to develop a crust and not to cook the food. The food can be served immediately with
no need for it to rest. Enjoy