NXT Owner’s Manual NXT-UM01, MAN2010 ix
List of Figures
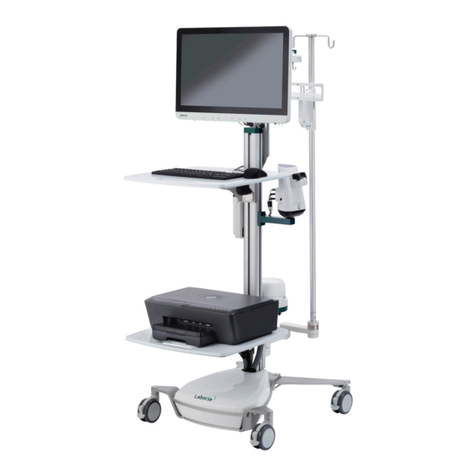
Figure 1: NXT Pro System Cart ..................................................................................12
Figure 2: Lockable Wheels.........................................................................................18
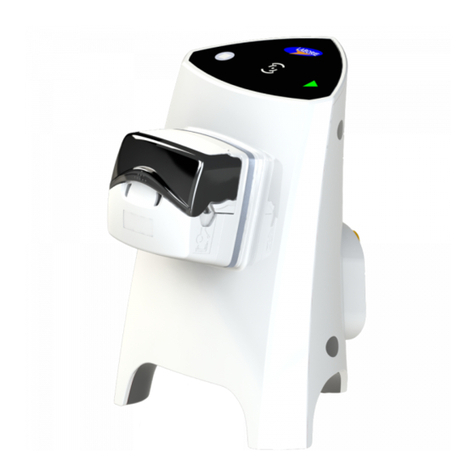
Figure 3: Roam NXT and Urocap NXT inserted in NXT Docking Station ............................19
Figure 4: Connecting the NXT Pro Cart to Supply Mains ................................................19
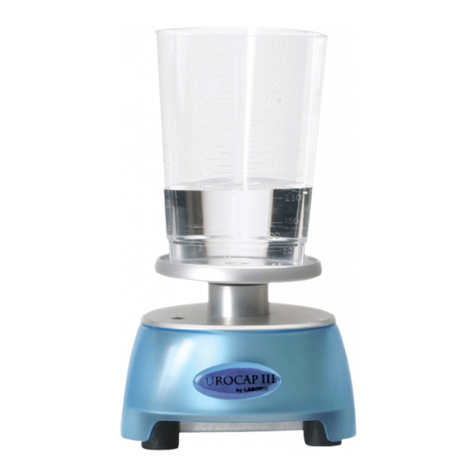
Figure 5: Urocap NXT Setup ......................................................................................21
Figure 6: Consumable Traceability – Preview Window ...................................................22
Figure 7: Catheters Connected to PIM NXT .................................................................. 24
Figure 8: Pressure Flow Preview Phase........................................................................24
Figure 9: EMG Patch Electrode Placements ..................................................................25
Figure 10: EMG Cable Connected to PIM NXT ............................................................... 25
Figure 11: Roam Mounted on IV Pole ..........................................................................25
Figure 12: Device Manager Window ............................................................................26
Figure 13: Find Devices Window.................................................................................27
Figure 14: FreeFlow Preview Phase.............................................................................28
Figure 15: FreeFlow Record Phase .............................................................................. 29
Figure 16: Post Voided Residual Window .....................................................................30
Figure 17: FreeFlow Preview Report............................................................................30
Figure 18: Pressure Flow Filling Phase ........................................................................32
Figure 19: Pressure Flow Voiding Phase ......................................................................33
Figure 20: Stress Test Designation Window .................................................................35
Figure 21: Synergy Login Page ..................................................................................37
Figure 22: Accessing User Setup Application................................................................38
Figure 23: User Setup Window...................................................................................39
Figure 24: Password Reset ........................................................................................39
Figure 25: Accessing the Manage User Role Application.................................................40
Figure 26: Manage User Role Window .........................................................................40
Figure 27: Adding New User Role ............................................................................... 41
Figure 28: Synergy Main Window Reading Guide ..........................................................41
Figure 29: Patients Section........................................................................................ 43
Figure 30: Default Patient Details...............................................................................44
Figure 31: Export Document Window.......................................................................... 45
Figure 32: Patient List - EMR .....................................................................................46
Figure 33 Patient Settings – EMR ...............................................................................46
Figure 34: Patient Details – Symptoms Tab .................................................................47
Figure 35: Database Management – Archive Patients....................................................48
Figure 36: Database Management – Import Patients..................................................... 49
Figure 37: Database Management – Deleted Patients ...................................................49
Figure 38: Workflow Configuration Window – Channels Tab ...........................................51
Figure 39: Adding a Phase to a Custom Workflow......................................................... 52
Figure 40: Workflow Configuration Window - Control Panel............................................54
Figure 41: Action Window – Adding, Changing or Emptying Button Label ........................54
Figure 42: Edit Control Panel Button...........................................................................55
Figure 43: Workflow Configuration with Hardware Channel Error ....................................55
Figure 44: Start Study Button.................................................................................... 56
Figure 45: Start Study Button Tool Tip........................................................................56
Figure 46: Consumable Traceability ............................................................................58
