Tenera Installation Instructions 8
BACK
■Choose which set of holes works best in your application.
Mark the screw holes.
➤The minimum depth required for mounting is 2" with a
battery wand and a back cover.
➤Minimum depth is 1
1
/
4
"with a satellite battery pack
and
back cover.
➤Refer to the chart below for fully recessed depth
requirements.
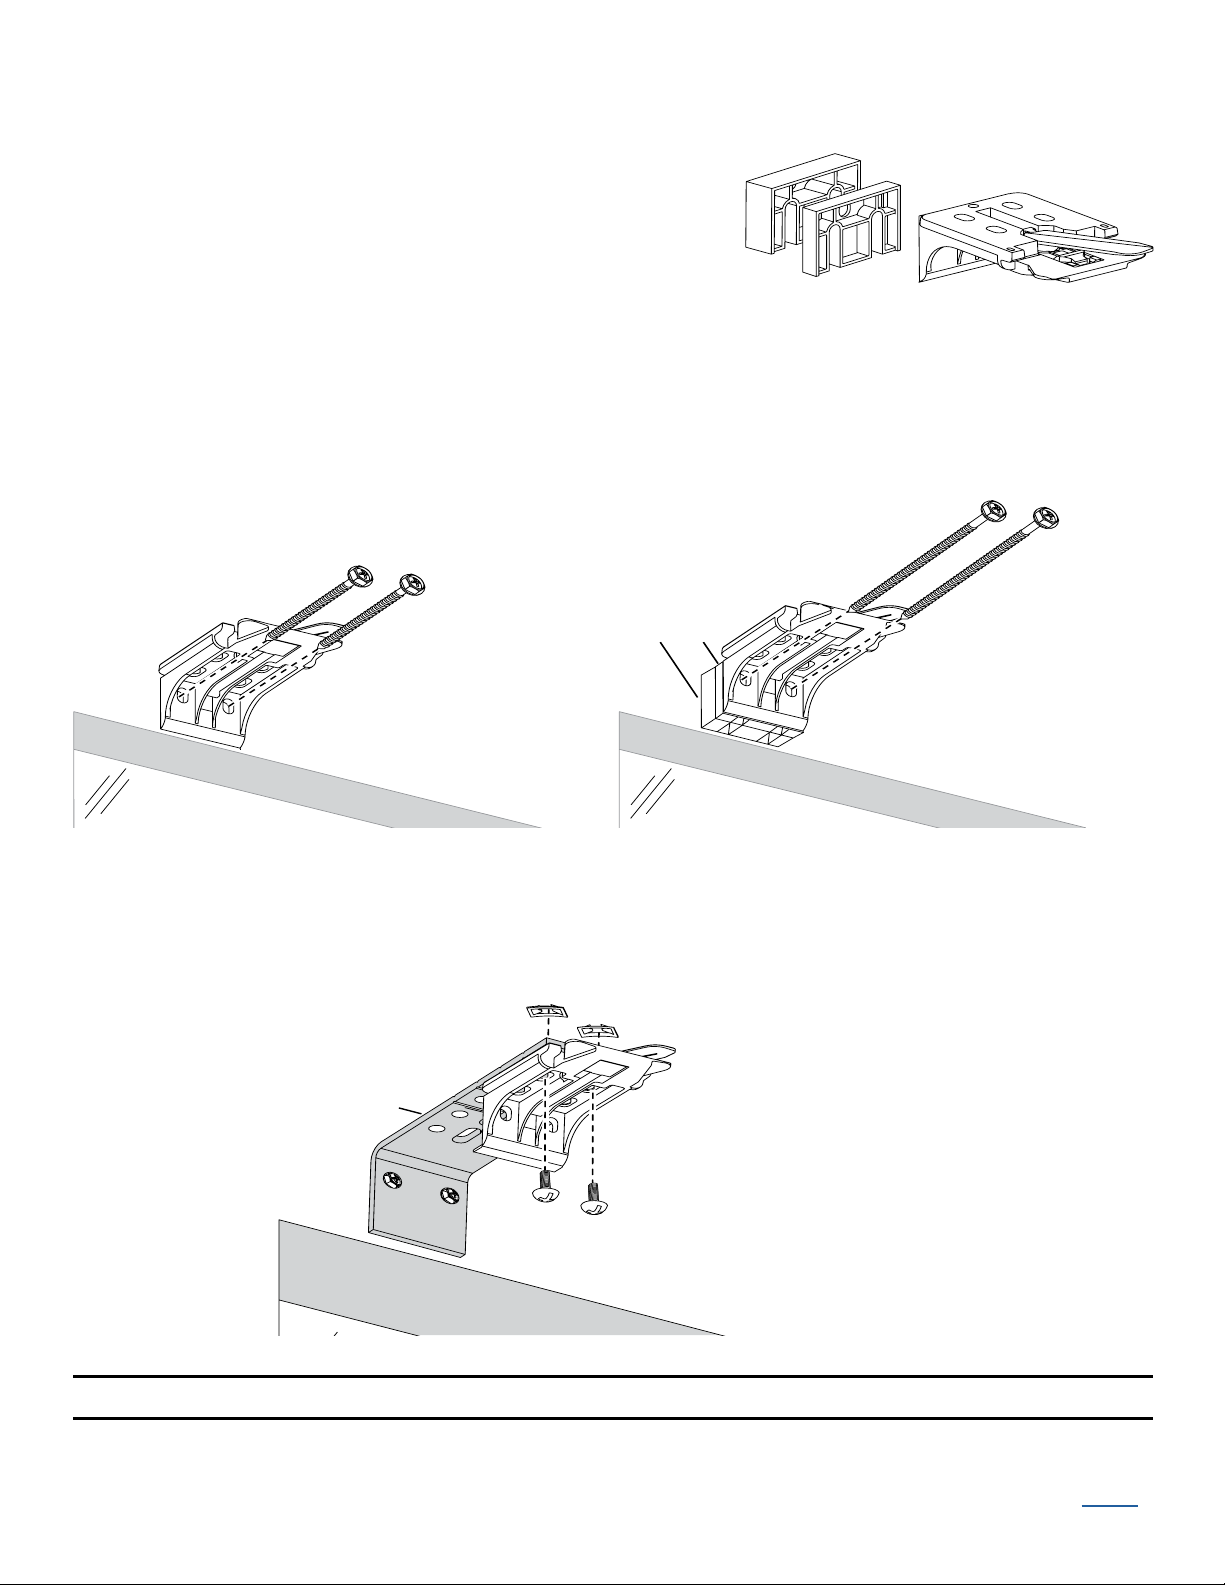
IMPORTANT: The front edges of the installation brackets must be level and aligned.
WARNING: Failure to properly align the brackets could result in the headrail
releasing from the brackets.
■Drill the screw holes using a
3
/
32
" drill bit.
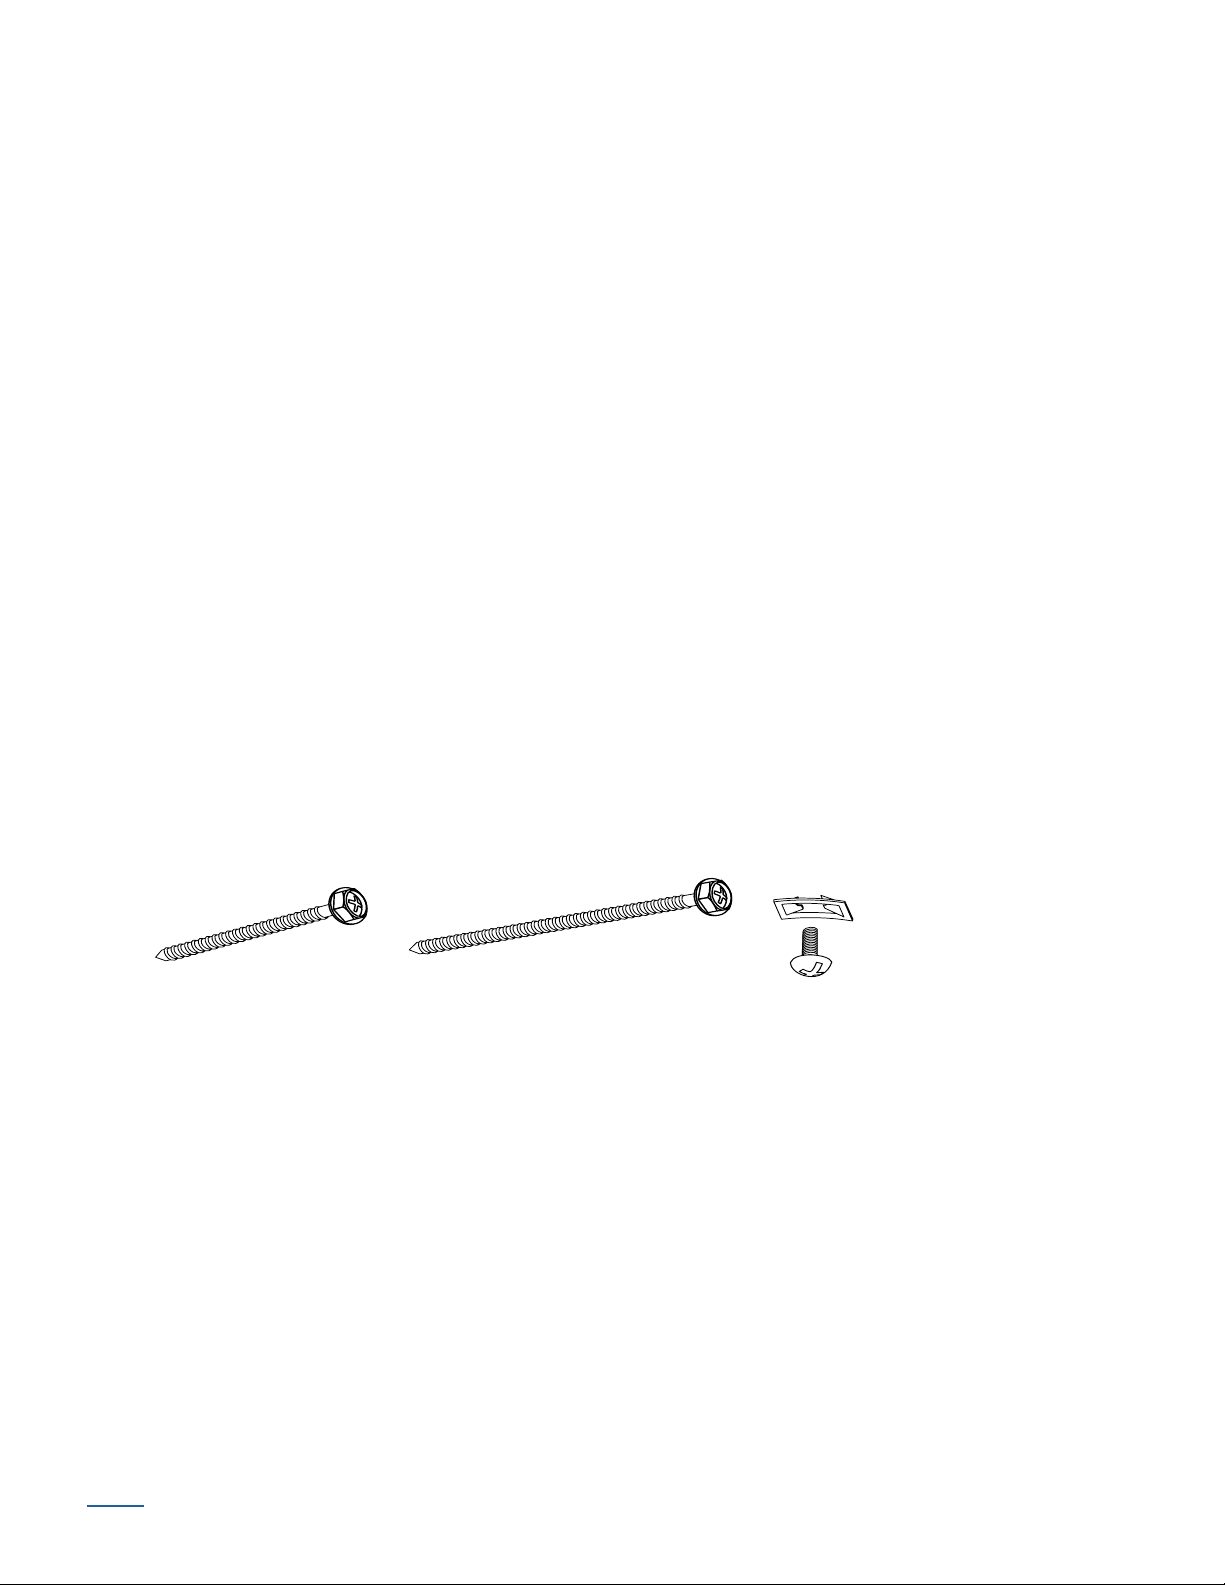
IMPORTANT: Use drywall anchors when mounting into drywall.
■Use a level to check that the mounting surface is level. If necessary, you can shim the
brackets using the top tabs that were removed from the brackets.
■If you ordered a back cover, attach the back cover brackets to
the installation brackets.
➤If a satellite battery pack or DC power supply is used, first
remove the top tab from the back coverbracket.
➤Snap the prongs on the back cover brackets into the
holes on the back of the installation brackets.
■Attach the installation brackets using the screws provided.
IMPORTANT: Do not overtighten the screws. Check to ensure the lever can be moved
easily side to side. If the lever is not moving easily, loosen the screws in
1
/
8
of a turn
increments until it can be moved easily.
Proceed to “STEP 2 — Install the Shading”
Minimum
Depth
See Chart
2" – 3"
Fully Recessed
Mounting Depths Headrail
Battery Wand & Back Cover 4"
Satellite Battery Pack or DC Power
Supply & Back Cover 3
1
/
2
"
Installation
Bracket
Back
Cover
Bracket
Remove tab if using a satellite
battery pack or DC power supply.