manuals.online logo
Brands
  1. Home
  2. •
  3. Brands
  4. •
  5. Laser Dollhouse Designs
  6. •
  7. Toy
  8. •
  9. Laser Dollhouse Designs Craftman One Car Garage User manual

Laser Dollhouse Designs Craftman One Car Garage User manual

Craftman One Car Garage
Assembly Instruction by
Laser Dollhouse Designs
NOTE 1: Please do a dry assembly using only tape to hold house together. This will get
you familiar with parts, location, and fit. This also gives you a chance to visualize how
you want to approach the build. Also read each step and adhere to items that should
not be glued till a later time..
Materials for build;
1. Wood glue, you may use Titebond, Elmers, tacky or any good wood glue. Tacky
wood glue dries clear and is preferred.
2. Masking tape to hold house in place during dry assembly and gluing.
3. Utility knife if needed for trimming.
4. 220 grit sandpaper.
5. Wood Filler
6. Paint, any acrylic paint.
Hardware store carry sample cans which
are not expensive and are enough.
7. WD40 for garage rails and windows rails.
Windows Assembly
Step A. (Complete this after painting parts) Take a window and the two glass (figure B1) and
remove the plastic cover from the glass. (make sure your hands are clean). Apply a very
thin coat of glue to inside edge of pane, figure B2. Now install glass into the pane and
gently press into place, take care not to press to hard and break the pane. Check that
window opens over upper frame, if so let dry, fig. B3. (Complete the interior frame once
you are installing windows to house) Next glue the interior frames to interior even with
the window frame, figure B5. Repeat process for remaining windows. If windows do not
open easily due to some paint on rails then apply with a q-tip a small amount of WD40.
Figure B1 Figure B2 Figure B3
Figure B4 Figure B5
Garage Assembly
Step 1. Paint garage door, figure 1. Next turn door upside
down and remove back panel cover, figure 2. Remove
paper cover on glass and insert into the top opening
figure 2.
Step 2. Turn 2nd floor upside down and install garage
door guide rails facing inward as seen in figure 3. Install
the garage door into the rails and slide door all the way
to the rear as seen in figure 4.
Figure 1
Figure 2
Figure 3 Figure 4
Garage Assembly
Step 3. Install front wall panel as seen in figure 5 to the 2nd
floor. Next turn 2nd floor assembly right side up and install
into the first floor. Install one of the side wall but do not glue
that side wall on at this time. Figure 6. Weight down and
make sure front wall and rails are flush to the floor and
ceiling, allow glued front wall and garage rails to dry.
Step 4. Slide garage door down on track and ensure proper
function. If it does not travel easily apply WD40 to rail guide
side openings with Q-tip and cycle. Figure 7.
Figure 5
Figure 6
Figure 7
Garage Assembly
Step 5. Remove main door foot rail and take door out.
Paint door and frames, figure 8. Next as you did with the
garage install the glass thru top door opening, next install
door and foot rail and install door, figure 9. Install interior
frame and make sure door opens freely. Figure 10.
Step 6. Glue even to the bottom floor the pillar stands as
seen in figure 11. Locate pillars and install the two pillar
caps onto the top and press down enough to get clearance
when installed onto pillar stands, figure 12, do not glue
caps. Check for good clearance.
Figure 8
Figure 9
Figure 11 Figure 12
Figure 10
Garage Assembly
Step 7. Once you have good clearance apply glue to top and
bottom of pillars, install onto stand and then slide cap up
gluing cap flush to roof panel, also assemble and install
main entry door, figure 13.
Step 8. With floor and pillars glued in place you may remove
side wall panel and apply glue, reinstall side wall panel and
make sure wall is flush to floor and 2nd floor panel, complete
same process for opposite side panel, figure 15. Next install
garage door exterior frames around opening, frames should
be aligned to wall opening, figure 16.
Figure 13
Figure 14
Figure 15 Figure 16
Garage Assembly
Step 9. Install mid roof panel base onto the sides of the
garage, figure 17. Next install mid roof panel supports as
seen in figure 18. Install mid section right and left roof
panels, figure 19.
Step 10. Complete interior painting and décor. Figure 17
Figure 18
Figure 19
Staircase Assembly
Step 1. Ensure you have one handrail, one baluster string,
staircase frame, 13 treads, and two post, figure 1. Paint or
stain items to preferred color.
Step 2. Install treads for either right or left handrail by
installing tread holes on side you plan to have handrail. The
opposite side should have tread even to staircase frame,
figure 2.
Figure 1
Figure 2
Staircase Assembly
Step 3. Run glue into the track under the handrail then
insert baluster string into the track making sure the rail
is centered at the top and bottom. Sand with 220 grit
sand paper if needed, figure 3.
Step 4. Install railing assembly into the treads, figure 4.
Next install the two post onto the staircase, the side
with no raised panel are to face the rail, figure 5. Figure 3
Figure 4
Figure 5
Garage Assembly continued
Step 11. Install mid-roof shingles. To install shingles you
may use wood glue or super glue. If using super glue
wear thin rubber gloves to protect hands. Take a strip and
lay upside down even to bottom edge, once on press
each shingle down firmly to seat, figure 20. Next trim
excess with a utility knife, make sure blade is new for
clean and easy cuts.
Step 12. Install next row of shingles by aligning each
shingle square center to the slit of the lower shingle,
figure 21.
Figure 20
Figure 21
Garage Assembly continued
Step 13. Continue with next row aligning next shingle row with top of the shingle cutout
devider. Next cut the top connector of each shingle off to make individual shingles and
trim shingles to complete top row as seen in figure 22. Follow same process and
complete other side.
Figure 22
Garage Assembly continued
Step 14. Assemble the landing rails in a L shape as seen in
figure 23. Next install the assembled rails into the house
as seen in figure 24.
Step 15. Install front and rear roof panels and make sure
that they are evenly aligned by checking top edges, figure
25.
Step 16. Install right and left alcove side panels onto front
roof panel as seen in figure 26.
Figure 23
Figure 24
Figure 25 Figure 26
Garage Assembly continued
Step 17. Install front alcove wall panel, make sure that the
panel is aligned even at the top of each side wall, figure
27. Next install alcove roof panel, figure 28.
Step 18. Paint roof panels to color of roof shingles, figure
29. Figure 27
Figure 28
Figure 29
Garage Assembly continued
Step 19. Shingle front, alcove, and rear roof panels, figure 30.
Figure 30
Step 20. Install lower gable corbels and gable under each apex roof, figure 31. Finally
install windows, interior window frames, and interior door frames. Assembly complete.
Figure 31 Figure 32
Laser Dollhouse Designs
www.laserdollhouses.com
Email: lfricke@laserdollhouses.com

Other Laser Dollhouse Designs Toy manuals

Laser Dollhouse Designs The Little Nikki User manual

Laser Dollhouse Designs

Laser Dollhouse Designs The Little Nikki User manual

Laser Dollhouse Designs Country Villa User manual

Laser Dollhouse Designs

Laser Dollhouse Designs Country Villa User manual

Laser Dollhouse Designs Kristiana Tudor User manual

Laser Dollhouse Designs

Laser Dollhouse Designs Kristiana Tudor User manual

Laser Dollhouse Designs Stansfield Victorian Dollhouse User manual

Laser Dollhouse Designs

Laser Dollhouse Designs Stansfield Victorian Dollhouse User manual

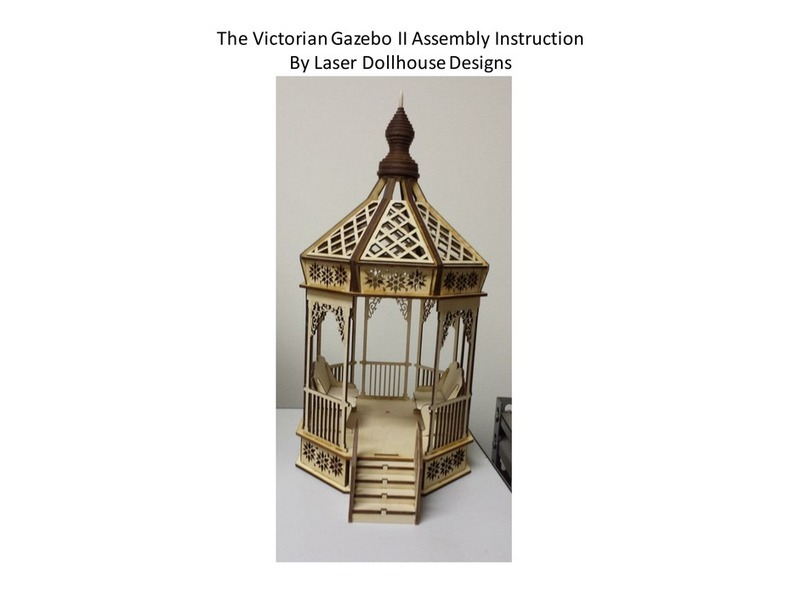
Laser Dollhouse Designs Victorian Gazebo II User manual

Laser Dollhouse Designs

Laser Dollhouse Designs Victorian Gazebo II User manual

Laser Dollhouse Designs Victorian Farmhouse User manual

Laser Dollhouse Designs

Laser Dollhouse Designs Victorian Farmhouse User manual

Laser Dollhouse Designs Tiffany Victorian User manual

Laser Dollhouse Designs

Laser Dollhouse Designs Tiffany Victorian User manual

Laser Dollhouse Designs Country Outhouse User manual

Laser Dollhouse Designs

Laser Dollhouse Designs Country Outhouse User manual

Laser Dollhouse Designs Straight Staircase and Landing rail User manual

Laser Dollhouse Designs

Laser Dollhouse Designs Straight Staircase and Landing rail User manual

Laser Dollhouse Designs Victorian Gazebo User manual
Laser Dollhouse Designs

Laser Dollhouse Designs Victorian Gazebo User manual

Laser Dollhouse Designs Little Ann Assembly Instruction User manual

Laser Dollhouse Designs

Laser Dollhouse Designs Little Ann Assembly Instruction User manual

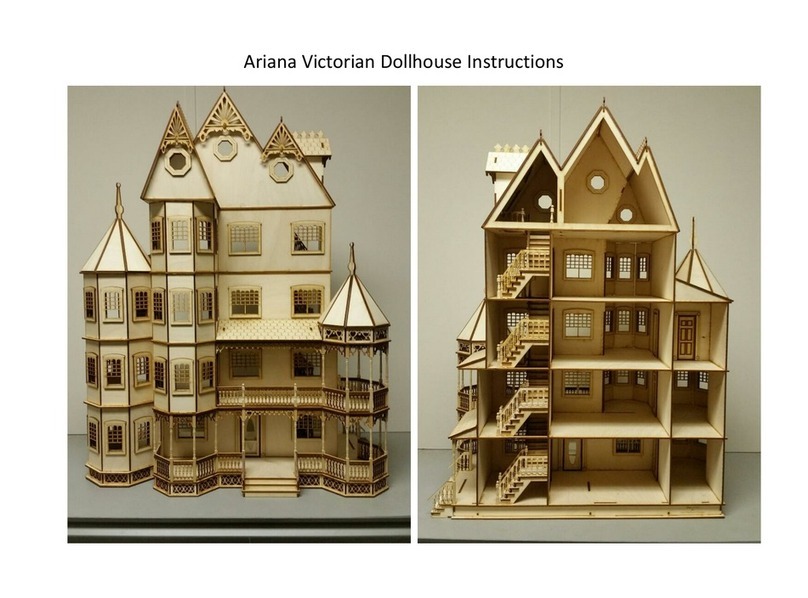
Laser Dollhouse Designs Ariana Victorian Dollhouse User manual

Laser Dollhouse Designs

Laser Dollhouse Designs Ariana Victorian Dollhouse User manual

Laser Dollhouse Designs Glenrose User manual

Laser Dollhouse Designs

Laser Dollhouse Designs Glenrose User manual

Laser Dollhouse Designs Gothic Leon Victorian User manual
Laser Dollhouse Designs

Laser Dollhouse Designs Gothic Leon Victorian User manual

Popular Toy manuals by other brands

Little Tikes My First Pet Checkup Set Assembly instructions

Little Tikes

Little Tikes My First Pet Checkup Set Assembly instructions

Lionel U30C owner's manual

Lionel

Lionel U30C owner's manual

Hasbro Disney Frozen Little Kingdom Quick start quide

Hasbro

Hasbro Disney Frozen Little Kingdom Quick start quide

Faller GANTRY CRANE manual

Faller

Faller GANTRY CRANE manual

Goldwing RC Electric Extreme CORVUS 70E manual

Goldwing RC

Goldwing RC Electric Extreme CORVUS 70E manual

Lionel Frisco 0-27 owner's manual

Lionel

Lionel Frisco 0-27 owner's manual

Viessmann VOLLMER 45147 Mounting instruction

Viessmann

Viessmann VOLLMER 45147 Mounting instruction

JMB-Jets PC 21 manual

JMB-Jets

JMB-Jets PC 21 manual

Mattel Monster High MH SPRNG CLSC ACY AST instructions

Mattel

Mattel Monster High MH SPRNG CLSC ACY AST instructions

PIKO D.145 Instructions for use

PIKO

PIKO D.145 Instructions for use

darda CREATE-A-COURSE quick start guide

darda

darda CREATE-A-COURSE quick start guide

Hasbro E3996 manual

Hasbro

Hasbro E3996 manual

marklin 37347 user manual

marklin

marklin 37347 user manual

LaserPegs 1000 manual

LaserPegs

LaserPegs 1000 manual

Mattel PRO-TENSION ROPES instructions

Mattel

Mattel PRO-TENSION ROPES instructions

Viadrus AkuCOMFORT 500 L OPERATING AND INSTALLATION Manual

Viadrus

Viadrus AkuCOMFORT 500 L OPERATING AND INSTALLATION Manual

marklin 29322 instruction manual

marklin

marklin 29322 instruction manual

Trix minitrix VT 75 Assembly Intructions

Trix

Trix minitrix VT 75 Assembly Intructions

manuals.online logo
manuals.online logoBrands
  • About & Mission
  • Contact us
  • Privacy Policy
  • Terms and Conditions

Copyright 2025 Manuals.Online. All Rights Reserved.