manuals.online logo
Brands
  1. Home
  2. •
  3. Brands
  4. •
  5. Laser Dollhouse Designs
  6. •
  7. Toy
  8. •
  9. Laser Dollhouse Designs The Little Nikki User manual

Laser Dollhouse Designs The Little Nikki User manual

The Little Nikki Assembly Instruction
By Laser Dollhouse Designs
Parts for assembly
Roof Assembly
Subfloor
Assembly
S1 thru S4
2nd Floor walls
2A,2B,2C &2D
1 pk-houseworks stair set
2 pks-Houseworks stair spindles packs of 12
1 pk- newel post (6)
Set of precut rails for upper stairs and porch
steps
1st Floor walls 1A , 1B, 1C, 1E, & 1F
Stairs
Base Floor
2nd Floor ceiling
3 set of traditional doors
Fence assembly and
working gate w/ posts
1st and 2nd Floors
Main Door assembly with
plexiglas
Porch and rail assemblies
Set of (4) Dormers
Window assemblies
Gable Fretwork
PLEASE FOLLOW RECOMMENDATION FOR ASSEMBLY IF NEW TO BUILDING
ALSO FIND SUGGESTIONS AND INFORMATION ON OUR FORUM AT:
http://laserdollhouses.freeforums.net
Do a dry assembly prior to gluing kit together, do this by using tape to hold parts in place.
Recommend using wood glue during gluing such as Elmer's wood or Titebond found at most
Lowes, Home depot or hardware store.
Recommend primer and paint in one to make job easier as well as less coatings, prime/paint
using interior paints from and paint store. During painting tape over the tabs and slots to
avoid difficulty in seating parts later.
Materials for build;
1. Wood glue, you may use Titebond, elmers or any good wood glue
2. Masking tape to hold house in place during assembly and gluing.
3. Utility knife for any small trimming
4. Wood filler
5. Sand paper (any that is between 200-300 grit)
Step 1. locate the Base floor and position as seen in Figure 1
Figure 1
Step 2. Locate Subfloor Assembly S1 thru S4 and
insert S1 thru S4 tabs into Base floor matching Slots
S1-S4 as seen in Figure 2
Figure 2
Step 3. Take the First floor marked 1A thru 1F and insert on top of assembled subfloor
by aligning open slots to tabs. Refer to figure 3.
Figure 2
Figure 3
Step 4. Take 1A Wall and insert into slot 1A on first floor.
Then insert door assembly thru cutout for the door
opening. Refer to figure 4 and 5.
Figure 4 Figure 5
Step 5. Take the two rectangle and one half circle Plexiglas
cutouts and insert into openings from the interior side
of wall. Finally secure by placing the interior door
frame in place. Refer to figure 6, 7 and 8.
Figure 7
Figure 6
Figure 8
Step 6. Install first floor walls. Refer to figure 9.
Figure 9
Step 7. porch step assembly. parts needed:
(2) Newel post, 8 stair spindles, and porch stair assembly.
Take porch stair assembly and insert 8 spindles in the
holes (carefully) push the spindles into the holes till
they seat at the lowest rounded out grove in spindle.
DO NOT GLUE THESE IN PLACE…. See Figure 10.
Figure 10
Step 8. Glue two newel post to the front lower stair
riser and side rail, Newel post should seat flush
within the corner and be flush at the bottom
with the stair assembly. Refer to figure 11
Figure11
Figure 12
Step 9. Locate the stair rails that are precut and
seat on top of the spindles. At this point glue
the railing to the post, DO NOT GLUE TO
SPINDLES!! Refer to figure 12
Step 10. Now align spindles up and down and glue
to the hand rail. Refer to figure 13
Figure13
Figure 14
Step 12. glue from the bottom of the stairs the
spindles. Refer to figure 14
Step 11. REPEAT this for the other side.
Figure15
Figure 16
Step 13. Take wood filler and press into the side holes, do this for the center steps as well.
Refer to figure 15
Step 14. Cut a small piece of fine sandpaper between 200-300 grit and lightly sand down to
a smooth finish the steps and sides.
Refer to figure 16
Steps are now ready for paint and stain.
Figure 17
Assembled stairs ready for paint or stain.
Step 15. Open and assemble the interior stairs by following the instructions in the package.
Make sure that you assemble the stairs with the rail on the left. Recommend NOT using
superglue to apply treads(steps). Use small amount of brushed wood glue. Refer to
figure 17 on completed assembly.
Step 16. Install window assemblies to outer wall and then install inner frames and shutters
refer to figure 18. ( On inner frame do NOT put glue along sliding glass side frames, glue
window by gluing top, bottom, and outer side edges.)
Figure18
Step 17. Insert square dowel into large post with square cutout.
See figure 19 Should end up with 6 completed parts.
Figure19
Step 18. Insert completed porch post with single cut holes (all post
have large face side forward) to the right rear. See figure 20
Figure 20
Figure 21
Step 19. Insert one of 4 rails into rear post. See figure 21
Step 20. Install post with a set of holes to the rear and a set of
holes to the left smaller facing post side. Insert rail tabs and
install post to floor. See figure 22.
Figure 22
Figure 23
Step 21. Install post with a set of holes right only smaller facing
post side. Insert rail tabs to front post and install post to floor.
See figure 23. Repeat for opposite side keeping in mind that the
larger face of post is the front. See figure 24
Step 22. Install interior doors and frames. See figure 25.
Figure 24
Figure 25
Figure 26 Step 23. Install second floor. post fit flush to upper floor
See figure 26.
Figure 27
Step 24. porch upper running fret frames in-between
post. See figure 27.
Step 25. Install stairs and make sure landing is flush with upper
floor. See figure 28.
Figure 28
Step 26. remove with a blade or small scissors @ half the top of
the stairs spindle. See figure 29.
Figure 29
Figure 30
Step 27. Locate the 1/8” bottom square hand rail and glue one
spindle center as seen in figure 30. Next glue 1/8” assembled
rail to the top stair landing newel post and add one newel post
to the outer end. Make sure the post are aligned with each
other. See figure 31.
Figure 31
Figure 32
Step 27. Locate the 1/8” top rounded rail and glue in between
post. Apply small amount of pressure to seat even to top of
post. If not even remove and trim spindle (very little) until
desired result is achieved. See figure 32.
Figure 33
Step 28. Locate the larger of the two remaining bottom
post rails and sit next to installed post. Mark with a
pin on the inside of the grove the location of the
spindles using the circles as a guide. Then glue
spindles to bottom rail, the spindles should come out
evenly spaced as seen in figure 33.
Figure 34
Step 29. Next align and glue to forward post see
figure 34.
Figure 35
Step 30. Next align and glue the top post see figure
34. make sure it is the longer of the two
remaining
Figure 36
Step 31. align and mark the final lower rail and
glue to the end newel post also making sure
that the rail is aligned to the left slot cutout.
See figure 36.
Figure 37
Step 32. install spindles figure 37 and the top rail
figure 38. Install rear wall and make sure it is
aligned properly, do not glue to wall till later
when walls and roof are installed. Figure 39.
Figure 38
Figure 39

Other Laser Dollhouse Designs Toy manuals

Laser Dollhouse Designs Straight Staircase and Landing rail User manual

Laser Dollhouse Designs

Laser Dollhouse Designs Straight Staircase and Landing rail User manual

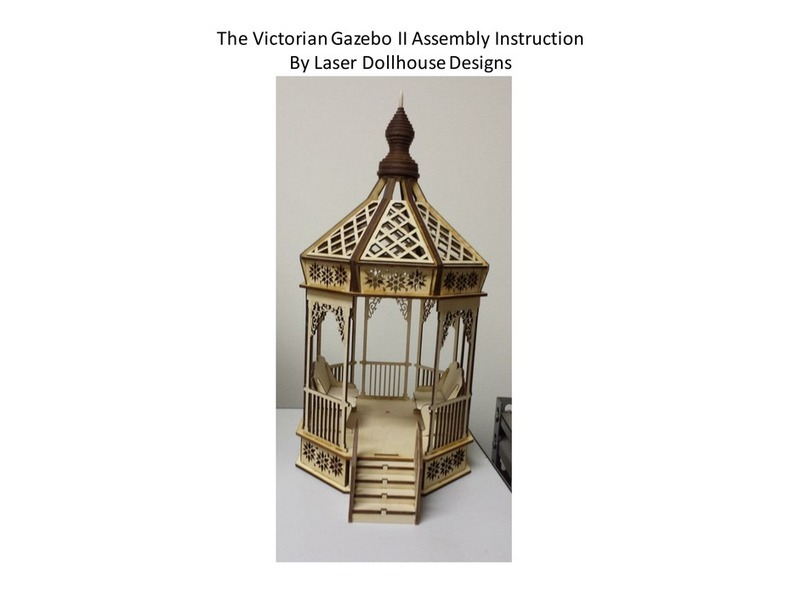
Laser Dollhouse Designs Victorian Gazebo II User manual

Laser Dollhouse Designs

Laser Dollhouse Designs Victorian Gazebo II User manual

Laser Dollhouse Designs Glenrose User manual

Laser Dollhouse Designs

Laser Dollhouse Designs Glenrose User manual

Laser Dollhouse Designs Tiffany Victorian User manual

Laser Dollhouse Designs

Laser Dollhouse Designs Tiffany Victorian User manual

Laser Dollhouse Designs Victorian Farmhouse User manual

Laser Dollhouse Designs

Laser Dollhouse Designs Victorian Farmhouse User manual

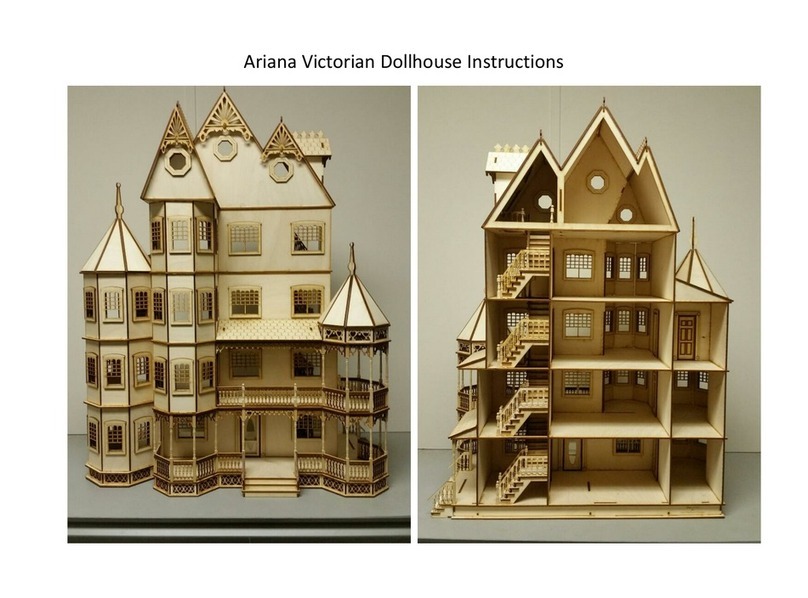
Laser Dollhouse Designs Ariana Victorian Dollhouse User manual

Laser Dollhouse Designs

Laser Dollhouse Designs Ariana Victorian Dollhouse User manual

Laser Dollhouse Designs Country Outhouse User manual

Laser Dollhouse Designs

Laser Dollhouse Designs Country Outhouse User manual

Laser Dollhouse Designs Kristiana Tudor User manual
Laser Dollhouse Designs

Laser Dollhouse Designs Kristiana Tudor User manual

Laser Dollhouse Designs Country Villa User manual

Laser Dollhouse Designs

Laser Dollhouse Designs Country Villa User manual

Laser Dollhouse Designs Gothic Leon Victorian User manual

Laser Dollhouse Designs

Laser Dollhouse Designs Gothic Leon Victorian User manual

Laser Dollhouse Designs Victorian Gazebo User manual

Laser Dollhouse Designs

Laser Dollhouse Designs Victorian Gazebo User manual

Laser Dollhouse Designs Craftman One Car Garage User manual

Laser Dollhouse Designs

Laser Dollhouse Designs Craftman One Car Garage User manual

Laser Dollhouse Designs Stansfield Victorian Dollhouse User manual

Laser Dollhouse Designs

Laser Dollhouse Designs Stansfield Victorian Dollhouse User manual

Laser Dollhouse Designs Little Ann Assembly Instruction User manual

Laser Dollhouse Designs

Laser Dollhouse Designs Little Ann Assembly Instruction User manual

Popular Toy manuals by other brands

FUTABA GY470 instruction manual

FUTABA

FUTABA GY470 instruction manual

LEGO 41116 manual

LEGO

LEGO 41116 manual

Fisher-Price ColorMe Flowerz Bouquet Maker P9692 instruction sheet

Fisher-Price

Fisher-Price ColorMe Flowerz Bouquet Maker P9692 instruction sheet

Little Tikes LITTLE HANDIWORKER 0920 Assembly instructions

Little Tikes

Little Tikes LITTLE HANDIWORKER 0920 Assembly instructions

Eduard EF-2000 Two-seater exterior Assembly instructions

Eduard

Eduard EF-2000 Two-seater exterior Assembly instructions

USA Trains EXTENDED VISION CABOOSE instructions

USA Trains

USA Trains EXTENDED VISION CABOOSE instructions

Modellbau Laffont Z1601 Assembly instructions

Modellbau Laffont

Modellbau Laffont Z1601 Assembly instructions

NOCH 12905 instruction manual

NOCH

NOCH 12905 instruction manual

Eduard Ki-61-Id quick start guide

Eduard

Eduard Ki-61-Id quick start guide

Viessmann Vollmer 45616 Mounting instruction

Viessmann

Viessmann Vollmer 45616 Mounting instruction

Vollmer 42004 Mounting instruction

Vollmer

Vollmer 42004 Mounting instruction

Phoenix Model CLASSIC-EP instruction manual

Phoenix Model

Phoenix Model CLASSIC-EP instruction manual

H-KING Sopwith Camel British WW1 Fighter instruction manual

H-KING

H-KING Sopwith Camel British WW1 Fighter instruction manual

MODSTER Predator 4x4 Crawler user manual

MODSTER

MODSTER Predator 4x4 Crawler user manual

DHK Hobby 8136 User instruction manual

DHK Hobby

DHK Hobby 8136 User instruction manual

THUNDER TIGER Raptor 50 V2 kit manual

THUNDER TIGER

THUNDER TIGER Raptor 50 V2 kit manual

Timberkits Skateboarder instructions

Timberkits

Timberkits Skateboarder instructions

Hangar 9 Funtana 125 Assembly manual

Hangar 9

Hangar 9 Funtana 125 Assembly manual

manuals.online logo
manuals.online logoBrands
  • About & Mission
  • Contact us
  • Privacy Policy
  • Terms and Conditions

Copyright 2025 Manuals.Online. All Rights Reserved.