manuals.online logo
Brands
  1. Home
  2. •
  3. Brands
  4. •
  5. Launch
  6. •
  7. Diagnostic Equipment
  8. •
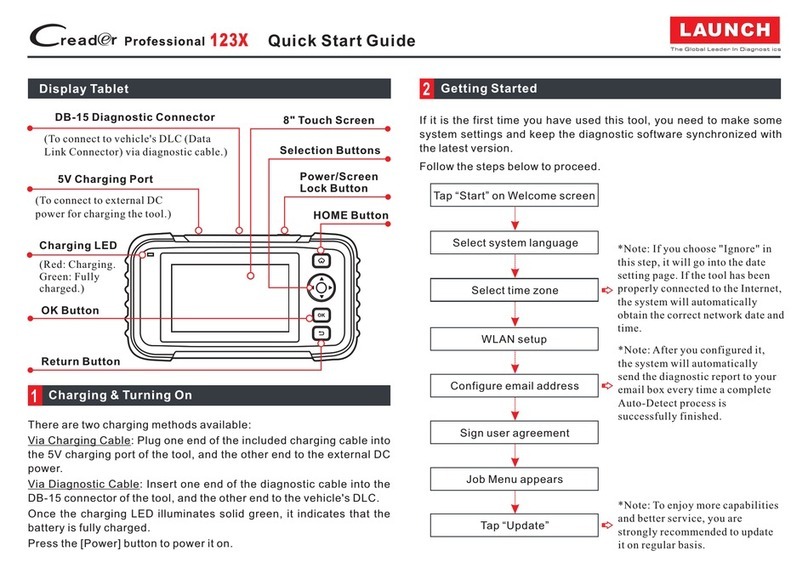
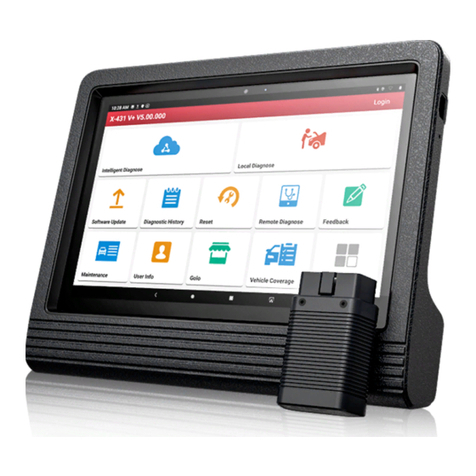
  9. Launch X-431 PADII User manual

Launch X-431 PADII User manual

Other manuals for X-431 PADII

10

Other Launch Diagnostic Equipment manuals

Launch X-431 PRO3S+ User manual

Launch

Launch X-431 PRO3S+ User manual

Launch ROXIE W User manual

Launch

Launch ROXIE W User manual

Launch X-431 PROS MINI 3.0 User manual

Launch

Launch X-431 PROS MINI 3.0 User manual

Launch Creader Elite User manual

Launch

Launch Creader Elite User manual

Launch X-431 Torque LINK User manual

Launch

Launch X-431 Torque LINK User manual

Launch M-Diag Lite User manual

Launch

Launch M-Diag Lite User manual

Launch Creader Professional 233 User manual

Launch

Launch Creader Professional 233 User manual

Launch X-431 V+ User manual

Launch

Launch X-431 V+ User manual

Launch X-431 PADII User manual

Launch

Launch X-431 PADII User manual

Launch X-431 PRO GT User manual

Launch

Launch X-431 PRO GT User manual

Launch X-431 EURO TURBO User manual

Launch

Launch X-431 EURO TURBO User manual

Launch CRP229 User manual

Launch

Launch CRP229 User manual

Launch CReader 6011 User manual

Launch

Launch CReader 6011 User manual

Launch iCarScan User manual

Launch

Launch iCarScan User manual

Launch Creader 519 User manual

Launch

Launch Creader 519 User manual

Launch X-431 PROS V4.0 User manual

Launch

Launch X-431 PROS V4.0 User manual

Launch CReader V User manual

Launch

Launch CReader V User manual

Launch X-431 PROS V4.0 User manual

Launch

Launch X-431 PROS V4.0 User manual

Launch CNC-602A User manual

Launch

Launch CNC-602A User manual

Launch X-431 PRO3 User manual

Launch

Launch X-431 PRO3 User manual

Launch CRT 511S User manual

Launch

Launch CRT 511S User manual

Launch X-431 PAD V ELITE User manual

Launch

Launch X-431 PAD V ELITE User manual

Launch X-431 PROS MINI User manual

Launch

Launch X-431 PROS MINI User manual

Launch X-431 IMMO ELITE User manual

Launch

Launch X-431 IMMO ELITE User manual

Popular Diagnostic Equipment manuals by other brands

Mindray Zonare ZS3KP Elite Service manual

Mindray

Mindray Zonare ZS3KP Elite Service manual

Snap-On VERDICT D7 user manual

Snap-On

Snap-On VERDICT D7 user manual

Mindray M7Vet Operation note

Mindray

Mindray M7Vet Operation note

TEXA TMD2 installation manual

TEXA

TEXA TMD2 installation manual

Autel MaxiIM IM608 manual

Autel

Autel MaxiIM IM608 manual

Sealey BT2012 instructions

Sealey

Sealey BT2012 instructions

Diagnoptics Age Reader Instructions for use

Diagnoptics

Diagnoptics Age Reader Instructions for use

LAUNCH TECH X-431 PRO5 user manual

LAUNCH TECH

LAUNCH TECH X-431 PRO5 user manual

Hella Gutmann Mega macs X quick start guide

Hella Gutmann

Hella Gutmann Mega macs X quick start guide

Foxwell I80TS manual

Foxwell

Foxwell I80TS manual

KaVo 3D eXam Operator's manual

KaVo

KaVo 3D eXam Operator's manual

Qiagen QIAcube Connect MDx user manual

Qiagen

Qiagen QIAcube Connect MDx user manual

Alber BDSU installation guide

Alber

Alber BDSU installation guide

St. Jude Medical QUANTIEN Instructions for use

St. Jude Medical

St. Jude Medical QUANTIEN Instructions for use

Bosch DCU 100 Original instructions

Bosch

Bosch DCU 100 Original instructions

Innova 3568 user manual

Innova

Innova 3568 user manual

ADC Diagnostix ADSTATION instruction manual

ADC

ADC Diagnostix ADSTATION instruction manual

ATEQ VT46 user guide

ATEQ

ATEQ VT46 user guide

manuals.online logo
manuals.online logoBrands
  • About & Mission
  • Contact us
  • Privacy Policy
  • Terms and Conditions

Copyright 2025 Manuals.Online. All Rights Reserved.

Create an Account Activate VCI Finish Registration
Register
Select Country
*
Password
*
Confirm Password
*
Email
*
CAPTCHA
*
CAPTCHA
Username
*
Register
B
2 3
1
3. Register and Download Software
1. Charging & Turning On
2. Wi-Fi Setup
1. Plug one end of the included power adaptor into the USB port of the handset, and then other end
into the AC outlet.
2. Once the battery is fully charged, disconnect the power adaptor from the AC outlet.
handset3. Press the [POWER] button on the , the system starts initializing and then enters the home
screen.
1. Tap [Settings] on the home screen and then [WLAN] to configure Wi-Fi setting.
2. Select the desired Wi-Fi connection from the list. (Password may be required for secured
networks).
3. When “Connected” appears, it indicates that it is properly connected to the network.
A. If you are a new user, refer to step 2-4.
B. If you have an app account, tap on “Login” to log in the system directly.
C. If you forgot the password, tap on “Retrieve password”, and then follow on-screen prompt to
retrieve it.
2. Create an App Account: Tap on “New Registration” in Figure A, input the information (items with *
must be filled) and then tap on “Register”. Refer to Figure B.
3. Activate VCI Connector: Input the Product S/N and Activation Code (can be obtained from the
password envelope), and then tap on “Activate”. Refer to Figure C.
4. Finish Registration: Tap on “Yes” to enter the vehicle software download screen. Refer to
Figure D. To download it later, tap on “No”.
5. Download Diagnostic Software: Tap “Update” on the update page to start downloading.
Once downloading finished, the software packages will be installed automatically.
*Note: When downloading the diagnostic software or checking for updates it is important to make
sure the tool has a strong Wi-Fi connection.
LAUNCH
Create an Account Finish Registration Activate VCI
Activate
Activation Code
Where is my activation code?
>> Skip
*
Serial Number
*
Register
C
1 3
2
1. Launch App: tap on the application icon on the home screen, and then tap on “Login” on the upper
right corner of the screen.
Quick Start Guide
EN
Login
Username
Password
Retrieve password New Registration
Login
A
Create an Account Activate VCI Finish Registration
YesNo
Register
Congratulations! You have successfully completed your registration. Do you want to download
the diagnostic software now?
D
123
3. Vehicle Connection
1. OBD II Vehicle Connection
A. Directly plug the VCI into vehicle’s DLC
B. Using OBD II extension cable to connect the VCI to the vehicle’s DLC.
2. Non-OBD II Vehicle Connection
A. Via Cigarette Lighter Cable
B. Via Battery Clamps Cable
For new users, please follow the operation chart shown on the left to get familiar with and start
using this tool.
Notes:
1.
are suggested to check for updates on a
frequent basis and keep synchronized
with the latest available software.
2. If you choose “VINScan” or “Intelligent
Diagnosis” to diagnose a vehicle, this
step shall not apply.
To enjoy more service and functions, you
Before diagnosing, please make sure the following preparation:
s Switch the ignition on.
s Vehicle battery voltage range should be 9-18Volts.
s Throttle should be in a closed position.
VCI Connector OBD I Adaptor
To Vehicle’s DLC Non-16pin Connector
Cigarette Lighter CableTo Cigarette Lighter Receptacle
VCI Connector OBD I Adaptor
To Vehicle’s DLC Non-16pin Connector
Battery Clamps CableTo Vehicle's Battery
5. Start Diagnostics
4. Vehicle Connection
If the power supply on vehicle diagnostic socket is insufficient or the power pin is damaged,
you can get power in the following ways:
Pictures illustrated here are for reference purpose only and this Quick Start Guide is subject to change
without notice. For more detailed operations, please refer to the User Manual.
1. Locate the vehicle’s DLC:
It is usually located on
driver’s side, about 12 inches away from the center of
dashboard.
In case no DLC is found, please refer to Automobile
Repair Manual.
The DLC(Data Link Connector) is typically a 16-pin
connector where diagnostic code readers interface with
the vehicle's on-board computer.
DLC Location
Tap “Local
Diagnostic”
Select vehicle*2
Select test system
Select test function
Select diagnostic
software version
Tap “Login” to
register
Is the VCI
activated ?
No
Tap “Update” to
update software*1
Yes
…… (Refer to
Section 3)
Register & Activate
OK
LAUNCH
+86 755 8455 7891
www.x431.com
Any question, please contact us via:
overseas.service@cnlaunch.com
2. How to take out the VCI ?
*Note: Remember to remove the VCI from the vehicle’s DLC and re-insert it into the VCI slot if it
keeps unused.
It is pre-installed in the docking slot on the top of the display tablet. Use the hand to press the
VCI once, it will be automatically ejected from the docking slot. When it is not in use, please
insert it into the slot to avoid loss.