manuals.online logo
Brands
  1. Home
  2. •
  3. Brands
  4. •
  5. LEGRAND
  6. •
  7. Switch
  8. •
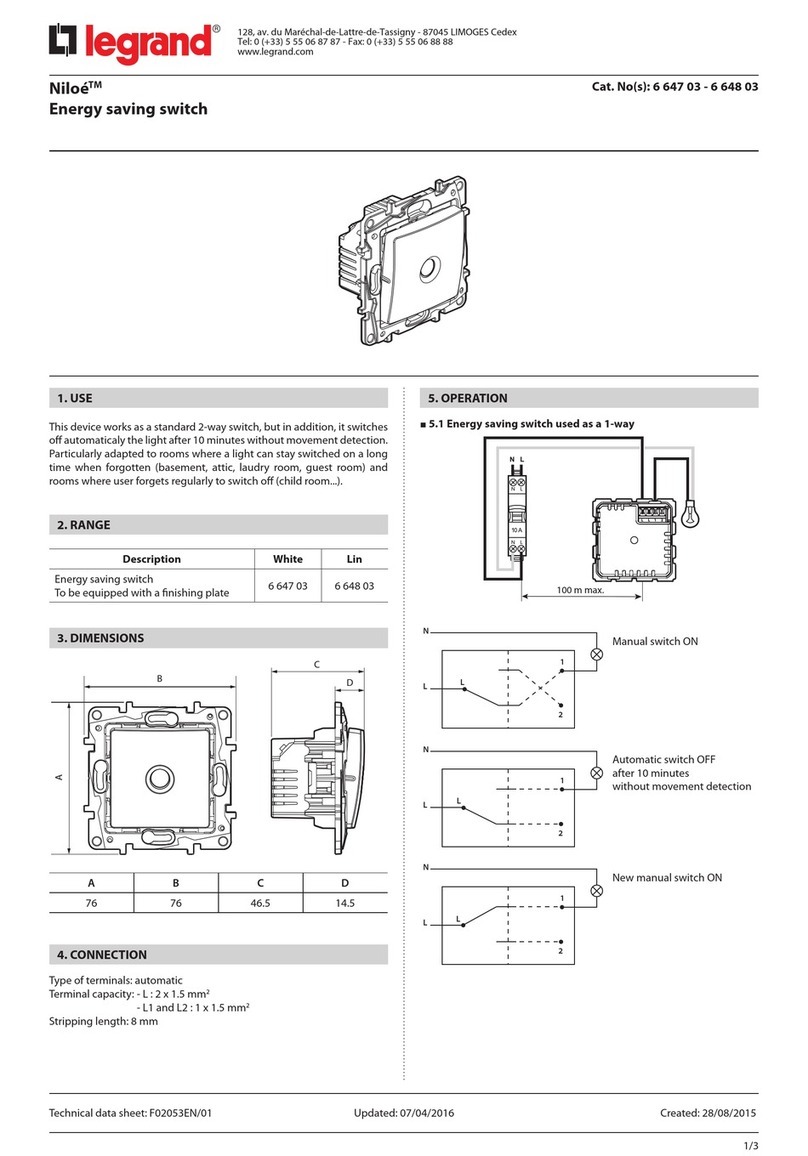
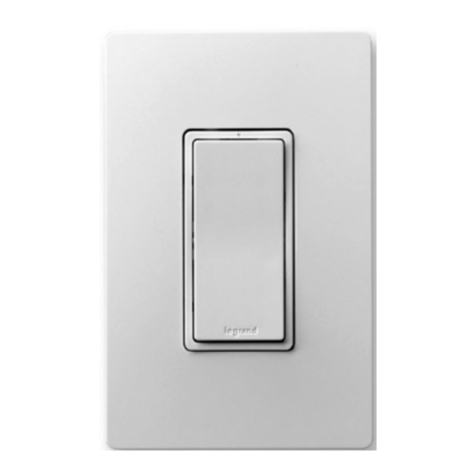
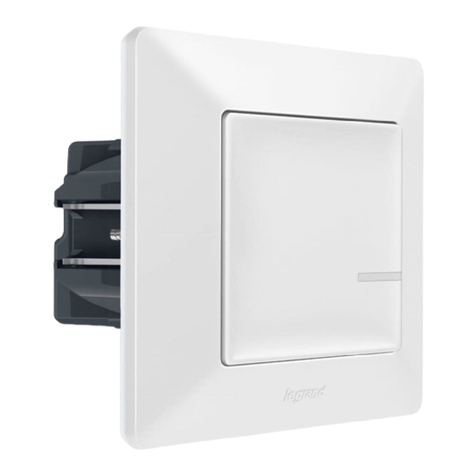
  9. LEGRAND 7 521 84 User manual

LEGRAND 7 521 84 User manual

* or 10 bulbs max. For comfortable lighting, we recommend using bulbs of the same type and make.
(
**
)
Using only transformers intended for operation with electronic switches. Take account of tranformer
losses for power calculations. Transformers should be charged to over 60% of their rated power..
In dimmer option operating mode (wich can be activated via the App), this
switch functions only with dimmable bulbs (identifiable by the logo on
packaging).
LE10667AA
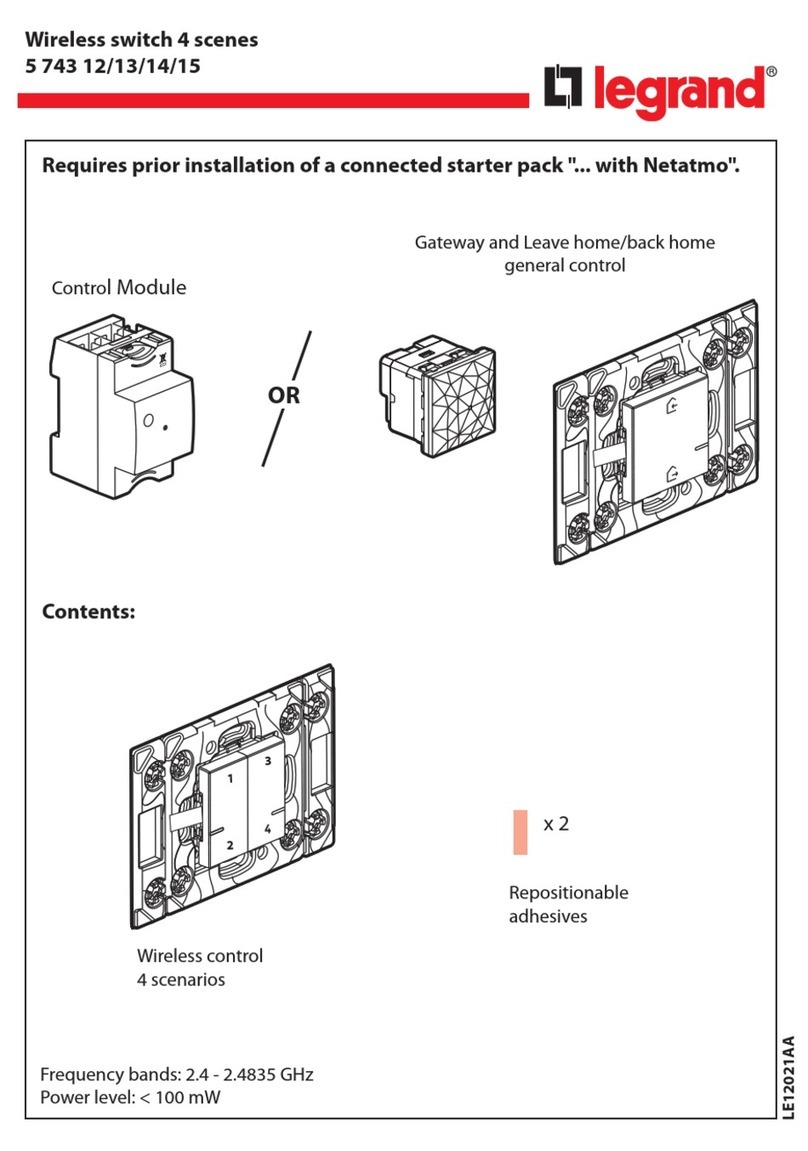
This pack is a connected accessory which requires you to buy and install the Valena Life
with Netatmo connected starter pack first.
Pack contents
In default mode (on/off), this switch works with the following types of bulb:
0 401 49
100/240 V~
50/60 Hz
11 mA
- 5° C + 55° C
Finishing plateSite protectionConnected switch
(with dimmer option)
+ bleeder
Characteristics
LED
Dimmable
100-240VAC
50/60Hz 2x2,5mm
240VAC Max. 300W *60W 60W 300VA 300VA
Min. 7W 5W 9W 10VA 35VA
100VAC Max. 150W *30W 30W 150VA 150VA
Min. 7W 5W 9W 10VA 35VA
+45°C
+5°C
(**)
Connected switch
7 521 84 - 7 522 84 - 7 523 84
2
To control a light with two or more switches,
only use the products:
Tip if replacing a two-
way switch:
old flush-mounted
switch replaced by the
wireless switch.
x 1
AND
x 1
or several
Connected switch (with dimmer option)
+ bleeder
Wireless switches for all control points
(not included in this pack)
Do not use: two connected switches (with dimmer option) to control
the same lighting point.
Before you start: wiring precautions
If you plan to install two-way light switches or switched power outlets,
read the following precautions:
Use a connector to
connect all 3 wires
together (travellers 1 and
2 and lamp return wire). Traveller2
Wire which goes back
to the light
Traveller1
3
Bleeder mandatory
>5W
<300W
Necessary safety precautions
OFF
Switch off the power
at the main circuit
breaker
Make sure that the
power is off before
continuing with the
installation.
Install the connected switch (with dimmer option)
Wire the connected switch
To ensure that your connected switch
(with dimmer option) works correctly, you
must wire the bleeder provided as close
to the load as possible and put a bulb in
before turning the power on.
Frequency bands: 2.4 - 2.4835 GHz
Power level: <100mW
Remove the existing switch
The connected switch (with
dimmer option) works with
standard bulbs or dimmable bulbs
including LEDs over 5W. Using
dimmable LEDs is recommended for
optimal installation results.
If you have wired your
bleeder but you are using
non-dimmable LED bulbs, it
is possible that your bulbs will not go
out fully or will flicker. If this is the case,
refer to the table of recommended
bulbs on the legrand.fr website.
N (neutral) = blue
L (live) = any except blue and green/yellow
(earth) = green/yellow
Safety instructions
This product should be installed in compliance with installation rules, preferably by a qualified electrician. Incorrect installation
and/or incorrect use can lead to risk of electric shock or fire. Before carrying out the installation, read the instructions and take
account of the product’s specific mounting location. Do not open up, dismantle, alter or modify the device except where
specifically required to do so by the instructions. All Legrand products must be opened and repaired exclusively by personnel
trained and approved by Legrand. Any unauthorised opening or repair completely cancels all liabilities and the rights to
replacement and guarantees. Use only Legrand brand accessories.
To add a connected product to your connected installation,
you should follow the instructions:
- in the user guide in your connected starter pack
- in the Legrand Home + Control application (Settings/Add a new product section)
- or consult the user manual on legrand.fr
LEGRAND - Pro and Consumer Service - BP 30076
87002 LIMOGES CEDEX FRANCE • www.legrand.com
SIMPLIFIED EU DECLARATION OF CONFORMITY
The undersigned,
Legrand
declares that the radio-electric equipment referred to in these
instructions complies with directive 2014/53/EU.
The full text of the EU declaration of conformity
is available on the following website :
www.legrandoc.com
www.legrand.fr
This manual suits for next models

2

Other LEGRAND Switch manuals

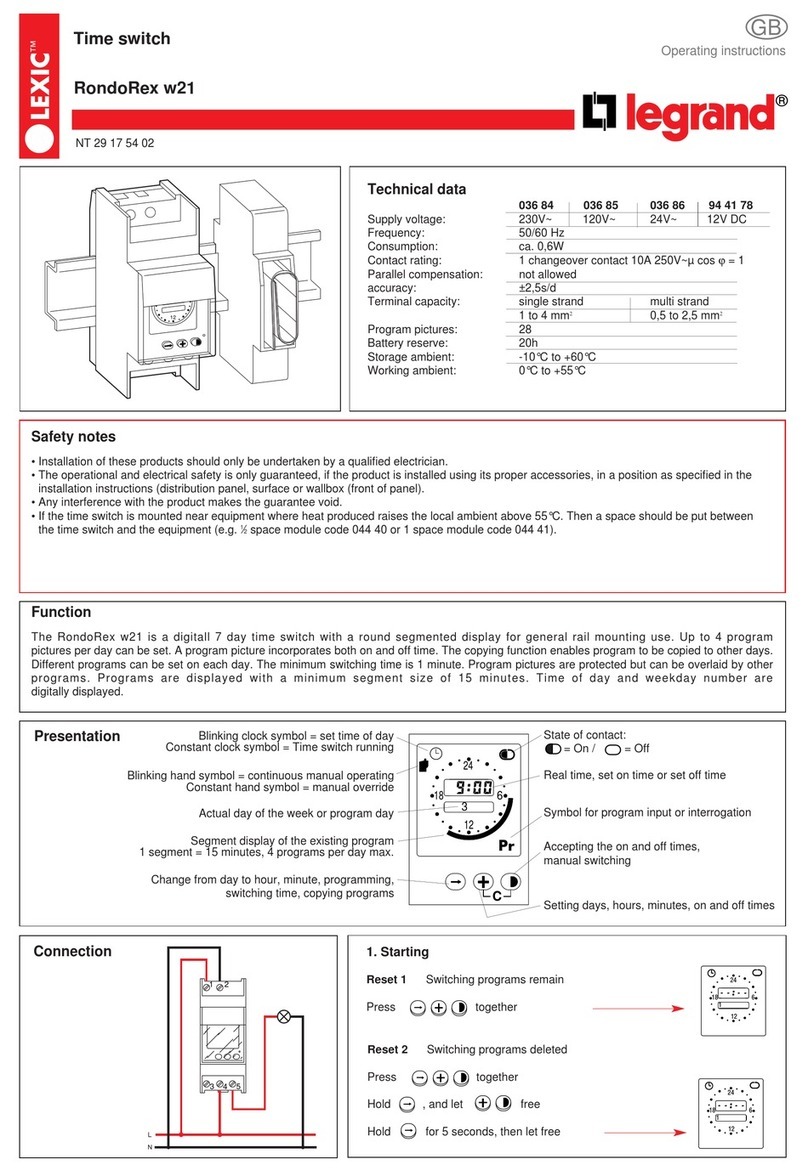
LEGRAND 0 784 61L User manual

LEGRAND

LEGRAND 0 784 61L User manual

LEGRAND Mosaic 0 777 06LA User manual

LEGRAND

LEGRAND Mosaic 0 777 06LA User manual

LEGRAND Wattstopper InteliSwitch TS-400 User manual

LEGRAND

LEGRAND Wattstopper InteliSwitch TS-400 User manual

LEGRAND 784 47 User manual

LEGRAND

LEGRAND 784 47 User manual

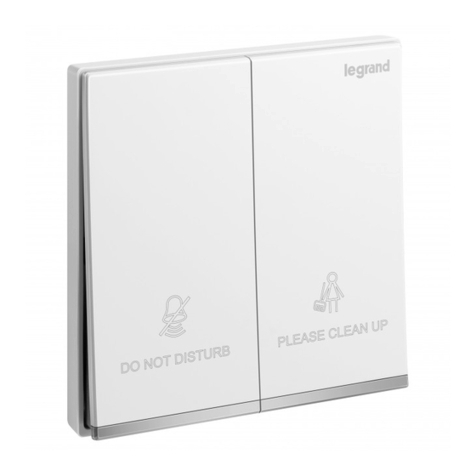
LEGRAND 7 521 90 User manual

LEGRAND

LEGRAND 7 521 90 User manual

LEGRAND Wattstopper LMDM-101-B User manual

LEGRAND

LEGRAND Wattstopper LMDM-101-B User manual

LEGRAND HKRL20 User manual

LEGRAND

LEGRAND HKRL20 User manual

LEGRAND Galion 282418-C1 Instruction Manual

LEGRAND

LEGRAND Galion 282418-C1 Instruction Manual

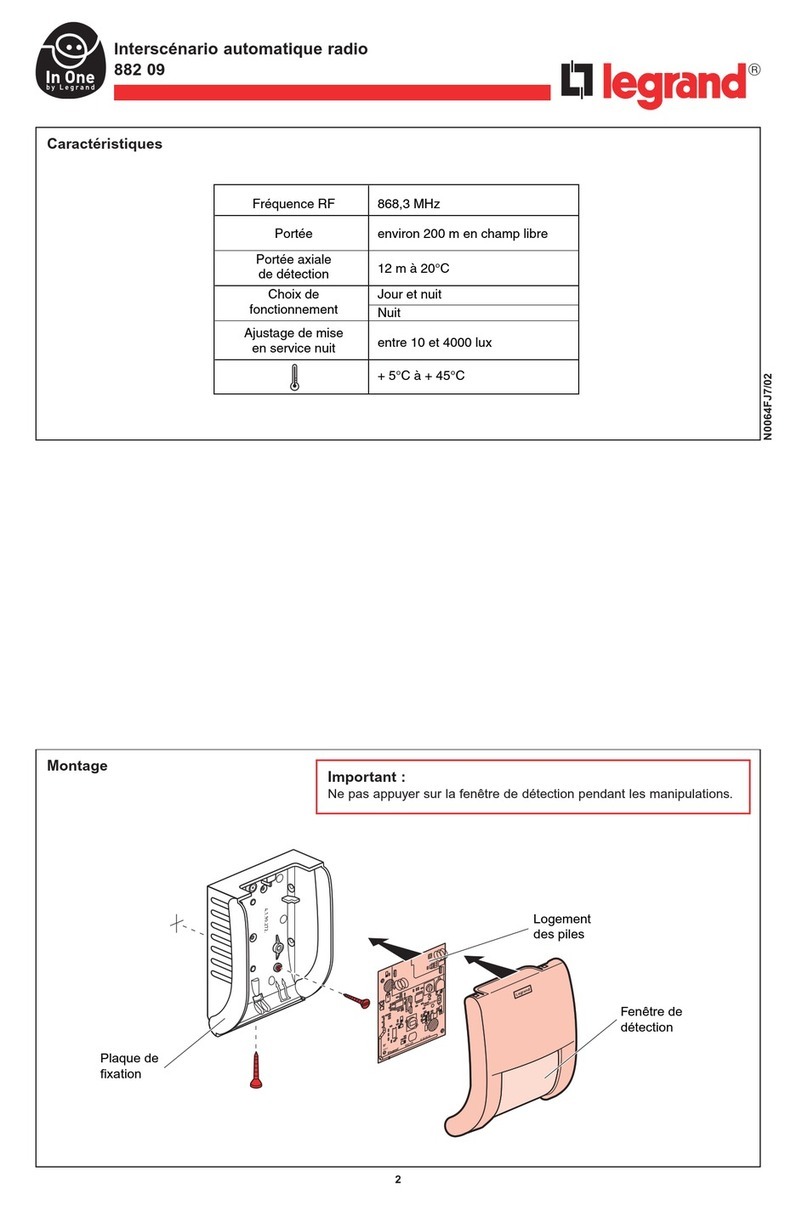
LEGRAND 882 09 User manual

LEGRAND

LEGRAND 882 09 User manual

LEGRAND In One 495 05 User manual

LEGRAND

LEGRAND In One 495 05 User manual

LEGRAND Mosaic 782 12 User manual

LEGRAND

LEGRAND Mosaic 782 12 User manual

LEGRAND Belanko 617 076 User manual

LEGRAND

LEGRAND Belanko 617 076 User manual

LEGRAND Plexo 697 06 User manual

LEGRAND

LEGRAND Plexo 697 06 User manual

LEGRAND PRO 21 7756 32 User manual

LEGRAND

LEGRAND PRO 21 7756 32 User manual

LEGRAND Pro 21 7756 21 User manual

LEGRAND

LEGRAND Pro 21 7756 21 User manual

LEGRAND WattStopper RS-250-N User manual

LEGRAND

LEGRAND WattStopper RS-250-N User manual

LEGRAND Arteor 5 722 69 User manual

LEGRAND

LEGRAND Arteor 5 722 69 User manual

LEGRAND 036 12 User manual

LEGRAND

LEGRAND 036 12 User manual

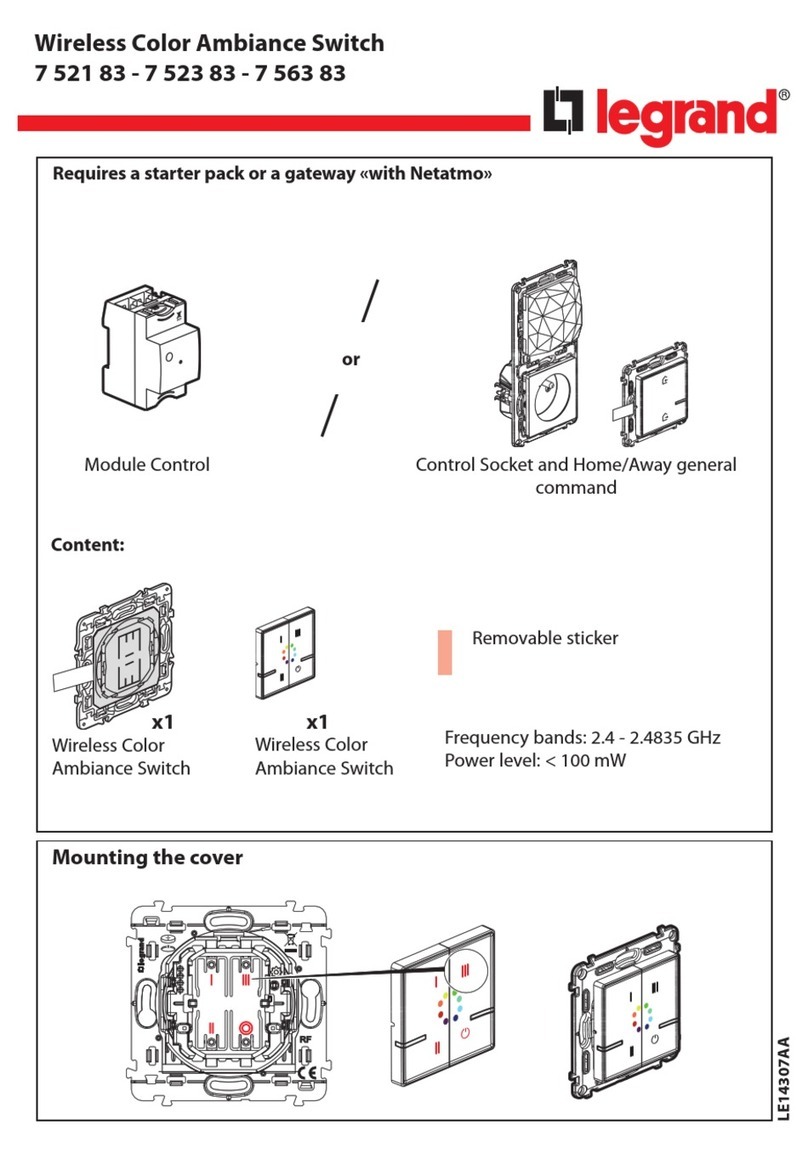
LEGRAND Niloe 6 647 03 User manual

LEGRAND

LEGRAND Niloe 6 647 03 User manual

LEGRAND Qmotion QIS Installation manual

LEGRAND

LEGRAND Qmotion QIS Installation manual

LEGRAND adorne WNAL33 User manual

LEGRAND

LEGRAND adorne WNAL33 User manual

LEGRAND VADDIO AV Bridge 2x1 User manual

LEGRAND

LEGRAND VADDIO AV Bridge 2x1 User manual

LEGRAND Pro 21 7756 39 User manual

LEGRAND

LEGRAND Pro 21 7756 39 User manual

LEGRAND Arteor 5 722 69 User manual

LEGRAND

LEGRAND Arteor 5 722 69 User manual

Popular Switch manuals by other brands

Supermicro SSE-G48-TG4 Quick configuration guide

Supermicro

Supermicro SSE-G48-TG4 Quick configuration guide

Hama 179567 quick start guide

Hama

Hama 179567 quick start guide

Enterasys Matrix E1 1G587-09 installation guide

Enterasys

Enterasys Matrix E1 1G587-09 installation guide

NETGEAR ProSafe JGS524 Instruction guide

NETGEAR

NETGEAR ProSafe JGS524 Instruction guide

IEK KARAT Series manual

IEK

IEK KARAT Series manual

Avaya 8600 Technical configuration guide

Avaya

Avaya 8600 Technical configuration guide

Panasonic GA-AS48T installation guide

Panasonic

Panasonic GA-AS48T installation guide

Extron electronics SW HD 4K PLUS Series Setup guide

Extron electronics

Extron electronics SW HD 4K PLUS Series Setup guide

BenQ SP0005 user guide

BenQ

BenQ SP0005 user guide

BAZZ SWTCHWFW1 instructions

BAZZ

BAZZ SWTCHWFW1 instructions

Massoth eMOTION 8242020 quick start guide

Massoth

Massoth eMOTION 8242020 quick start guide

NETGEAR GS316EP installation guide

NETGEAR

NETGEAR GS316EP installation guide

Abtus AVS-HDMI81 User's operation guide

Abtus

Abtus AVS-HDMI81 User's operation guide

TP-Link JetStream T1500-28PCT user guide

TP-Link

TP-Link JetStream T1500-28PCT user guide

ARX i-SWITCH owner's manual

ARX

ARX i-SWITCH owner's manual

Renesas Emulation Pod for M30240 Group MCUs... user manual

Renesas

Renesas Emulation Pod for M30240 Group MCUs... user manual

MSNswitch UIS-322 user manual

MSNswitch

MSNswitch UIS-322 user manual

Briggs & Stratton 71057 installation manual

Briggs & Stratton

Briggs & Stratton 71057 installation manual

manuals.online logo
manuals.online logoBrands
  • About & Mission
  • Contact us
  • Privacy Policy
  • Terms and Conditions

Copyright 2025 Manuals.Online. All Rights Reserved.