Leica DM300 User manual
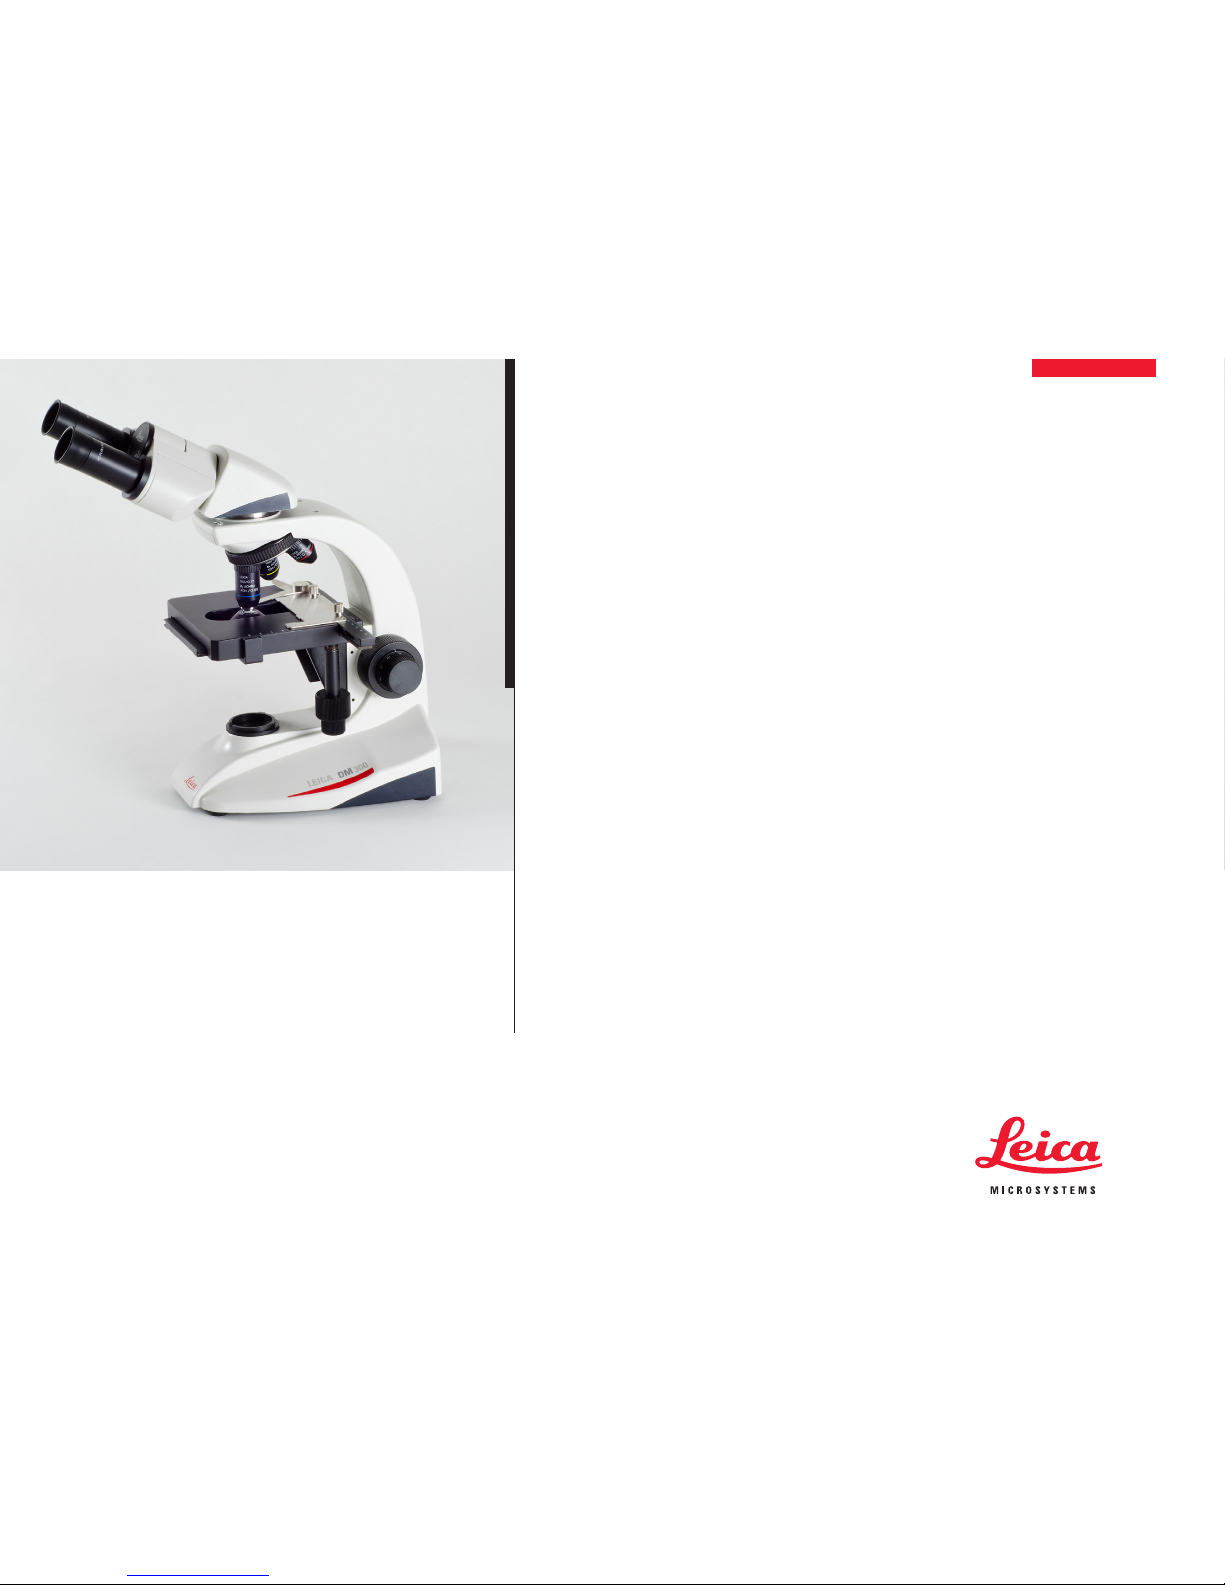
Leica DM300
User Manual

Leica DM300 User Manual 2
Congratulations!
Congratulations on purchasing the DLeica
DM300 Compound Microscope. This model’s
exclusive design features and full range of
accessories make it a truly versatile, high
quality-instrument for educational and routine
clinical applications.
Though the reliability and robustness of Leica
microscopes is already practically proverbial,
they still require a certain degree of care and
attention. Therefore, we recommend that you
read this User Manual. It contains all the infor-
mation you need regarding operation, safety
and maintenance. Simply observing a few
guidelines will ensure that even after years of
intensive use, your microscope will continue to
work as smoothly and reliably as on the very
first day.
We wish you the best of success in your work!

Leica DM300 User Manual 3
Congratulations! 2
Contents 3
Important Notes
Symbols Used in this User Manual 5
Important Safety Notes 6
Important Safety Notes (continued) 7
Instructions for Use 8
Instructions for Use (continued) 9
Health risks and dangers of use 10
Information for the Person Responsible for the Instrument 11
Accessories, Maintenance and Repair 12
Electrical Data and Ambient Conditions 13
Assembling the Leica DM300
Unpacking 15
Identifying your Tube 16
Mounting the binocular tube 17
Installing the Monocular Tube 18
Removing and Inserting Objectives 19
Removing and inserting objectives (continued) 20
Installing the Mirror (optional) 21
Installing the Polarizer Kit (optional) 22
Using the Leica DM300
Switching on the Microscope 24
Selecting an Objective 25
Preparing for Viewing 26
Focusing 27
Adjusting the Binocular Tubes 28
Adjusting the binocular tubes (continued) 29
Adjusting the Eyecups 30
Oil Immersion Technique 31
Oil Immersion Technique (cont.) 32
Care of the Microscope
Maintenance instructions 34
General maintenance 35
General maintenance (cont.) 36
Dimensions
Dimensions (all dimensios in mm, DM100 and DM300 identical) 38
Dimensions (all dimensios in mm, DM100 and DM300 identical) 39
Contents

Leica DM300 User Manual 4
Important Notes

Leica DM300 User Manual 5
Symbols Used in this User Manual
Warning! Safety hazard!
This symbol indicates especially impor-
tant information that is mandatory to
read and observe.
Failure to comply can cause the following:
ϘHazards to personnel.
ϘInstrument malfunctions and damage.
Warning of hazardous electrical Voltage
This symbol indicates information that
must be read and observed.
Failure to comply can cause the following:
ϘHazards to personnel.
ϘInstrument malfunctions and damage.
Important Information
This symbol indicates additional infor-
mation or explanations that are intended
to provide clarity.

Leica DM300 User Manual 6
Important Safety Notes
Before installing, operating or using
the instrument, it is mandatory to read
this User Manual. In particular, please follow all
safety instructions.
The instruments and accessories descri-
bed in this User Manual have been tested
for safety and potential hazards.
Original Condition
To maintain the unit in its original condition
and to ensure safe operation, the user must
follow the instructions and warnings contained
in this User Manual.
Non-intended Use
Using the instrument in any way other
than that described in this User Manual
may result in personal injury or damage to
property. Doing so can impair the functions of
the protective measures provided.
The responsible Leica affiliate must be
consulted whenever the instrument is
altered, modified or used in conjunction with
non-Leica components that are outside of the
scope of this User Manual! Unauthorized alte-
rations to the instrument or noncompliant use
shall void all rights to any warranty claims.
"Safety Concept" Brochure
The "Safety Concept" brochure contains additi-
onal safety information regarding service work,
requirements and the handling of the micro-
scope, the electrical and other accessories as
well as general safety instructions.

Leica DM300 User Manual 7
Disconnecting from the Power Supply
Always position the Leica DM300 so
that you can disconnect it from the
power supply at any time. The power cable
must remain accessible at all times, because the
power cable is intended as a power disconnect
device.
Plug
Never install any other plug (NEMA
5-15P) or unscrew any mechanical
components unless expressly instructed to do
so in the instructions.
Legal Regulations
Adhere to general and local regulations rela-
ting to accident prevention and environmental
protection.
EC Declaration of Conformity
Electrically operated accessories are construc-
ted based on the state of the art of technology
and are provided with an EC Declaration of
Conformity.
Important Safety Notes (continued)

Leica DM300 User Manual 8
Instructions for Use
This User Manual describes the Leica DM300
and includes important instructions related to
operating safety, maintenance and accessories.
Your Leica DM300 includes an interactive
CD-ROM with all relevant User Manuals in
additional languages. Keep it in a safe place,
and readily accessible to the user. You can also
download User Manuals and updates from our
website at www.leica-microsystems.com.
Intended Use
The Leica DM300 is an optical instrument for
improving the visibility of objects through
magnification and illumination. It is used for
observing.
Place of Use
The Leica DM300 microscope may be used only
in closed rooms and must be placed on a solid
surface.
The Leica DM300 can be used at +10 °C to
+40 °C. Protect the microscope from oil, chemi-
cals and extreme humidity. If it is used outdoors,
the microscope must be protected from dust
and moisture. Never use electrical instruments
outdoors and place them at least 10 cm away
from the wall and from flammable substances.
Avoid large temperature fluctuations, direct
sunlight and vibrations. These conditions
can distort measurements and micrographic
images.
In warm and warm-damp climatic zones,
the individual components require
special care in order to prevent the build-up of
fungus.

Leica DM300 User Manual 9
Instructions for Use (continued)
Accessories from third-party Suppliers
You can combine individual system articles with
articles from external suppliers. Please read the
User Manual and the safety instructions from
the supplier.
Integration in third-party products
When installing Leica products into third-party
products, the manufacturer of the complete
system or its dealer is responsible for following
all applicable safety instructions, laws and
guidelines.
Transport
If at all possible, use the original packaging for
shipping or transporting individual modules.
In order to prevent damage from vibrations,
all moving parts that (according to the User
Manual) can be assembled and disassembled
by the customer should be packed separately.
Disposal
Disposal must comply with locally applicable
laws and regulations.
Leica DM300 User Manual 10
Health Risks and Dangers of Use
Health Risks
Workplaces with microscopes facili-
tate and improve the viewing task, but
they also impose high demands on the eyes
and hand muscles of the user. Depending on
the duration of uninterrupted work at such a
workplace, impaired vision and problems with
the musculoskeletal system may occur. For this
reason, appropriate measures for reduction of
the workload must be taken:
ϘOptimum workplace layout
ϘFrequent changes of activity
ϘThorough training of the personnel, giving
consideration to ergonomic and organiza-
tional aspects
The ergonomic optical design and construction
of the Leica microscopes are intended to reduce
the exertion of the user to a minimum.
Danger of Infection
Direct contact with eyepieces can be a
potential transmission path for bacterial
and viral infections of the eye.
The risk can be minimized by the use of
personal eyecups.
Dangers during Use
ϘThe Leica DM300 may be connected to a
grounded socket only.
ϘThe Leica DM300 may be used when it is in
proper working condition only.
LED Class 1 /LED 1 Laser Product
The illumination meets laser class 1 require-
ments in accordance with IEC 60825-1 "Safety
of Laser devices".
Caution: Hazardous radiation may occur if
controls, adjustment jigs, or procedures other
than those outlined in this User Manual are
used!
LED Class 1
Class 1
LED Product
Table of contents
Other Leica Microscope manuals


