CONTENTS
3
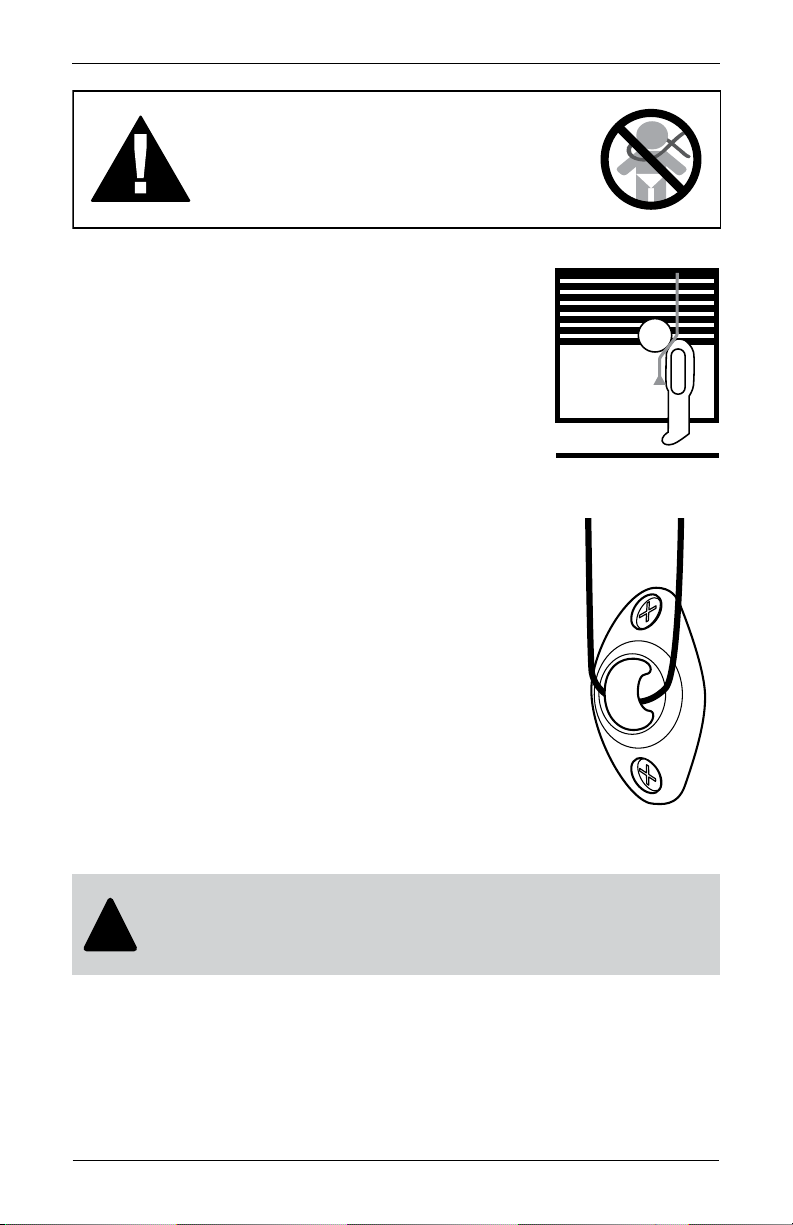
Cord Loop Lift Control
Window and Shade Terminology
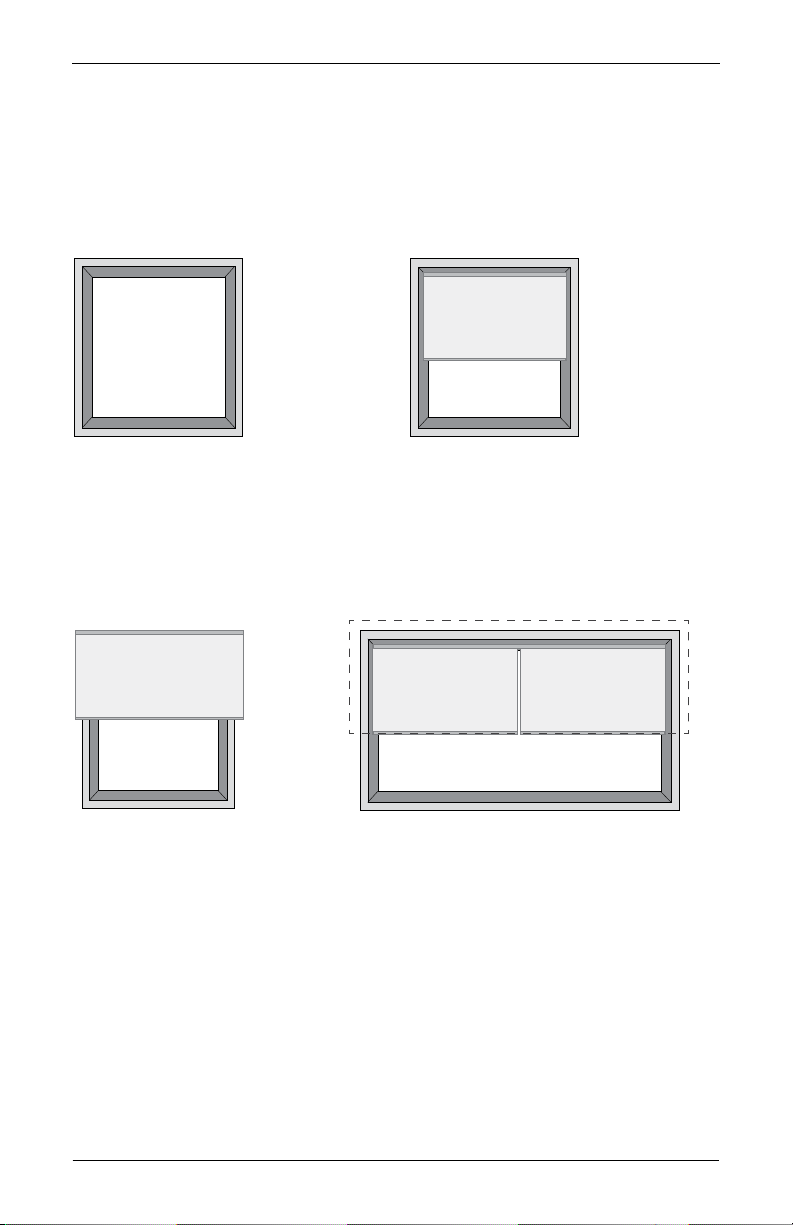
Mounting Types and Window Terminology ............................................ 4
Lift Styles ..................................................................................................5
Getting Started
Installation Overview ............................................................................... 6
Components Included .............................................................................7
Tools and Fasteners You May Need ........................................................ 8
Installation
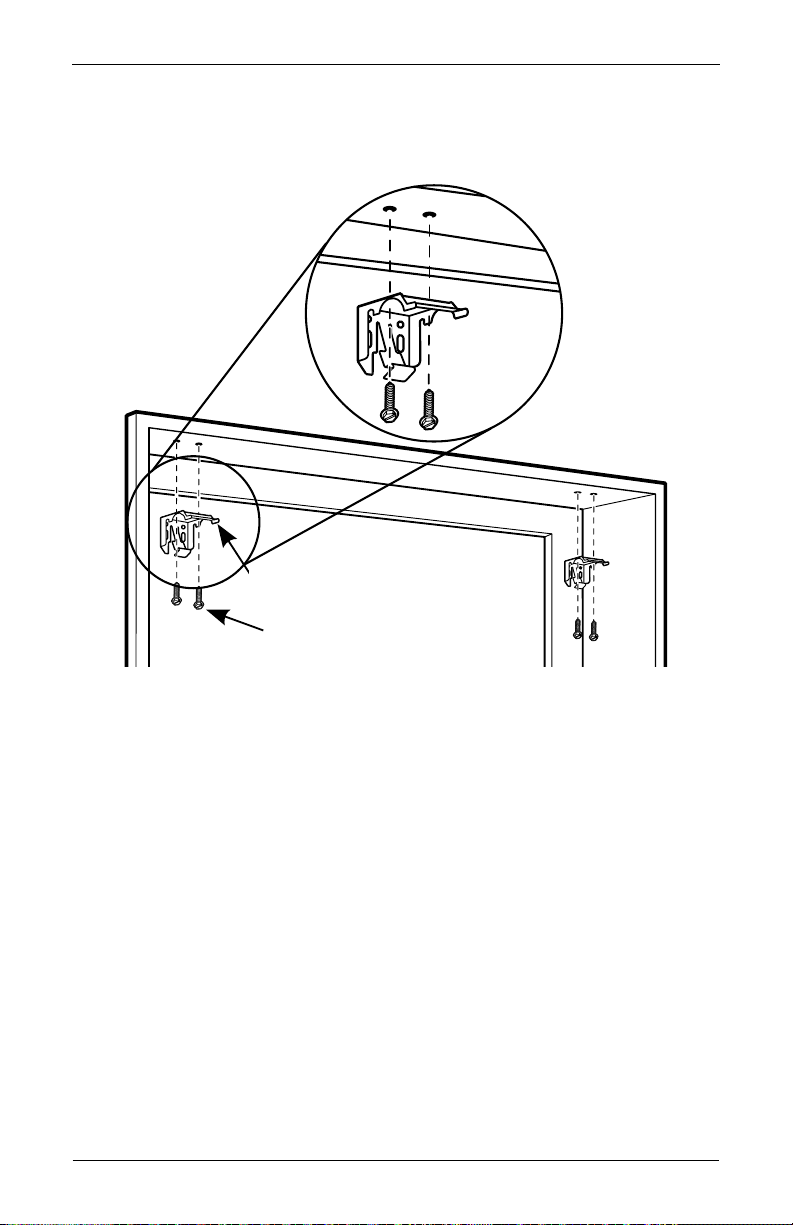
Inside Mount ........................................................................................ 9-11
Outside Mount ................................................................................... 12-14
Installing Additional Components
Cord Loop Tension Device......................................................................15
Valance ....................................................................................................16
Extension Brackets ................................................................................16
Spacer Blocks .........................................................................................16
Hold-Down Brackets ..............................................................................16
Operation
Operating the Shade .............................................................................. 17
Adjusting Alignment ............................................................................... 17
Uninstalling
Removing the Shade .............................................................................. 17
Cleaning and Care
Cleaning Procedures ..............................................................................18
Additional Information and Support
Warranty .................................................................................................19
Customer Service Support ....................................................................19