6
7
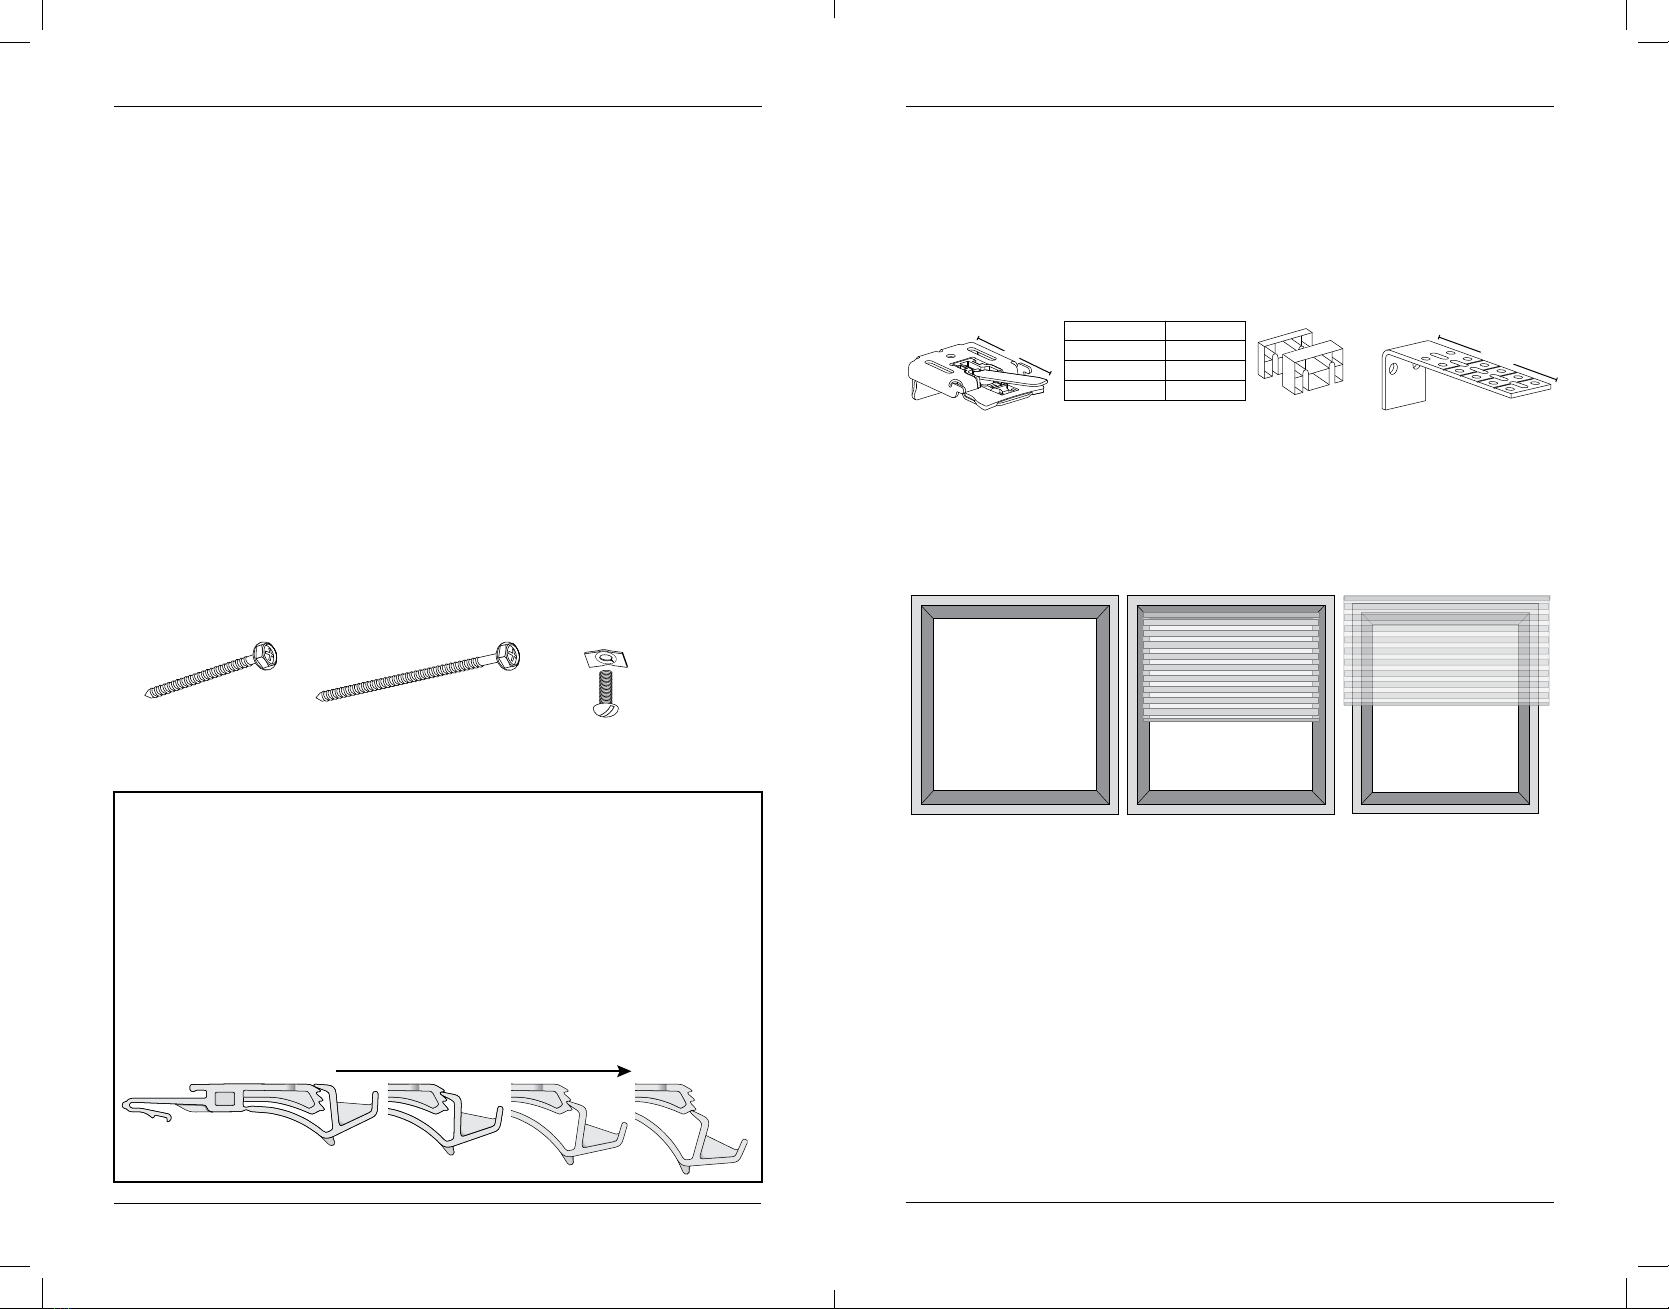
• Drill the screw holes using a
3
/
32
" drill bit.
IMPORTANT: Use drywall anchors when mounting into drywall.
• Use a level to check that the mounting surface is level.
Shim the brackets, if necessary.
• Attach the installation brackets using the screws provided.
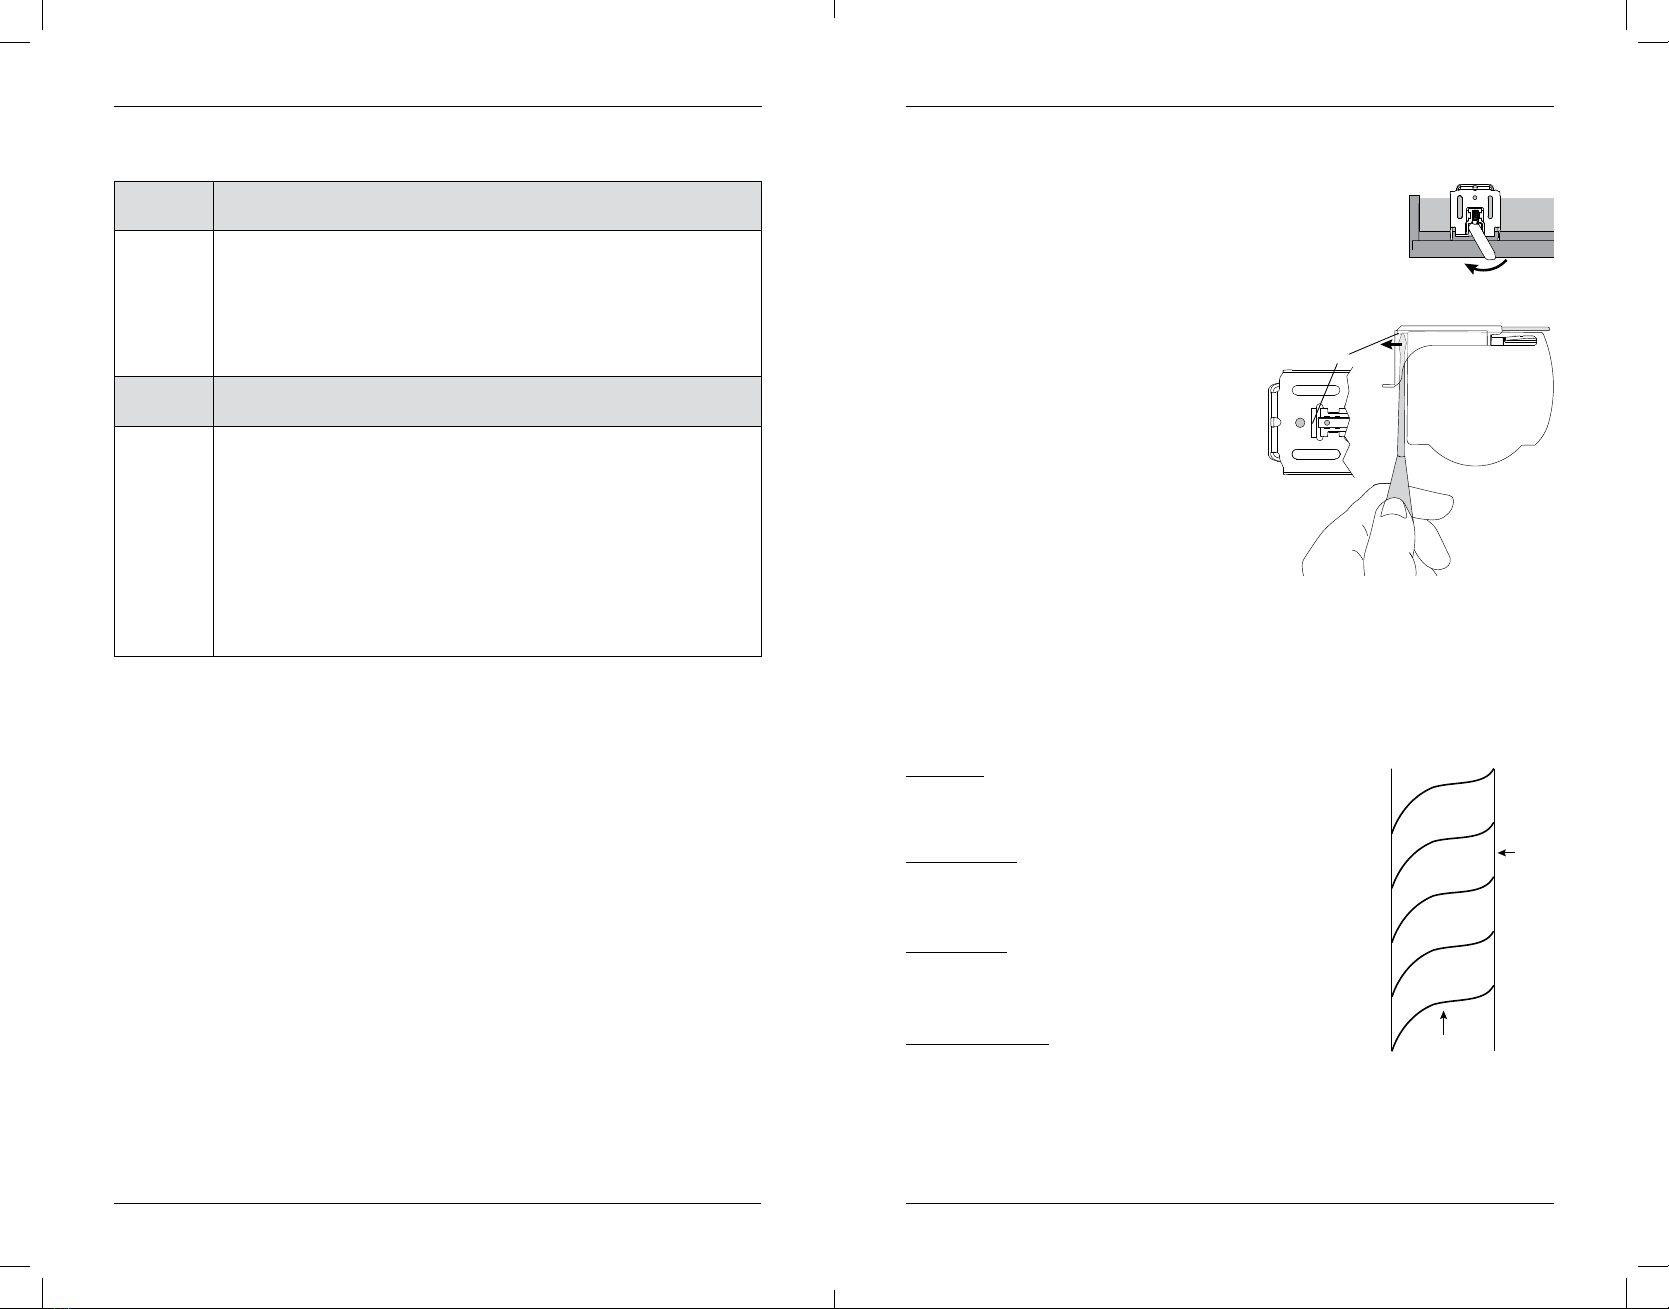
IMPORTANT: Do not overtighten the screws. Check to ensure the lever can be
moved easily side to side. If not, loosen the screws in one-eighth turn increments
until the lever can be moved easily.
IMPORTANT: The front edges of the installation
brackets must be level and aligned to each other.
• If using spacer blocks:
— Stack spacer blocks on top of the installation
brackets, as shown in image below,
— Using #6 Hex Head Screws long enough for secure installation (not
provided), install screws up through the underside of the installation
bracket and spacer blocks into mounting surface.
IMPORTANT: Do NOT add more than 1 ½" of clearance using the spacer blocks.
Proceed to “Install the Shading” on page 10.
CAUTION: Failure to follow ALL installation instructions may cause the shading
to fall, possibly resulting in injury or property damage.
INSIDE MOUNT
Mount the Installation Brackets
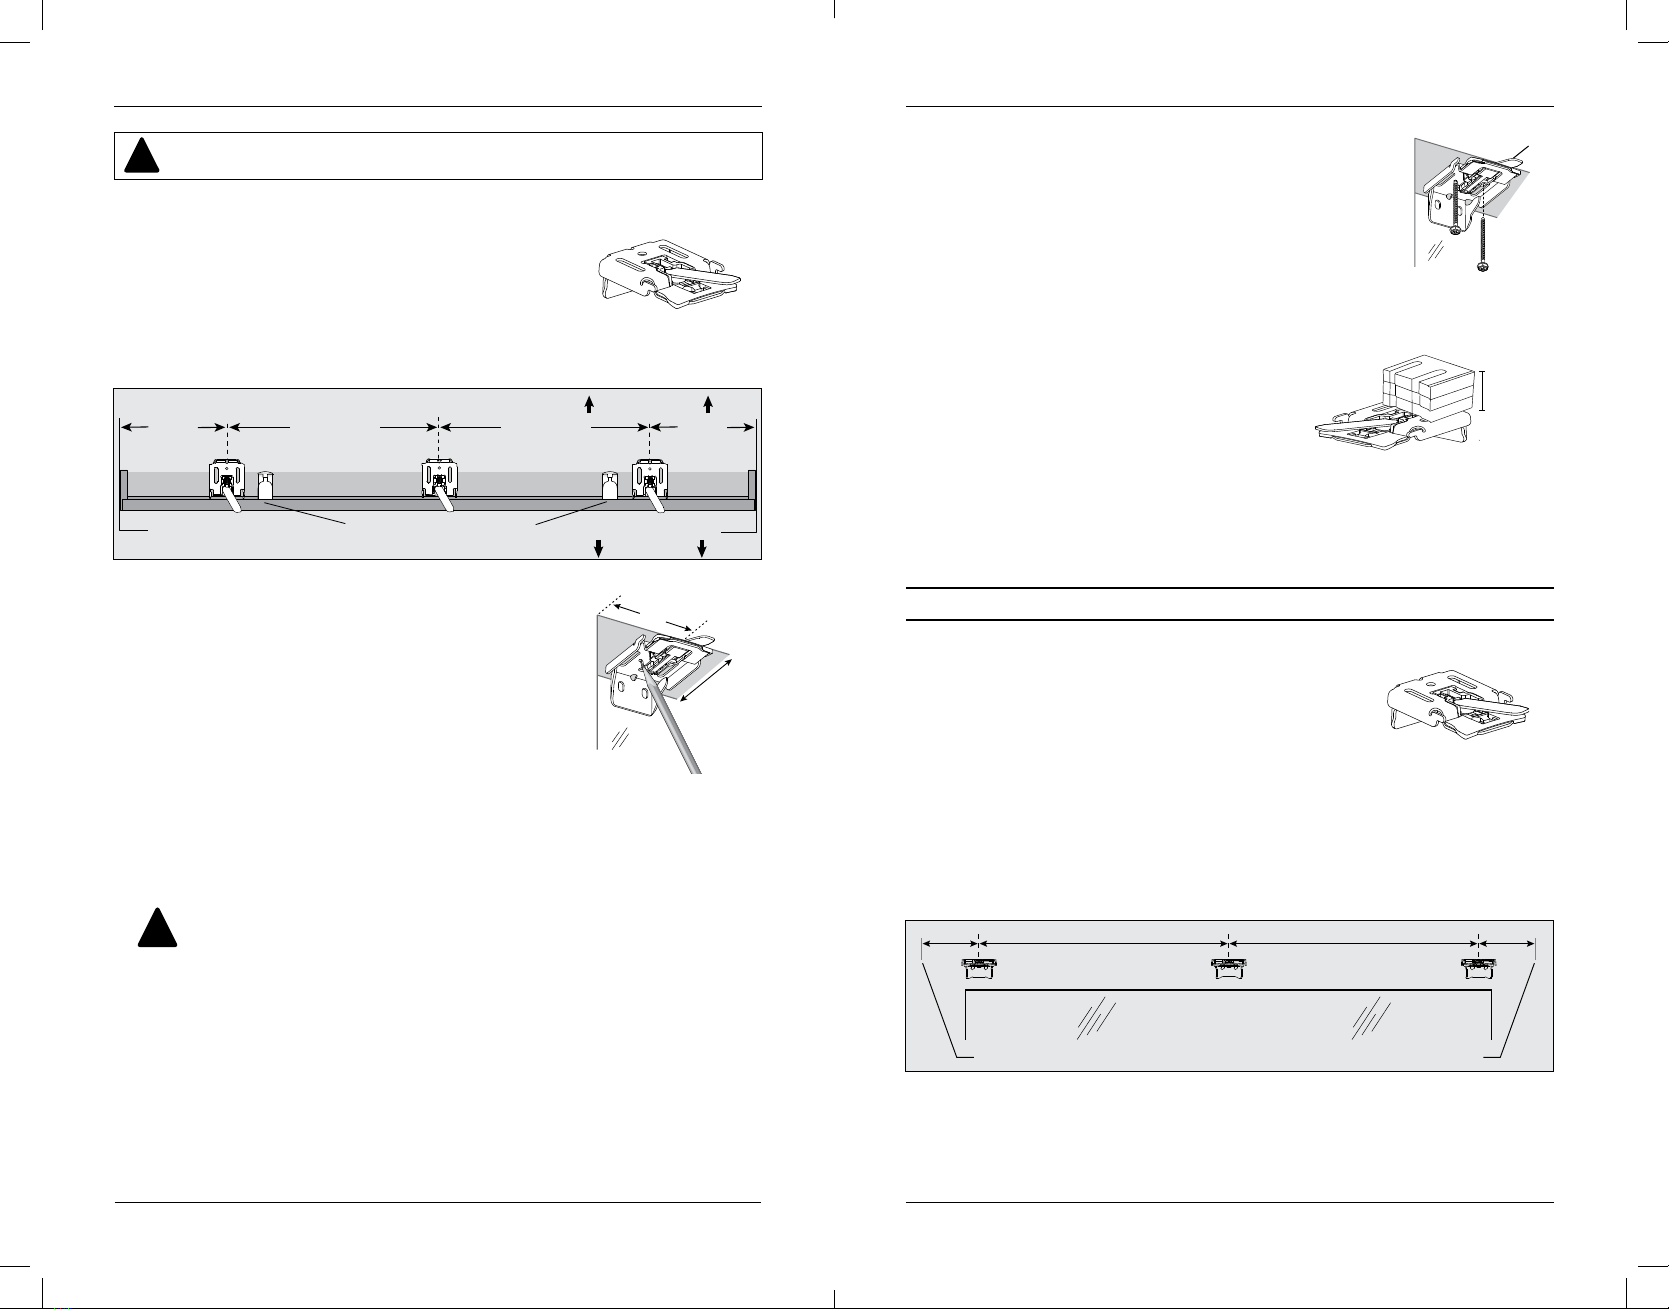
• Mark 2" to 3" from each jamb for bracket location.
— If more than two installation brackets came with
your order, space additional bracket(s) evenly
between the two end brackets and mark their location.
Mount into wood whenever possible.
• Center the brackets on your marks, then mark the screw
hole locations.
— The minimum casement depth for installation brackets
is 1". Mark location for the screws within the slots in the
bracket. The bracket location can be adjusted back or
forth based on the casement depth.
— The minimum casement depth for a fully recessed
mount is 3
1
/
4
". Mark location for the screws within
the slots in the bracket. The bracket location can be
adjusted back or forth based on the casement depth.
IMPORTANT: The front edges of the brackets must be level and aligned
to each other.
CAUTION: Failure to properly align the brackets could result in the
headrail releasing from the brackets, causing the shading to fall,
possibly resulting in injury or property damage.
Cordless Operating System Cordless Operating System
Spacer
Blocks 1 1
⁄2"
Maximum
Lever
OUTSIDE MOUNT
Mount the Installation Brackets
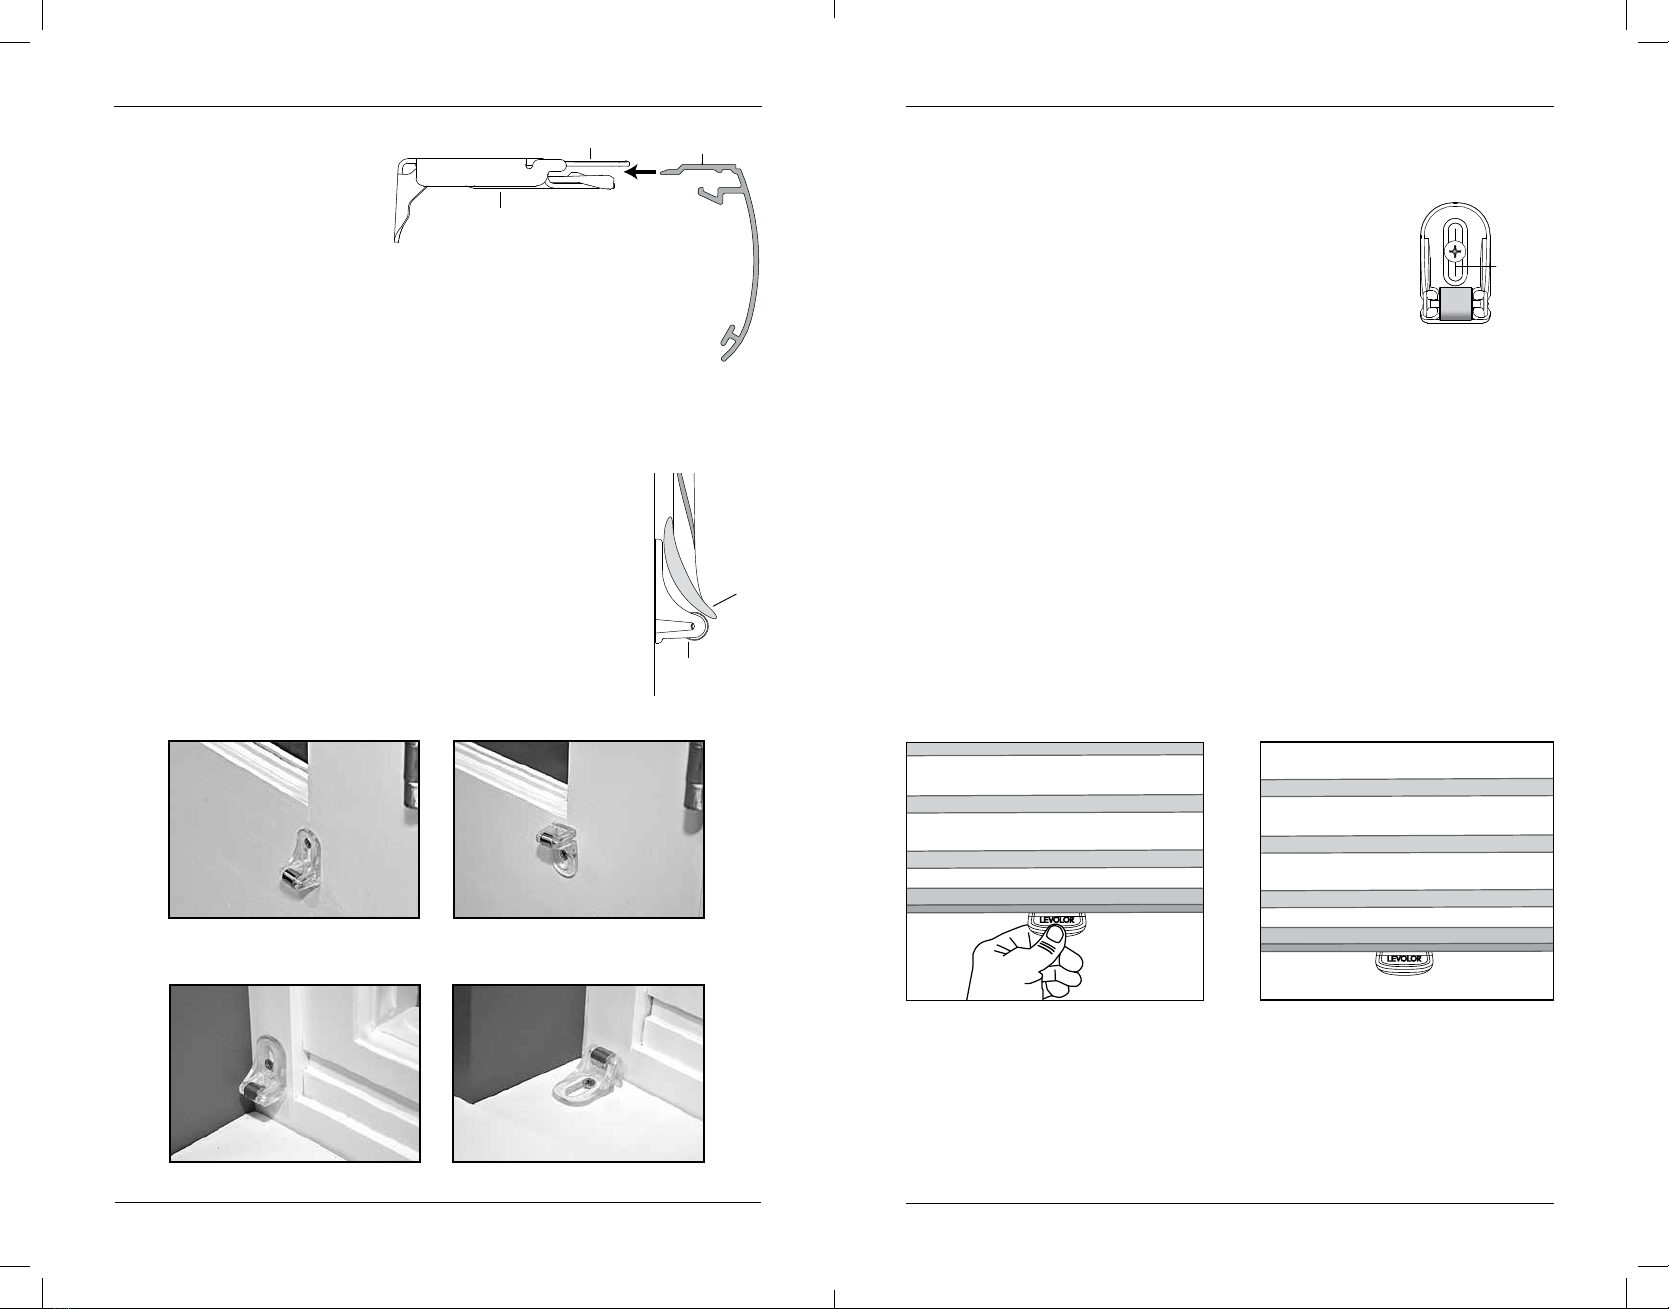
• Center the headrail over the window opening at the desired
height. Use a pencil to lightly mark each end of the headrail.
— Alternatively, measure the width of the headrail and use that width to mark the
headrail end points over the window opening.
• Mark 2" to 3" from each end of the headrail.
— If more than two installation brackets came with your order, space additional
bracket(s) evenly between the two end brackets and mark their location.
Mount into wood whenever possible.
Window Opening
Space Evenly Space Evenly
2" to 3" 2" to 3"
Headrail End Mark Headrail End Mark
2"-3"
Casement
Depth
JambJamb Limit stops should be equal
distance from the ends of headrail.
Space Evenly
2" to 3" Space Evenly
2" to 3"
20-0037-012_Sheer_Shadings_Cordless_F_010621.indd 6-7 1/6/21 4:48 PM