manuals.online logo
Brands
  1. Home
  2. •
  3. Brands
  4. •
  5. Lexus
  6. •
  7. Automobile Accessories
  8. •
  9. Lexus 2002 RX 300 Navigation system User manual

Lexus 2002 RX 300 Navigation system User manual

КАТАЛОЖНЫЙ НОМЕР: PZ406 - K0671 - ZC
Руководство
Manual
Anleitung
Manuel
Handleiding
Масса: 11,7 кг
Время установки: 0,5 чпервое колесо
0,3 чкаждое из остальных колес
Weight : kg
Installation time : 0.5 h first wheel
0.3 h other wheels
Gewicht : kg
Anbauzeit : 0.5 h first wheel
0.3 h other wheels
Poids : kg
Temps d'installation : 0.5 h first wheel
0.3 h other wheels
Gewicht : kg
Installatie tijd : 0.5 h first wheel
0.3 h other wheels
PZ406-K0671-ZC Стр.: 1/4
Выпуск: 3 Дата: 07 марта 2003 г.
Aluminium wiel
Alloy Wheel
Alurad
Jantes en alliage
MCU35 * - AWAGKW
Легкосплавный колесный диск
ВКОМПЛЕКТ ВХОДИТ - KIT CONTENT - STÜCKLISTE - CONTENU - KIT INHOUD
РУКОВОДСТВО ПО УСТАНОВКЕ-INSTALLATION MANUAL-ANBAU ANLEITUNG-MONTAGE HANDLEIDING-MANUEL D'INSTALLATION
11.7
11.7
11.7
11.7
1x
5x
КАТ. НОМЕР: PZ406 - K0671 - ZC
КОД МОДЕЛИ: MCU35 * - AWAGKW
1 1
2 2
33
44
55
6 6
1PZ406-F0670-1C Крышка ступицы колеса / Centre cap / Nabenkappe / Couvercle / center kap
290942-01033 Гайка / Nut / Mutter / Ecrou / Moer
3
4
5
6
235/55R18
РЕКОМЕНДУЕМЫЙ ВЕНТИЛЬ / РЕКОМЕНДУЕМЫЕ БАЛАНСИРОВОЧНЫЕ ГРУЗЫ /
RECOMMENDED AIRVALVE / EMPFOHLENES LUFTVENTIL RECOMMENDED BALANCE WEIGHTS / EMPFOHLENE AUSGLEICHGEWICHTE
VALVE RECOMMANDEE / AANBEVOLEN LUCHTVENTIEL MASSE D'EQUILIBRAGE RECOMMANDEE / AANBEVOLEN BALANCEERGEWICHT
ETRTO (V2.05.1) Hoffmann
Пункт / Step / Пункт / Step /
Punkt / Point / Stap Punkt / Point / Stap
2/3
Пункт / Step / Пункт / Step /
Punkt / Point / Stap Punkt / Point / Stap
Инструмент для установки вентиля Ключ для колесных гаек Металлическая щетка
Valve stem Insert tools Lugnut wrench Wire brush
Ventileinzieher Radschlüssel Stahlbürste
Instrument de montage de l'embout Clé pour écrous Brosse
Ventiel bevestigingswerktuig Moersleutel Borstel
Резиновый молоток Ключ для колесных гаек Торцевая головка 21 мм
Rubber mallet Torque wrench 21mm socket
Kunststoffhammer Drehmomentschlüssel 21 mm Nuss
Maillet en caoutchouc Clé à torsion 21 mm socket
Rubber hamer Momentsleutel 21 mm dopsleutel
PZ406-K0671-ZC Стр.: 2/4
Выпуск: 3 Дата: 07 марта 2003 г.
НАИМЕНОВАНИЕ
ДЕТАЛИ:
Легкосплавный колесный
диск
ИНСТРУМЕНТ / TOOLS / WERKZEUGE / OUTILS / WERKTUIGEN
КОД МОДЕЛИ: / VEHICLE OPTION / FAHRZEUG OPTION / OPTION VEHICULE / VOERTUIG OPTIE
ПРИМЕНЕНИЕ / APPLICATION / ANWENDUNG / APPLICATIE
МЕРЫ ПРЕДОСТОРОЖНОСТИ/SAFETY PRECAUTION/SICHERHEITSMASSNAHME/PRECAUTIONS DE SECURITE/VEILIGHEIDVOORZIENINGEN
☺
ДОПОЛНИТЕЛЬНОЕ ОБОРУДОВАНИЕ / ACCESSORY / ZUBEHÖR / ACCESSOIRE
ЦЕПИ ПРОТИВОСКОЛЬЖЕНИЯ / SNOWCHAINS / SCHNEEKETTEN / SNEEUWKETTING / CHAINES DE NEIGE

ИСПОЛЬЗУЕТСЯ ПРИ ШИНАХ СЛЕДУЮЩИХ РАЗМЕРНОСТЕЙ / TIRE APPLICATION / REIFEN APPLICATION / APPLICATION PNEUS / TOEPASSING BANDEN
*Включить стояночный тормоз
* Firmly apply parking brake
* Ziehen Sie die Handbremse an.
* Tirer le frein à main à fond
* Trek de handrem stevig aan
*Перевести рычаг коробки передач вположение «P» (автоматическая коробка
передач) или включить передачу заднего хода (механическая коробка передач)
* Put transmission in "P" (automatic) or reverse (manual)
* Bei automatischem Getriebe Schalthebel auf "P" stellen, bei Schaltgetriebe Rückwärtsgang
einlegen.
* Se mettre en position "P" (boîte automatique) ou en marche arrière (boîte manuelle)
* Zet de automatische transmissie in "P"-stand of de manuele in achteruit
*Поднять автомобиль
* Lift vehicl
e
* Heben Sie das Auto mit dem Wagenheber an.
* Soulever le véhicule
* Lift het voertuig
*Снять колесо савтомобиля
*Remove OE wheel and tire from vehicle
* Demontieren Sie die original Räder vom Fahrzeug.
* Démonter la jante OE et le pneu du véhicule
* Verwijder het orignele wiel en band van het voertuig
*При помощи металлической щетки удалить следы коррозии спосадочных
поверхностей. Для защиты глаз от пыли надеть защитные очки
* Remove any corrosion on the mounting surface of the vehicle
with a wire brush.. Wear saftey glasses to protect against dust
* Falls die Anlagefläche Korrosion aufweist, entfernen Sie diese mit einer Stahlbürste.
Tragen Sie dabei eine Schutzbrille, um sich gegen Staub zu schützen.
* Eliminer toute corrosion de la surface de montage à l'aide d'une brosse métallique.
Porter des lunettes de protection pour éviter la poussière dans les yeux.
* Verwijder korrosie op het bevestigingsoppervlak van het voertuig met een borstel
Draag veiligheidsglazen ter bescherming tegen sto
f
*Установить вентиль на колесный диск
* Install valve stem on alloy wheels
* Montieren Sie das Ventil am Aluminium-Rad.
* Monter l'embout de la valve sur la jante en alliage.
* Installeer het ventiel op de aluminium wielen
*На станке для балансировки выбрать режим статической балансировки.
Включить станок иотметить на диске точку наименьшего веса
* Set wheel-balancincg machine to STATIC MODE. Operate machine and mark low spot on wheel
* Stellen Sie die Auswuchtmaschine auf statische Prüfung.
Starten Sie die Maschine und markieren Sie den ermittelten Matchpunkt.
* Mettre l'équilibreur en mode "STATIC". Mettre la machine en route et
marquer le poids minimum de la jante.
* Zet de balanceergewicht in 'STATIC MODE'.
Bedien de machine en duid het laagtepunt aa
n
*Установить шину на диск таким образом, чтобы точка наибольшего
веса шины (красная точка) находилась напротив точки наименьшего веса диск
а
* Mount tire on alloy wheel matching tire heavy spot (red dot) with that of wheel low weight sp
o
* Montieren Sie den Reifen auf das Aluminium-Rad, so daß der
Matchpunkt ( roter Punkt auf dem Reifen) mit dem Matchpunkt des Rades fluchte
t
* Monter le pneu sur la jante en alliage et faire correspondre le poids maximu
m
du pneu
(
marques rou
g
es
)
avec le poids minimum de la
j
ante.
* Installeer de band op het aluminium wiel en zorg ervoor dat het zwaartepunt van d
e
band (rood punt) overeenkomt met het laagtepunt van het wi
e
*Посадить борта шины на диск, накачав шину до 2,2 бар. Запрещается превышать
максимально допустимое давление воздуха, указанное на боковине шин
ы
* To seat tire bead, inflate tire beyond 2.2 bar but never more
then the maximum pressure indicated on the tire side wa
l
* Um einen korrekten Reifensitz zu gewährleisten, ist es erforderlich den Reifen üb
e
2,2 bar aufzupumpen, überschreiten Sie dabei niemals den auf d
e
Reifenflanke aufgezeigten Maximalwert
* Pour ajuster le bourlet du pneu, il faut le gonfler jusqu'à 2,2 bar, mai
s
jamais plus que la pression maximale indiquée sur le flanc du pneu.
* Zet de band onder een druk van meer dan 2.2 bar om de hiel te positioneren. Zorg ervoo
r
dat de maximum druk zoals vermeld op het zijvlak van de band niet overschreden word
*Установить собранное колесо на станок для балансировки ивыполнить
балансировку вдинамическом режиме
* Mount wheel/tire on wheel balance machine and balance in DYNAMIC MOD
* Montieren Sie das Komplettrad auf der Auswuchtmaschine und führen Sie di
e
dynamische Prüfung durch
.
* Monter la roue sur l'équilibreur et mettre en marche en mode "DYNAMIC
* Monteer wiel/band op de balanceermachine en balanceer in DYNAMIC mod
e
Соблюдать осторожност
ь
Безопасность Место проверки
Специальный инструмент механика
PZ406-K0671-ZC Стр.: 3/4
Выпуск: 3 Дата: 07 марта 2003 г.
1
2
3
Режим «парковка»
*Очистить места установки балансировочных грузов на диске иустановить
грузы (при помощи резинового молотка). Места установки грузов определяют
по результатам динамической балансировки
* Clean weight mounting location on wheel and install weights,
(with a rubber mallet) at location identified by dynamic balance
* Säubern Sie den Felgenhorn- / Felgenbettbereich, der für die Anbringung des
jeweiligen Auswuchtgewichts ( Klammer- / Klebegewicht ) ermittelt wurde.
Die Befestigung des Klammergewichts ist mit einem Kunststoffhammer auszuführen.
Klebegewichte sind mit starkem Anpreßdruck anzubringen.
* Nettoyer la surface de montage de poids, sur la jante, et installez les poids
(avec un maillet en caoutchouc) à l'endroit indiqué lors de l'équilibrage dynamique
* Reinig het oppervlak waar de balanceergewichten geinstalleerd zullen worden en
bevestig de gewichten (met een rubber hamer) op de positie die aangeduid is door de
balanceermachine.
*Установить собранное колесо на автомобиль. Завернуть колесные гайки
от руки. Затянуть гайки вуказанной последовательности
Затянуть гайки стребуемым моментом (см. Руководство по эксплуатации),
используя динамометрический ключ
* Install wheel/tire on vehicle. Hand tighten the nuts during installation.
Tighten the nuts in the indicated sequence
Torque to the required value (see owners manual) with a torque wrench
* Montieren Sie das Komplettrad am Fahrzeug. Schrauben Sie zuerst die Muttern
mit der Hand fest. Danach ziehen Sie die Muttern in der angezeigten Reihenfolge
mit einem Drehmomentschlüssel bis zum vorgeschriebenen Anzugsmoment
(s. Bedienungsanleitung ) an.
* Installer la roue sur le véhicule. Serrer les écrous à la main lors de l'installation. Bien
suivre la séquence de serrage des écrou, comme indiqué.
Serrer jusqu'à la valeur requise (voir le manuel du propriétaire) à l'aide d'une clé à torsion.
* Installeer het wiel met band op het voertuig. Draai de moeren handmatig aan.
Installeer de moeren volgens de aangeduide volgorde. Bevestig de
moeren tot de vereiste waarde (zie handleiding voertuig) met een momentsleutel
*Накачать шины. Довести давление вшинах до уровня,
рекомендованного вРуководстве по эксплуатации.
* Inflate the tires. The pressure should be adjusted to the value recommended
in the owner's manual,
* Pumpen Sie die Reifen auf. Der Luftdruck sollte dem in der Bedienungsanleitung
empfohlenen entsprechen.
* Gonfler les pneus. La pression doit être ajustée à la valeur recommandée dans le
manuel.
* Pomp de banden op. De luchtdruk moet overeenkomen zoals aangeduid in de
voertuighandleiding
*Аккуратно установить крышку ступицы на диск, преодолевая
сопротивление фиксирующих защелок
* Gently push the cap into wheel unitl caps snaps into place
* Drücken Sie die Nabenkappe vorsichtig ins Rad. Achten Sie auf
korrekten Sitz und vollständiges Einrasten der Kappe.
* Pousser doucement le bouchon dans la jante jusqu'à ce que le déclic s'enclanche.
* Bevestig voorzichtig de kap in het wiel totdat deze erin klikt
Соблюдать осторожност
ь
Безопасность Место проверки
Специальный инструмент механика
PZ406-K0671-ZC Стр.: 4/4
Выпуск: 3 Дата: 07 марта 2003 г.
4
5
6
1
42
5
3
БАЛАНСИРОВОЧНЫЕ ГРУЗЫ
BALANCE WEIGHTS
AUSGLEICHGEWICHTE
BALANCEERGEWICHT
MASSE D'EQUILIBRAGE

Other manuals for 2002 RX 300 Navigation system

1

Other Lexus Automobile Accessories manuals

Lexus GS300 User manual

Lexus

Lexus GS300 User manual

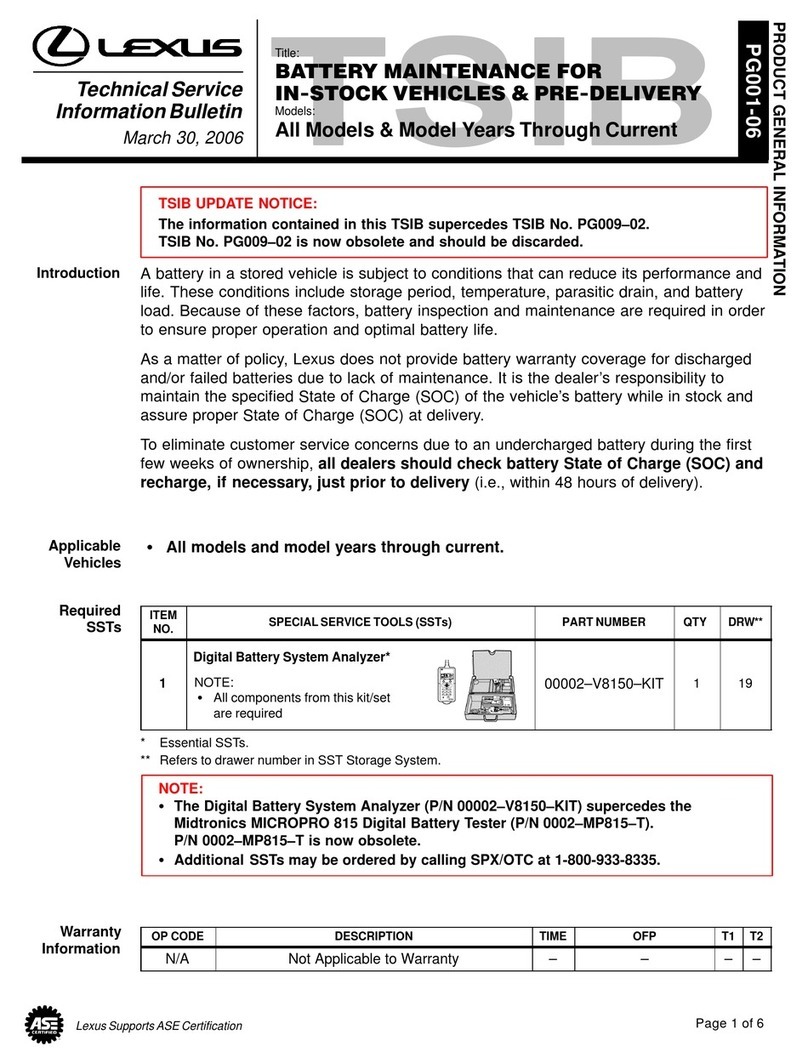
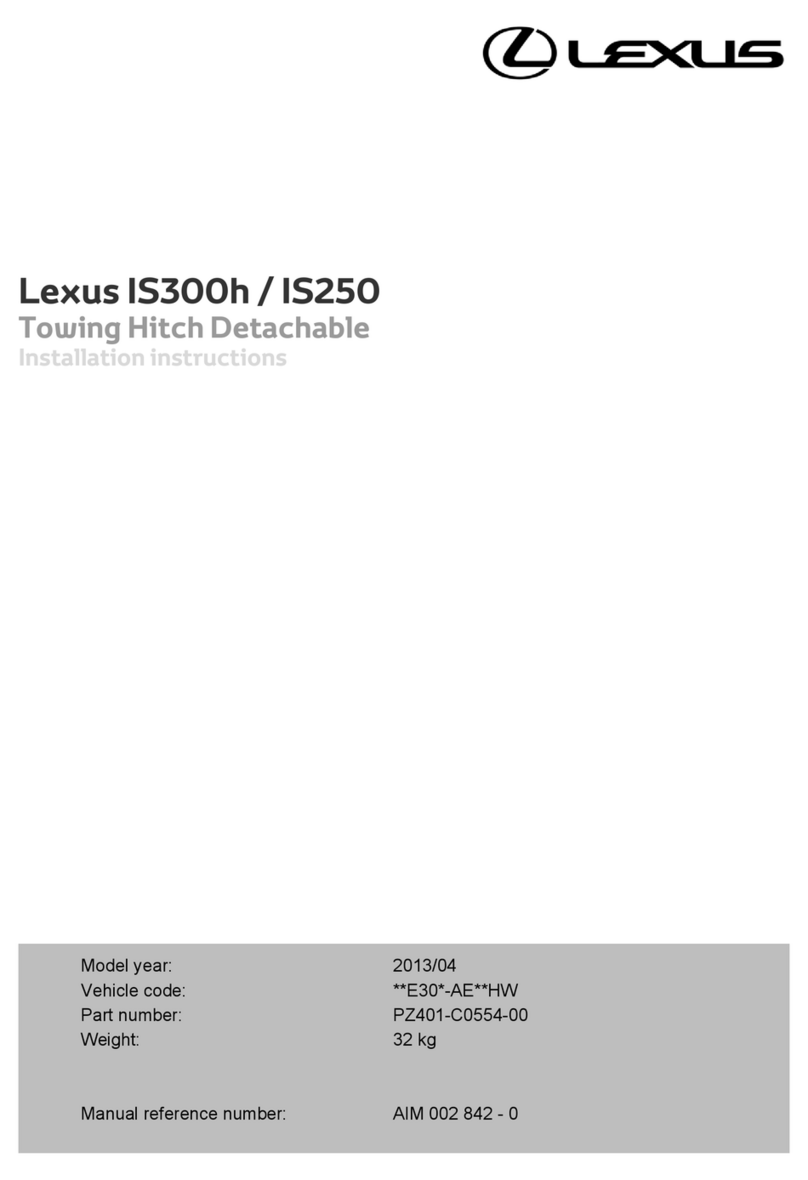
Lexus PZ401-C0554-00 User manual

Lexus

Lexus PZ401-C0554-00 User manual

Lexus GS 450h User instructions

Lexus

Lexus GS 450h User instructions

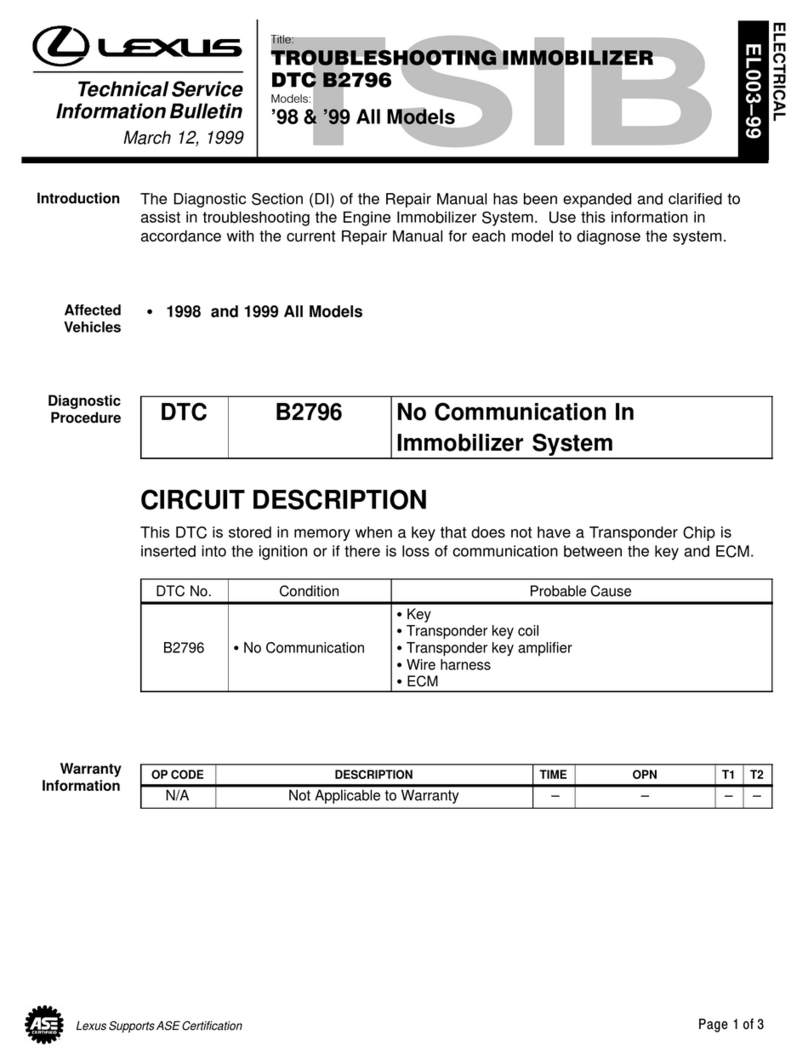
Lexus DTC B2796 User manual

Lexus

Lexus DTC B2796 User manual

Lexus IS200 User manual

Lexus

Lexus IS200 User manual

Lexus IS 300 User instructions

Lexus

Lexus IS 300 User instructions

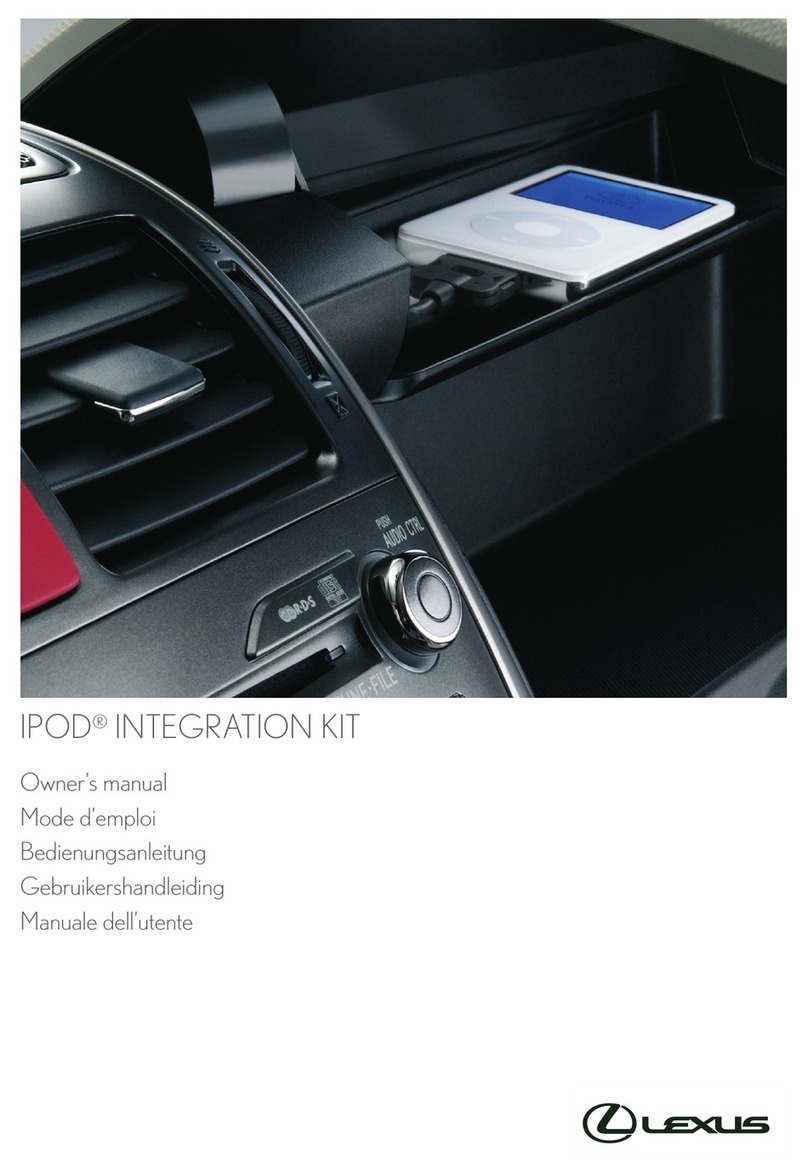
Lexus iPod integration kit User manual

Lexus

Lexus iPod integration kit User manual

Lexus PZ416-K2340-ZA User manual

Lexus

Lexus PZ416-K2340-ZA User manual

Lexus PZ408-00692-00 User manual

Lexus

Lexus PZ408-00692-00 User manual

Lexus RX 350 2010 User manual

Lexus

Lexus RX 350 2010 User manual

Lexus LINK User manual

Lexus

Lexus LINK User manual

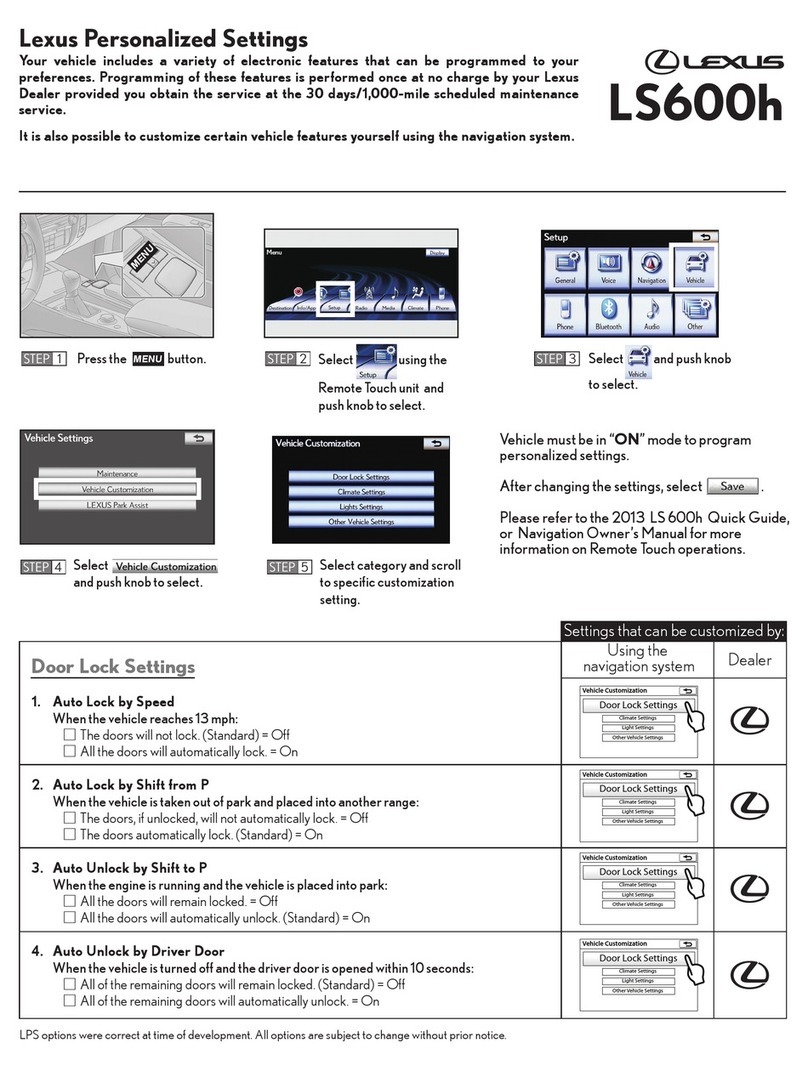
Lexus LS600h User instructions

Lexus

Lexus LS600h User instructions

Lexus PG001-06 Operating and installation instructions

Lexus

Lexus PG001-06 Operating and installation instructions

Lexus RX 350 User instructions

Lexus

Lexus RX 350 User instructions

Lexus PZ41B-X2620-00 User manual

Lexus

Lexus PZ41B-X2620-00 User manual

Lexus 89661-50690 Operating and installation instructions

Lexus

Lexus 89661-50690 Operating and installation instructions

Lexus ES350 User manual

Lexus

Lexus ES350 User manual

Lexus REMOTE ENGINE STARTER TVIP V4 User manual

Lexus

Lexus REMOTE ENGINE STARTER TVIP V4 User manual

Popular Automobile Accessories manuals by other brands

AA Products RB0001 instruction manual

AA Products

AA Products RB0001 instruction manual

Whispbar K301W Fitting instructions

Whispbar

Whispbar K301W Fitting instructions

LVSUN LS-CR90L user manual

LVSUN

LVSUN LS-CR90L user manual

Thule 1193 instructions

Thule

Thule 1193 instructions

Erickson 07488 manual

Erickson

Erickson 07488 manual

Federal Signal Corporation RAYDIAN Installation and maintenance instructions

Federal Signal Corporation

Federal Signal Corporation RAYDIAN Installation and maintenance instructions

AL-KO MAMMUT manual

AL-KO

AL-KO MAMMUT manual

Free2Move eSolutions ePublic user manual

Free2Move eSolutions

Free2Move eSolutions ePublic user manual

HYPERVOLT Home 3.0 quick start guide

HYPERVOLT

HYPERVOLT Home 3.0 quick start guide

Warn ProVantage Operator's guide

Warn

Warn ProVantage Operator's guide

Dakota Digital RLC-49F quick start guide

Dakota Digital

Dakota Digital RLC-49F quick start guide

AL-KO IQ7 instructions

AL-KO

AL-KO IQ7 instructions

Yakima HighRoller user manual

Yakima

Yakima HighRoller user manual

Acewell ACE-21XXE user manual

Acewell

Acewell ACE-21XXE user manual

HUSKY LINERS 6365 Care and use instructions

HUSKY LINERS

HUSKY LINERS 6365 Care and use instructions

Roadmaster Falcon 2 installation instructions

Roadmaster

Roadmaster Falcon 2 installation instructions

Thule 1310 instructions

Thule

Thule 1310 instructions

Phonocar 3/706 installation instructions

Phonocar

Phonocar 3/706 installation instructions

manuals.online logo
manuals.online logoBrands
  • About & Mission
  • Contact us
  • Privacy Policy
  • Terms and Conditions

Copyright 2025 Manuals.Online. All Rights Reserved.