Lightstar AIRLITE RGBWW Series User manual

AIRLITE RGBWW Series
User Manual

Table of Contents
User Manual
Version: 13. Februar 2023, 11:27 AM
Lightstar Lights
Product Overview 1
Product Features 1
Technical Information - LMSA-P1000 2
Technical Information - LMSA-P1000T 3
Technical Information - LMSA-P500 4
Operational Instructions 5
Control Modes 6
Light Mode 9
Fixture Settings 10
DMX Control 11
Wireless DMX Control 12
Notice and Maintenance 13
Service Warranty Ordinance 14

1 2
Product Overview
Product Features
Technical Information - LMSA-P1000
Lightstar RGB LED Airlite Balloon, uses RGBWW high quality LED’s the
spectral light distribution is even more continuos. Adopt the exclusive
optical design, use light efciently and improve the luminous ux output,
achieve accurate color temperature, high CRI, lower consumption and
highlight light.
SKU: LMSA-P1000
Description: RGBWW LED Airlite Balloon 1000W
Power: 1000W
Material: different materials
Cooling: Active Cooling
Color Temperature: 2400-10000K
Dimming: 0-100%
CRI:
TLCI:
AC Input (indirect): 100-240V AC
Control: DMX In- & Output (5-Pin XLR socket),
LumenRadio, App
Frequency:
IP Class: IP20
Diameter (inated):
Dimensions: 1590x440x380mm
Weight: 8‘000g
• 360° adjustable panchromatic hue
• high quality RGBWW LED, CRI ≥ 95
• brightness adjustable from 0 - 100%
• color temperature adjustable between 2400K and 10000K
• supports Bluetooth, APP, DMX512 protocol
• LCD software control, easy to operate
• low power consumption, low heat generation, green, energy-saving
and environmental protection
• no UV output, safety, long using life, reduce the using cost
• inate and air compensating automatically, easy to operate
• luminous ux output stays relatively stable when temperature is adjus-
ted • DC power input (for battery operation or via mains power supply)

3 4
Technical Information - LMSA-P1000T
SKU: LMSA-P1000T
Description: RGBWW LED Airlite Tube Balloon 1000W
Power: 1000W
Material: different materials
Cooling: Active Cooling
Color Temperature: 2400-10000K
Dimming: 0-100%
CRI:
TLCI:
AC Input (indirect): 100-240V AC
Control: DMX In- & Output (5-Pin XLR socket),
LumenRadio, App
Frequency:
IP Class: IP20
Diameter (inated):
Dimensions: 1400×600×380mm
Weight: 11‘000g
Technical Information - LMSA-P500
SKU: LMSA-P500
Description: RGBWW LED Airlite Balloon 500W
Power: 500W
Material: different materials
Cooling: Active Cooling
Color Temperature: 2400-10000K
Dimming: 0-100%
CRI:
TLCI:
AC Input (indirect): 100-240V AC
Control: DMX In- & Output (5-Pin XLR socket),
LumenRadio, App
Frequency:
IP Class: IP20
Diameter (inated):
Dimensions: 960×440×380mm
Weight: 6‘200g

5 6
Operational Instructions
There are three parts on the control panel: Operating keys, LCD display
and the adjustment knob.
Operating buttons consist of four keys. Button M is for entering the menu
and return to an upper menu level. Button A is to select up button B is for
selecting down, button E is to enter. The adjusting knob A is for adjusting
the values, knob b is to select menu and adjust parameters.
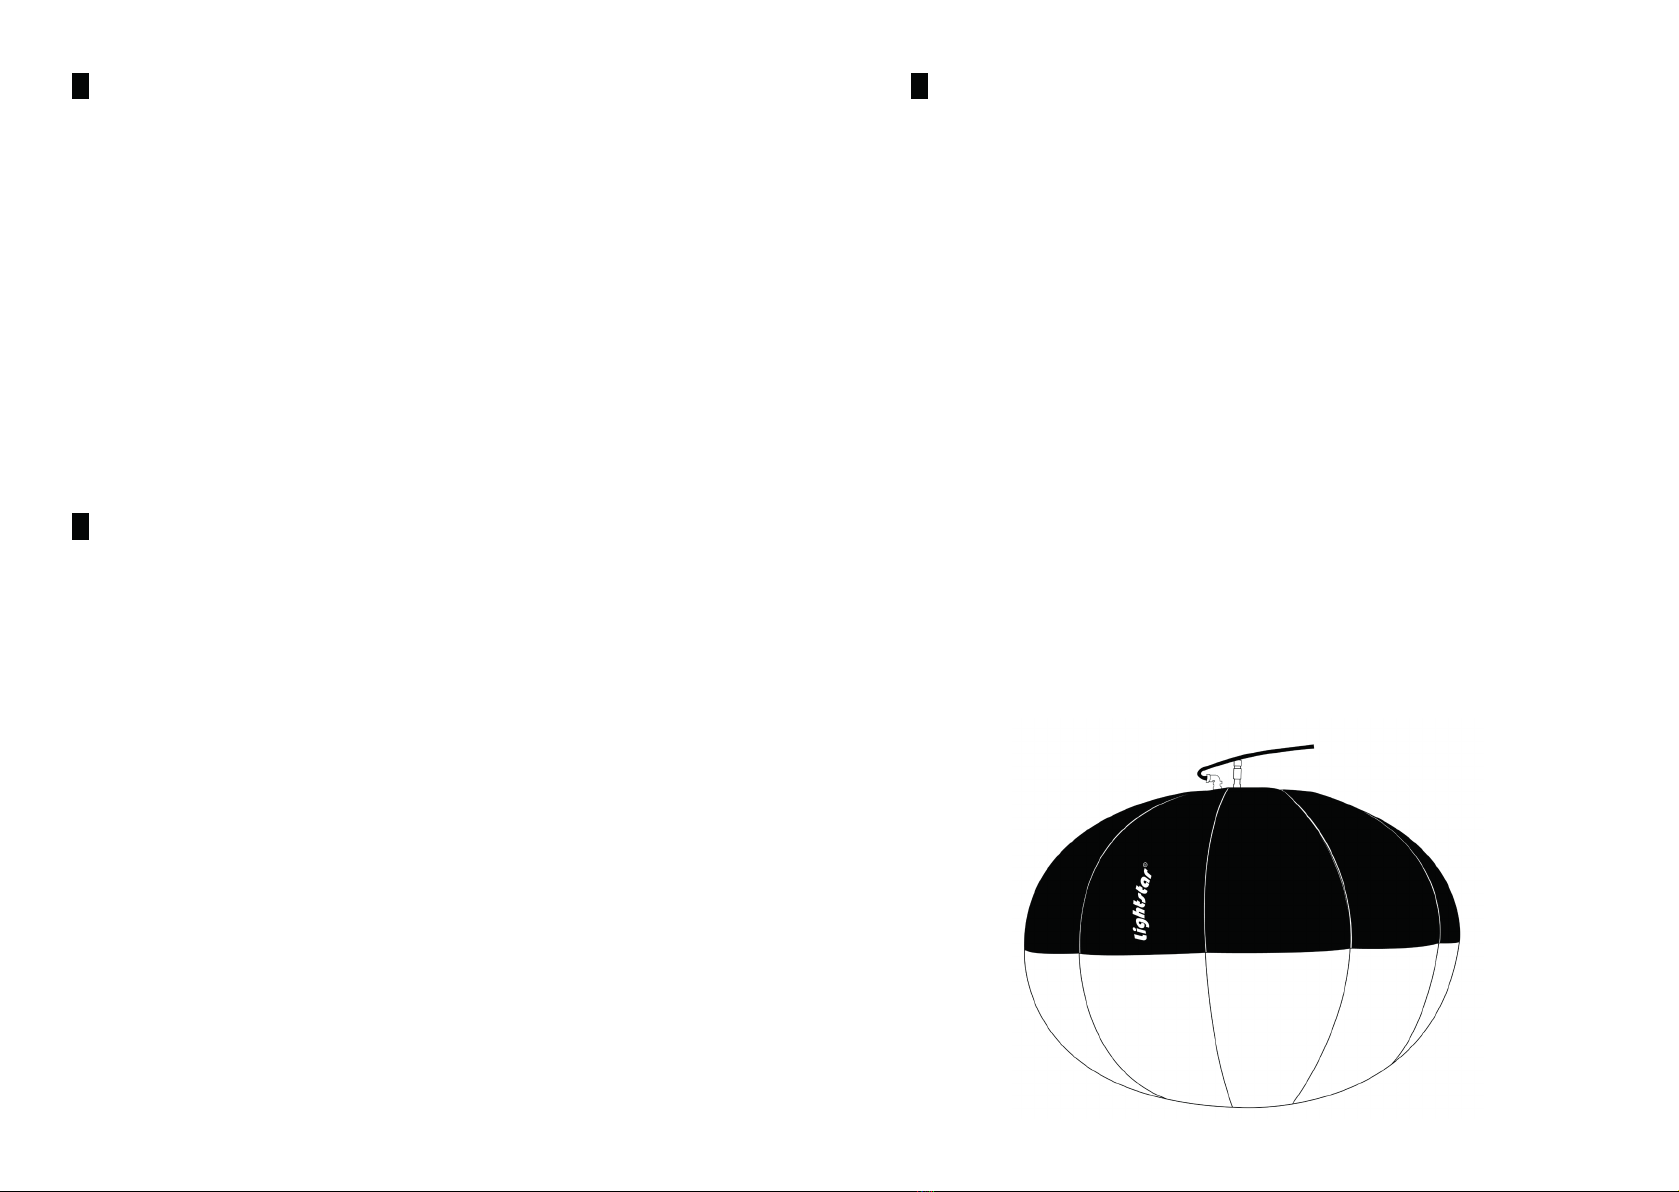
Power ON / In ation
When powering on the light, the balloon in ate
automatically (fan speed 100%), the diffuser is
full after 150 seconds, then the Balloon power
on (the fan speed can be adjust by adjusting
knob), the fan speed reduced to default value
30%, enter air compensating mode, the Balloon
is normal operation.
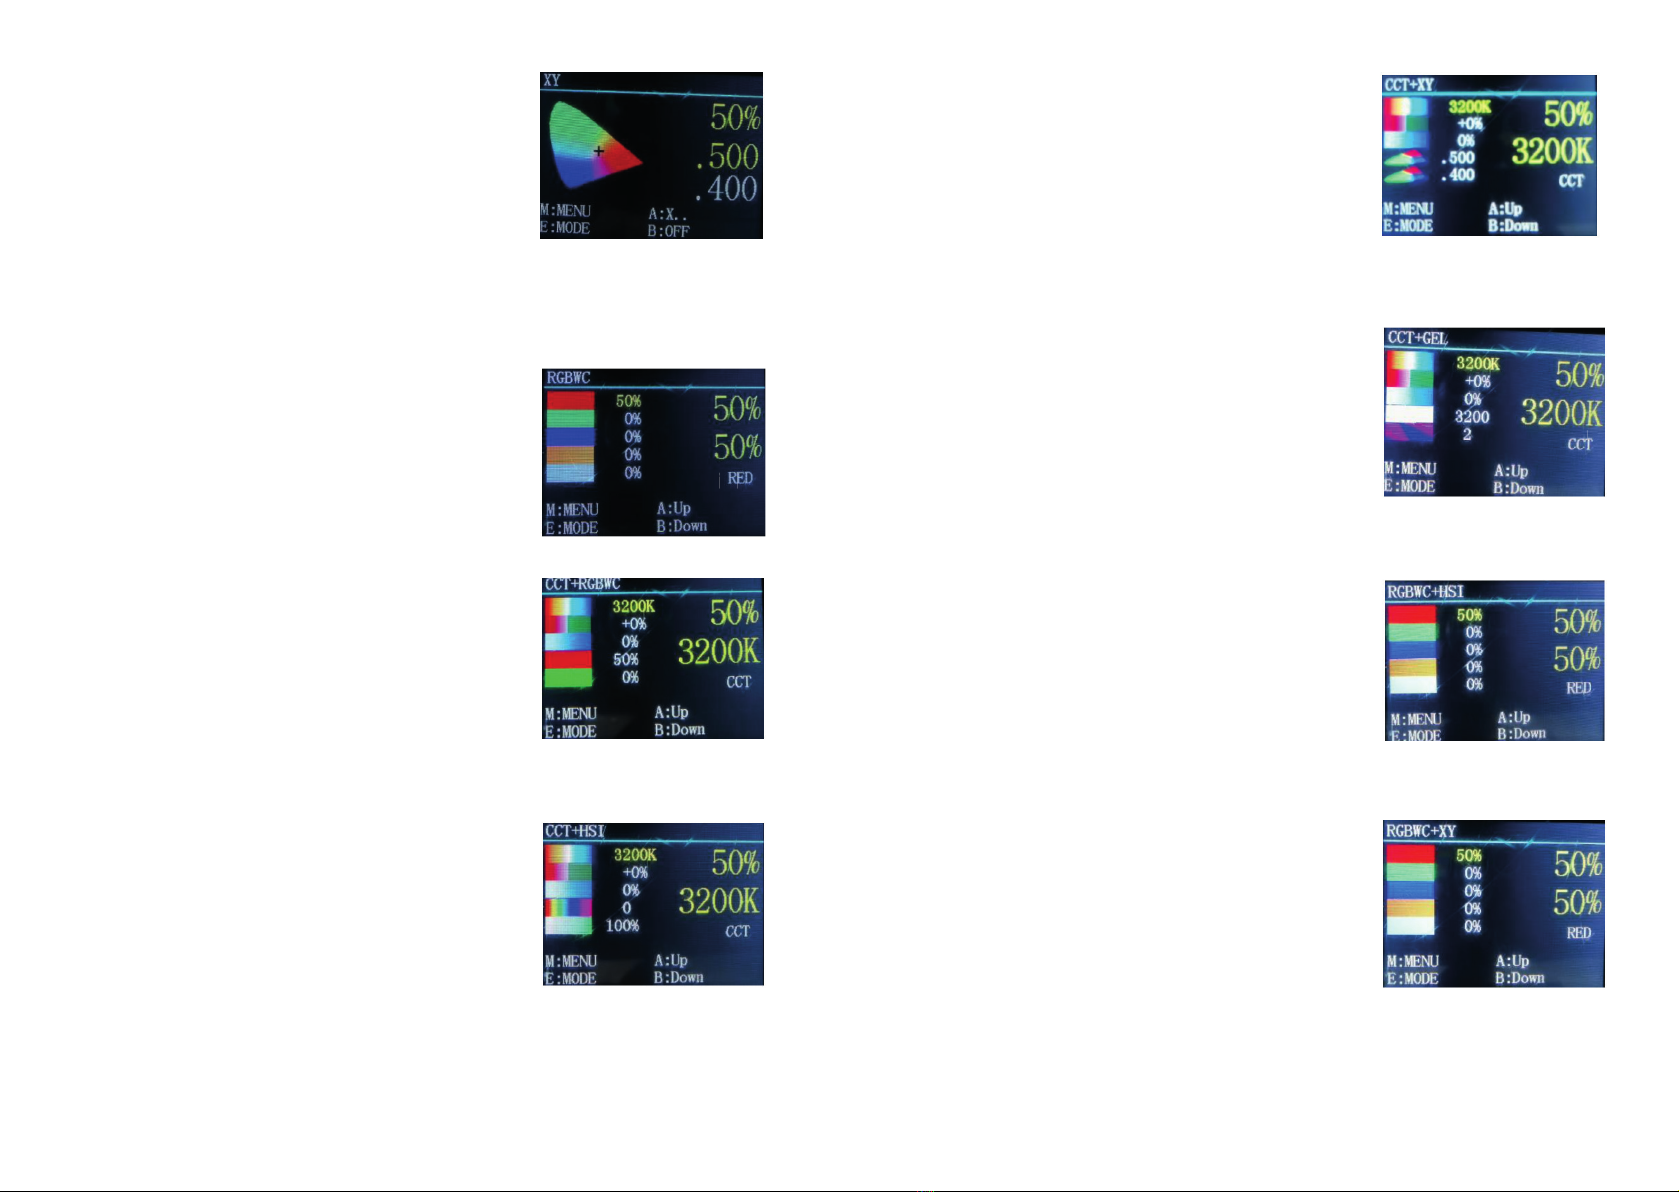
Intensity - Color Temperature - G/M
When powering on the light, default interface
is the In ation interface, select Button E enter
CCT mode. By turning knob A the intensity can be
adjusted. Turn knob B for color temperature.
Button A changes to Green/Magenta - adjustable
with knob B.
Button B is shortcut for ON/OFF the light.
be
Hue - Intensity - Saturation
Select button E to enter Light mode, select HIS
mode.
As before, knob A is for adjusting the intensi-
ty and knob B for Hue parameters (0o-360o).
Button A changes to Saturation- adjustable with
knob B. To switch between HUE and SATURATION, push button A.
Button B is shortcut for ON/OFF the light.
Color Gels
Select button E to enter Light mode, select HIS
mode.
Turn knob A to adjust brightness, and knob B to
select Color Gel. Select button A to change the
color temperature 3200K/5600K.
Button B is shortcut for ON/OFF the light.push button A.
Button B is shortcut for ON/OFF the light.
Control Modes

7 8
CIE - X/Y Coordinates
Select button E to enter Light mode, select CIE
mode.
Turn knob A for brightness, knob B to adjust coor-
dinate parameters. Select button A to switch X/Y
coordinates.
Button B is shortcut for ON/OFF the light
RGB
Select button E to enter Light mode, select RGB
mode.
Adjust knob A to adjust brightness, adjust knob B to
adjust each color. Select color with button A/B.
to
CCT+RGB
Select button E to enter Light mode, select
CCT+RGBWC mode.
Adjust knob A to adjust brightness. Select CCT,
RGB and cross, adjust knob B to adjust the para-
meter.
CCT+HIS
Select button E to enter Light mode, select
CCT+HSI mode.
Adjust knob A to adjust brightness. Select CCT, HSI
and cross with button A/B, adjust knob B to adjust
the parameter.
CCT+CIE/XY
Select button E to enter Light mode, select
CCT+CIE/XY mode.
Adjust knob A to adjust brightness. Select CCT, XY
and cross with button A/B, adjust knob B to adjust
the parameter.
CCT+GEL
Select button E to enter Light mode, select
CCT+GEL mode.
Adjust knob A to adjust brightness. Se-
lect CCT, GEL and cross with button A/B, adjust
knob B to adjust the parameter.
RGB+HSI
Select button E to enter Light mode, select
RGB+HSI mode.
Adjust knob A to adjust brightness. Select RGB, HSI
and cross with button A/B, adjust knob B to adjust
the parameter.
RGB+XY
Select button E to enter Light mode, select
RGB+XY mode.
Adjust knob A to adjust brightness. Select RGB, XY
and cross with button A/B, adjust knob B to adjust
the parameter.
HSI
Se-
HSI

9 10
HSI+XY
Select button E to enter Light mode, select
HIS+XY mode.
Adjust knob A to adjust brightness. Select HSI, XY
and cross with button A/B, adjust knob B to adjust
the parameter.
XY
Select button M, on any interface to enter the MAIN MENU. Select light
mode by pushing button E. Optional modes are CCT, HUE, GEL, CIE, RGB,
CCT+RGB, CCT+HIS, CCT+XY, CCT+GEL, RGB+HIS, RGB+XY, HIS+XY. There
is also an effect and simulation library.
You can now browse through the menu and adjust the parameters here.
But before it is necessary to select the appropriate mode you want to use.
In menu, select FIXTURE SETTINGS, select button E to enter. Up/Down
control with button A and E. There you can adjust the parameters Dimming
curve, Frequency/In ation speed.
Light Mode
Fixture Settings

11 12
DMX Control
There are two kinds of DMX signal control: Wireless DMX and DMX. By
default, DMX is selected. There are 5-Pin XLR In- & Outputs on the console
for DMX via cable. For wireless DMX, there is an antenna mounted on the
side of the ballast.
DMX512 Data Pinout is as followed:
Pin 1 Data Link Common GND
Pin 2 Signal GND
Pin 3 Signal +
Pin 4 not used
Pin 5 not used
In menu screen, select DMX to adjust DMX settings.
Option mode, CCT, HSI, CIE, RTG, GEL, 8-Bit and 16-Bit is optional. In 8-Bit
mode, one function occupies 1 channel In 16-Bit mode, one function occu-
pies 2 channels
Further adjustments are made as mentioned before.
Figure 1 - DMX Setup Screen
Wireless DMX Control
Click the push button to show current ID settings. Click the push button to
increase number.
1 - Red
2 - Green
3 - Yellow
4 - Blue
5 - Purple
6 - Bluish Green
7 - White
Working Status:
LED is always on no DMX or no signal
Red LED ashing sending
Green LED ashing receiving
RF freqency features 126 bands, which are selected automatically to avoid
interference.
The WDMX Reset is used to reset / unlink the built-in LumenRadio module.
Communication
1. Power on the transmitter and receiver
2. Press key, set same ID for transmitter and receiver. If there is more than
one group of wireless LAN, make sure the ID of each network is different.
3. After sender receives DMX data, the sender will select a non-interfering
frequency band. The receiver will change communication bands until the
same ID data is found (green LED ashes). If DMX data communication
has been established, LED will blink faster.

13 14
Notice and Maintenance
1. LED‘s operating temperature range must be guaranteed between - 20°C
to +40°C. Overheating or undercooling can both reduce the xtures life
span.
2. The product must be placed on a solit, at and dry surface. The surface
temperature should be less than 50°C. Avoid exposure to direct sunlight
and operation in an enviroment with high humidity or explosive gas.
3. Do not beat, knock or shake the light violently or it may inuence the
normal use of the light.
4. Do not cover lamps with paper, cloth or similar materials that could
ignite due to high temperature.
5. Put the lamp in a cool and dry place when you do not use it for a long
time.
6. Avoid any ammable liquid, water or metal material entering the machi-
ne. Cut off the power supply as soon as this happens.
7. Do not use machines in dirty and dusty environments and clean them
regularly.
8. The technicians must get professional trainings to install, operate or
repair LED‘s.
9. Do not machine wash or hand wash the Balloon Diffuser. If necessary,
you can use a lint-free soft cloth with clean water to wipe it. Do not use
chemical reagents.
Service Warranty Ordinance
Customers enjoy a one-year free warranty service as of the date of purcha-
sing our product.
1. If the expiry date of the warranty is reached, our product can still be
repaired for an according price.
2. In any of the following circumstances, the product is not repaired free of
charge, whether the warranty period expires or not.
- Damage caused by misuse or abuse, disassembly and non-original parts
replacement.
- Damage caused by natural disasters, unconventional voltage and envi-
ronmental factors
3. Lightstar will remain in the power of interpretation.
4. Software version modication without further notice.
10. If any equipment from Lightstar doesn‘t work properly, please get in
contact with a Lightstar special repair department or professional technici-
an. Do not disassemble or reassemble the parts by yourself.

Table of contents
Other Lightstar Lighting Equipment manuals