manuals.online logo
Brands
  1. Home
  2. •
  3. Brands
  4. •
  5. Linear
  6. •
  7. Transmitter
  8. •
  9. Linear MVP User manual

Linear MVP User manual

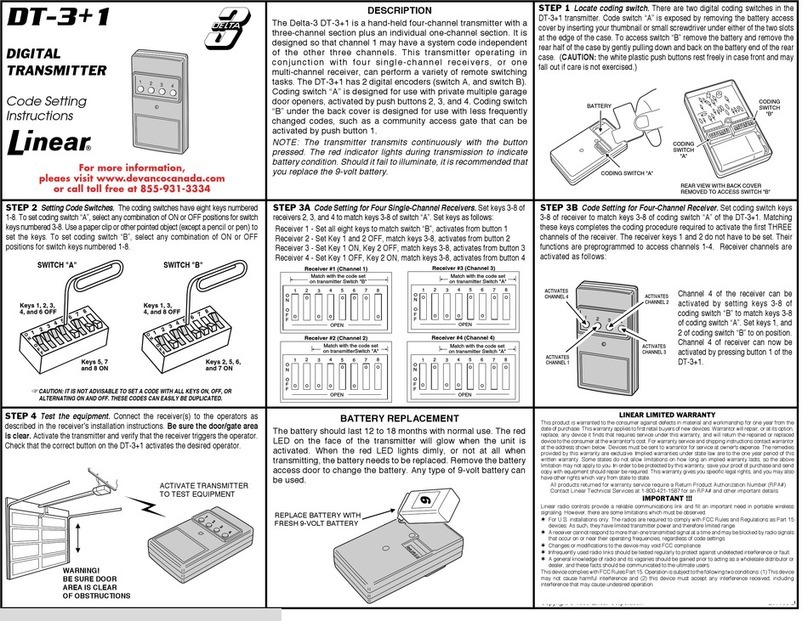
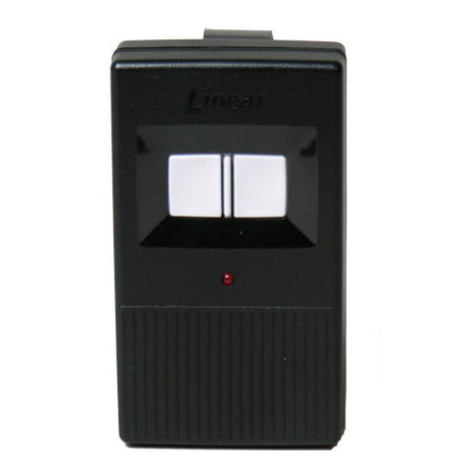
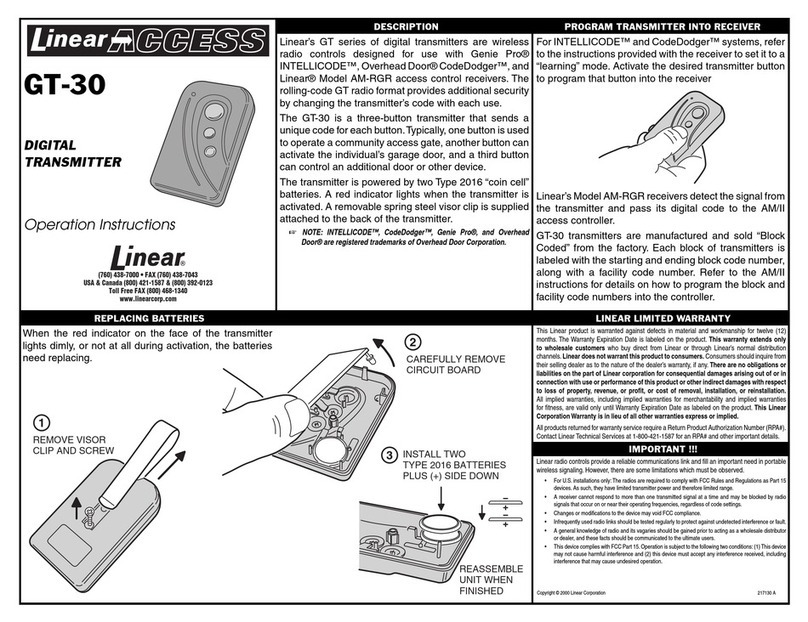
MVP Quik-Code Transmitter
Installation Instructions for
Garage Door and Gate Operators
Your new radio controls are designed to remotely operate garage door and gate
openers. The transmitter permits the user to select one of 19683 possible codes
for each one of the three buttons. The radio frequency of the remote controls is
Þxed and tuned at the factory; adjustments are not required and should not be
attempted by the end user.
The MVP Quik-Code transmitter is based on the latest technology and provides
maximum performance and maximum ßexibility. Since each button of the
Quik-Code transmitter may be programmed with a unique code, it is possible to
control a single operator or a group of operators at one location or at multiple
locations.
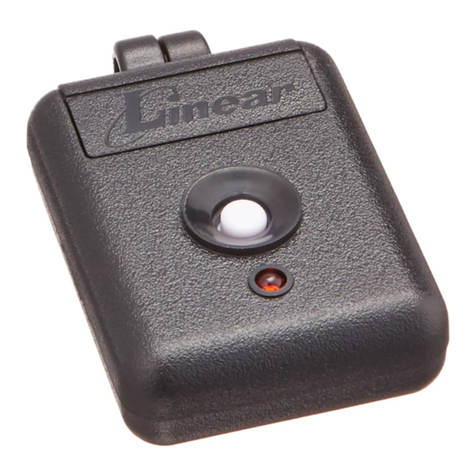
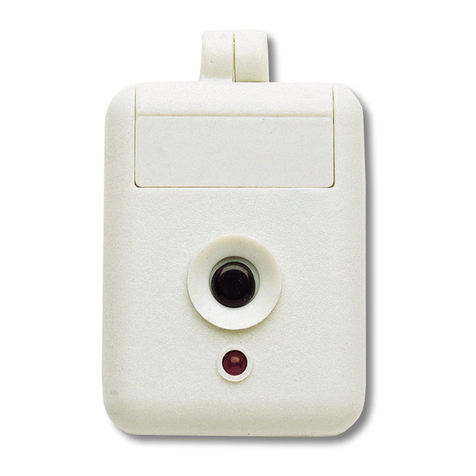
The Quik-Code transmitter may be mounted on a visor using the metal visor clip
(included) or attached to a key-chain with the built-in attachment.
Proper installation of your radio controls will assure years of
trouble-free operation
READ THE FOLLOWING INSTRUCTIONS THOROUGHLY
BEFORE STARTING INSTALLATION
Keep transmitters and remote controls out of the reach of children.
Do no let children play with or use the transmitter or remote controls.
Unexpected door operations can cause personal injury or property damage.
Do not place transmitter where the buttons can be accidentally or unintentionally activated.
Radio Control Compatibility
In addition to the Linear MVP and Challenger E-Series Residential Garage Door
Operator, the MVP Quick-Code transmitter is designed to be compatible with all
Linear MVP series receivers.
Linear Radio Controls are compatible with HomeLink®.
Homelink® is a registered trade mark of Johnson
Controls, Inc.
WARNING
Programming Quik-Code Transmitters
Programming the Linear MVP Quik-Code
transmitter is done as follows:
1. Put the transmitter in program mode.
2. Select the button you wish to use.
3. Enter your 9-digit code.
After your code is conÞrmed, repeat the procedure
for the remaining buttons.
NOTE: The table below has a row for each one of
the three buttons on the Quik-Code transmitter since
it is possible to set a unique code for each button.
123456789
+
0
-
Put the Transmitter in Program Mode
Step 1: First, press and hold the !+" button. The
Red LED will turn on. Next, while continuing to
hold the !+" button, press and hold the !-" button.
Continue to hold both buttons until the LED starts
to blink (approximately 5 seconds). Release both
buttons while the LED is blinking. The LED will
blink two times and then remain on to conÞrm you
are in programming mode.
Select the Button You Wish to Use
Step 2: While the LED is on, press the button you
wish to use. The LED will blink off once and then
remain on.
Enter Your 9-Digit Code
Step 3: Enter the 9-digit code from the table by
pressing the buttons that correspond with the entries
in the table.
Confirm Entry
After the 9-digit code is entered, the LED will blink
twice to conÞrm a valid code and remain off.
Program Remaining Buttons
Repeat the procedure for the remaining buttons.
Express Coding
Express coding will program all 3 buttons at one time.
To use Express Code to program all the buttons at
the same time select the !+" button in Step 2 and
end the 9-digit code entry in Step 3 with a !+". This
will code all three buttons in one programming step.
*If the LED goes out the programming mode has
timed out and you will need to start over.
Radio Controls are prohibited from providing constant contact closure
when installed on the push button inputs of residential garage door openers
that are provided with monitored safety systems.
This device complies with Part 15 of the FCC Rules and with RSS-210 of
Industry Canada. Operation is subject to the following two conditions: (1)
This device may not cause harmful interference, and (2) this device must
accept any interference received, including interference that may cause
undesired operation.
WARNING
Learning Transmitter Codes
The MVP and Challenger door operators and MVP
receivers are capable of learning up to 8 different
transmitter codes. Multiple transmitters with the
same code may be used and only requires the code
from a single transmitter to be learned.
Programming the MVP Door Operator
Step 1: Momentarily press and release the
Program button on the deluxe wall station. The
RED LED and worklight
on the operator will turn
on.
Step 2: Using a
programmed transmitter,
press the desired
transmitter button. When
the receiver learns the
transmitter code, the LED
and worklight will turn
off.
Step 3: Repeat to add
additional transmitters with different codes.
Note: If the LED and worklight blink press and
hold program button for 5 seconds to clear memory
and start over. If the LED and worklight remain on
when you transmit press and hold program button
for 5 seconds to clear memory and start over.
Programming MVP Receivers
Step 1: Momentarily press and release the
Program button. The LED will turn on.
Step 2: Using a programmed transmitter, press
the desired transmitter button. When the receiver
learns the transmitter code, the LED will turn off.
Step 3: Repeat to add additional transmitters with
different codes.
Erasing the Receiver’s Memory
Step 1: Press and HOLD the Program button. The
indicator LED will turn on.
Step 2: When the LED turns off (after
approximately 5 seconds), release the Learn
button. All transmitters and keypad codes have
been erased.
Programming the Challenger
Door Operator
Step 1: Momentarily press and release the
Program button on the back panel of the operator.
The RED LED and worklight on the operator will
turn on.
Step 2: Using a programmed transmitter, press
the desired transmitter button. When the receiver
learns the transmitter code, the LED and worklight
will turn off.
Step 3: Repeat to add additional transmitters with
different codes.
Note: If the LED and worklight blink press and
hold program button for 5 seconds to clear memory
and start over. If the LED and worklight remain on
when you transmit press and hold program button
for 5 seconds to clear memory and start over.
Installing the Transmitter
The transmitter is supplied with a metal clip which
may be used to attach the unit to a sun visor. If
the clip is used, slide it into the recess provided
on the back of the transmitter case until the snaps
on the case Þt around the clip. If the transmitter
is installed in a pocket in your car, follow all the
manufacturer!s instructions. Improper installation
may cause intermittent transmitter operation
which can result in unexpected door operations.
WARNING
Program
Button
Program Button
Indicator LED
Disconnect power to operator before any
installation or repair. Follow all
instructions provided by the
manufacturer of your operator.

Other Linear Transmitter manuals

Linear MegaCode ACT-21 User manual

Linear

Linear MegaCode ACT-21 User manual

Linear XT-4 User manual

Linear

Linear XT-4 User manual

Linear AT71-250 User manual

Linear

Linear AT71-250 User manual

Linear DX DXT-41 User manual

Linear

Linear DX DXT-41 User manual

Linear DXS-32 User manual

Linear

Linear DXS-32 User manual

Linear XT-1H User manual

Linear

Linear XT-1H User manual

Linear DXS-64 User manual

Linear

Linear DXS-64 User manual

Linear LMT-1 User manual

Linear

Linear LMT-1 User manual

Linear LMT-1 User manual

Linear

Linear LMT-1 User manual

Linear MegaCode MCT-3 User manual

Linear

Linear MegaCode MCT-3 User manual

Linear D-22B Administrator guide

Linear

Linear D-22B Administrator guide

Linear MULTI-CODE 1051 User manual

Linear

Linear MULTI-CODE 1051 User manual

Linear 1094 User manual

Linear

Linear 1094 User manual

Linear ET-2 User instructions

Linear

Linear ET-2 User instructions

Linear WT00Z-1 User manual

Linear

Linear WT00Z-1 User manual

Linear DXS-64 User manual

Linear

Linear DXS-64 User manual

Linear Multi-Code 3089 User manual

Linear

Linear Multi-Code 3089 User manual

Linear GT-31 User manual

Linear

Linear GT-31 User manual

Linear DXT-21/EC User manual

Linear

Linear DXT-21/EC User manual

Linear Delta-3 DTG User manual

Linear

Linear Delta-3 DTG User manual

Linear 3022 User manual

Linear

Linear 3022 User manual

Linear DXS-32/EC User manual

Linear

Linear DXS-32/EC User manual

Linear DXT-61/EC User manual

Linear

Linear DXT-61/EC User manual

Linear MDT User manual

Linear

Linear MDT User manual

Popular Transmitter manuals by other brands

Erreka KUMA KU02 instructions

Erreka

Erreka KUMA KU02 instructions

Linx Technologies CMD-HHLR Series Guide

Linx Technologies

Linx Technologies CMD-HHLR Series Guide

Weidmüller STG operating instructions

Weidmüller

Weidmüller STG operating instructions

Hallicrafters HT-46 Operating and service instructions

Hallicrafters

Hallicrafters HT-46 Operating and service instructions

Ametek Drexelbrook Universal Lite 509-1 Series Installation and operating instructions

Ametek Drexelbrook

Ametek Drexelbrook Universal Lite 509-1 Series Installation and operating instructions

Great Lakes Instruments 692P manual

Great Lakes Instruments

Great Lakes Instruments 692P manual

Hoffer Flow Controls CAT1 Series user manual

Hoffer Flow Controls

Hoffer Flow Controls CAT1 Series user manual

Endress+Hauser TMD1000 operating instructions

Endress+Hauser

Endress+Hauser TMD1000 operating instructions

Broadcast Electronics STXe Series Technical manual

Broadcast Electronics

Broadcast Electronics STXe Series Technical manual

KROHNE OPTIWAVE X400 Supplementary instructions

KROHNE

KROHNE OPTIWAVE X400 Supplementary instructions

Tekkeon myTune IA1000 Specifications

Tekkeon

Tekkeon myTune IA1000 Specifications

Hydac HFT 2100 user manual

Hydac

Hydac HFT 2100 user manual

Niko 10-498 manual

Niko

Niko 10-498 manual

Nokeval Flex-T manual

Nokeval

Nokeval Flex-T manual

HK Instruments DPT-Priima Series installation instructions

HK Instruments

HK Instruments DPT-Priima Series installation instructions

Mueller Systems Mueller Cellular Node installation manual

Mueller Systems

Mueller Systems Mueller Cellular Node installation manual

Meder TravelGuide user manual

Meder

Meder TravelGuide user manual

Continental Electronics 317C-1 instruction manual

Continental Electronics

Continental Electronics 317C-1 instruction manual

manuals.online logo
manuals.online logoBrands
  • About & Mission
  • Contact us
  • Privacy Policy
  • Terms and Conditions

Copyright 2025 Manuals.Online. All Rights Reserved.