manuals.online logo
Brands
  1. Home
  2. •
  3. Brands
  4. •
  5. Linear
  6. •
  7. Transmitter
  8. •
  9. Linear Delta-3 DTG User manual

Linear Delta-3 DTG User manual

This manual suits for next models

1

Other Linear Transmitter manuals

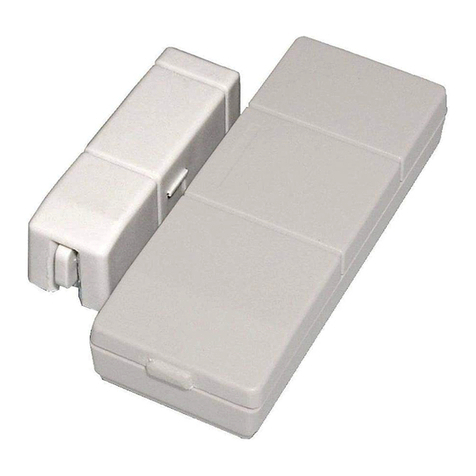
Linear DOOR/WINDOW TRANSMITTER DXT-31 User manual

Linear

Linear DOOR/WINDOW TRANSMITTER DXT-31 User manual

Linear ADVANCED AT7200 User manual

Linear

Linear ADVANCED AT7200 User manual

Linear LINEARCOM3000 User manual

Linear

Linear LINEARCOM3000 User manual

Linear MegaCode MCT-3 User manual

Linear

Linear MegaCode MCT-3 User manual

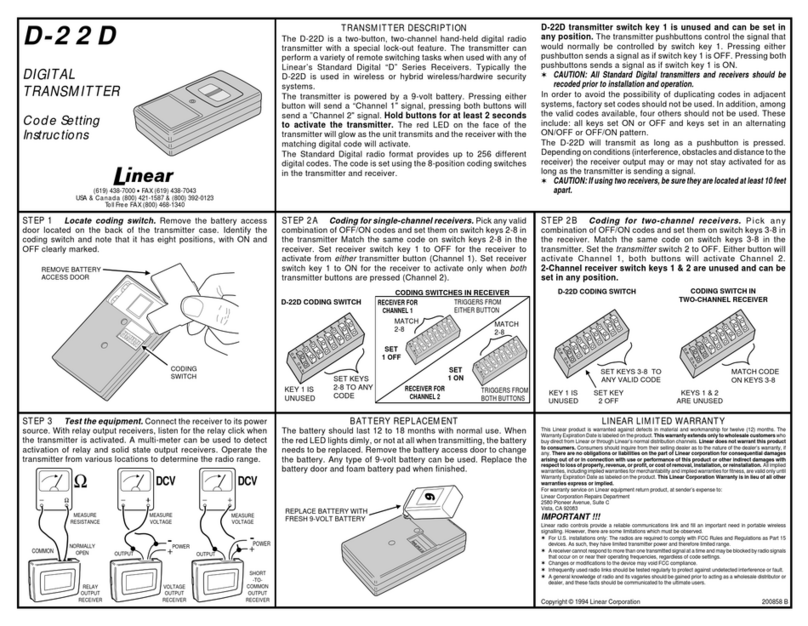
Linear DIGITAL  TRANSMITTER GT-30 User manual

Linear

Linear DIGITAL TRANSMITTER GT-30 User manual

Linear DX DXT-41 User manual

Linear

Linear DX DXT-41 User manual

Linear DT-3 Plus 1 Administrator guide

Linear

Linear DT-3 Plus 1 Administrator guide

Linear DX DXT-61 Technical manual

Linear

Linear DX DXT-61 Technical manual

Linear DXS-64 User manual

Linear

Linear DXS-64 User manual

Linear Mini-Code 3060 User manual

Linear

Linear Mini-Code 3060 User manual

Linear Multi-Code 3089 User manual

Linear

Linear Multi-Code 3089 User manual

Linear MULTI-CODE 1051 User manual

Linear

Linear MULTI-CODE 1051 User manual

Linear XT-4 User manual

Linear

Linear XT-4 User manual

Linear MDT User manual

Linear

Linear MDT User manual

Linear MULTI-CODE 4140 User manual

Linear

Linear MULTI-CODE 4140 User manual

Linear DXS-21 User manual

Linear

Linear DXS-21 User manual

Linear ET-2 User instructions

Linear

Linear ET-2 User instructions

Linear Multi-Code 3089 User manual

Linear

Linear Multi-Code 3089 User manual

Linear D-22B Administrator guide

Linear

Linear D-22B Administrator guide

Linear DXS-LRW User manual

Linear

Linear DXS-LRW User manual

Linear DXS-32/EC User manual

Linear

Linear DXS-32/EC User manual

Linear DX DXS-65 User manual

Linear

Linear DX DXS-65 User manual

Linear WT00Z-1 User manual

Linear

Linear WT00Z-1 User manual

Linear Multi-Code 3022 User manual

Linear

Linear Multi-Code 3022 User manual

Popular Transmitter manuals by other brands

Seneca K120RTD installation manual

Seneca

Seneca K120RTD installation manual

Nautel GV40 installation manual

Nautel

Nautel GV40 installation manual

HumanTechnik cm-light operating instructions

HumanTechnik

HumanTechnik cm-light operating instructions

INOR APAQ C130 TC User instructions

INOR

INOR APAQ C130 TC User instructions

FeinTech ABT00102 instruction manual

FeinTech

FeinTech ABT00102 instruction manual

Geo Web Pack quick start guide

Geo

Geo Web Pack quick start guide

Inovonics EchoStream EN1210W installation instructions

Inovonics

Inovonics EchoStream EN1210W installation instructions

IKONNIK KA-6 quick start guide

IKONNIK

IKONNIK KA-6 quick start guide

Rohde & Schwarz SR8000 Series System manual

Rohde & Schwarz

Rohde & Schwarz SR8000 Series System manual

Audio Technica UniPak ATW-T93 Installation and operation

Audio Technica

Audio Technica UniPak ATW-T93 Installation and operation

NIVELCO EasyTREK SCA-300 Series Programming manual

NIVELCO

NIVELCO EasyTREK SCA-300 Series Programming manual

Honeywell 5816WMBR installation instructions

Honeywell

Honeywell 5816WMBR installation instructions

Kamstrup READy MTU Installation and operation guide

Kamstrup

Kamstrup READy MTU Installation and operation guide

Omega ZW Series user guide

Omega

Omega ZW Series user guide

ABB Field 264H Instructions for installation

ABB

ABB Field 264H Instructions for installation

Dejero EnGo 3x manual

Dejero

Dejero EnGo 3x manual

Rosemount 4600 Reference manual

Rosemount

Rosemount 4600 Reference manual

RKI Instruments M2A 65-2643RK-05-04 Operator's manual

RKI Instruments

RKI Instruments M2A 65-2643RK-05-04 Operator's manual

manuals.online logo
manuals.online logoBrands
  • About & Mission
  • Contact us
  • Privacy Policy
  • Terms and Conditions

Copyright 2025 Manuals.Online. All Rights Reserved.

INSTR,INSTL,DTG
Linear P/N: 211906 Rev-D
Material: 20 Lb. Mead Bond
Size 8.500"x11.000"
Ink: Black
Side 1 of 2
Scale: 1-1
DTG
GATE SAFETY EDGE
TRANSMITTER
Installation
Instructions
(800) 421-1587 •www.linearcorp.com
DESCRIPTION
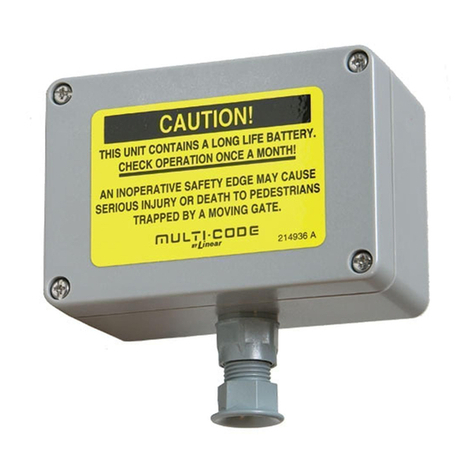
The DTG is part of Linear’s Delta-3 product line and is compatible with all Delta-3
products. In a typical installation, the DTG is mounted on a motorized gate, door
or barrier arm and wired to a standard exterior safety edge sensor which
presents a closed circuit across the connecting wires when an object is hit during
the closing of a gate. To insure full compatibility with all gate edge safety
features, Linear recommends Miller gate edge sensors. If the edge sensor is
pressed for a minimum of 1/8 second, the DTG transmits a message to the
receiver to reverse the movement of the gate.
The DTG circuit board has been coated to prevent moisture damage and is
mounted inside a weather resistant fiberglass box. The mounting box attaches
to the gate through sealed interior mounting screws.
DTG
TRANSMITTER
SAFETY EDGE
SENSOR GATE
OPERATOR
TYPICAL
INSTALLATION
STEP 1
Remove Cover.
Loosen the four screws on transmitter top and
remove cover.
STEP 2
Locate Parts.
Refer to diagram below for transmitter parts location
and details.
STEP 3
Mount Safety Edge.
Mount safety edge according to manufacturer’s
instructions included with the product.
STEP 4
Mount DTG.
Choose a location as high as possible on gate in a
secure position. Use the template attached to mark the location for the
transmitter. You may have to attach a metal or wood plate to mount transmitter.
Use a 3/32" bit and drill holes. Attach DTG to gate using the four #6 self-tapping
drill point screws.
LOOSEN
SCREWS
REMOVE
COVER
SAFETY EDGE
INPUT TERMINALS
TEST
SWITCH
CODE SWITCH
KEYS
9 VOLT
ALKALINE OR
LITHIUM BATTERY
ANTENNA
TEST
INDICATOR
INSTALL
SAFETY EDGE
ATTACH DTG
TO PLATE
3.88"
1.77"
WELD PLATE
TO GATE
INSTR,INSTL,DTG
Linear P/N: 211906 Rev-D
Material: 20 Lb. Mead Bond
Size 8.500"x11.000"
Ink: Black
Side 2 of 2
Scale: 1-1
STEP 5
Assemble Cable Grip.
Unscrew the cable grip about 3/4 of the way
and thread the safety edge cable through the cable entry on the transmitter.
STEP 6
Attach Cable.
Attach safety edge cable to terminals as shown.
Tighten cable grip assembly using pliers to assure a water tight seal.
STEP 7
DTG Code Setting.
To set a code, select any valid combination of
ON and OFF positions for the switch keys numbered 1 - 8. Refer to receiver
installation instructions to code receiver switches.
STEP 8
Test Safety Edge.
Test safety edge connection by pressing the
safety edge. The test indicator light should come on.
STEP 9
Wire Receiver.
Wire receiver obstacle output to obstacle input on
operator. Refer to operator and receiver wiring instructions.
STEP 10
Test System.
Activate the gate to close.As the gate is closing, press
the safety edge with your hand.Gate should stop and reverse.

CAUTION! DO not stand in the path of the closing gate.
STEP 11
Replacing Batteries.
If LED indicator fails to light when test button
is pushed, replace with a 9 volt alkaline or lithium battery.
CABLEGRIPASSEMBLY
TO SAFETY EDGE
ATTACH EDGE SENSOR
CABLE TO TERMINALSTO SAFETY EDGE
O
F
F
O
N
6
5
4
3
2
1
7
8
USE A PAPER CLIP
TO SET THE EIGHT
KEYS
TEST INDICATOR SHOULD
LIGHT WHEN SAFETY EDGE
IS PRESSED
PRESS
WITH
HAND
WARNING!
NO AUTOMATIC
SUPERVISION OF
A DAMAGEDGATE
EDGE SENSOR IS
PROVIDED. USER IS
CAUTIONED TO TEST
THE TRANSMITTER
REGULARLY.
PRESS
SAFETY EDGE
CLOSE GATE
GATE OPERATOR
24 V RADIO POWER
RELAY
COMMON
1
2
3
MANUAL ACCESS
REQUEST
DRG
Digital Gate Receiver
OBSTACLE
COMMON
1
2
OBSTACLE INPUT
CHANNEL
ONE
GRAY
YELLOW
CHANNEL
TWO
UNSNAP
BATTERY CLIP
REMOVE BATTERY
FROM HOLDER
WARNING!
NO LOW BATTERY
REPORTS ARE SENT
WHEN THE BATTERY
GETS WEAK. USER IS
CAUTIONED TO TEST
THE TRANSMITTER
MONTHLY.
Copyright © 2019 Nortek Security & Control LLC 211906 Rev-D
LIMITED WARRANTY
This Nortek Security & Control LLC product is warranted against defects in material and workmanship for twenty-four (24) months. This
warranty extends only to wholesale customers who buy direct from Nortek or through Nortek’s normal distribution channels. Nortek
Security & Control LLC does not warrant this product to consumers. Consumers should inquire from their selling dealer as to the nature of
the dealer’s warranty, if any.There are no obligations or liabilities on the part of Nortek Security & Control LLC for consequential damages
arising out of or in connection with use or performance of this product or other indirect damages with respect to loss of property, revenue,
warranties express or implied.
All products returned for warranty service require a Return Authorization Number (RA#). Contact Nortek Security & Control Returns at
1-855-546-3351 for an RA# and other important details.
FCC & IC Notice
This device complies with Part 15 of the FCC Rules and Industry Canada license exempt standard(s). Operation is subject to the
following two conditions:
1) This device may not cause harmful interference, and
2) This device must accept any interference received, including interference received that may cause undesired operation.
Le présent appareil est conforme aux CNR d’Industrie Canada applicables aux appareils radio exempts de licence. L’exploitation est
autorisée aux deux conditions suivantes:
1) (1) l’appareil ne doit pas produire de brouillage, et
2) (2) l’utilisateur de l’appareil doit accepter tout brouillage radioélectrique subi, même si le brouillage est susceptible d’en
compromettre le fonctionnement.
WARNING:
equipment.