Litepanels Hilio User manual

Hilio
User Manual


Litepanels®Inc. is a Vitec Group brand
©2012 Litepanels®
All rights are reserved
Table of Contents
Important Safety Instructions.......................................................................................................................1
Overview ....................................................................................................................................................3
Rear Panel Controls....................................................................................................................................4
Power Switch and Dimmer Control .............................................................................................................5
Extended Silent Control and Power Input Jack...........................................................................................5
DMX Control................................................................................................................................................6
AC Adapter Mounting and Optional Mounting Plate....................................................................................7

WARNING: TO REDUCE THE RISK OF ELECTRIC SHOCK, DO NOT REMOVE THE SCREWS (I.E., DO NOT OPEN THE HILIO)
THERE ARE NO USER SERVICEABLE PARTS INSIDE. REFER SERVICING ONLY TO QUALIFIED SERVICE PERSONNEL.
WARNING: TO REDUCE THE RISK OF ELECTRIC SHOCK, DO NOT REMOVE THE SCREWS (I.E., DO NOT OPEN THE HILIO)
THERE ARE NO USER SERVICEABLE PARTS INSIDE. REFER SERVICING ONLY TO QUALIFIED SERVICE PERSONNEL.
CAUTION
RISK OF ELE C T R I C SHOCK
DO N OT OPE N
CAUTION: This equipment has been tested and found to comply with the limits for a Class B digital device pursuant to Part 15 of FCC Rules. Operation is subject to the
following two conditions: (1) This device may not cause harmful interference, and (2) this device must accept any interference received, including interference that may
cause undesired operation.
The lightning symbol within a triangle means “electrical caution!”
It indicates the presence of information about operating voltage and
potential risks of electrical shock.
The exclamation point within a triangle means “caution!”
Please read the information next to all caution signs.
Page 1
WARNING: TO REDUCE THE RISK OF FIRE OR ELECTRIC SHOCK, DO NOT EXPOSE THE APPLIANCE TO RAIN OR MOISTURE.
Important Safety Instructions

•Read these instructions.
•Keep these instructions.
•Heed all warnings.
•Follow all instructions.
•Do not use the HILIO near water.
•Clean the HILIO with a dry cloth.
•Do not block any ventilation openings on the HILIO.
•Install the HILIO in accordance with the manufacturer’s instructions.
•Do not install near any heat sources such as radiators, heat registers, stoves, or other apparatus that produce heat.
•This apparatus shall be connected to a MAINS socket outlet with a protective grounding connection, via the included AC Adapter.
•Do not defeat the safety purpose of the polarized, or grounding type plug. A polarized plug has 2 blades with one widerthan
the other. A grounding type plug has 2 blades and a third grounding prong. The wide blade, or the third prong are provided for
your safety. If the provided plug does not fit into your outlet, consult an electrician for replacement of the obsolete outlet.
•Protect the power cord from being walked on or pinched, particularly at plugs, convenience receptacles, and the point where
they exit from the apparatus.
•Only use the AC Adapter and accessories/attachments supplied or specified by the manufacturer.
•Refer ALL servicing to qualified service personnel.
•The apparatus shall not be exposed to dripping or splashing of liquids.
•WARNING: To reduce the risk of fire or electric shock, do not expose the HILIO to rain or moisture.
•The appliance coupler is used as the disconnect device, the disconnect device shall remain readily operable.
•Connect the supplied AC adapter ONLY to AC power outlets rated 100/120V 220/240V 50/60Hz.
•Service is required when the apparatus has been damaged in any way such as:
• AC Adapter, power cord or plug is damaged.
• Liquid had been spilled into the apparatus.
• The unit has been exposed to rain or moisture.
• The unit has been dropped or the enclosure is damaged.
• The unit does not operate normally or changes in performance in a significant way.
Page 2
Please Read These Important Safety Instructions
And Keep Them in a Safe Place!
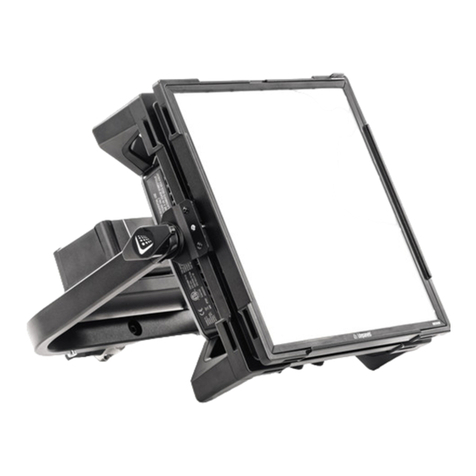
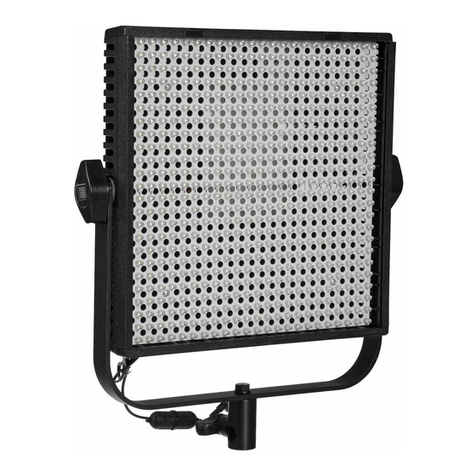
Overview
• 72 Hi-Power LEDs
• Beam angle of 15°
• 25ft. (7.6m) projected illumination
• 5600°K Color Temperature - daylight balanced
• 115W current draw
• 0-100% Local and DMX remote dimming control
• Integrated cooling system
• Operational ambient temperature -32°C to +49°C (-25°F to +120°F)
• Operational humidity: up to 85% relative humidity (non-condensing)
• Standard yoke system with integrated gimbal mount and standard Junior Pin
• Rugged hard anodized aluminum housing
• Spring loaded locking handles
• Dimensions: 10” (254mm) x 14” (356mm) x 4” (102mm)
• Weight: 13lbs. (5.9kg)
• Optional accessories:
• 5pc Filter Set (1/8, 1/4, 1/2, full CTO, and 1/2 white diffuser)
• Pole Operated Yoke
• AC Adapter Gimbal Mounting Plate for fixture back
Page 3
The HILIO answers the need for an LED fixture capable of throwing illumination over a 20 to 25 foot
(6.1 – 7.6m) distance, providing HD-friendly light with all the advantages of Litepanels LEDs.
The new HILIO Hi-Output is 5600°K color balance, utilizing an array of 72 One-Watt daylight LEDs that
are focused to a 15° angle.

Rear Panel Controls
Standard Junior Pin
Power In Jack
3 Pin Locking XLR
Extended Silent Mode Switch
Dimmer Control Knob
DMX Terminate Switch
DMX RJ45 In/Out Jacks
DMX Push Button
Address Counters
Power On/Off Switch
Gimbal Style Mount
Features for AC Adapter
Mounting Plate
Page 4

Power Switch & Dimmer Control Extended Silent Control & Power Input Jack
Dimmer Control Knob:
The Dimmer Control Knob allows for variations
in intensity from 100% – 0.
100% being fully CW, and 0 fully CCW.
There is no change in the color temperature as
the fixture is dimmed down/up.
Extended Silent Mode Switch:
This feature gives the user the option to maintain silent operation
at a higher ambient temperature. In normal mode, the internal
cooling fans automatically actuate when the unit temperature
reaches 50°C. Pressing this switch will allow the unit to
reach 65°C before the cooling system switches on. When powered
off this feature will default to the 50°C setting.
The Hilio has a built in safety feature that will shut down the unit
if a temperature of 85°C is reached. The unit will operate
again once the temperature falls below 85°C.
Power In Jack:
A 3 Pin Female XLR connector is plugged into this jack socket
(supplied), providing 24V DC.
Pin1 = GRND, Pin2 = +ve.
(Do not use non-approved AC adapters which may damage
the unit and void your warranty). Page 5

0 0 1
DMX Control
Page 6
DMX Jacks: The DMX jacks allow for multiple units
to be connected from one fixture to the next (daisy
chain). There is no designation as to which of the
two jacks is input or output, they are interchange-
able. Connect a Litepanels 5 pin XLR to RJ-45
cable (#906-0006) from the dimmer control panel to
the closest Litepanels fixture and then connect the
first fixture to the second fixture using standard
CAT5 8-pin Ethernet cable, and so on.
Only the last HILIO fixture in the sequence should
have the terminator switch set (down position).
DMX Push button address switches: An integral DMX-512 interface is included in all HILIO fixtures for
remote dimming control. DMX is a standardized hardware and software protocol that allows lighting fixtures
to be remotely controlled by both analog and digital dimmer control boards. These control consoles typically
have between 4 and 128 sliders that individually control lighting fixtures. Each fixture has a unique
sequential address number which are set by adjusting the 3 DMX push button address on the back of the
HILIO fixture. If you set the DMX push button address to 001 then the fixture address is 1 which then reacts
to all control instruction on the first DMX channel of the DMX control universe by dimming brightness or
level of intensity. Any additional fixtures will have to then be addressed at 002 or higher to avoid overlap.
General practice addresses each fixture with their own address, however multiple units can be addressed
using the same control channel. Valid DMX addresses are 1 through 512. Litepanels has reserved the
numbers above 512 for special functions.

AC Adapter Mounting and Optional Mounting Plate
Locking Pin Hole
Mounting Slots
Alignment Pin Holes
Page 7
The supplied AC Adapter can be mounted onto the back of the HILIO fixture using the
optional Mounting Plate. The mounting plate is aligned using the alignment holes and two
of the mounting slots shown above, then rotated clockwise until the spring loaded locking
pin snaps into the back panel. The AC Adapter can then be housed in the bracket for
convenient set-up. To remove the bracket, the AC Adapter needs to be removed first, the
spring locking pin pulled out to unlock it, and the bracket turned counter-clockwise to
remove from the back panel.
WARNING: Always mount the power supply bracket so the opening is facing upward to
insert the power supply.

Please visit us online at
http://www.litepanels.com
and register your product.
Table of contents
Other Litepanels Lighting Equipment manuals

Litepanels
Litepanels Studio LED X3 PLUS Bicolor User manual

Litepanels
Litepanels STORM ASTRA User manual

Litepanels
Litepanels Ringlite Mini User manual

Litepanels
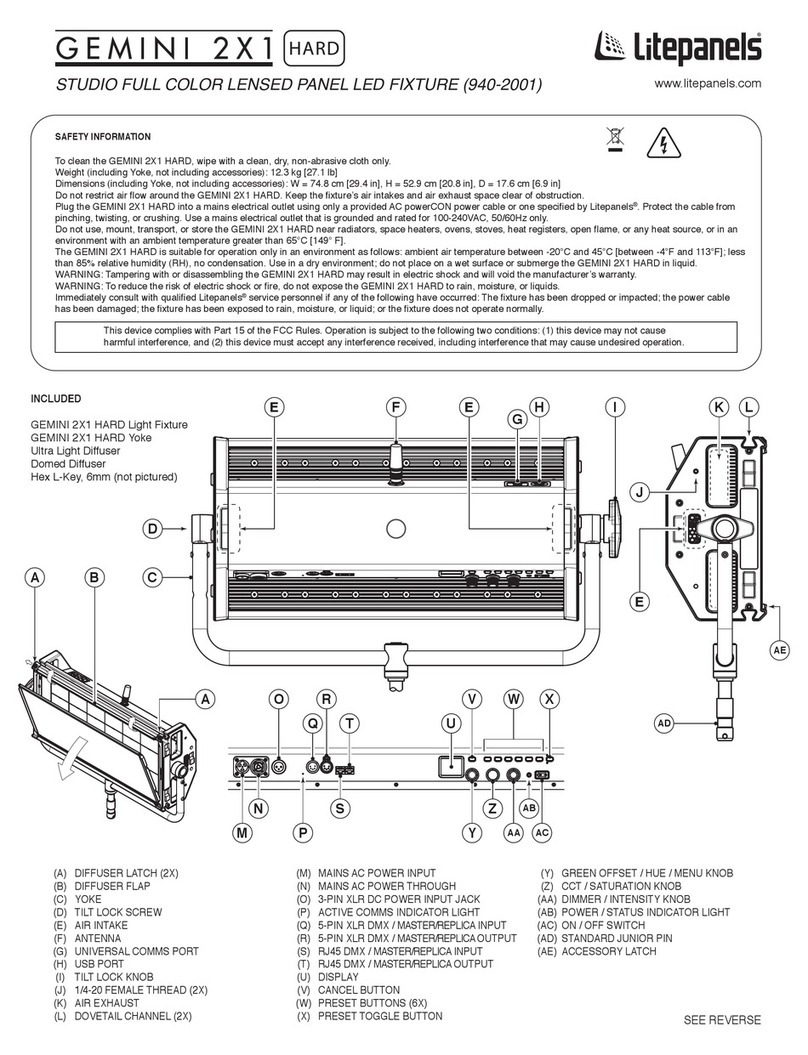
Litepanels GEMINI 2X1 HARD Series User manual

Litepanels
Litepanels Studio LED X6 PLUS User manual

Litepanels
Litepanels Gemini 1x1 Soft User manual

Litepanels
Litepanels Gemini 1x1 Soft User manual

Litepanels
Litepanels Gemini 1x1 Soft User manual

Litepanels
Litepanels Gemini 2x1 Soft User manual