LMI Technologies LCI401 User manual

FOCALSPEC LINE CONFOCAL SENSORS
LCI401, LCI1200, LCI1201 & LCI1600
USER GUIDE
Version 2.7

2020-03-10 FOCALSPEC User guide LCI401-1200-1201-1600 v2.7 2/25
LMI Technologies, Inc. • www.lmi3d.com
Copyright
Copyright © 2020 by LMI Technologies, Inc. All rights reserved.
Proprietary
This document, submitted in confidence, contains proprietary information which shall not be
reproduced or transferred to other documents or disclosed to others or used for manufacturing or any
other purpose without prior written permission of LMI Technologies Inc.
No part of this publication may be copied, photocopied, reproduced, transmitted, transcribed, or
reduced to any electronic medium or machine readable form without prior written consent of LMI
Technologies, Inc.
Trademarks and Restrictions
FocalSpec™ is a registered trademark of LMI Technologies, Inc. Any other company or product names
mentioned herein may be trademarks of their respective owners.
Information contained within this manual is subject to change.
Contact Information
LMI Technologies, Inc.
9200 Glenlyon Parkway
Burnaby BC V5J 5J8
Canada
Telephone: +1 604-636-1011
Fax: +1 604-516-8368
www.lmi3D.com

2020-03-10 FOCALSPEC User guide LCI401-1200-1201-1600 v2.7 3/25
LMI Technologies, Inc. • www.lmi3d.com
Version history
Version
Status
Date
Author
Comments
2.7
Approved
2020-02-27
Kalistaja
David
Table 1 corrected.
Aligned spec
terminology with
datasheet / LMI.
2.6
2020-01-22
David
Rebranding.
2.5
2019-09-30
Kalistaja
Template updated.
Removed IO cable X1
from the delivery
content.
2.4
Draft
2019-09-13
Kalistaja
Remove LCI400, all
FocalSpec Graphical
User Interface Example
Application
documentation moved
from this document to
Sensor API
documentation
2.3
Approved
2019-06-05
Kylmäaho
Indication LED’s table 3
added, Table 6 added,
Figure 12 updated
2.2
Approved
2019-01-25
Mäkäräinen
LCI1600 figure 4 and
table 1 updated
2.1
Approved
2018-12-09
Kontio
Updated after proof
checking and review
2.0
Approved
2018-11-29
Pitkänen
GUI Example chapter
reorganized and
updated
1.9
Approved
2018-08-14
Kylmäaho
Table 5. I/O cable Pin
out updated
1.8
Approved
2018-06-27
Mäkäräinen
LCI401 Added
1.7
Approved
2018-04-11
Kontio
GUI Example and SDK
chapters updated. New
chapter for batch
mode usage added.
1.6
Approved
2018-04-06
Mäkäräinen
LCI1201 added
1.5
Approved
2018-03-22
Kontio
FocalSpec street
address updated in
footer. Compatibility
with Windows 10
included.

2020-03-10 FOCALSPEC User guide LCI401-1200-1201-1600 v2.7 4/25
LMI Technologies, Inc. • www.lmi3d.com
1.4
Approved
2017-01-19
Koskinen,
Mikkonen
LCI1200 encoder input
fixes, adds LCI1200
trigger input debounce
time, language checks.
1.3
Approved
2016-10-04
Niemelä
Updated Specification.
1.2
Approved
2016-09-23
Takkunen-Lauri
Safety information
added.
1.1
Approved
2016-08-15
Matilainen
Template update.
1.0
Approved
2016-08-02
Niemelä,
Mikkonen,
Koskinen,
Rintamäki,
Kähkönen,
Matilainen
First release.

2020-03-10 FOCALSPEC User guide LCI401-1200-1201-1600 v2.7 5/25
LMI Technologies, Inc. • www.lmi3d.com
CONTENTS
1 About this Document..................................................................................................... 6
2 Safety Information......................................................................................................... 6
2.1 Safety Notes 6
2.2 Warnings 6
2.3 Proper Use 7
2.4 CE Marking 7
3 Functional Principle ....................................................................................................... 8
4 Technical Data................................................................................................................ 9
5 Delivery Contents........................................................................................................... 9
6 Installation and Mounting ........................................................................................... 10
7 Electrical Connections.................................................................................................. 13
8 Input and Output Description...................................................................................... 15
9 External Trigger Configurations ................................................................................... 18
10 Preparing Measurement Setup ................................................................................. 20
11 Getting Started .......................................................................................................... 21
12 Software Development Kit......................................................................................... 23
12.1 Overview 23
12.2 Developing Measurement Applications 23
13 Troubleshooting......................................................................................................... 24
14 Support ...................................................................................................................... 25
15 Abbreviations............................................................................................................. 25

2020-03-10 FOCALSPEC User guide LCI401-1200-1201-1600 v2.7 6/25
LMI Technologies, Inc. • www.lmi3d.com
1About this Document
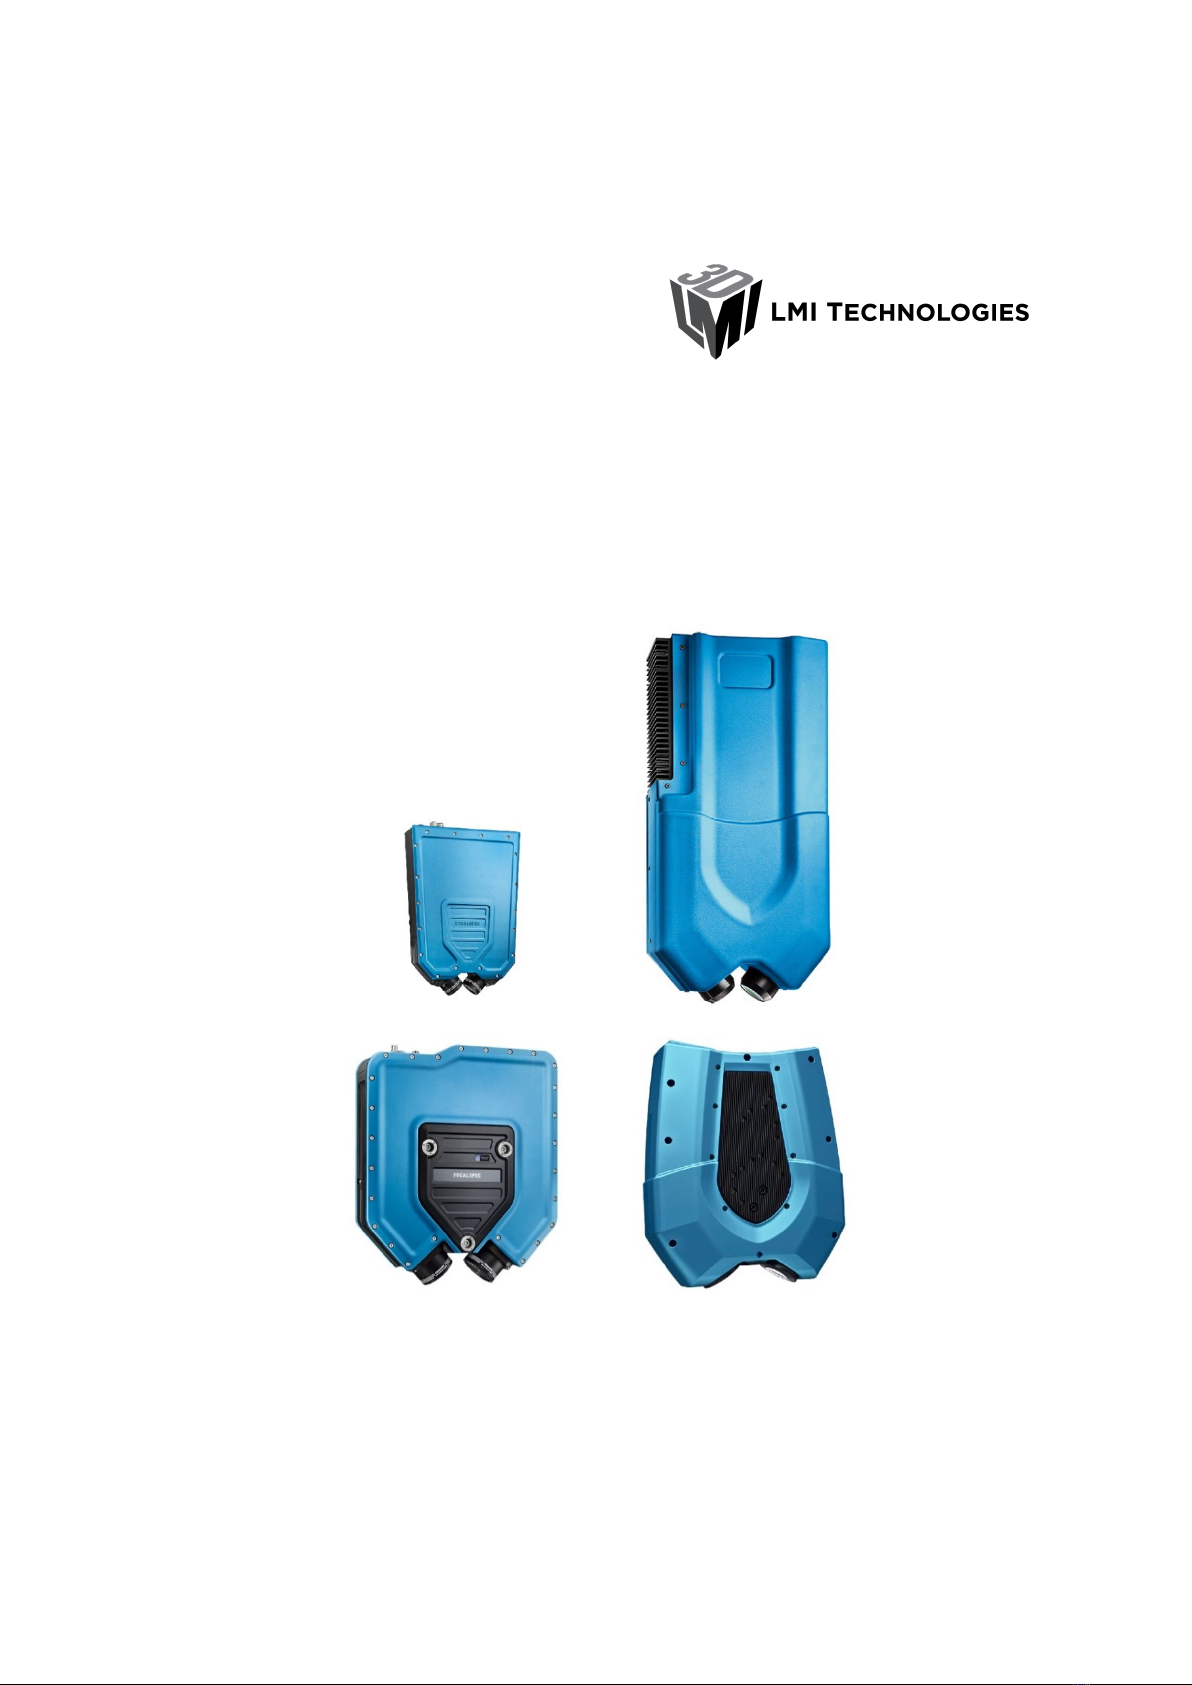
This document is user guide of sensors LCI401, LCI1200, LCI1201 and LCI1600. Sensors LCI1220 and
LCI1620 are covered by separate guide. FocalSpec Software Development Kit (FSSDK) and the API
documentation can be found after FSSDK installation from folder: C:\Focalspec\FocalSpec Software
Development Kit\Manual.
2Safety Information
This chapter contains important safety information for installing and using the LCI sensors LCI401,
LCI1200, LCI1201 and LCI1600.
•Note! Read this document carefully before use.
•Note! Keep this document for future reference.
•Note! Original instructions. The original language is English.
2.1 Safety Notes
This document uses safety notes as follows:
•Note! Notes are tips, shortcuts or alternative approaches to the task at hand. Ignoring a note
should have no negative consequences.
•Caution! A Caution statement alerts you to situations that can be potentially hazardous to you or
cause damage to hardware, firmware, software, or data.
•Warning! A Warning statement indicates conditions or situations that can be potentially lethal or
extremely hazardous to you. Safety labels are also attached directly to products to warn of these
conditions or situations.
2.2 Warnings
•Caution! Do not remove any safety devices or open the cover. Risk of injuries and insecure
operation. The warranty is void if the cover is opened.
•Caution! Do not look directly into the light source. Light radiation may damage your eyes.
•Caution! This is a high-precision optical instrument. Protect the device from dust and moisture
and avoid subjecting it to shocks and strong forces.
•Caution! Before using the sensor for the first time, check the sensor for transport damage. If the
sensor is damaged, contact support. See Support.
•Warning! Use only qualified personnel for the installation of all electrical supplies and fixtures,
and make sure that all installations adhere to local regulations and safety standards.

2020-03-10 FOCALSPEC User guide LCI401-1200-1201-1600 v2.7 7/25
LMI Technologies, Inc. • www.lmi3d.com
2.3 Proper Use
The LCI sensor is designed for use in industrial areas. The sensor is used for optical measurements, such
as 3D topography, dimensions and distances measurements, measuring the tomography of transparent
materials, surface micro profile measurements, and film thickness measurements.
Use the sensor only in such a way that, in the case of malfunction or failure, personnel or machinery are
not endangered.
Ambient temperature range: +15 ºC … +35 ºC.
2.4 CE Marking
The manufacturer has confirmed that this product complies with the essential requirements of the
applicable EC Directive, based on the following specifications. Be sure to consider the following
specifications when using this product in the Member States of European Union.
•EMC Directive (2004/108/EC)
oEN55011 Class A ISM Conducted Emissions
oEN55011 Class A ISM Radiated Emissions
•EN61000-4-2:2009 (IEC 61000-4-2:2008)

2020-03-10 FOCALSPEC User guide LCI401-1200-1201-1600 v2.7 8/25
LMI Technologies, Inc. • www.lmi3d.com
3Functional Principle
FocalSpec line confocal imaging (LCI) sensors measure and evaluate 3D profiles on a variety of different
target surfaces. LCI sensor technology provides precise and accurate microtopographic surface height
information based on chromatic confocal imaging principle.
Figure 1. Line confocal imaging illustration
LCI technology utilizes a broad band spectrum of light with a continuous band of wavelengths. By using
special lenses, a spectrally dispersed beam of light is projected onto the target surface for a short duration
of time for each acquired sample. The optical system then collects the reflected beam onto a highly
sensitive sensor matrix. In addition to vertical distance information (z-axis), the sensor provides lateral (x-
axis) distance information from 2048 sensor pixels. These measured 2048 x- and z-coordinates are then
output to a computer. In the case of a moving object, or traversing alternatively the sensor, an object can
be scanned over and all spatial dimensions of the object can be determined.

2020-03-10 FOCALSPEC User guide LCI401-1200-1201-1600 v2.7 9/25
LMI Technologies, Inc. • www.lmi3d.com
4Technical Data
Table 1. Technical data for the sensors
LCI401
LCI 1600
LCI 1200
LCI 1201
Field of view
4.3
16.6
11.3
11.5
mm
X resolution
2.1
8.1
5.5
5.6
µm
Z repeatability*
0.11
0.24
0.11
0.13
µm
Stand-off distance
8.0
64.0
16.2
20.6
mm
Measurement range
1.1
5.5
2.8
3.0
mm
Measurement speed
at full depth of field
300
500
500
500
Hz
Max Measurement
Speed with limited
Z-range
800
3000
3500
4000
Hz
Number of points /
profile
2048
2048
2048
2048
Max slope of objects
15
13.5
20.0
20.0
deg
Dimensions
300x202x62
432x358x113
645x314x130
419x354x91
mm
Weight
4
20
24
14
kg
Level of protection
(EN60529)
IP55
IP30
IP30
IP55
* Z repeatability is the standard deviation of Z measurements using the FocalSpec target at the specified reference distance
** Maximum speed is maximum frequency to measure region of interest (ROI) with the depth 0.4 mm on full field of view
5Delivery Contents
Standard OEM sensor delivery content includes:
FocalSpec LCI sensor
Ethernet cable (5 m)
Power/trigger cable (5 m)
USB drive
oSoftware Development Kit (FSSDK) installer
oSensor 3D CAD STEP files
oSensor mounting drawings
Reference measurement sample is an optional sales item, and not included in standard delivery kit.

2020-03-10 FOCALSPEC User guide LCI401-1200-1201-1600 v2.7 10/25
LMI Technologies, Inc. • www.lmi3d.com
6Installation and Mounting
3D CAD STEP as well as high-resolution versions of the drawings below are included in the USB drive folder
“hardware”. The position and orientation of the optical profile is shown in an enlarged detail image for
each model. The X, Y, Z origin in each STEP file is placed into the middle of the optical profile.
Figure 2. Installation and mounting of LCI1200.

2020-03-10 FOCALSPEC User guide LCI401-1200-1201-1600 v2.7 11/25
LMI Technologies, Inc. • www.lmi3d.com
Figure 3. Installation and mounting of LCI1600.

2020-03-10 FOCALSPEC User guide LCI401-1200-1201-1600 v2.7 12/25
LMI Technologies, Inc. • www.lmi3d.com
Figure 4. Installation and mounting of LCI1201.
Figure 5. Installation and mounting of LCI401.

2020-03-10 FOCALSPEC User guide LCI401-1200-1201-1600 v2.7 13/25
LMI Technologies, Inc. • www.lmi3d.com
7Electrical Connections
Sensors LCI401, LCI1200, LCI1201 and LCI1600 are powered using a Hybrid 8-pin M12 type cable (X2 -
Phoenix 1407488). The same cable offers general purpose inputs, which can be used for synchronization
purposes. The sensor communicates with PC via Ethernet (CAT5E cable is recommended). All routers must
be 1 Gigabit Ethernet routers.
Figure 6. Electrical cables for sensors LCI401, LCI1200, LCI1201 and LCI1600
Figure 7. Electrical connections for LCI1201, LCI401 and LCI1601 are similar

2020-03-10 FOCALSPEC User guide LCI401-1200-1201-1600 v2.7 14/25
LMI Technologies, Inc. • www.lmi3d.com
There are two indicator LEDs next to the connectors on the connector panel. The status LED turns red if
the sensor is not connected to a PC or a router, whereas a green light indicates that the connection is
established. The status LED blinks green when Ethernet packets are sent or received.
The position LED helps the user to find a correct distance to the target to measure. A green light is shown
when target is in the measurement range. A blue light is shown when target is at the edge of the
measurement range. A red light is shown when the sensor detects ambient light. This can be caused by
incorrect illumination settings.
Table 2. Indicator LEDs

2020-03-10 FOCALSPEC User guide LCI401-1200-1201-1600 v2.7 15/25
LMI Technologies, Inc. • www.lmi3d.com
8Input and Output Description
Table 3. X2 Power/Trigger cable pinout
Pin
Color
Name
Description
1
White-Orange
Input 1
Input 1 (24 V, default
encoder A input)
2
Orange
Input GND
Common ground for all
inputs
3
White-Green
Not in use
4
Green
Not in use
5
Blue
Input 3
Input 3 (24 V, default zero
input)
6
White
GND
Power Ground
7
Brown
24 V
24 V (20 V – 28 V) / 2 A
8
Black
Input 2
Input 2 (24 V, default
encoder disable-input)
Figure 8. X2 cable power and input wiring for sensors LCI401, LCI1200, LCI1201 and LCI1600.
NOTE 1: Connect the power/trigger cable shield to system GND
NOTE 2: Ensure that the sensor mount has the same ground potential as the sensor itself.

2020-03-10 FOCALSPEC User guide LCI401-1200-1201-1600 v2.7 16/25
LMI Technologies, Inc. • www.lmi3d.com
Table 4. X1 17 pin IO cable pinout of all LCI1200 sensors and sensors LCI401, LCI1201 and LCI1600
delivered before wk18/2019
Pin
Color
Name
Description
1
Brown
Output 1
24 V Output 1 (500 mA)
2
Blue
Output 2
24 V Output 2 (500 mA)
3
White
Output 3
24 V Output 3 (500 mA)
4
Green
Output 4
24 V Output 4 (500 mA)
5
Pink
Input 4
Input 4 (24 V)
6
Yellow
Not in use
7
Black
Output GND
Common ground for outputs
8
Grey
Output GND
Common ground for outputs
9
Red
Not in use
10
Violet
Not in use
11
Grey-Pink
Not in use
12
Red-Blue
24 V Out
24 V output from X2 24 V
input
13
White-Green
24 V Out
24 V output from X2 24 V
input
14
Brown-Green
Input GND
Common ground for inputs
15
White-Yellow
Not in use
16
Yellow-Brown
Not in use
17
White-Grey
Not in use

2020-03-10 FOCALSPEC User guide LCI401-1200-1201-1600 v2.7 17/25
LMI Technologies, Inc. • www.lmi3d.com
Table 5. X1 17 pin IO cable pinout for sensors LCI401, LCI1201 and LCI1600 delivered after wk18/2019
Pin
Color
Name
Description
1
Brown
Output 1
24 V Output 1 (500 mA)
2
Blue
Output 2
24 V Output 2 (500 mA)
3
White
Output 3
24 V Output 3 (500 mA)
4
Green
Output 4
24 V Output 4 (500 mA)
5
Pink
Input 4
Input 4 (24 V)
6
Yellow
Not in use
7
Black
Output GND
Common ground for outputs
8
Grey
Output GND
Common ground for outputs
9
Red
Not in use
10
Violet
Not in use
11
Grey-Pink
24 V Out
24 V output from X2 24 V
input
12
Red-Blue
24 V Out
24 V output from X2 24 V
input
13
White-Green
Input GND
Common ground for inputs
14
Brown-Green
Not in use
15
White-Yellow
Not in use
16
Yellow-Brown
Not in use
17
White-Grey
Not in use
The inputs are opto-isolated and designed to trigger with 24 V signal level. Any of Input 1-4 can be
configured as A, B and Zero input. Input state is also transferred to PC embedded in each peak frame and
can be used as general-purpose input that way.
The outputs are of PNP type, which can drive 500 mA current on each output line. This current is drawn
from X2 pin 7 in addition to 2 A used by the sensor itself. This should be considered when selecting a
power supply for the sensor.
Table 6. Input / Output parameter values.
Input / Output Parameter
Value
Input voltage High
9.6 V (min)
Input voltage Low
4.5 V (max)
Input Maximum pulse rate
150 kHz
Input current Min
2.7 mA
Input current Max
15 mA
Output current Max
500 mA
Output OFF state voltage
1 V
Debounce time (default)
1 µs

2020-03-10 FOCALSPEC User guide LCI401-1200-1201-1600 v2.7 18/25
LMI Technologies, Inc. • www.lmi3d.com
9External Trigger Configurations
The trigger inputs can be used to synchronize the sensor with an external device. Application examples
include: synchronizing the profile measurement into a certain signal of a production process or combining
profiles into 3D point clouds based on the trigger index. Enabling external and internal triggering is
explained in the “FocalSpec Software Development Kit”. Configuring inputs is done programmatically
using corresponding FSSDK parameters and values 1-4 as shown in the table below. Value 0 means not
connected.
Table 8. Configuring trigger input pins
Trigger Input
FSSDK .Net parameter
FSSDK C/C++ #define
Default Value (pin)
A
SensorParameter.TriggerSource
PARAM_TRIGGER_SOURCE
1
B
SensorParameter.TriggerMinusSource
PARAM_TRIGGER_MINUS_SOURCE
0
Zero/Reset
SensorParameter.TriggerZeroSource
PARAM_TRIGGER_ZERO_SOURCE
3
Disable
SensorParameter.TriggerDisableSource
PARAM_TRIGGER_DISABLE_SOURCE
2
By default, Input 1 is encoder channel A, Input 2 is disable signal, Input 3 is encoder zero/reset pulse and
Input 4 is not connected.
The sensor keeps count of the trigger location internally and embeds this information for each frame. B
input of the encoder can be used as a “disable” signal. On every rising edge of the encoder input signal A,
the edge is accepted as a trigger if the encoder input signal B is simultaneously at a low state. An external
logic can be used to generate B signal. B signal can be used, for example, to disable measurement during
a relocation of the sensor.
Figure 9. Forward encoding. External logic B enables trigger A at edges 5-7.
Another way of configuring the encoder inputs is shown in the figure below. Every rising edge of the A
input, while the B input is in low state, increases location count. Every rising edge of the A input, while the
B input is in high state, decreases location count. A rising edge of the Zero input resets the location count.
This can be used, for example, to synchronize the sensor with the scanner mechanics and to compose a
3D point cloud from the individual profiles.
To measure the profile at each trigger event, input A should be used (input B is unconnected and is pulled
down internally). This way every rising edge of the A signal triggers a measurement. The figure below
shows the timing diagram of A and B signals when connected to a quadrature encoder. Only the B
forwardstriggers the measurement because the B channel is on low state at the moment of a rising edge
of the A channel.

2020-03-10 FOCALSPEC User guide LCI401-1200-1201-1600 v2.7 19/25
LMI Technologies, Inc. • www.lmi3d.com
Figure 10. Timing diagram of a quadrature encoder.

2020-03-10 FOCALSPEC User guide LCI401-1200-1201-1600 v2.7 20/25
LMI Technologies, Inc. • www.lmi3d.com
10 Preparing Measurement Setup
To ensure the most favorable measurement conditions, follow the instructions below.
•Handle the sensor with care. Neither the casing nor the lenses of the sensor must interfere with
any object: only the dedicated mounting holes are to be used when installing the sensor.
•Do not hit, drop or shake the sensor. The optics may get out-of-tune if the sensor is handled
improperly.
•If the sensor cannot yet be mounted into your setup, it should be laid on top of a clean, sturdy
table as depicted below.
Figure 11. Sensors laid on a table
•If you need to clean the lenses, please use compressed air (hand-help bottles are usually sufficient).
If compressed air does not remove the impurity, dedicated lens cleansing liquid and cloths should
be used with care.
•The target (marked in the picture below) on the reference sample must not be touched. Keep the
sample clean and if needed, use compressed air for cleaning, do not use liquid, etc.
Figure12. LCI1200 Reference sample target area.
This manual suits for next models
3
Table of contents
Other LMI Technologies Accessories manuals

LMI Technologies
LMI Technologies Gocator 2500 Series User manual

LMI Technologies
LMI Technologies 2020 User manual

LMI Technologies
LMI Technologies Gocator 2300 Series User manual

LMI Technologies
LMI Technologies Gocator 2600 User manual

LMI Technologies
LMI Technologies LCI1220 User manual

LMI Technologies
LMI Technologies Dynavision L1 User manual

LMI Technologies
LMI Technologies DynaVision S Series User manual

LMI Technologies
LMI Technologies Gocator 2100 Series User manual

LMI Technologies
LMI Technologies Gocator 3210 User manual

LMI Technologies
LMI Technologies Dynavision SPR-04 User manual