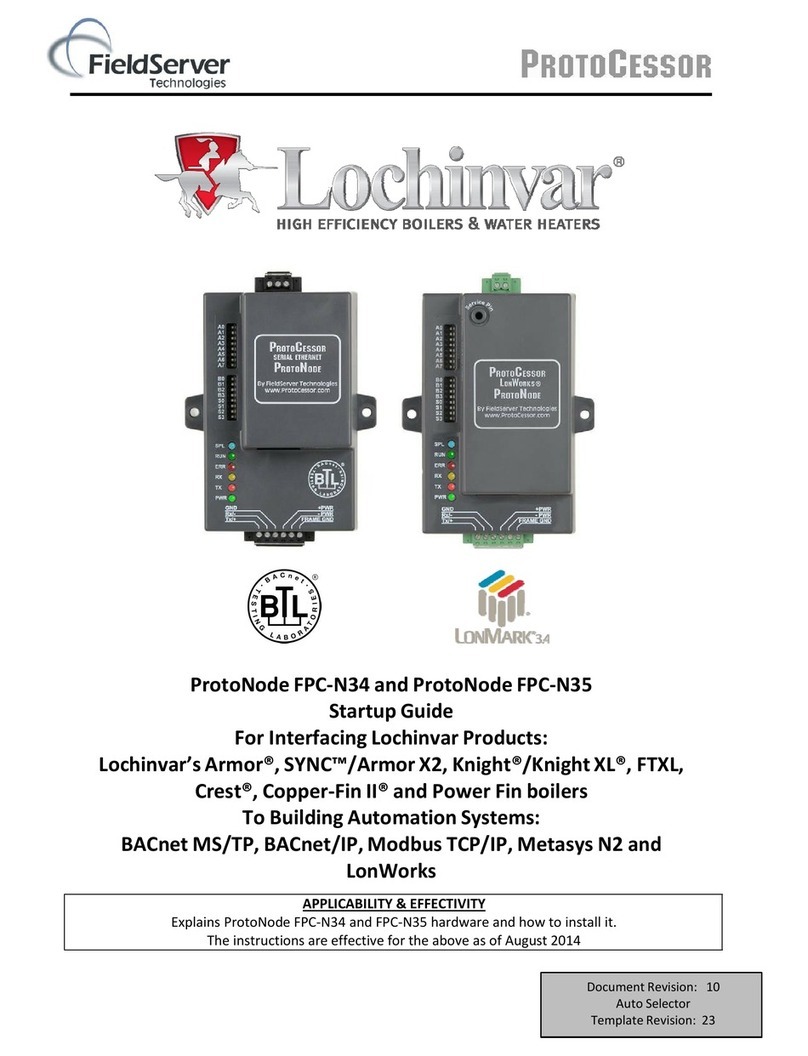
Lochinvar ProtoNode FPC-N34 User guide

Document Revision: 14.A
Auto Selector
Template Revision: 70
ProtoNode FPC-N34 and ProtoNode FPC-N35
Start-up Guide
For Interfacing Lochinvar Products:
SYNC™, Knight®/Knight XL®/Armor/Wall Mount/Wall
Hung, Crest®, Copper-Fin II®, Power Fin, Knight FTXL,
Power Fin 2.5-5.0, IPW
To Building Automation Systems:
BACnet MS/TP, BACnet/IP, Modbus TCP/IP, Metasys N2
and LonWorks
APPLICABILITY & EFFECTIVITY
Explains ProtoNode hardware and how to install it.
The instructions are effective for the above as of November 2017.

Lochinvar ProtoNode Start-up Guide
Page 2 of 48
Technical Support
Thank you for purchasing the ProtoNode for Lochinvar.
Please call Lochinvar for Technical support of the ProtoNode product.
Sierra Monitor Corporation does not provide direct support. If Lochinvar needs to escalate the concern,
they will contact Sierra Monitor Corporation for assistance.
Support Contact Information:
Lochinvar, LLC
300 Maddox Simpson Pkwy.
Lebanon, TN 37090
Customer Service:
1-800-722-2101
Email: 2tech@lochinvar.com
Website: www.lochinvar.com

Lochinvar ProtoNode Start-up Guide
Page 3 of 48
Quick Start Guide
1. Record the information about the unit. (Section 3.1)
2. Set the device’s COM settings and Node-ID for the device that is to connect to the ProtoNode. (Section
3.2)
3. Select a stored configuration then set the field protocol’s MAC Address, Node-ID and baud rate.
(Section 3.3)
4. Connect the ProtoNode’s 6 pin RS-485 connector to the RS-485 network that is connected to the
device. (Section 4.2)
5. Connect the ProtoNode FPC-N34 3 pin RS-485 port to the field protocol cabling, (Section 4.2.3)
or connect the ProtoNode FPC-N35 2 pin LonWorks port to the field protocol cabling. (Section 4.4)
6. Connect power to the ProtoNode’s 6 pin connector. (Section 4.5)
7. Ethernet network (FPC-N34): Use a web browser to access the ProtoNode Web Configurator page to
change the IP Address. No changes to the configuration file are necessary. (Section 5)
8. LonWorks (FPC-N35): The ProtoNode must be commissioned on the LonWorks network. This must be
done by the LonWorks administrator using a LonWorks commissioning tool. (Section 7)

Lochinvar ProtoNode Start-up Guide
Page 4 of 48
TABLE OF CONTENTS
1Certification ......................................................................................................................................6
1.1 BTL Mark®–BACnet Testing Laboratory ..........................................................................................6
1.2 LonMark Certification .........................................................................................................................6
2Introduction ......................................................................................................................................7
2.1 ProtoNode Gateway...........................................................................................................................7
3Setup for ProtoNode ........................................................................................................................8
3.1 Record Identification Data..................................................................................................................8
3.2 Configuring Device Communications.................................................................................................8
3.2.1 Input COM Settings on the Device Connected to the ProtoNode.............................................8
3.2.2 Set Node-ID for the Device Attached to the ProtoNode............................................................8
3.3 BMS Network Settings: Selecting Stored Configurations, Setting the MAC Address, Device
Instance and Baud Rate.....................................................................................................................9
3.3.1 Selecting Configuration Files for Devices: “S” Bank DIP Switches S0 – S3.............................9
3.3.1.1 FPC-N34 DIP Switch Settings...........................................................................................9
3.3.1.2 FPC-N35 DIP Switch Settings.........................................................................................10
3.3.2 BACnet MS/TP (FPC-N34): Setting the MAC Address for BMS Network ..............................11
3.3.3 BACnet (FPC-N34): Setting the Device Instance ...................................................................12
3.3.4 Metasys N2 or Modbus TCP/IP (FPC-N34): Setting the Node-ID ..........................................12
3.3.5 BACnet MS/TP (FPC-N34): Setting the Serial Baud Rate for BMS Network .........................13
3.3.5.1 Baud Rate DIP Switch Selection.....................................................................................13
4Interfacing ProtoNode to Devices ................................................................................................14
4.1 ProtoNode FPC-N34 and FPC-N35 Showing Connection Ports .....................................................14
4.2 Device Connections to ProtoNode...................................................................................................15
4.2.1 Biasing the Modbus RS-485 Device Network.........................................................................16
4.2.2 End of Line Termination Switch for the Modbus RS-485 Device Network..............................17
4.2.3 Lochinvar Low Voltage Modbus RTU Wiring to the ProtoNode (Armor, SYNC/Armor X2,
Knight/Knight XL, Crest, Copper-Fin II and FTXL)..............................................................................18
4.3 Serial Network (FPC-N34): Wiring Field Port to RS-485 Network...................................................19
4.4 LonWorks (FPC-N35): Wiring LonWorks Devices to the LonWorks Terminal.................................19
4.5 Power-Up ProtoNode.......................................................................................................................20
5Use the ProtoNode Web Configurator to Setup the Gateway ...................................................21
5.1 Connect the PC to ProtoNode via the Ethernet Port........................................................................21
5.2 Ethernet Network: Setting IP Address for Field Network.................................................................22
6BACnet: Setting Node_Offset to Assign Specific Device Instances .......................................24
7LonWorks (FPC-N35): Commissioning ProtoNode on a Lonworks Network...........................25
7.1 Commissioning ProtoNode FPC-N35 on a LonWorks Network.......................................................25
7.1.1 Instructions to Upload XIF File from ProtoNode FPC-N35 Using Browser.............................25
8BACnet Explorer NG ......................................................................................................................27
Appendix A. Troubleshooting..................................................................................................................28
Appendix A.1. Lost or Incorrect IP Address ............................................................................................28
Appendix A.2. Viewing Diagnostic Information .......................................................................................29
Appendix A.3. Checking Wiring and Settings..........................................................................................30
Appendix A.4. LED Diagnostics for Communications Between ProtoNode and Devices.......................31
Appendix A.5. Taking Diagnostic Capture with the FieldServer Toolbox................................................32
Appendix A.6. Updating Firmware...........................................................................................................35
Appendix A.7. Securing ProtoNode with Passwords ..............................................................................36

Lochinvar ProtoNode Start-up Guide
Page 5 of 48
Appendix B. Vendor Information - Lochinvar ........................................................................................37
Appendix B.1. SYNC Modbus RTU Mappings to BACnet, Metasys N2 and LonWorks.........................37
Appendix B.2. Knight/Knight XL/Armor/Wall Mount/Wall Hung Modbus RTU Mappings to BACnet,
Metasys N2 and LonWorks..............................................................................................................38
Appendix B.3. Crest Modbus RTU Mappings to BACnet, Metasys N2 and LonWorks ..........................39
Appendix B.4. Copper-Fin II Modbus RTU Mappings to BACnet, Metasys N2 and LonWorks..............40
Appendix B.5. Power Fin Modbus RTU Mappings to BACnet, Metasys N2 and LonWorks...................41
Appendix B.6. Knight FTXL Modbus RTU Mappings to BACnet, Metasys N2 and LonWorks...............41
Appendix B.7. Power Fin 2.5-5.0 Modbus RTU Mappings to BACnet, Metasys N2 and LonWorks.......42
Appendix B.8. IPW Modbus RTU Mappings to BACnet, Metasys N2 and LonWorks ............................43
Appendix C. “A” Bank DIP Switch Settings ...........................................................................................44
Appendix C.1. “A” Bank DIP Switch Settings ..........................................................................................44
Appendix D. Reference.............................................................................................................................47
Appendix D.1. Specifications...................................................................................................................47

Appendix D.1.1. Compliance with UL Regulations...........................................................................47
Appendix E. Limited 2 Year Warranty.....................................................................................................48
LIST OF FIGURES
Figure 1: ProtoNode Part Numbers ..............................................................................................................8
Figure 2: COM Settings.................................................................................................................................8
Figure 3: Lochinvar Modbus COM Board Showing Serial DIP Switches......................................................8
Figure 4: S Bank DIP Switches.....................................................................................................................9
Figure 5: DIP Switch Locations.....................................................................................................................9
Figure 6: MAC Address DIP Switches........................................................................................................11
Figure 7: Baud Rate DIP Switches .............................................................................................................13
Figure 8: BMS Baud Rate...........................................................................................................................13
Figure 9: ProtoNode FPC-N34 (upper) and ProtoNode FPC-N35 (lower) .................................................14
Figure 10: Power and RS-485 Connections ...............................................................................................15
Figure 11: Modbus RS-485 Biasing Switch on the ProtoNode N34 (left) and ProtoNode N35 (right)........16
Figure 12: Modbus RS-485 End-Of-Line Termination Switch on the ProtoNode N34 (left) and ................17
Figure 13: Low Voltage Modbus RTU Connection Wiring to the ProtoNode..............................................18
Figure 14: Connection from ProtoNode to RS-485 Field Network..............................................................19
Figure 15: RS-485 BMS Network EOL Switch............................................................................................19
Figure 16: LonWorks Terminal....................................................................................................................19
Figure 17: Required Current Draw for the ProtoNode ................................................................................20
Figure 18: Power Connections....................................................................................................................20
Figure 19: Web Configuration Screen.........................................................................................................22
Figure 20: Changing IP Address via FS-GUI..............................................................................................23
Figure 21: Web Configurator Node Offset Field..........................................................................................24
Figure 22: LonWorks Service Pin Location.................................................................................................25
Figure 23: Sample of Fserver.XIF File Generated......................................................................................26
Figure 24: BACnet Explorer on a BACnet Network ....................................................................................27
Figure 25: Ethernet Port Location...............................................................................................................28
Figure 26: Error Messages Screen.............................................................................................................29
Figure 27: Diagnostic LEDs ........................................................................................................................31
Figure 28: Ethernet Port Location...............................................................................................................32
Figure 29: FS-GUI Passwords Page...........................................................................................................36
Figure 30: Password Recovery Page .........................................................................................................36
Figure 31: Specifications.............................................................................................................................47
This manual suits for next models
1
Table of contents
Other Lochinvar Water Heater Accessories manuals
Popular Water Heater Accessories manuals by other brands

PAW
PAW K35 Installation and operation instruction

PAW
PAW SolexMini TW Installation and commissioning instructions

Veil
Veil Demi installation guide

Rinnai
Rinnai RGBRE installation instructions

KORADO
KORADO KORAFLEX PM 14 Series Assembly instructions

A.O. Smith
A.O. Smith Product Preservers Powered Anode System user guide