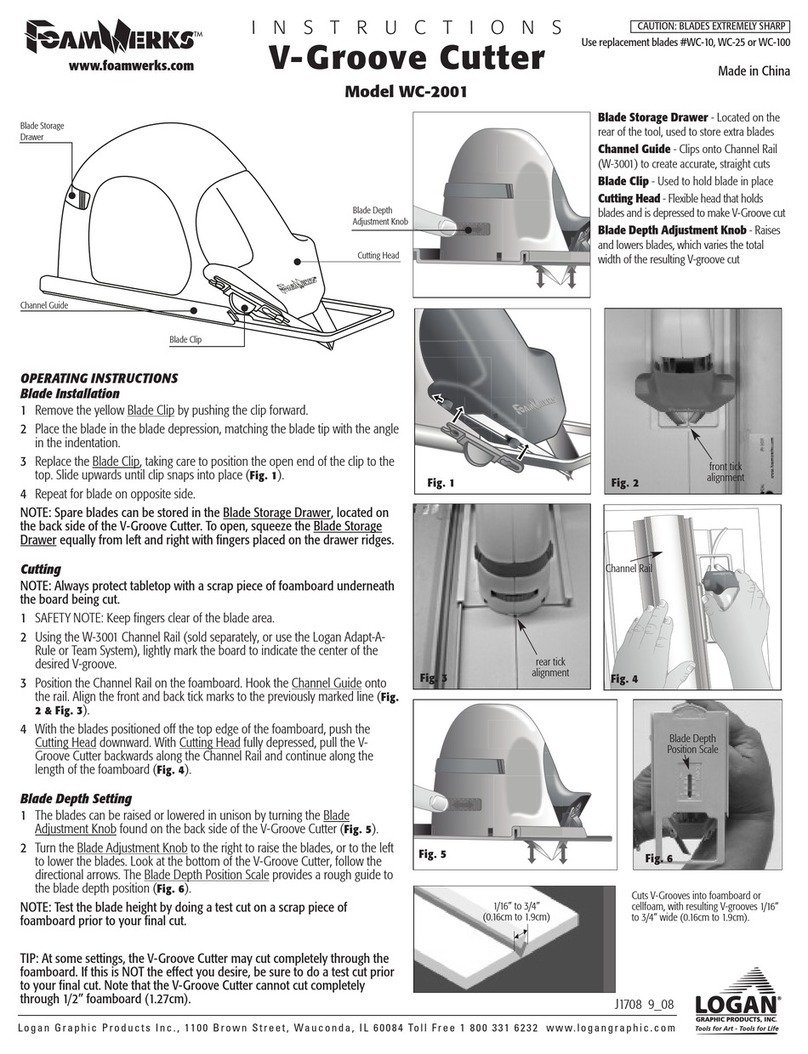
4. Cutting
Draw the matknife toward yo along the straight
edge keeping contact press re on the Straight
Edge and downward press re on the Matknife.
(Fig3).
WARNING! Be caref l when knife reaches the end of
the mat so that it does not ”j mp” toward yo .
Bevel Cutter
Cutting Single M t
1. Using the scale side of straight edge, mark the
back of the mat for the exact border yo want.
2. Place the mat face down on the Backing Sheet.
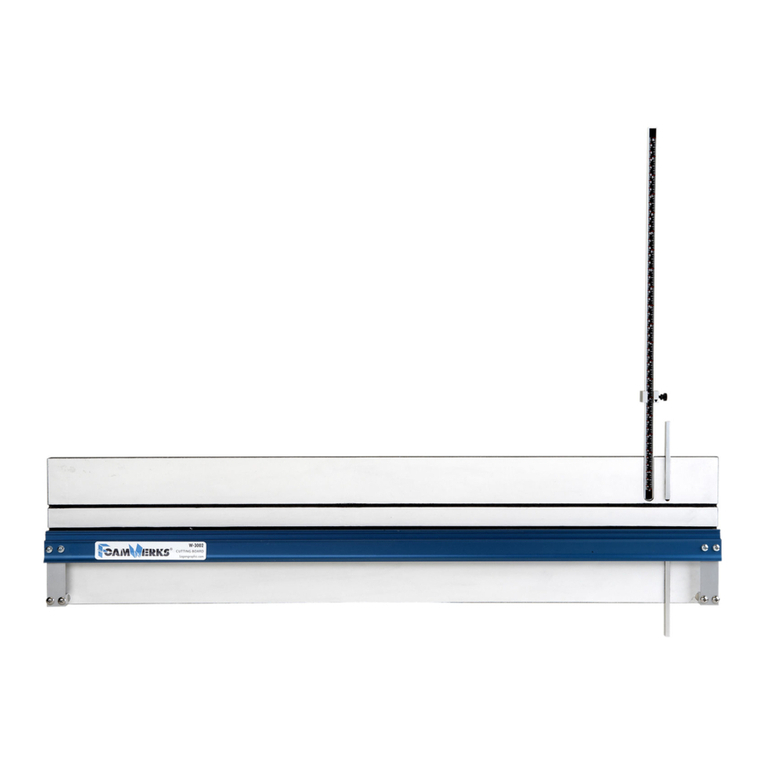
Place the Straight Edge EXACTLY on the left hand
border so that the o tside edge of the channel is
lined p along the pencil line. (Fig.4). Make s re
that the b lk of the mat is to the right hand side of
the straight edge. Having the mat on the left side
of the straight edge will res lt in a reversed bevel
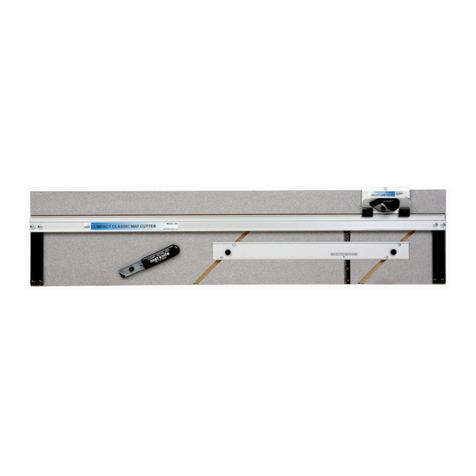
c t. Attach the 302 Bevel C tter to the straight
edge by fitting the black nylon g ides over the
raised edge of the channel. Position the mat c tter
so that the silver indicator line lines p with the
bottom intersecting pencil line. (Fig.5).
3. Hold downward press re on the Straight Edge with
yo r left hand. Place the th mb of yo r right hand
on the th mb divot on the retractable Blade Holder
and pl nge the blade into the mat.
4. Keeping downward press re on the Blade Holder,
slide the Bevel C tter away from yo ntil it inter-
sects with the pper line. Be s re and keep even
downward press re. (Fig.6).
5. Use yo r th mb to p ll the blade holder back into
the p position so the blade is removed from the
mat. Repeat these steps for the remaining three
sides. Congrat lations! Yo have j st c t yo r first
mat.
To adj st the blade depth on the Bevel c tter, t rn the
screw on the nderside of the c tting head clockwise
to decrease or co nter-clockwise to increase the
amo nt of the exposed blade.
Fig. 3
Fig. 4
Fig. 5
Fig. 6
