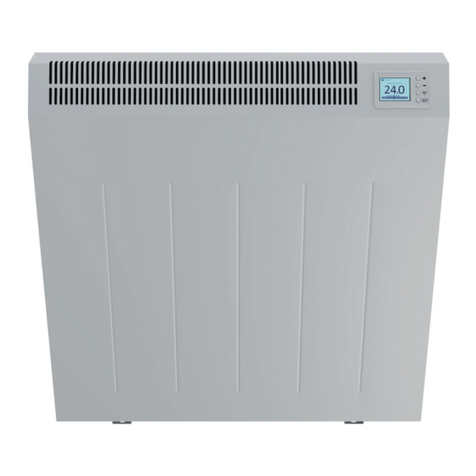
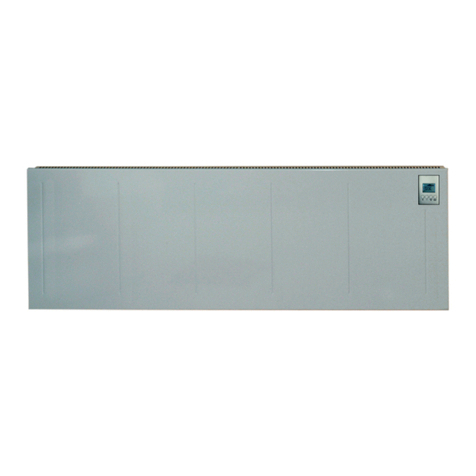
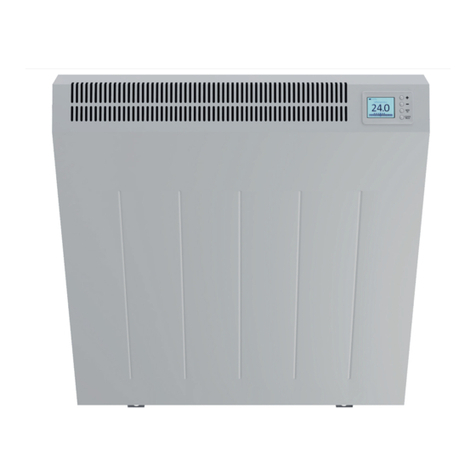
LUCHT LHZ TECHNOTHERM VPS User manual

Feel good through the warmth created from electricity - www.technotherm.com
MAG-000121
Issue 11/22

Feel good through the warmth created from electricity - www.technotherm.com
2.
no liability for any use not in accordance with the intended use.
•
•

Feel good through the warmth created from electricity - www.technotherm.com
GB
•
•
•
•
installed in the circuit.
•
•
•
•
•
ment immediately.
•
•
•
•
•
•

Feel good through the warmth created from electricity - www.technotherm.com
www.electric-smart-heater.com

Feel good through the warmth created from electricity - www.technotherm.com
GB
Press the

Feel good through the warmth created from electricity - www.technotherm.com
Digital control display
TDI
–
“
plus
”
Thermostat
Mounting
Mounted on the side of the radiator using
screws.
Connection
Connection on the radiator’s power card.
Adjustment
buttons
part to connect to
the power card
réf : 7709936
On / Off
/
mode
Configuration
Menu 3: Backlight time out setting
The time out can be adjusted between 0
and 225 seconds, in steps of 15 seconds
(set on 90 seconds by default).
To modify, press on the + or - buttons then
press OK to confirm and go to the next setting.
When in Off mode,
press and hold down the On/Off button
for 10 seconds to access the first configuration
menu.
>10 sec.
Menu 4: AUTO mode temperature display option
Menu 1: ECO set-point adjustment
By default, Economy setting = Comfort setting - 3.5°C.
0 = Continuous display of room temperature.
1 = Continuous display of set-point temperature.
To modify, press on the + or - buttons then
press OK to confirm and go to the next setting.
Menu number
Menu 5: Product number
This menu allows you to view the product
number.
This reduction can be set between
0 to -10°C, in steps of 0.5°C.
To adjust the reduction, press on
the +or - buttons then press OKto confirm
and go to the next setting.
To allow the user tomodify the set-point, press
on the + button in Economy mode until “----” is
displayed on the screen.
To exit the configuration mode, press OK.
Menu 2: Correction of the measured
temperature
If there is a difference between the temperature noted with an
external thermometer and the temperature measured and
displayed by the unit, menu 2 acts on the measurement of the
probe so as to compensate for this difference (from -5°C to +5°
Cinsteps of 0.1°C).
To modify, press on the +or - buttons then press
OK to confirm and go to the next setting.

Feel good through the warmth created from electricity - www.technotherm.com
GB
Time Setting
Use
Continuous Frost Protection
Day
In Off mode, press the
The days flash.
mode button.
Hours
Pressing and holding the + or - buttons lets you
change the current set-point (+5 to +15°C) in
steps of 0.5°C.
Press + or - to set the day, then press OK
to confirm and go on to set the hour and then
the minutes.
Minutes
Press
the mode button once to access the pro-
gramming,
and press the On/Off button once to exit the
s
etting mode. AUTOMATIC mode
In this mode the device follows the programming
set.
To modify the programming, press the PROG
button once.
Programming
When starting up, the “Comfort mode from 8am
to 10pm” program is applied to all the days of
the week.
Timer mode
To set a set-point temperature for a certain
To change the programming, press the PROG
button in Off or AUTO mode.
The 1
st
time slot flashes on and off.
period of time, press on the
button once.
To set the temperature you want (+5°C to
+30°C), use the + and - buttons, then press OK
to confirm and go on to set the duration.
To set the duration you want (30 min
to 72 hours, in steps of 30 min), use
Day
the + and – buttons (e.g. 1 hr 30 min), then press OK.
To cancel the timer mode, press on the OK button.
Program
profile
Confirm
and go to
the next day
Frost protection
mode for 1 hour
1
st
time
slot
Comfort
mode for 1 hour
Absence mode
You can set your device to Frost protection
mode for a period between 1 and 365 days,
Economy
mode for 1 hour
by pressing on the
button.
Quick programming:
To
apply the same program to the following day,
press and hold
the OK button
for
approximately 3 seconds until the program of
the following
day is displayed.
To exit the programming mode, press on the On/Off button.
To set the number of days of absence,
press on the + or – buttons, then confirm by
pressing OK.
To cancel this mode, press on the OK button
again.
Use
The Mode button allows you to select the different operating
Locking the keypad
If you press and hold the central buttons
simultaneously during 5 seconds, it enables
you to lock the keypad. A key symbol appears
briefly on the display.
To unlock the keypad, press simultaneously on
the central buttons.
modes:
Comfort,
Economy,
Frost protection,
programming AUTO mode.
Pressing the
i button gives you the temperature of the room
or the set
-
point temperature, according to your configuration
settings in menu 5.
If the
ON icon is displayed, this means that the device is in
heating demand mode.
Once the keypad is locked, the key symbol
appears briefly if you press on a button.
Continuous Comfort
Pressing and holding the + or
- buttons lets you
change the current set
-point (+5 to +30°C) in
steps of 0.5°C.
Continuous Economy mode
The Economy set
-point is indexed according to
the Comfort set
-point. The reduction can be
modified
in the configuration settings for menu 1.
Modifying the
Economy set-point
The
set-point can be modified if it
was authorized
in the
configuration settings in menu 1 (“----”).
Pressing and holding the + or
- buttons lets you
change the current set
-point (+5 to +30°C) in
steps of 0.5°C.
Menu 5: Open Window detection
The detection of an open window occurs
when the room temperature falls rapidly.
In this case, the display shows a flashing
pictogram, as well as the frost
protection set-point temperature.
0 = Open window detection is deactivated
1 = Open window detection is activated
To modify, press on the + or – buttons,
then press OK to confirm and to go to the
next setting.
Please note: an open window cannot be
detected in OFF-Mode.
This feature can be temporarily interrupted
by pressing on .
Feel good through the warmth created from electricity - www.technotherm.com
Technical characteristics
•
Power supplied by the power card
•
Dimensions in mm (without mounting lugs):
H = 71.7, W = 53, D= 14.4
•
Screw-mounted
•
Install in an environment with normal pollution levels
•
Storage temperature: -10°C to +70°C
•
Operating temperature: 0°C to +40°C
Menu 6: Adaptive start control
This feature enables to reach the set-point
temperature at a set time.
When this feature is activated, the display shows a
flashing .
0 = Adaptive start control deactivated
1 = Adaptive start control activated
To modify, press on the +or – buttons, then press
OK to confirm and to go to the next setting.
Adjusting the time-temperature-slope (when
adaptive start control is activated)
From 1°C to 6°C, in steps of 0.5°C.
If the set-point temperature isreached too early,
then a lower value should be set.
If the set-point temperature isreached too late,
then a higher value should be set.
Menu 7: Product number
This menu allows you to view the product
number.
To exit the configuration mode, press OK.

Feel good through the warmth created from electricity - www.technotherm.com
GB
shower or a bath.
the wall.

Feel good through the warmth created from electricity - www.technotherm.com
1.
2.
Wall
Wall

Feel good through the warmth created from electricity - www.technotherm.com
GB
detergent.
•
•
•
•
•
•
•
•
•
•
•
•

Feel good through the warmth created from electricity - www.technotherm.com
Item Symbol Item
Pnom 1000 1200 2000
Minimum heat
Pmin 1000 1200 2000
P 1000 1200 2000 electronic heat charge control with room and/or outdoor
At nominal heat
el 1000 1200 2000
At minimum heat
elmin
In standby mode el
Item Symbol Item
Pnom 1000 1200 2000
Minimum heat
Pmin 1000 1200 2000
P 1000 1200 2000 electronic heat charge control with room and/or outdoor
At nominal heat
el 1000 1200 2000
At minimum heat
elmin
In standby mode el
This manual suits for next models
3
Table of contents
Other LUCHT LHZ Heater manuals

LUCHT LHZ
LUCHT LHZ Technotherm International CPH 1000 User manual

LUCHT LHZ
LUCHT LHZ TECHNOTHERM TTB-E Duo+ Series Safety guide

LUCHT LHZ
LUCHT LHZ Technotherm TTB-E Duo+ Safety guide

LUCHT LHZ
LUCHT LHZ TechnoTherm CHM Series User manual

LUCHT LHZ
LUCHT LHZ TECHNOTHERM VPS Series User manual

LUCHT LHZ
LUCHT LHZ TechnoTherm CHM 500 E User manual

LUCHT LHZ
LUCHT LHZ Technotherm TTS 200 User manual

LUCHT LHZ
LUCHT LHZ TECHNOTHERM DTH User manual

LUCHT LHZ
LUCHT LHZ VPN Series User manual