3
SAFETY
General Safety Rules
Understand your machine
Read and understand the operator’s manual and
labels affixed to the machine. Learn its application
and limitations as well as the specific potential
hazards peculiar to it.
Be thoroughly familiar with the controls and their
proper operation. Know how to stop the machine
and disengage the controls quickly.
Make sure to read and understand all the
instructions and safety precautions as outlined in
the Engine Manufacturer’s Manual, packed
separately with your unit. Do not attempt to
operate the machine until you fully understand
how to properly operate and maintain the Engine
and how to avoid accidental injuries and/or
property damage.
Work area
Never start or run the machine inside a closed
area. The exhaust fumes are dangerous, containing
carbon monoxide, an odorless and deadly gas.
Operate this unit only in a well ventilated outdoor
area.
Never operate the machine without good visibility
or light.
Personal safety
Do not operate the machine while under the
influence of drugs, alcohol, or any medication that
could affect your ability to use it properly.
Dress properly. Wear heavy long pants, boots and
gloves. Do not wear loose clothing, short pants,
and jewelry of any kind. Secure long hair so it is
above shoulder level. Keep your hair, clothing and
gloves away from moving parts. Loose clothes,
jewelry or long hair can be caught in moving parts.
Use safety equipment. Always wear eye protection.
Safety equipment such as a dust mask, hard hat,
or hearing protection used for appropriate
conditions will reduce personal injuries.
Check your machine before starting it. Keep guards
in place and in working order. Make sure all nuts,
bolts, etc. are securely tightened.
Never operate the machine when it is in need of
repair or is in poor mechanical condition. Replace
damaged, missing or failed parts before using it.
Check for fuel leaks. Keep the machine in safe
working condition.
Never remove or tamper with safety device. Check
their proper operation regularly.
Do not use the machine if the engine’s switch does
not turn it on or off. Any gasoline powered machine
that can not be controlled with the engine switch
is dangerous and must be replaced.
Form a habit of checking to see that keys and
adjusting wrenches are removed from machine
area before starting it. A wrench or a key that is
left attached to a rotating part of the machine may
result in personal injury.
Stay alert, watch what you are doing and use
common sense when operating the machine.
Do not overreach. Do not operate the machine
while barefoot or when wearing sandals or similar
lightweight footwear. Wear protective footwear
that will protect your feet and improve your footing
on slippery surfaces. Keep proper footing and
balance at all times. This enables better control of
the machine in unexpected situations.
Avoid accidental starting. Be sure the engine is off
before transporting the machine or performing
any maintenance or service on the unit.
Transporting or performing maintenance or service
on a machine with engine on invites accidents.
Fuel safety
Fuel is highly flammable, and its vapors can explode
if ignited. Take precautions when using to reduce
the chance of serious personal injury.
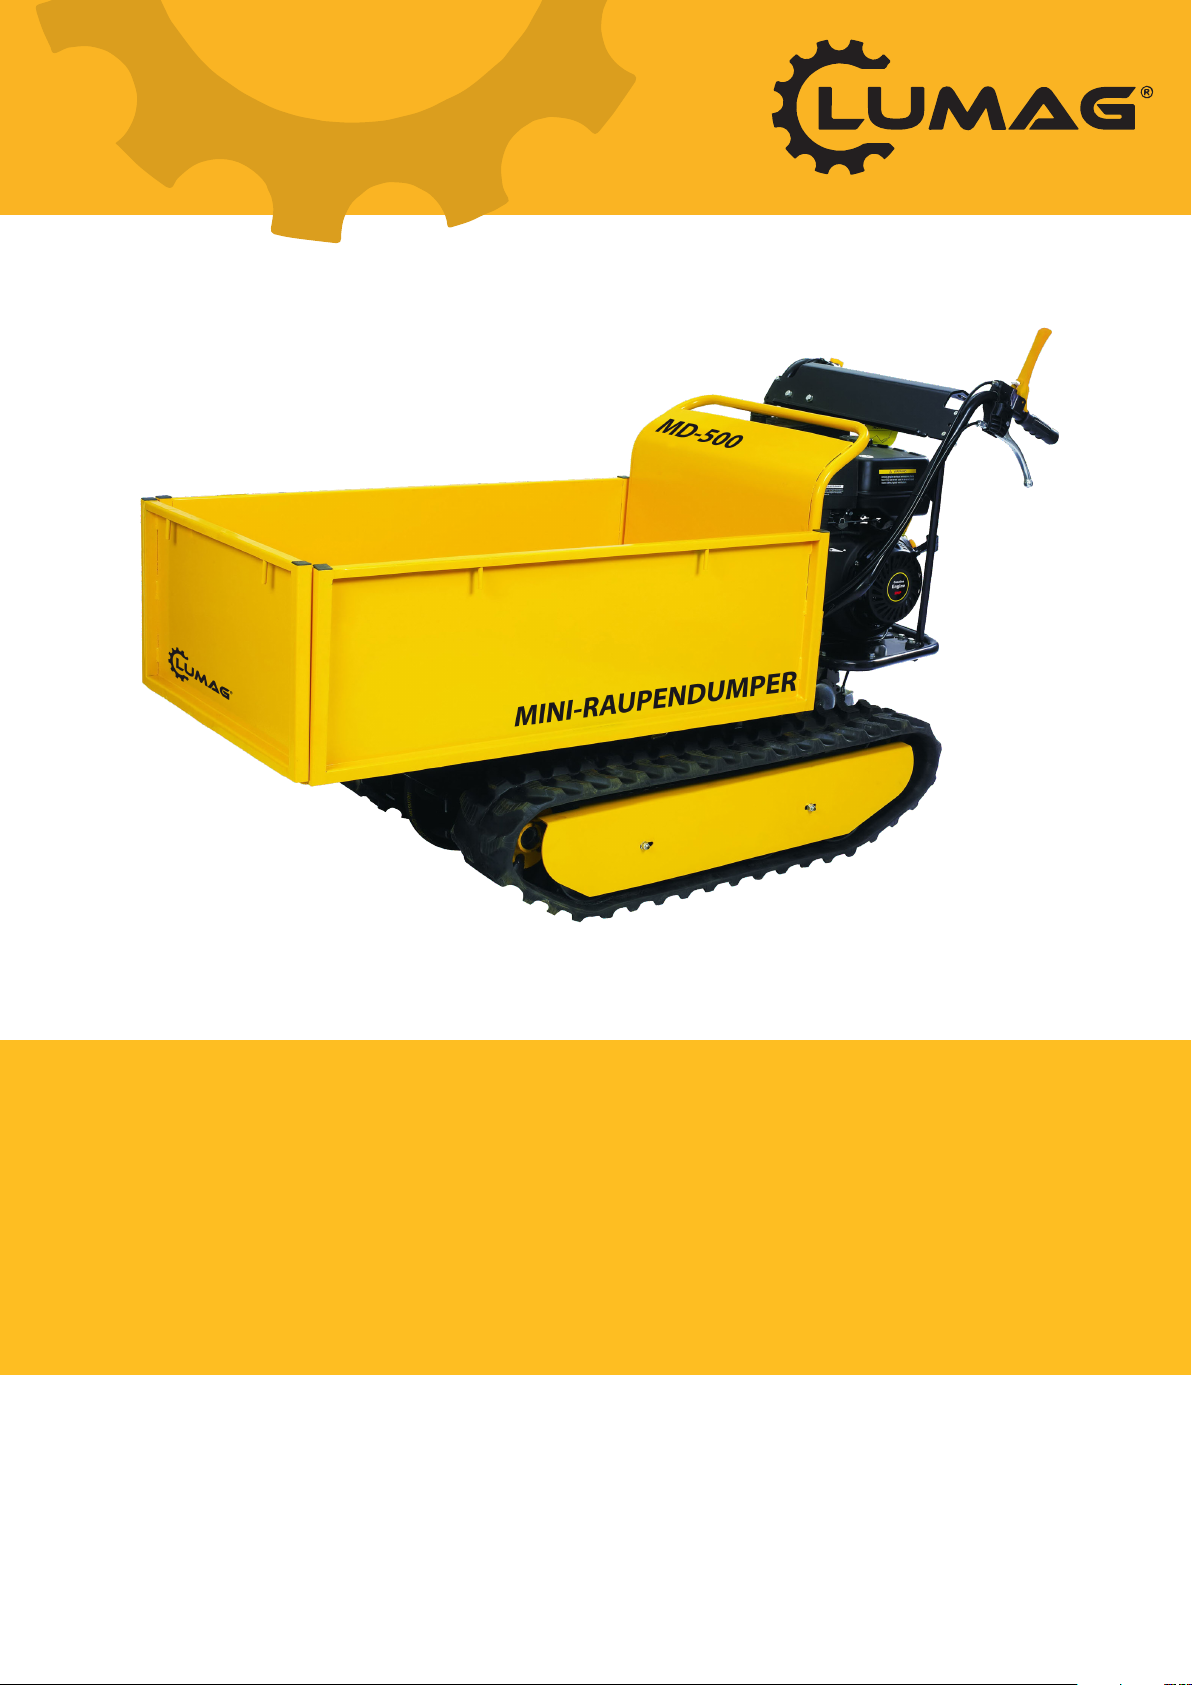
All terrain minitransporter
Keep your hands or feet away from track
and rotating parts.
Do not smoke or have open flames.
Thrown objects.
Keep bystanders away.