manuals.online logo
Brands
  1. Home
  2. •
  3. Brands
  4. •
  5. M-system
  6. •
  7. Control Unit
  8. •
  9. M-system 10DY User manual

M-system 10DY User manual

10 DY
P. 1 / 2
EM-0826 Rev.5
5-2-55, Minamitsumori, Nishinari-ku, Osaka 557-0063 JAPAN
Phone: +81(6)6659-8201 Fax: +81(6)6659-8510 E-mail: info@m-system.co.jp
COMPONENT IDENTIFICATION
nPOWER SWITCH
Power supply can be turned off.
Right: ON, left: OFF
12
3
56
78
Power Switch*
ZERO
PWR
OFF ON
SPAN
*Only for option /S
INSTALLATION
Use Standard Rack (model: 10BXq).
TERMINAL CONNECTIONS
Connect the unit as in the diagram below or refer to the con-
nection diagram label on the unit side.
+
–
1
OUTPUT 1
7
8
+
–
OUTPUT 2
5
6
CONNECTOR
*1 output type has the output 1 connected to the
card-edge connector in parallel.
OUTPUT 2*
POWER
3
+
–2
2-WIRE
TRANSMITTER
+
–
V
MONITOR
(1 – 5V DC)
+
–
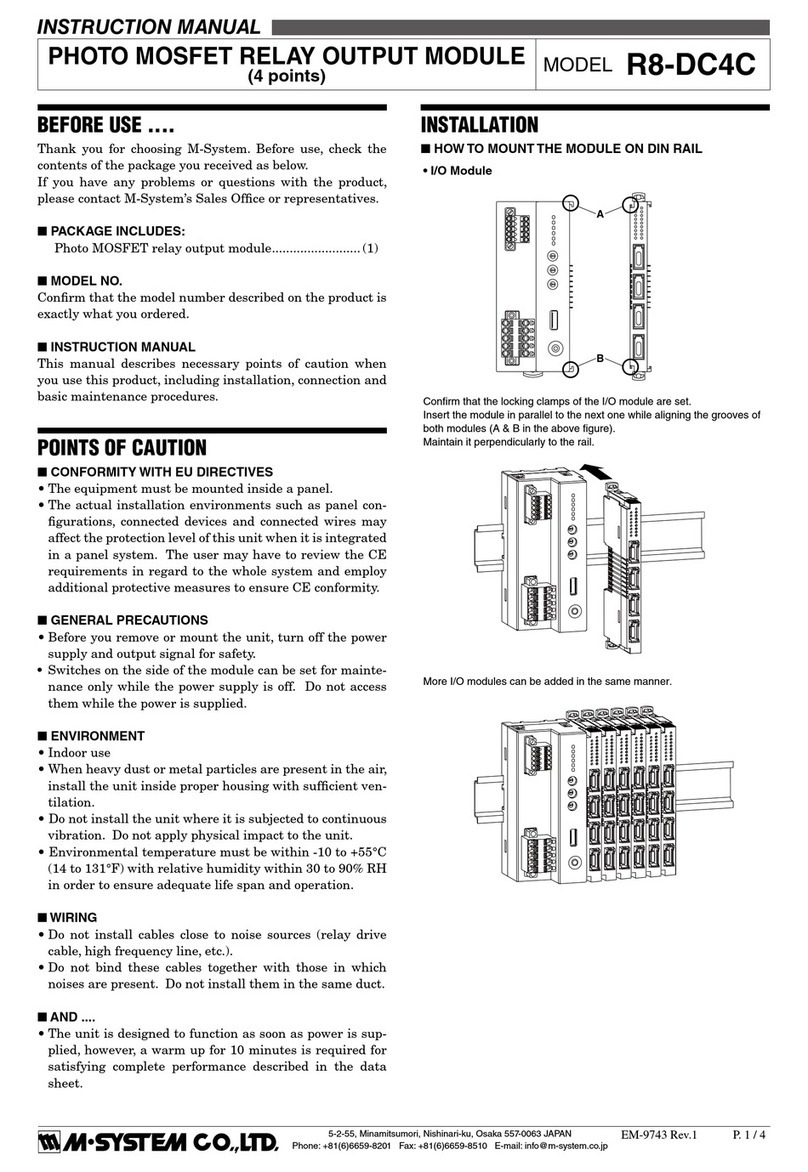
BEFORE USE ....
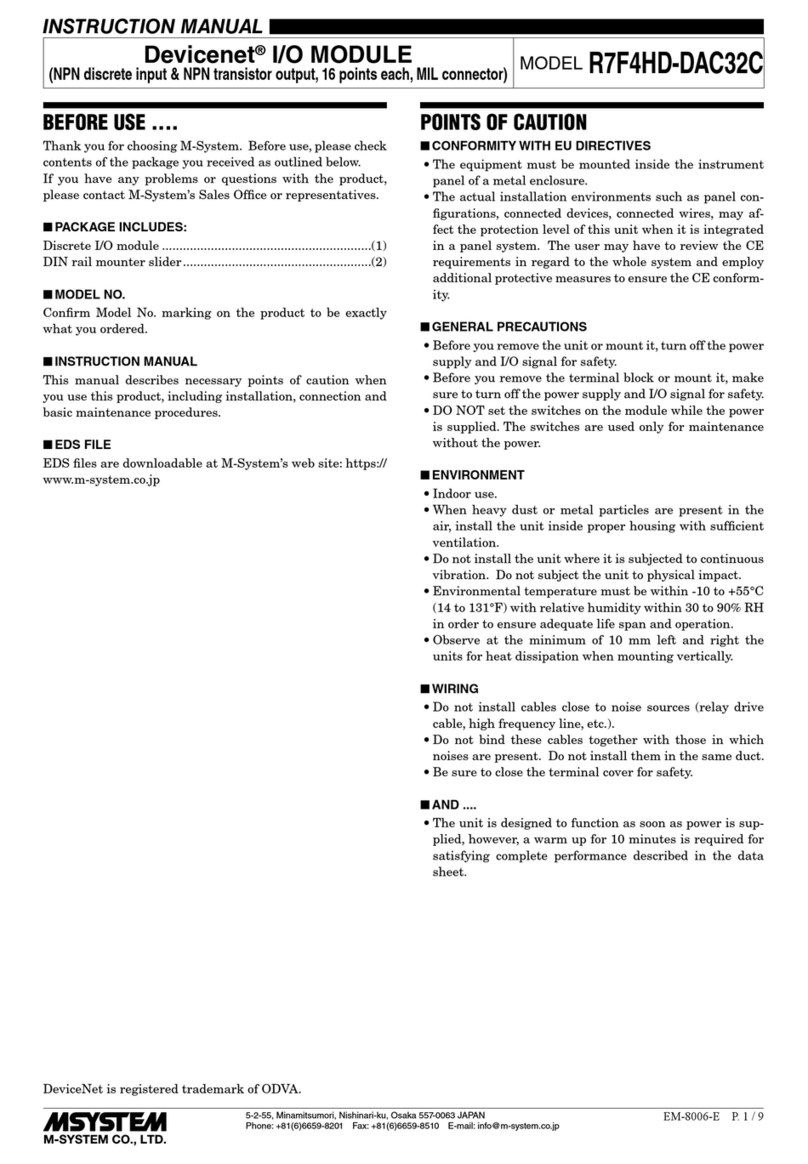
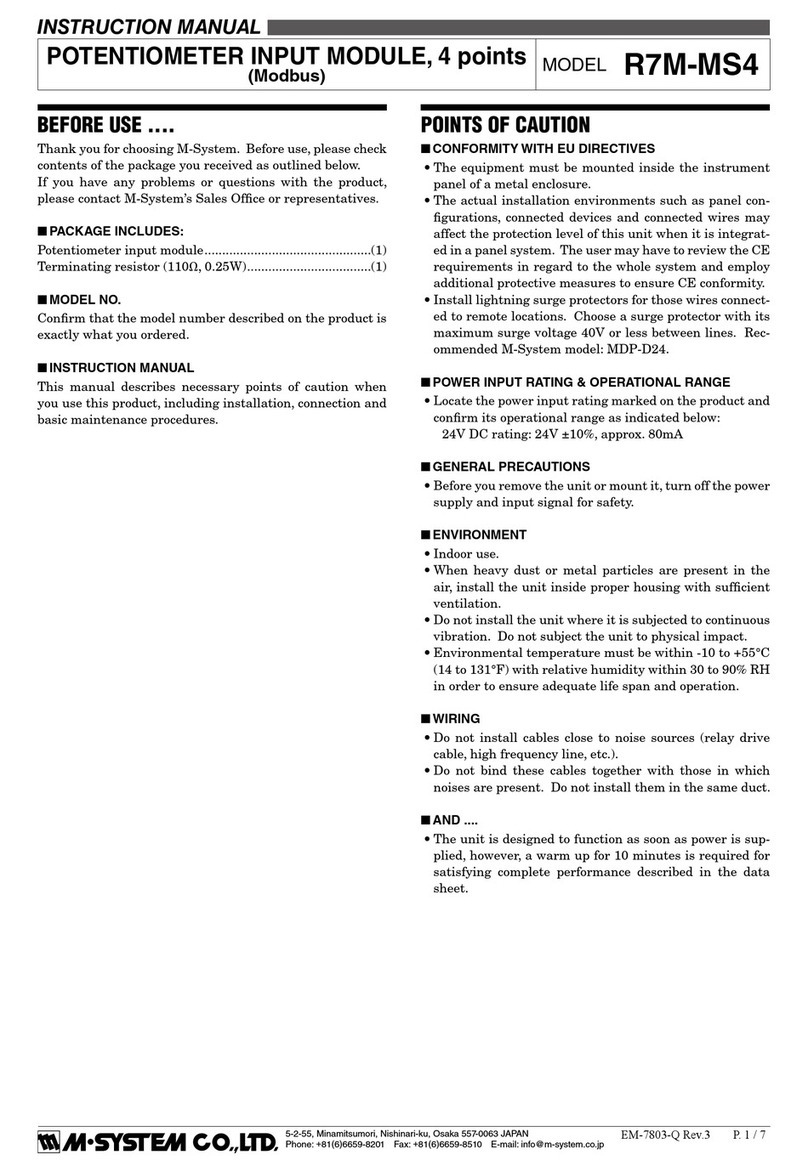
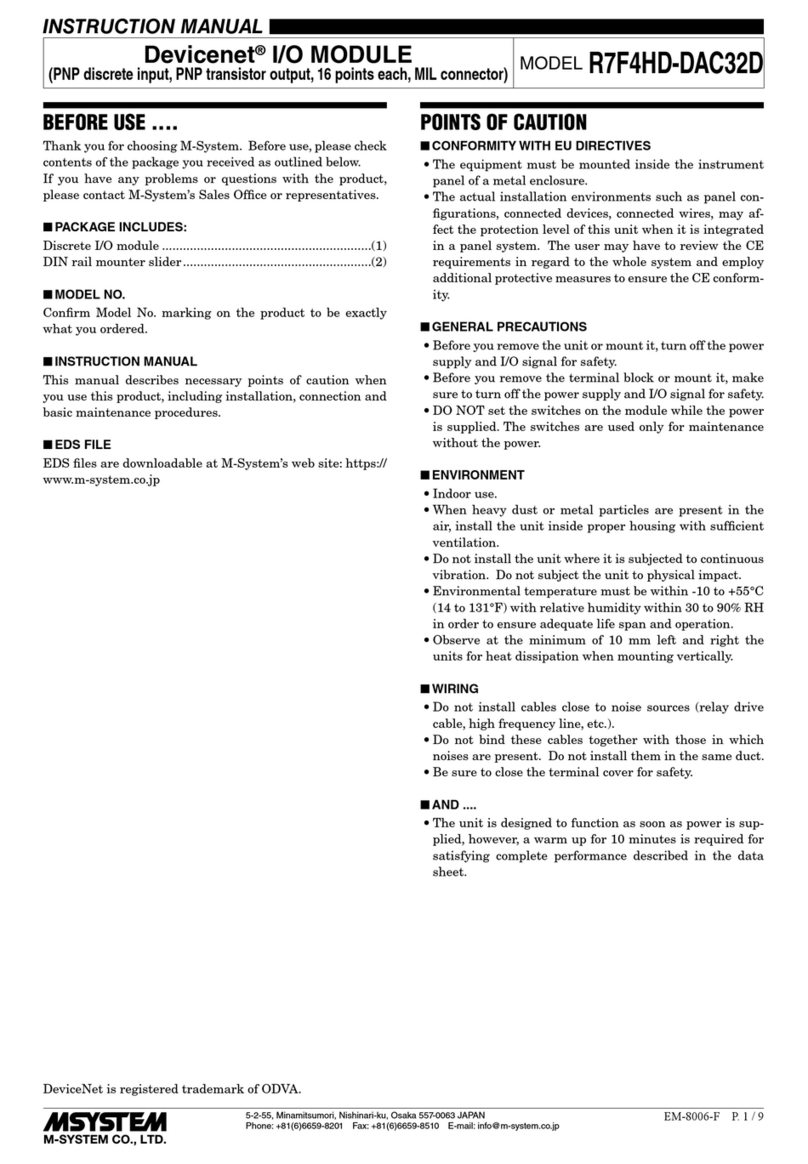
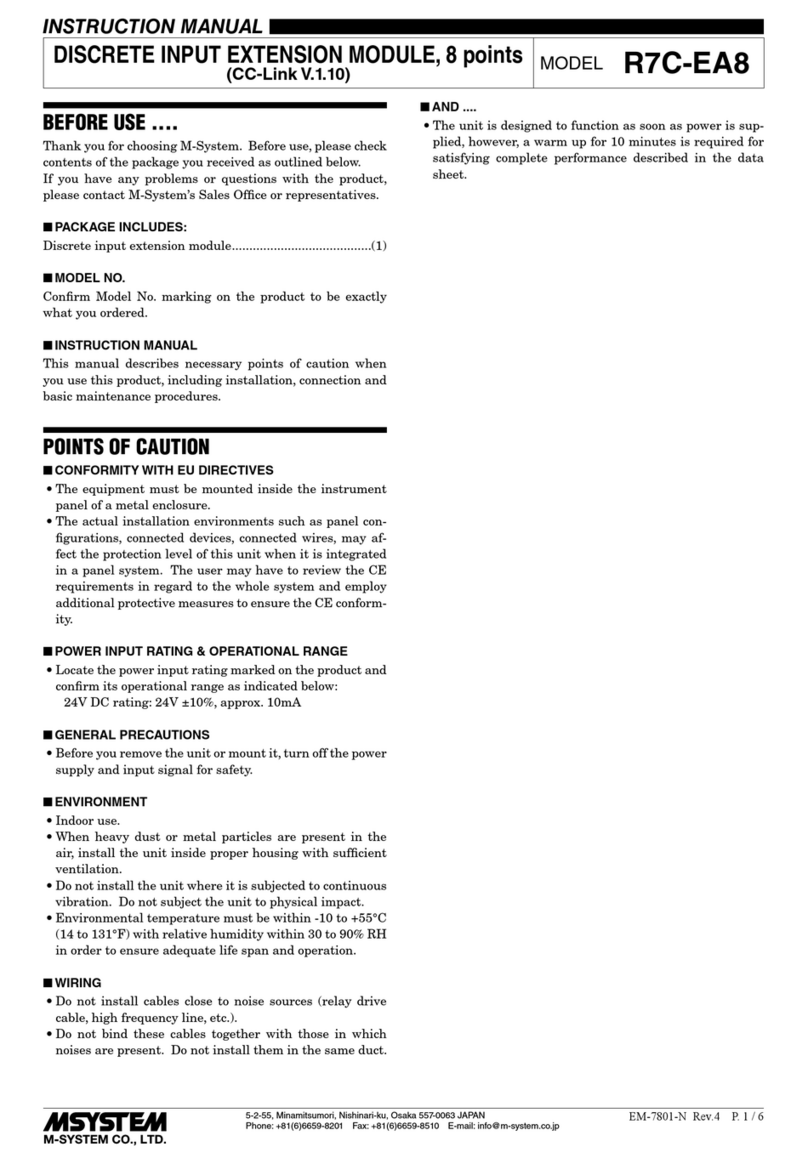
Thank you for choosing M-System. Before use, check the
package you received as below.
If you have any problems or questions with the product,
please contact M-System's Sales Office or representatives.
n PACKAGE INCLUDES:
Signal conditioner ....................................................(1)
n MODEL NO.
Confirm that the model number described on the product is
exactly what you ordered.
n INSTRUCTION MANUAL
This manual describes necessary points of caution when you
use this product, installation, connection and basic mainte-
nance procedures.
POINTS OF CAUTION
n POWER INPUT RATINGS
• Power input ratings are specied by the model number
suffix code. Check the power input voltage for the unit on
the specification label.
24V DC ±10%, approx. 55mA with voltage output 1
approx. 80mA with current output 1
n GENERAL
• Before you remove the unit or mount it, turn off the power
supply and input signal for safety.
n ENVIRONMENT
• Indoor use
• When heavy dust or metal particles are present in the air,
install the unit inside proper housing and ventilate it.
• Do not install the unit where it is subjected to continuous
vibration. Do not apply physical impact to the unit.
• Environmental temperature must be within -5 to +55°C
(23 to 131°F) with relative humidity within 30 to 90% RH in
order to ensure adequate life span and operation.
n WIRING
• Do not install cables (power supply, input and output) close
to noise sources (relay drive cable, high frequency line, etc.).
• Do not bind these cables together with those in which noises
are present. Do not install them in the same duct.
n AND ....
• The unit is designed to function as soon as power is supplied,
however, a warm up for 10 minutes is required for satisfying
complete performance described in the data sheet.
CURRENT LOOP SUPPLY
(isolated) MODEL 10DY
INSTRUCTION MANUAL
Zero Adj.
Span Adj. Output 1
Body
Specifications
Connection Diagram
Label
(side)
Zero Adj.
Output 2*Span Adj.
Terminal Cover
*Provided only when the second output is selected.
10 DY
P. 2 / 2
EM-0826 Rev.5
5-2-55, Minamitsumori, Nishinari-ku, Osaka 557-0063 JAPAN
Phone: +81(6)6659-8201 Fax: +81(6)6659-8510 E-mail: info@m-system.co.jp
CHECKING
1) Terminal wiring: Check that all cables are correctly con-
nected according to the connection diagram.
2) Power input voltage: Check voltage supplied to the rack
(model: 10BXq). For the DC power source, be sure that
the ripple level is within 10% p-p.
3) Input: Check that the input signal is within 0 – 100% of
the full-scale.
4) Output: Check that the load resistance meets the described
specifications.
ADJUSTMENT PROCEDURE
This unit is calibrated at the factory to meet the ordered speci-
fications, therefore you usually do not need any calibration.
For matching the signal to a receiving instrument or in case
of regular calibration, adjust the output as explained in the
following.
n HOW TO CALIBRATE THE OUTPUT SIGNAL
Use a signal source and measuring instruments of sufficient
accuracy level. Turn the power supply on and warm up for
more than 10 minutes.
1) ZERO: Apply 0% input and adjust output to 0%.
2) SPAN: Apply 100% input and adjust output to 100%.
3) Check ZERO adjustment again with 0% input.
4) When ZERO value is changed, repeat the above procedure
1) – 3).
5) Go through the same procedure for Output 2. Extender
Card (model: 10EC) is required to access the Output 2
Adjustments on top of the unit maintaining electrical
connection at the rear connector.
EXTERNAL DIMENSIONS mm (inch)
MAINTENANCE
Regular calibration procedure is explained below:
n CALIBRATION
Warm up the unit for at least 10 minutes. Apply 0%, 25%,
50%, 75% and 100% input signal. Check that the output
signal for the respective input signal remains within accuracy
described in the data sheet. When the output is out of toler-
ance, recalibrate the unit according to the "ADJUSTMENT
PROCEDURE" explained earlier.
130 (5.12)
3 (.12)
51 (2.01)
82 (3.23)
2–4.3 (.17) dia.
MTG HOLE
TERMINAL COVER
7–M3.5 SCREW
8 (.31)
91 (3.58)
99 (3.90 )
25 (.98)
12
3
56
78

Other M-system Control Unit manuals

M-system R7M-EA8 User manual

M-system

M-system R7M-EA8 User manual

M-system R7D-DA16 User manual

M-system

M-system R7D-DA16 User manual

M-system R7M-DC4G User manual

M-system

M-system R7M-DC4G User manual

M-system R7M-EC16A User manual

M-system

M-system R7M-EC16A User manual

M-system R3-PA4A User manual

M-system

M-system R3-PA4A User manual

M-system R7L-SV4-R User manual

M-system

M-system R7L-SV4-R User manual

M-system R7D-EA8 User manual

M-system

M-system R7D-EA8 User manual

M-system R7ML-EC16A User manual

M-system

M-system R7ML-EC16A User manual

M-system R8-DCM16ALH User manual

M-system

M-system R8-DCM16ALH User manual

M-system R3-NM3 User manual

M-system

M-system R3-NM3 User manual

M-system R8-NECT1 User manual

M-system

M-system R8-NECT1 User manual

M-system R3-SV4B User manual

M-system

M-system R3-SV4B User manual

M-system R7L-DA16 User manual

M-system

M-system R7L-DA16 User manual

M-system R7HL-DAC15E User manual

M-system

M-system R7HL-DAC15E User manual
M-system R3-DS4 User manual

M-system

M-system R3-DS4 User manual

M-system 73VR3100 User manual

M-system

M-system 73VR3100 User manual

M-system TR3EX User manual

M-system

M-system TR3EX User manual
M-system R7L-EC16B User manual

M-system

M-system R7L-EC16B User manual

M-system R7D-EA16 User manual

M-system

M-system R7D-EA16 User manual

M-system R7M-RS4 User manual

M-system

M-system R7M-RS4 User manual

M-system R6D-TS2 User manual

M-system

M-system R6D-TS2 User manual

M-system R7F4HD-DC32B User manual

M-system

M-system R7F4HD-DC32B User manual

M-system EtherCAT R30GECT1 User manual

M-system

M-system EtherCAT R30GECT1 User manual

M-system R3S-DC8 User manual

M-system

M-system R3S-DC8 User manual

Popular Control Unit manuals by other brands

VIPA System 200V Series manual

VIPA

VIPA System 200V Series manual

Danfoss PVG 100 Service manual

Danfoss

Danfoss PVG 100 Service manual

Hydronix Hydro-Control VI installation guide

Hydronix

Hydronix Hydro-Control VI installation guide

Grundfos Vaccuperm VGS -141 Installation and operating instructions

Grundfos

Grundfos Vaccuperm VGS -141 Installation and operating instructions

iseg VHQ Series technical information

iseg

iseg VHQ Series technical information

LIFE home integration ACER RG1R UNI DL Instructions and warnings for installation, use and maintenance

LIFE home integration

LIFE home integration ACER RG1R UNI DL Instructions and warnings for installation, use and maintenance

Laird SDC-SSD30AG Hardware integration guide

Laird

Laird SDC-SSD30AG Hardware integration guide

Iddero DW-GSM user guide

Iddero

Iddero DW-GSM user guide

WAGO I/O-SYSTEM 751-3002 manual

WAGO

WAGO I/O-SYSTEM 751-3002 manual

LRP SPX Zero 80705 user manual

LRP

LRP SPX Zero 80705 user manual

Festo CPX-FB40 Description

Festo

Festo CPX-FB40 Description

Nederman TAV 100 user manual

Nederman

Nederman TAV 100 user manual

Intel Remote Management Module 3 user guide

Intel

Intel Remote Management Module 3 user guide

Reer Aus X Series Use and maintenance

Reer

Reer Aus X Series Use and maintenance

ITR MUPASZ 710 plus user manual

ITR

ITR MUPASZ 710 plus user manual

Lenze E82ZAFIC010 manual

Lenze

Lenze E82ZAFIC010 manual

Puls DIMENSION YR40.245 manual

Puls

Puls DIMENSION YR40.245 manual

Lowell MSM2 manual

Lowell

Lowell MSM2 manual

manuals.online logo
manuals.online logoBrands
  • About & Mission
  • Contact us
  • Privacy Policy
  • Terms and Conditions

Copyright 2025 Manuals.Online. All Rights Reserved.